Step-by-Step Guide to Installing White Tile Kitchen Countertops
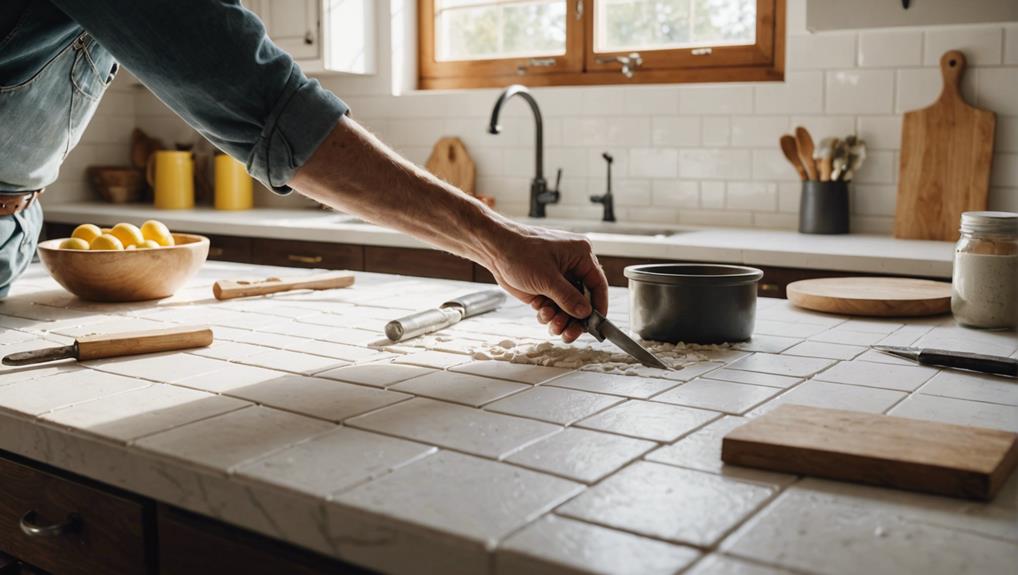
Installing white tile kitchen countertops begins with selecting durable materials like ceramic, porcelain, or quartz tiles. Guarantee all tools are on hand, including a wet-cut tile saw, notched trowel, and spacers. Accurately measure the countertop area, then secure a flat, level base using plywood and cement backer board. Apply tile adhesive with precise trowel strokes and set tiles with spacers for consistency. Cut and fit tiles meticulously at edges. Apply grout diagonally, making sure no gaps remain. Finally, seal the grout to protect against stains and moisture. For detailed execution steps and top-notch results, continue the in-depth guide.
Key Takeaways
- Measure and mark the countertop surface accurately, including extra tiles for cuts.
- Level and secure the underlayment with plywood and cement backer board, ensuring a flat base.
- Apply tile adhesive evenly with a notched trowel, working in small sections to prevent drying.
- Use spacers for consistent gaps when setting tiles, ensuring levelness and firm adhesion.
- Apply grout diagonally across tiles, smooth lines, and seal grout to protect against stains and moisture.
Selecting the Right Tile
When selecting the appropriate tile for your kitchen countertops, it is important to consider the material's durability, maintenance requirements, and aesthetic appeal. The selection process involves comparing tile materials to determine which best suits your kitchen's functional and design needs.
White ceramic and porcelain tiles are renowned for their clean, classic look and high resilience. These materials offer ease of maintenance and are resistant to stains and scratches, making them ideal for high-traffic kitchen environments.
On the other hand, white marble tiles provide a luxurious and elegant countertop design. Though aesthetically pleasing, marble requires more maintenance due to its porous nature and susceptibility to etching and staining.
For a modern and sleek appearance, white quartz tiles are an excellent choice. They combine durability with low maintenance, as quartz is non-porous and highly resistant to stains and scratches.
In contrast, white glass tiles offer a contemporary touch with their reflective properties, adding a unique visual dimension to your countertops. However, they may require more careful handling to avoid chipping.
Lastly, white subway tiles are a versatile and timeless option, suitable for various kitchen styles. When selecting tile finishes, make sure they match your overall design vision while considering the material's long-term performance.
Gathering Tools and Materials
To guarantee a successful installation of white tile kitchen countertops, it is essential to meticulously gather all necessary tools and materials in advance. Begin by confirming you have a high-quality wet-cut tile saw, which is essential for precision cuts and maintaining tile integrity.
A notched trowel will be indispensable for evenly spreading tile adhesive, while tile spacers are crucial for consistent grout lines. A sponge is required for the grouting process, ensuring a clean and professional finish.
Acquiring durable materials is equally important. White tiles, cement backer board, tile adhesive, grout, and sealant are fundamental components. Ensure these materials are of high durability to withstand kitchen use while aligning with your budget considerations.
Additional tools like measuring tape, plywood for base support, and screws for securing the countertop are necessary for foundational stability.
Prepare your work area by cleaning the surface, ensuring a level base, and providing proper ventilation, adhering to key safety precautions. Tool maintenance is essential; keep your equipment in top condition to prevent any disruptions during installation. Additionally, having masking tape available will aid in marking tile layouts and protecting surfaces, promoting a seamless and efficient installation process.
Measuring the Countertop Area
To achieve precise and accurate measurements for your white tile kitchen countertop, utilize a high-quality measuring tape to record the length and width of the area.
Mark measurement points meticulously, ensuring to account for any irregularities and overhangs.
Calculate the surface area by multiplying these dimensions, and incorporate additional tiles to cover potential cuts and waste, confirming all measurements before procurement.
Accurate Measuring Tools
Accurate measurement of the countertop area is essential, utilizing a reliable measuring tape to determine the precise length and width. Measuring accuracy is vital for calculating the exact square footage required for your white tile kitchen countertop.
Start by using precision tools, such as a high-quality measuring tape, to capture the dimensions of your countertop. Measure the length and width meticulously, making sure you account for any corners, angles, or irregularities in the countertop shape.
Once you have the length and width, multiply these dimensions to calculate the total square footage. This step is important as it directly influences the amount of tile you will need for the installation.
To guarantee accuracy, double-check your measurements. This verification step helps to avoid costly errors and ensures that you purchase the correct quantity of materials.
Marking Measurement Points
After meticulously measuring the dimensions of your countertop and verifying their accuracy, the next step is to mark the measurement points directly onto the countertop surface using a pencil, indicating where each tile will be placed. Utilizing precise pencil marking techniques is essential to maintain alignment and avoid any gaps or uneven tile placement. Begin by marking the start points at the edges and corners, taking into account any unique obstacles such as sink cutouts or appliance edges that may require special cutting or fitting of the tiles.
To visualize the tile layout and ensure precision, consider the following table that helps in organizing the tile placement:
| Section | Length (inches) | Width (inches) |
|---|---|---|
| Main Countertop | 72 | 24 |
| Sink Cutout | 20 | 15 |
| Left Edge | 24 | 1 |
| Right Edge | 24 | 1 |
Once the initial markings are done, proceed with a precision checking step. Double-check the marked measurement points against the actual dimensions of the tiles to confirm accuracy. This ensures the layout considerations are correctly implemented and any potential fitting issues are addressed beforehand. By adhering to these meticulous steps, the foundation is set for a seamless and professional tile installation.
Calculating Surface Area
Measuring the length and width of the countertop with a high degree of precision is crucial to calculate the total surface area needed for tiling. Utilize a reliable measuring tape or laser measure to obtain accurate dimensions. This guarantees a flawless tile layout and prevents material shortages or excess.
Follow these steps for precise measurement and calculation:
- Measure each section: Begin by measuring the length and width of each individual countertop section, ensuring your measurements are accurate.
- Record measurements: Note down all measurements carefully to avoid any discrepancies.
- Calculate area: Multiply the length by the width of each section to determine the square footage. Add these areas together to get the total surface area.
- Round up: Always round up to the nearest whole number to account for any miscalculations or unforeseen adjustments.
- Consider extra tiles: Include an additional 10-15% of tile to cover cuts, waste, or potential mistakes during the surface preparation phase.
After completing these calculations, you will have a clear understanding of the amount of tile required. Accurate surface area calculations are fundamental to a successful tile layout, ensuring a seamless and efficient installation process.
Preparing the Countertop Base
Before installing white tile kitchen countertops, it is important to meticulously prepare the countertop base by addressing three key points: removing old countertops, leveling the surface, and securing the underlayment.
Start by carefully dismantling any existing countertop material and ensuring the underlying structure is intact.
Next, verify the surface is level using a spirit level and apply a suitable underlayment, attaching it securely to provide a stable foundation for the tile installation.
Removing Old Countertops
Disconnecting plumbing fixtures and unscrewing the old countertops from the base cabinets is the initial step in preparing the countertop base for the new white tile installation. Begin by shutting off the water supply and carefully detaching any plumbing fixtures connected to the countertops to avoid any potential damage.
Once the plumbing is disconnected, proceed to unscrew the countertops from the base cabinets using a drill or screwdriver, making sure all fasteners are removed.
After the old countertops are detached, inspect the base cabinets and surrounding walls for any signs of damage. Perform any necessary damage repair to create a stable foundation for the new tiles.
Next, thoroughly clean the countertop base to eliminate any debris, dust, or adhesive residue that might hinder the adhesion of the new tiles.
Key steps include:
- Disconnecting plumbing fixtures: Shut off water supply, remove fixtures.
- Unscrewing countertops: Use a drill or screwdriver to detach from base cabinets.
- Inspecting for damage: Check base cabinets and walls for structural integrity.
- Damage repair: Fix any identified issues to ensure a sturdy base.
- Cleaning base: Remove all debris and residue for best tile adhesion.
Leveling the Surface
After thoroughly cleaning the countertop base, verify that it is level by using a spirit level to identify and correct any uneven areas. Ensuring flatness is paramount, as an uneven base can lead to significant issues such as cracked or shifted tiles. Begin by placing the spirit level at various points along the countertop base to detect any deviations.
Employ surface leveling techniques to address these discrepancies. The importance of shims cannot be overstated; they are essential for adjusting sections that are lower than others. Insert shims beneath the base at identified low points to raise these areas to the desired level. For substantial low spots, applying a thin layer of mortar or leveling compound can effectively create a uniform surface.
The key objective is to achieve a perfectly flat and stable base, which is critical for preventing tile damage during and after installation. Any inconsistencies, if left unaddressed, can compromise the integrity of the tile surface, leading to unsightly and costly repairs.
Meticulous attention to leveling the countertop base will ultimately contribute to a professional-looking and long-lasting white tile kitchen countertop.
Securing the Underlayment
Securing the underlayment involves firmly attaching a 3/4 inch plywood base to the cabinets using screws to establish a stable foundation for the countertop. This step is important for underlayment security and the longevity of the white tile kitchen countertops.
Begin by cutting the plywood to fit the dimensions of your countertop area. Position the plywood base on the cabinets and secure it with screws, making sure they are evenly spaced to avoid any movement.
Next, apply a layer of 1/4 inch cement backer board over the plywood. This creates a strong surface for the tile installation. Utilize construction adhesive to adhere the backer board to the plywood, followed by securing it with screws. Make sure the screws are countersunk to create a flat, even surface.
Before proceeding with the tile installation, verify that the underlayment is level and smooth. Any imperfections can lead to issues with the final countertop surface.
- Cut plywood to precise dimensions
- Secure plywood with evenly spaced screws
- Apply construction adhesive for added bonding
- Attach cement backer board with screws, ensuring countersink
- Check levelness and smoothness of the underlayment
These installation tips will ensure a sturdy and durable base for your white tile kitchen countertops.
Installing Plywood Substrate
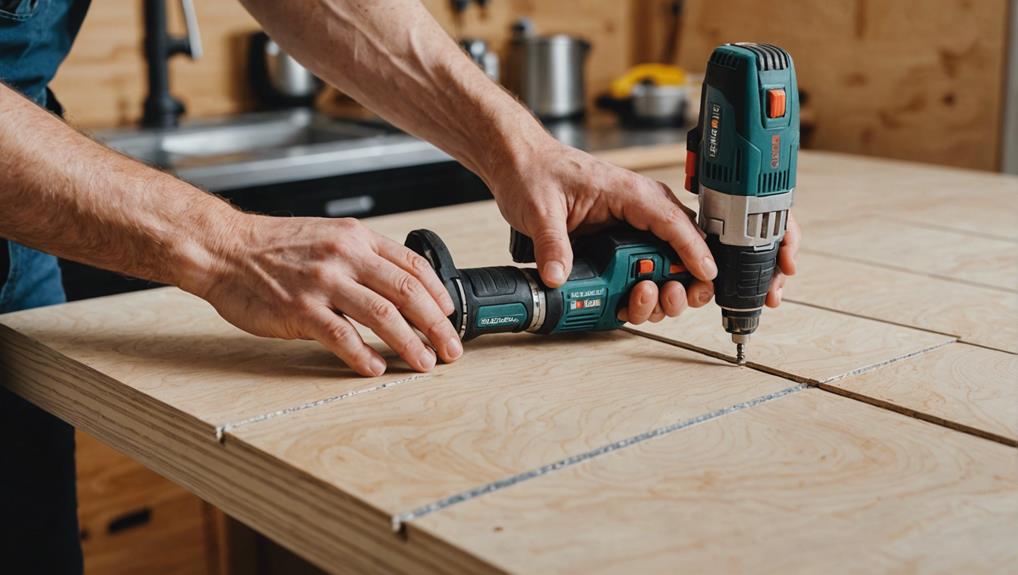
To establish a robust foundation for your white tile kitchen countertops, begin by accurately measuring and cutting the plywood to match the countertop dimensions. Plywood is a commonly used substrate due to its structural integrity and ease of installation. When selecting substrate types, consider the advantages of using high-quality, exterior-grade plywood, as it offers superior durability and resistance to warping.
Double up the plywood layers to achieve thicker edges, which provide enhanced stability and support for the tile. This practice is particularly beneficial in areas subject to heavy use or weight. Secure the plywood to the cabinet frames using screws spaced approximately 6 to 8 inches apart. This ensures a firm and level base, critical for a flawless tile installation.
For substrate installation tips, make sure the plywood is properly prepared before tiling. This includes sanding any rough edges and verifying that the surface is clean and free of debris.
Cutting the Cement Backer Board
Accurate measurement is paramount when cutting cement backer board to guarantee a seamless fit for tile installation.
Utilize a carbide-tipped scoring tool to create precise cut lines, and snap the board cleanly along these lines.
Always employ safety goggles and a dust mask to mitigate hazards from dust and debris.
Measuring for Precise Cuts
Precisely measuring the dimensions of your countertop space is crucial to cutting the cement backer board to the correct size for a professional-looking installation. To achieve this, accurate sizing and meticulous backer board preparation are paramount.
Start by using a high-quality measuring tape to determine the exact dimensions of the countertop area. Mark these measurements directly onto the cement backer board using a pencil and a straight edge, ensuring each line is clearly visible. This will serve as your guide for making precise cuts.
Utilize cutting techniques that enhance accuracy. A circular saw equipped with a carbide-tipped blade is ideal for slicing through the cement backer board cleanly. Make sure the board is securely clamped down to prevent any movement during cutting. Double-check all measurements before making the cut to confirm the backer board will fit snugly against the cabinets and walls.
Attention to detail in this phase ensures a seamless installation of your white tile kitchen countertops.
- Measure the countertop dimensions accurately using a high-quality measuring tape.
- Mark the dimensions on the backer board with a pencil and straight edge.
- Use a circular saw with a carbide-tipped blade for precision cutting.
- Secure the backer board firmly to avoid movement during cutting.
- Double-check measurements for a snug fit against cabinets and walls.
Using the Right Tools
Once you have measured and marked the cement backer board, the next step involves selecting and utilizing the proper tools to achieve clean and accurate cuts. A tile saw designed specifically for stone cutting is essential to guarantee precision. Equip the saw with a specialty blade tailored for cutting through cement backer board, which will facilitate smoother cuts and extend the blade's longevity, an important aspect of tool maintenance.
Safety precautions are crucial during this process. Wearing protective gear, such as goggles and a mask, shields you from inhaling potentially harmful dust particles. Additionally, securing the backer board to the plywood base using screws is necessary for achieving a stable and durable countertop surface.
To aid in the process, refer to the following essential tools and their respective safety measures:
| Tool | Function | Safety Precautions |
|---|---|---|
| Tile Saw | Precision cutting of backer board | Wear goggles and mask |
| Specialty Blade | Effective cutting through cement | Regular inspection for wear |
| Screwdriver | Securing backer board to base | Ensure stable working surface |
| Measuring Tape | Accurate marking of cuts | Avoid sharp edges |
| Safety Gear | Personal protection | Ensure proper fit and condition |
Laying Out the Tiles
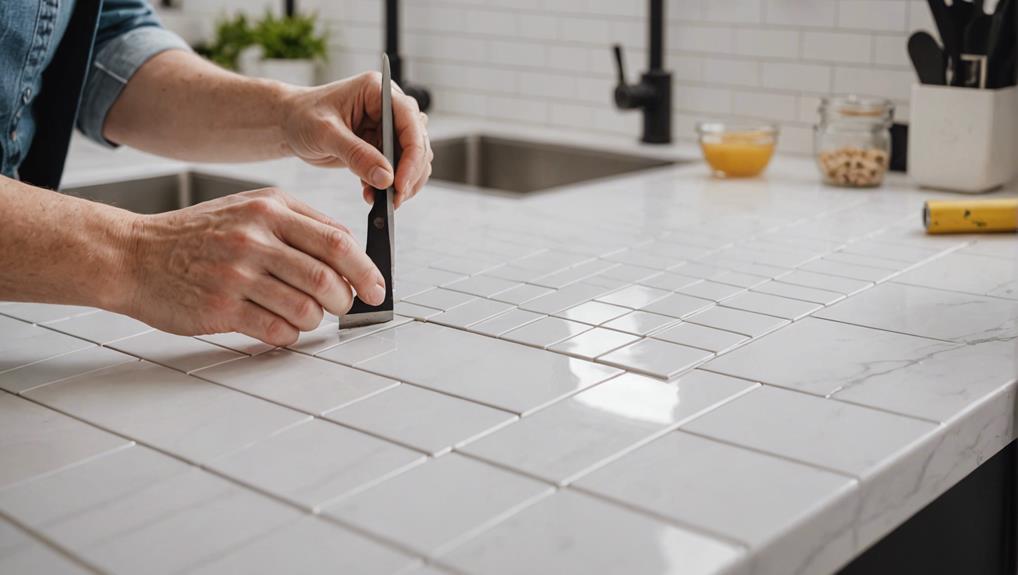
Begin the tile installation process by dry-fitting the white tiles on the countertop to carefully plan the layout and determine the best placement. This preliminary step is vital for guaranteeing that the final result is both aesthetically pleasing and functionally sound.
Employ tile spacers to maintain consistent tile spacing and achieve uniform grout lines. By doing so, you lay the groundwork for a polished, professional finish.
Adjust the layout as needed to avoid small cuts at the edges and corners, which can compromise the countertop's integrity and visual appeal. Consider various design options, such as incorporating accent tiles or creating a border, to add a customized touch that enhances the overall design.
Additionally, double-check the layout for symmetry and alignment, ensuring that everything is perfectly in place before proceeding to the next phase.
- Tile spacing: Essential for consistent grout lines and a polished finish.
- Design options: Accent tiles or borders can personalize the countertop.
- Grout color: Choose a hue that complements the tile and consider maintenance tips for longevity.
- Layout adjustments: Avoid small cuts to maintain the integrity of the design.
- Symmetry and alignment: Ensure everything is perfectly aligned for a professional appearance.
This meticulous planning phase is instrumental in achieving a stunning and durable white tile countertop.
Applying Tile Adhesive
Using a notched trowel, evenly distribute the tile adhesive across the countertop surface to guarantee the best possible adhesion of the tiles. This initial step in adhesive application is critical for securing a durable and long-lasting countertop installation. Employing the proper technique, begin by spreading the adhesive in small sections, typically no larger than 2 to 3 square feet, to prevent the adhesive from drying prematurely before the tiles are set.
Selecting a high-quality tile adhesive that is compatible with your specific tile material is paramount. Follow the manufacturer's instructions meticulously for both mixing and application to achieve an excellent bond. The notched side of the trowel should be used to create uniform ridges in the adhesive, which facilitates proper embedding of the tiles and prevents voids that can weaken the installation.
Pay careful attention to the recommended drying time as specified by the adhesive manufacturer. This ensures the adhesive has sufficient time to set and cure, fostering a strong connection between the tiles and the substrate. By adhering to these guidelines, you establish a secure foundation for subsequent steps in the tiling process, ultimately leading to a professional and aesthetically pleasing kitchen countertop.
Setting the Tiles
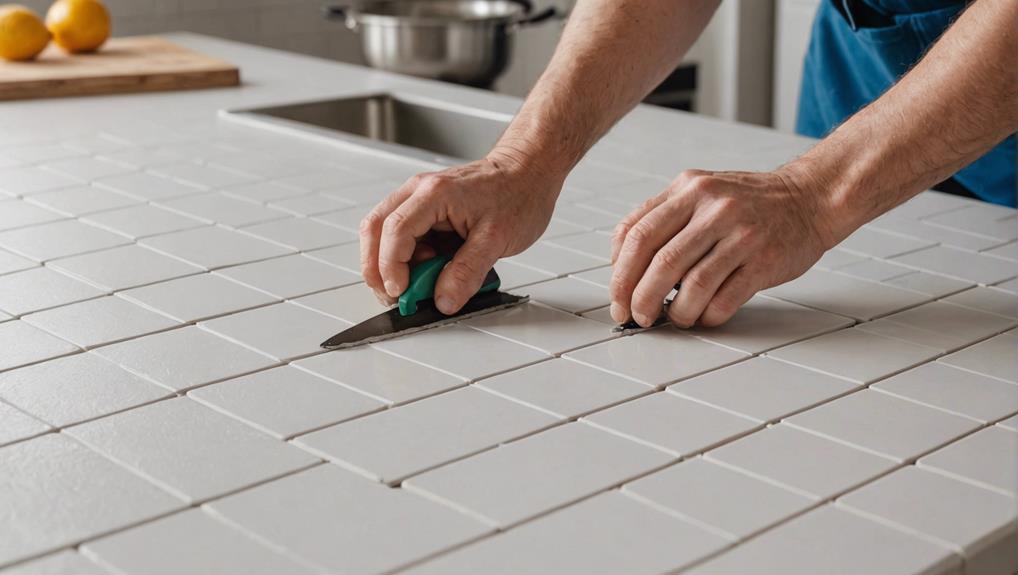
Press each white tile firmly into the freshly applied adhesive, guaranteeing proper alignment and using tile spacers to maintain uniform grout lines and spacing. Begin from one corner of the countertop and work methodically across in small, manageable sections.
Utilize a notched trowel to spread the adhesive evenly, guaranteeing full coverage and ideal adhesion. This step is crucial for achieving a durable and aesthetically pleasing finish.
- Tile spacing is crucial; guarantee consistent gaps between tiles using spacers.
- Adhesive spreading should be even and thorough to prevent future tile shifting or lifting.
- Tile pressing requires firm, even pressure to embed the tiles securely into the adhesive.
- Regularly check for levelness and make adjustments to maintain a smooth, even surface.
- Grout application will follow once the adhesive has dried completely, solidifying the tiles in place.
Inspect each tile placement for precision, adjusting as necessary to maintain a consistent pattern and avoid any misalignment.
Allow sufficient time for the adhesive to cure thoroughly before proceeding to grout application, guaranteeing the tiles are securely set and immovable.
This meticulous attention to detail during the tile setting phase is crucial for a professional, high-quality kitchen countertop installation.
Cutting and Fitting Tiles
Once the tiles are securely set and the adhesive has cured, accurate cutting and fitting of tiles along edges and corners become vital to achieving a seamless and professional finish. Employing advanced tile cutting techniques is essential. A wet-cut tile saw is recommended for its precision and ability to make clean cuts.
Begin by measuring the area where the tile will be placed, marking the tile accurately to guarantee precise fitting. Double-check all measurements and marked lines before proceeding with the cut to prevent errors. This step is critical to make sure that each tile fits snugly against edges and corners.
For intricate cuts, particularly around corners, adjustments may be necessary. If mistakes occur, effective troubleshooting cutting mistakes involves re-measuring and careful re-cutting to correct inaccuracies. Applying construction adhesive to the back of each tile ensures a strong bond during installation.
Reinforcing seams and corners with fiberglass tape provides additional durability and strength, crucial for high-use areas like kitchen countertops. Precision fitting not only enhances the visual appeal but also guarantees the longevity of the tiled surface. Detailed attention to each cut and fit will result in a flawless and professional countertop finish.
Applying Grout
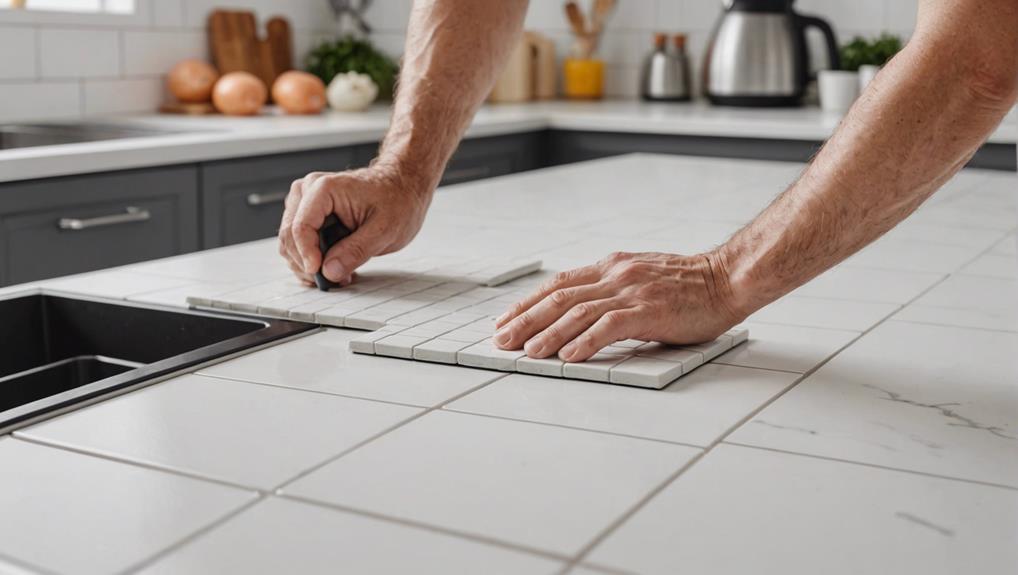
Applying grout to your newly tiled kitchen countertop is a meticulous process that demands precision and attention to detail to guarantee a durable and aesthetically pleasing finish. Grout, a mixture of cement, sand, and water, is essential for securing tiles in place, preventing water damage, and enhancing the overall appearance of your countertop.
Begin by selecting the appropriate grout color options to either match or contrast with your white tiles, adding a touch of design flexibility.
To assure a professional application, follow these steps:
- Mix the Grout: Follow the manufacturer's instructions to achieve the correct consistency, avoiding lumps.
- Apply the Grout: Use a rubber float to spread the grout diagonally across the tiles, ensuring even filling of the joints.
- Remove Excess Grout: Wipe off the excess grout from the tile surface with a damp sponge, working in a circular motion.
- Final Touches: Smooth the grout lines with a grout finishing tool for a polished look.
- Clean the Tiles: After the grout sets, clean the tiles with a damp cloth to remove any remaining haze.
Adhering to these grout maintenance tips, such as cleaning spills promptly and avoiding abrasive cleaners, will maintain the longevity and appearance of your countertop.
Sealing the Grout
Sealing the grout is a crucial step in safeguarding your white tile kitchen countertop from stains, moisture, and bacterial infiltration. Utilizing a high-quality grout sealer guarantees strong grout protection and greatly enhances the longevity of your countertop. The sealing process creates an impermeable barrier, making the grout lines more resistant to spills and easier to maintain.
| Benefits of Sealing Grout | Emotional Impact |
|---|---|
| Protects against stains and moisture | Peace of mind |
| Prevents bacterial buildup | Hygienic kitchen |
| Extends countertop lifespan | Long-term investment |
| Enhances appearance | Aesthetic satisfaction |
To achieve excellent results, follow these cleaning tips prior to sealing. Ensure the grout is thoroughly cleaned and completely dry. Apply the sealer uniformly using a small brush or applicator bottle, allowing it to penetrate the grout lines effectively. Remove any excess sealer to avoid unsightly residues. It's recommended to reseal the grout every 1-3 years, depending on the countertop's usage and exposure to liquids, to maintain its protective properties.
Proper grout maintenance, including regular sealing, not only preserves the aesthetic appeal of your white tile kitchen countertop but also contributes to its overall durability. By following these practices, you guarantee a pristine and long-lasting kitchen surface.
Final Touches and Cleanup
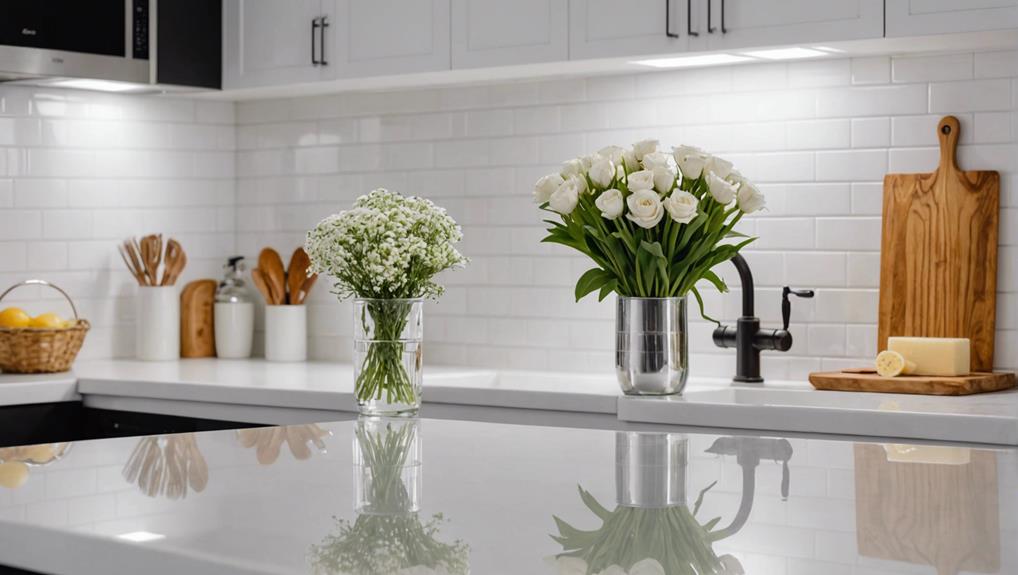
Ensuring a flawless finish, meticulously remove any excess grout from the tile surfaces using a damp sponge in a circular motion to avoid disrupting the grout lines. This step is vital for achieving a clean, professional look and preventing any future issues with uneven grout.
Next, inspect the entire countertop surface for any remaining grout haze or residue. The use of specialized polishing techniques can help in eliminating these remnants, guaranteeing a pristine appearance. It is advisable to apply a quality grout sealer to protect the grout from stains and moisture, which extends the longevity of your countertops.
Apply a final coat of sealer across the entire countertop surface, encompassing both tiles and grout lines. This additional layer provides enhanced protection and greatly enhances the visual appeal of your kitchen countertops.
For a thorough cleanup, ensure the workspace is free from leftover materials, tools, and debris. This entails:
- Wiping down the countertop to remove any fine dust particles.
- Disposing of used sponges and cloths appropriately.
- Cleaning and storing tools in their designated places.
- Safely discarding any excess grout or sealant.
- Performing a final inspection for any overlooked grout residue.
Following these cleanup tips and maintenance advice guarantees your kitchen remains spotless and your new countertops retain their pristine condition.
Frequently Asked Questions
What Do You Put Under Tile Countertops?
Under tile countertops, cement backer board is utilized as the primary substrate material. This provides a stable foundation and acts as a moisture barrier, preventing tile cracking and shifting due to uneven surfaces or moisture infiltration.
Do You Put Countertops Down Before or After Tile?
Countertops should be installed before tiling to guarantee proper surface preparation and stability. A moisture barrier is essential beneath tile countertops to prevent substrate damage and ensure longevity, resulting in a professional, polished finish.
What Goes First Countertop or Wall Tile?
For best results, install the countertop before the wall tile. This approach guarantees accurate alignment, facilitating smooth integration of tile patterns and color choices, enhancing a unified, professional finish in your kitchen design.
Do I Need Cement Board for Tile Countertop?
Yes, cement board is essential for tile countertops. It provides a stable base, critical for durability. Use appropriate cutting tools for precise fitting, and select suitable adhesive types to guarantee proper tile adhesion and longevity.
Conclusion
The successful installation of white tile kitchen countertops necessitates meticulous planning and execution. From selecting appropriate tile types to the final sealing process. Ensuring accuracy in measurements and substrate preparation, coupled with precise tile cutting and fitting, is essential for achieving a professional finish.
The application of grout and subsequent sealing fortifies the durability and appearance of the countertop. Adhering to these detailed steps guarantees a high-quality, aesthetically pleasing, and long-lasting kitchen countertop installation.



Leave a Reply