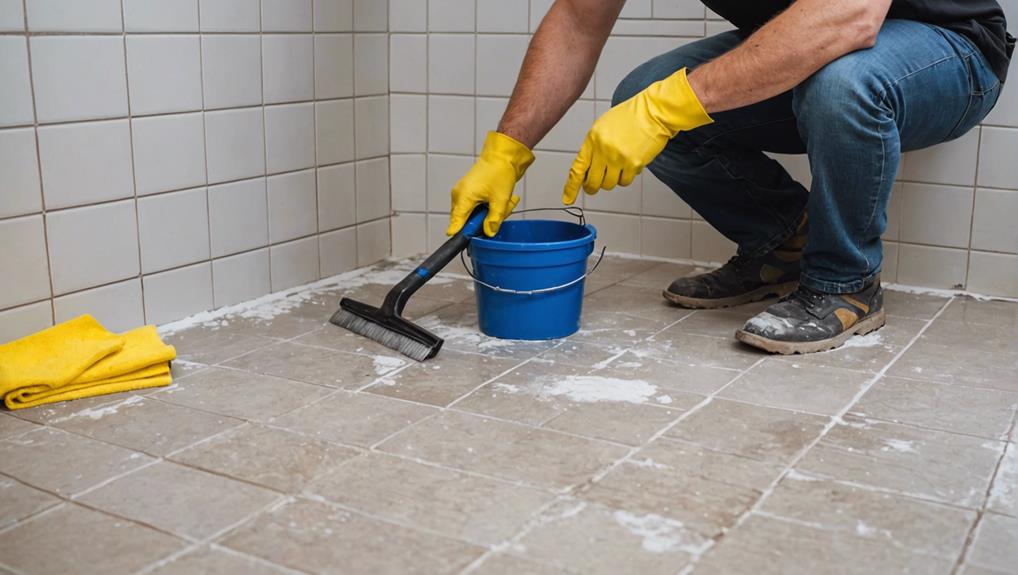
10 Easy Steps to Regrout Your Bathroom Tile
Start by gathering your materials: grout removal tool, new grout, sponge, and protective gear. Carefully remove old grout with a grout removal blade, focusing on the corners. Clean the tile surface thoroughly using a damp sponge and tile cleaner. Mix the new grout following the manufacturer's guidelines, ensuring the right consistency. Apply grout with a grout float, pressing firmly into seams. Wipe excess grout using a damp sponge. Wait for the grout to set, then remove grout haze with a clean cloth. Allow grout to cure as per instructions. Finally, seal the grout for added protection. Explore these steps for flawless results.
Key Takeaways
- Gather essential tools like a grout removal tool, grout float, new grout, sponge, bucket, and protective gear.
- Carefully remove old grout using a grout removal blade and scraper, protecting tiles with a damp sponge.
- Clean the tile surface thoroughly with a non-abrasive cleaner and rinse with clean water to ensure new grout adheres well.
- Select and mix the appropriate grout type, following the manufacturer's guidelines to achieve the correct consistency.
- Apply the new grout precisely, ensuring all joints are filled, and clean any excess grout from the tile surfaces with a damp sponge.
Gather Your Materials
Before starting your regrouting project, gather essential materials such as a grout removal tool, grout float, new grout, sponge, and bucket. Ensuring you have these items at hand will streamline your workflow and improve efficiency. Additionally, don't forget protective gear like gloves, goggles, and a dust mask to safeguard against debris and dust. A shop vacuum is indispensable for cleaning up loose grout and other particles during the process.
When selecting new grout, pay special attention to the grout color. Choose a hue that complements your tiles and overall bathroom aesthetic. The right grout color can notably enhance or detract from the visual appeal of your tiled surface.
For grout application, you'll need a grout float to evenly spread the new grout into the joints. This tool allows for precise application, ensuring a professional finish. Keep a sponge and a bucket of clean water nearby to wipe away excess grout from the tiles. A damp cloth will also be handy for quick tile cleaning during the grout application phase.
Remove Old Grout
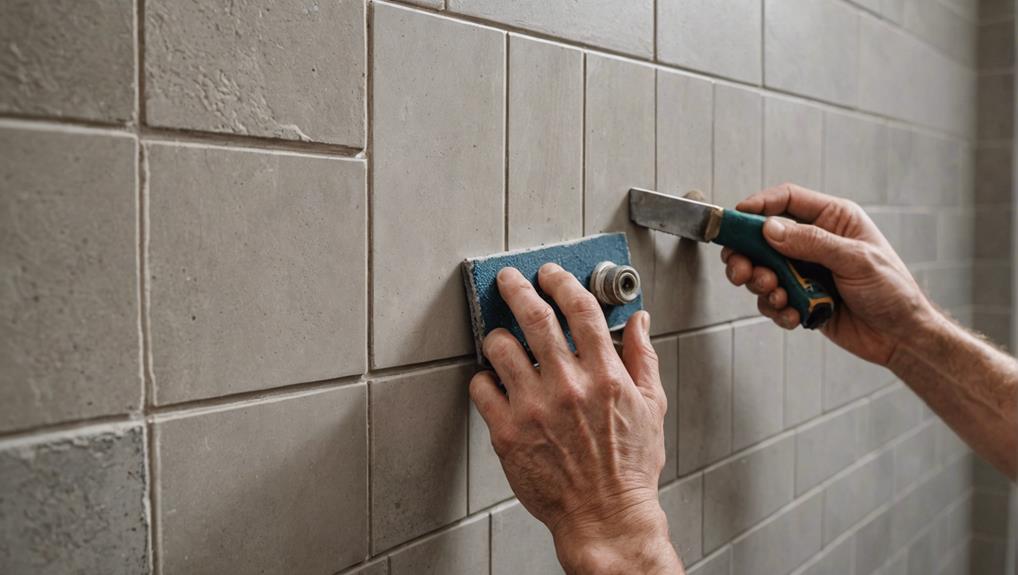
Start by carefully using a grout removal blade to eliminate the old grout without damaging the surrounding tiles. Make sure that you maintain steady, controlled movements to prevent any accidental chipping or scratching. The objective here is precision—the blade should slide along the grout lines, extracting the old material meticulously.
Next, employ a scraper to clear any stubborn leftover grout. This step is essential for thorough grout removal, guaranteeing a clean slate for the new grout. Pay particular attention to corners and edges, where old grout tends to linger. Remember, thorough grout removal is key to achieving a smooth, professional finish later on.
To further enhance tile protection, use a damp sponge to wipe down the tiles as you work. This not only removes residual grout dust but also keeps the tiles safe from potential scratches. The damp sponge helps in identifying any remaining grout, allowing you to address those areas promptly.
Clean the Tile Surface
After you've removed the old grout, use a damp sponge to clean the entire tile surface, ensuring you eliminate any leftover debris.
Next, scrub the tiles meticulously with a tile cleaner to remove any residual grout and stains.
Remove Old Grout
Carefully use a grout removal tool to eliminate the old grout, making sure you don't damage the surrounding tiles. Employ precise grout removal techniques to maintain tile integrity. Whether you choose a manual grout saw, an oscillating tool, or a rotary tool, the key is to apply consistent pressure while steering clear of the tile edges. This approach is important for preventing tile damage.
As you work, it's essential to guarantee a smooth finish by removing all the old grout. Incomplete grout removal can lead to uneven surfaces, affecting the adhesion of the new grout. Use a small vacuum or a brush to clear away loose grout particles and dust. This step ensures that no debris is left behind, which is crucial for a clean and secure regrouting process.
After the old grout is removed, thoroughly wipe the tiles with a damp sponge to eliminate any residual dust and grout remnants. This step is significant as it prepares the surface for the new grout, promoting better adhesion and a professional finish. Ensuring the tile surface is meticulously clean before regrouting is essential for a successful and long-lasting result.
Wash With Cleaner
To guarantee maximum adhesion of the new grout, use a non-abrasive cleaner to meticulously wash the tile surface, removing all traces of dirt, grime, and soap scum. Selecting an appropriate cleaner is critical; opt for a pH-balanced solution that won't damage the tiles or existing grout lines. Avoid harsh chemicals that could etch or discolor the tiles, compromising the final aesthetic.
The importance of pre-cleaning can't be overstated. Begin by applying the cleaner directly onto the tiles, making sure it penetrates the grout lines. Use a scrub brush with soft bristles to agitate the cleaner, loosening any stubborn residues. Pay extra attention to areas with mold, mildew, or stains, as these can greatly impact the new grout's adhesion and durability.
Rinse thoroughly with clean water to eliminate any cleaner residue. Residual cleaner can interfere with the bonding strength of the new grout, so a thorough rinse is essential. Dry the tiles and grout lines completely using a lint-free cloth. This ensures a smooth, even base, enhancing the overall appearance and longevity of your regrouting project.
Properly cleaned tiles not only facilitate better grout application but also contribute to maintaining hygiene in your bathroom.
Prepare the New Grout
To begin, select the appropriate grout type based on your tile and room conditions.
Follow the manufacturer's guidelines to mix the grout, ensuring you achieve a smooth, lump-free consistency.
Regularly check the grout's consistency during application to maintain peak performance.
Choose Grout Type
Selecting the right grout type is essential for both the durability and aesthetics of your bathroom tiles. You'll need to take into account several factors to guarantee excellent performance and visual appeal.
- Grout Color: The grout color can significantly impact the overall look of your tile. Choose a color that either complements or contrasts with your tile. A complementing color creates a seamless appearance, while a contrasting color highlights the tile pattern. Keep in mind that lighter colors may stain more easily, especially in high-moisture areas like showers.
- Grout Type: Decide between sanded and unsanded grout based on the width of your tile joints. Sanded grout is ideal for joints wider than 1/8', offering better durability and shrink resistance. Unsanded grout is suitable for narrower joints and delicate tiles. For maximum durability and stain resistance, particularly in high-moisture areas, consider using epoxy grout despite its higher cost and more complex application process.
- Grout Application: Precision in grout application is crucial. Follow the manufacturer's instructions meticulously for mixing ratios and application techniques. This ensures the grout adheres properly and performs as expected. Missteps during application can lead to premature wear or aesthetic issues.
Mix Grout Properly
After selecting the appropriate grout type, it's time to mix the grout properly to guarantee peak performance and a flawless finish. Begin by following the manufacturer's instructions for mixing ratios precisely. This secures the right balance between the grout powder and water, a critical aspect of grout mixing techniques. Use a large bucket for mixing to facilitate easy application and prevent spillage.
One common grout mixing mistake isn't measuring the components accurately, which leads to improper consistency and poor adhesion. Always use a measuring cup for water and a scale for grout powder to avoid this issue. Mix only the amount you can apply within 30 minutes, as grout can dry out quickly, compromising its effectiveness.
For best results, stir the mixture thoroughly until it reaches a smooth, lump-free consistency. Use a margin trowel or a mixing paddle attached to a drill for this task. If the grout mix appears too dry or too watery, troubleshoot by adding small amounts of water or powder incrementally, then mix again.
Securing the proper mix will result in a smooth, professional-looking finish on your bathroom tiles, minimizing the chances of grout cracking or flaking over time.
Check Consistency Regularly
Regularly monitor the consistency of your grout mixture every few minutes to make sure it maintains the best balance for effective application and adhesion. Consistency testing is important to avoid common pitfalls such as overly thick or runny grout, which can compromise the professional finish of your regrouting project.
Here are three steps to make sure your grout mixture is just right:
- Initial Consistency Testing: Begin by mixing your grout to a smooth, peanut butter-like consistency. Immediately test by scooping a small amount with a trowel; it should hold its shape without being too stiff or too runny.
- Ongoing Adjustments: During grout application, periodically check the mixture. If it starts to thicken, add a small amount of water and mix thoroughly. Conversely, if it becomes too runny, incorporate a bit more grout powder to restore the ideal texture.
- Final Consistency Check: Before applying to a large area, test the mixture in a small section. It should spread easily without sagging or dripping. Adjust as necessary to make sure uniform application across all tiles.
Apply the Grout
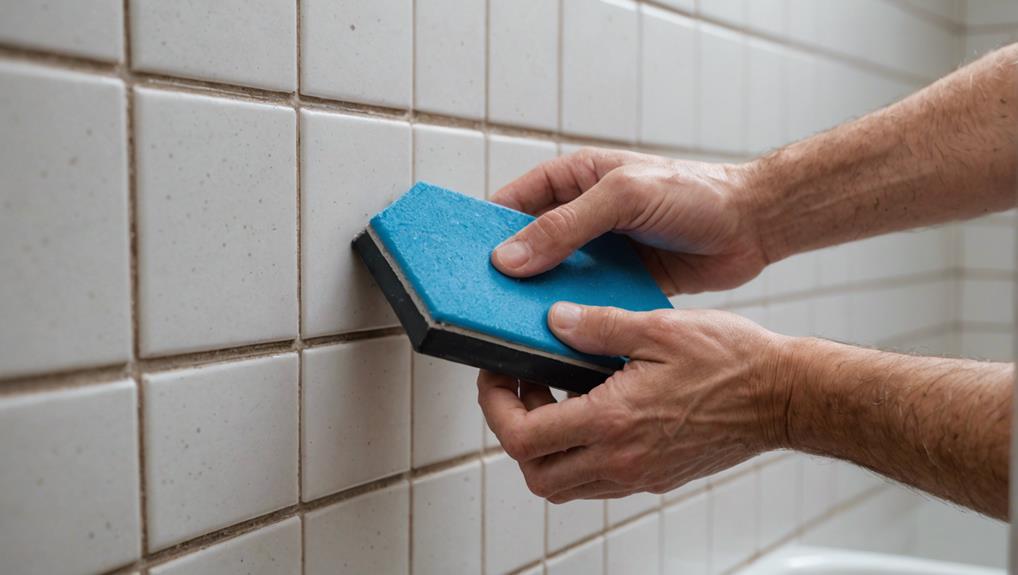
To apply the grout, use a grout float to press the mixture firmly into the tile joints, ensuring thorough coverage with diagonal strokes. This technique is vital for achieving consistent filling and avoiding voids. When considering grout color choices, remember that lighter shades can make the room appear larger, while darker hues may hide stains better. Employing grout application tricks like holding the float at a 45-degree angle will help you push the grout deeper into the joints.
After pressing the grout into the joints, use the grout float to remove any excess material by scraping it off with the edge of the float. This step is essential for a clean finish and to facilitate easier cleaning later. Once the grout has set for about 15-30 minutes, use a grout shaper to refine the joints for a professional appearance.
Grout sealing importance can't be overstated; sealing your grout will protect it from moisture and stains, prolonging its lifespan. Finally, clean the tile surface with a damp sponge to remove any grout residue.
For ongoing upkeep, consider grout maintenance tips like regular cleaning with a pH-neutral cleaner to keep your tiles looking pristine.
Use a Grout Float
When using a grout float, you'll want to hold it at a 45-degree angle to guarantee even distribution and peak penetration into the tile joints. Apply firm pressure to press the grout deeply into the seams, enhancing adhesion and preventing future cracking.
Quickly remove excess grout by holding the float almost perpendicular to the surface, ensuring a clean and professional finish.
Grout Float Technique
Mastering the grout float technique is crucial for guaranteeing that grout is evenly distributed and tile joints are fully filled. The benefits of using a grout float are manifold, primarily due to its flat rubber surface, which allows for precise application and smoothing of the grout. This tool guarantees complete coverage, resulting in a durable and professional finish.
To execute the proper grout float technique, follow these steps:
- Firm, Diagonal Strokes: Hold the grout float at a 45-degree angle to the tile surface. Use firm, diagonal strokes to push the grout into the joints. This approach ensures that the grout penetrates deeply and fills all gaps.
- Smooth Out the Surface: After applying grout to the joints, use the flat edge of the float to smooth out the grout. Move the float across the tiles in a sweeping motion to remove excess grout and create a uniform surface.
- Remove Excess Grout: Once the grout has set slightly, use the edge of the float to scrape off any surplus grout from the tile surface. Ensure this is done carefully to maintain the integrity of the filled joints.
Efficient Grouting Tips
Utilizing a grout float properly can greatly enhance the efficiency and outcome of your tile grouting process. Proper technique is essential for achieving a uniform grout line and ensuring long-lasting grout maintenance.
Begin by selecting a grout color that complements your tiles, as this greatly impacts the overall aesthetic.
When applying grout, hold the grout float at a 45-degree angle to the tile surface. This angle maximizes the pressure exerted, ensuring grout is effectively pushed into the joints. Use firm, diagonal strokes to spread the grout, covering all gaps uniformly. Consistent pressure and motion are key to filling voids completely, preventing future cracking or loosening.
After application, it's essential to remove excess grout from tile surfaces. Hold the grout float at a steeper angle, around 90 degrees, and scrape diagonally across the tiles' surface. This method efficiently clears surplus grout, preventing unsightly buildup and making subsequent cleanup easier.
For a professional finish, consider using grout shapers in conjunction with your float. They help define the grout lines, enhancing the visual appeal.
Sponge the Tile
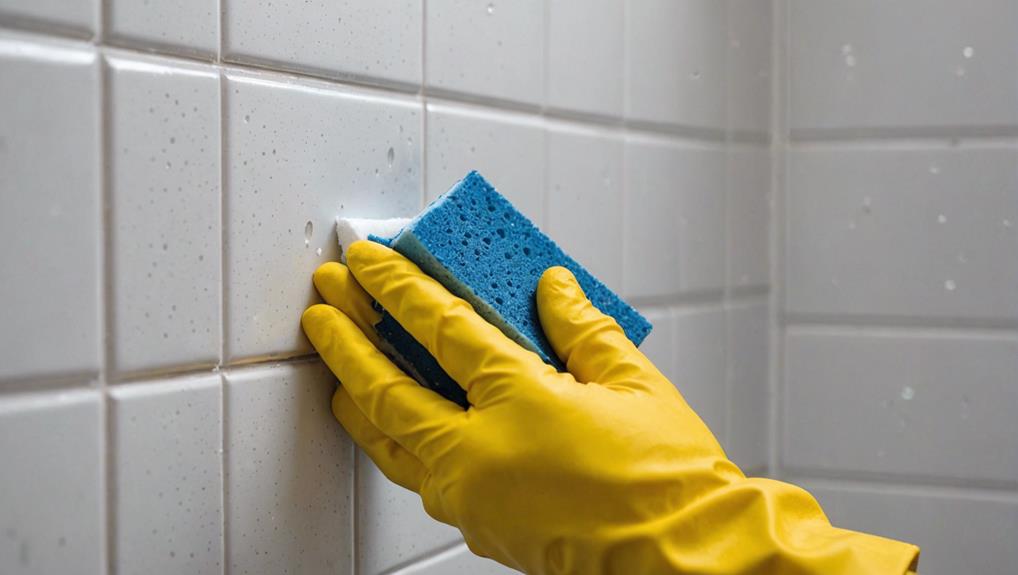
Thoroughly clean the entire wall surface with a wet sponge to make sure all excess grout residue is removed. This is important for achieving a smooth and professional finish. Utilize the proper sponge technique to effectively manage grout removal without damaging the tiles. Here's how:
- Sponge Technique: Use a damp sponge, not soaking wet, to gently wipe the tile surfaces. Hold the sponge at an angle and use a light, sweeping motion. This minimizes smearing and ensures that only excess grout is removed.
- Grout Removal: Rinse the sponge frequently in clean water to avoid redepositing grout residue onto the tiles. This step is essential for keeping your tiles clean and maintaining the integrity of the grout lines.
- Drying and Polishing: After sponging, allow the grout to dry according to the manufacturer's instructions. Once dry, polish off any remaining dusty residue with a soft cloth to achieve a polished look.
This meticulous approach will result in a pristine tile surface and long-lasting grout lines.
Consider using shower panels for easier maintenance and cleaning in the future. The precision in this process ensures that your bathroom tiles will look as good as new for years to come.
Remove Grout Haze
After the initial cleaning, you'll need to address any remaining grout haze using a specialized grout haze remover. This is crucial for achieving a pristine finish and guaranteeing grout haze prevention. Apply the grout haze remover according to the manufacturer's instructions, usually involving spreading the solution evenly over the tiles with a sponge or cloth.
Polish the tiles with a dry cloth to remove any lingering residue and restore their shine. Use a diagonal motion and wipe in one direction to avoid accidentally dislodging fresh grout. This technique is effective in grout removal techniques and ensures the tiles are left spotless.
While cleaning, smooth out the grout lines using a circular motion. This helps eliminate any pinholes or uneven spots, ensuring a uniform appearance. Make sure to rinse the sponge frequently to maintain its effectiveness and avoid redepositing haze onto the tiles.
Let Grout Cure
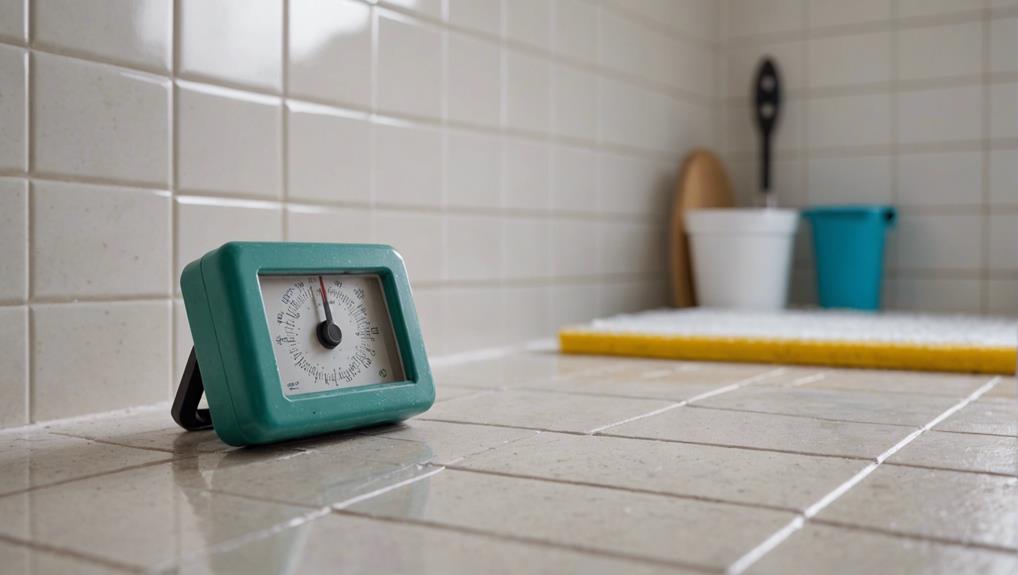
Ensuring the new grout cures properly, you'll need to let it set undisturbed for 24 to 72 hours, depending on the grout type and manufacturer's guidelines. This curing period is essential for achieving best durability and a strong bond between the grout and tiles. Ignoring this step can compromise the integrity of your grout maintenance efforts.
During this time, avoid using the shower or bath to prevent any moisture interference. Moisture can weaken the grout, leading to potential cracking or mold growth. To guarantee the grout cures effectively, keep the bathroom well-ventilated. This helps in maintaining a consistent temperature and humidity level, which are critical for proper curing.
Here are three key tips to follow:
- Follow Manufacturer's Instructions: Each grout type has specific curing times. Adhere strictly to these guidelines for the most favorable results.
- Avoid Water Contact: Keep the area dry and free from steam and water to ensure the grout cures without issues.
- Monitor Humidity and Temperature: Use a dehumidifier or fan to control the environment, aiding in consistent and thorough curing.
Once the grout has cured completely, it will be ready for proper sealing to protect against stains and moisture, ensuring long-lasting results.
Seal the Grout
Properly sealing the grout is essential for preventing water damage and prolonging the lifespan of your bathroom tiles. The grout sealer benefits include forming a robust barrier against moisture and dirt buildup. However, some drawbacks include the need for periodic reapplication and the potential incompatibility with certain tile types.
First, understand the different grout sealers available. Penetrating sealers, like those based on fluoropolymer or silicone, soak into the grout and offer deep-seated protection from within. These are particularly effective against stains and water infiltration. Surface sealers, on the other hand, form a protective layer on top of the grout, making them excellent for high-traffic areas but sometimes prone to peeling over time.
To apply, use a small brush or applicator bottle specifically designed for grout lines. Start by cleaning the tile surface thoroughly to remove any debris or residue that could compromise the sealer. Apply the sealer evenly, ensuring all grout lines are fully covered. Allow it to dry as per the manufacturer's instructions, usually between 24 to 48 hours.
Frequently Asked Questions
Can You Put New Grout Over Old Grout Bathroom Tile?
You shouldn't put new grout over old grout. It compromises grout lifespan and leads to poor adhesion. Uneven patches and mismatched grout color further impact aesthetics. Always remove old grout for a durable, professional finish.
What Is the Easiest Way to Regrout Tiles?
The easiest way to regrout tiles involves precise grout removal with an oscillating multitool. Follow with cleaning tips: thoroughly clean tile seams, apply new grout diagonally, and finish by sealing to prevent stains and moisture.
Do You Have to Dig Out Old Grout Before Regrouting?
Yes, you must dig out old grout before regrouting. Grout removal with specialized grout tools guarantees a clean, professional finish. Skipping this step compromises durability and appearance, making new grout not adhere properly to surfaces.
Is Regrouting a Bathroom Easy?
Yes, regrouting a bathroom can be easy with proper tools and techniques. Expect a moderate time commitment and cost estimate. Precision in grout removal and application is essential for long-lasting results and preventing water damage.
Conclusion
You've successfully regrouted your bathroom tile. By following these steps, you've enhanced both the aesthetic and structural integrity of your space.
Remember, sealing the grout is essential to prevent moisture damage. Regular maintenance will keep your tiles looking pristine.
With your new skills, you can tackle any future tiling projects with confidence. Enjoy your refreshed bathroom, and don't hesitate to share your expertise with others who might need a hand.
Happy tiling!

Leave a Reply