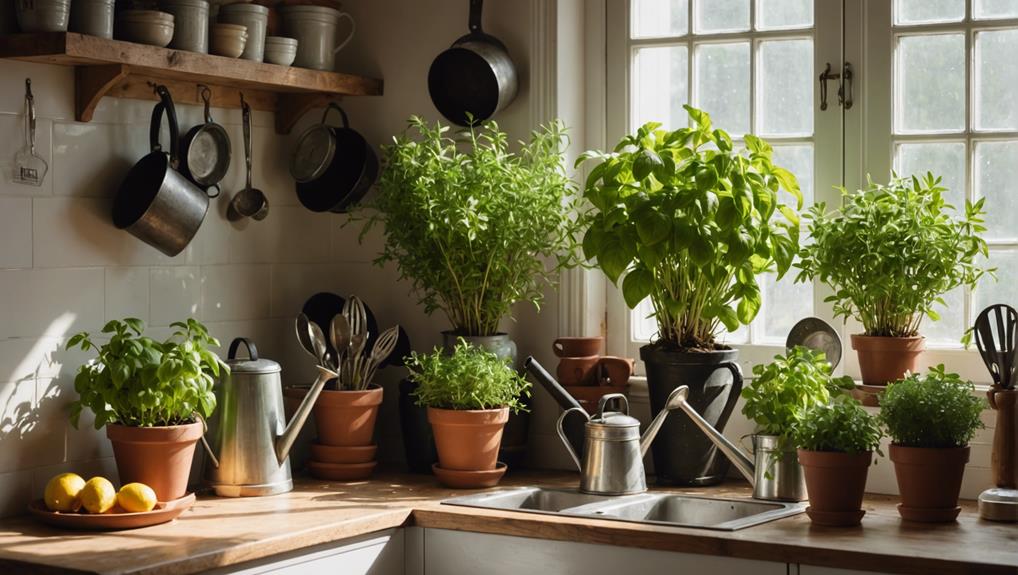
Growing Herbs in Your Kitchen: 10 Essential Tips
Transform your kitchen into a fragrant, green haven with these essential herb-growing tips. Pick versatile herbs like basil, parsley, and thyme that suit your culinary passions. Guarantee your herbs bask in 6-8 hours of natural light, and keep the temperature steady between 18-21°C. Water them precisely at the roots and use a quality potting mix for vigorous growth. Choose pots with excellent drainage to prevent waterlogging. Regular pruning keeps your plants bushy and healthy, and natural pest control methods secure a thriving indoor garden. Harvest herbs in the morning and store them properly for fresh, flavorful dishes. Discover more to enhance your herb-growing skills!
Key Takeaways
- Ensure herbs receive 6-8 hours of natural light daily for optimal growth.
- Use a potting mix with peat moss, vermiculite, and perlite for proper aeration and moisture retention.
- Water herbs at the roots and adjust frequency based on plant needs.
- Regularly prune herbs to encourage bushier growth and overall plant health.
- Choose pots with effective drainage to prevent waterlogging and root rot.
Choose the Right Herbs
When you're selecting herbs for your indoor garden, focus on versatile options like basil, parsley, and thyme that you'll frequently use in your cooking. Herb selection should align with your culinary preferences, so ponder about the dishes you love to prepare.
If you often cook Italian meals, oregano and basil are must-haves. For fresh salads and garnishes, contemplate parsley and chives.
Indoor environments can be a bit tricky for some herbs, so it's crucial to choose varieties that can thrive with minimal sunlight. Basil, for example, loves bright light, but parsley and thyme are more forgiving and can do well with less.
Coriander and wild rocket also adapt well to indoor settings, making them excellent choices for your kitchen garden.
Don't forget to take into account the space you have available. A compact windowsill might limit you to just a few pots, while a spacious kitchen counter could accommodate a mini herb jungle.
Research the sunlight requirements of each herb to ensure they match the light conditions in your space. By focusing on your culinary preferences and the specific needs of your indoor environment, you'll create a thriving, useful herb garden.
Ensure Adequate Lighting
Ensuring your herbs get adequate lighting is essential for their growth and flavor. Place them in a sunny spot where they can soak up at least 6-8 hours of natural light each day.
If your kitchen lacks sufficient sunlight, don't hesitate to use artificial grow lights to keep your herbs thriving.
Natural Light Sources
To keep your kitchen herbs flourishing, make sure they soak up at least 6-8 hours of direct sunlight each day. Sunlight exposure is vital for plant growth, ensuring your herbs develop robustly and produce those delightful flavors you love.
Natural light isn't just important—it's a necessity for your herbs to thrive and maintain their rich, aromatic profiles.
Position your herb pots in a bright, sunny window where they can bask in natural light. South-facing windows are ideal, as they typically receive the most consistent sunlight throughout the day. Keep an eye on the sunlight patterns in your kitchen, and relocate your herbs if needed to maximize their exposure.
Without adequate natural light, your herbs might become leggy and weak, leading to less flavorful leaves. Proper lighting conditions enable photosynthesis, which is essential for strong growth and the production of essential oils that give herbs their distinctive tastes and aromas.
Artificial Light Options
For those moments when natural sunlight isn't enough, artificial light options like LED grow lights and CFL bulbs can keep your kitchen herbs thriving year-round. These lights are specially designed to mimic the sun's spectrum, ensuring your herbs get the light they need to flourish.
LED grow lights are a top choice for many indoor gardeners. They're energy-efficient options, consuming less power while providing ample light. When you compare LED lights to other types, you'll find that their long lifespan and low heat output make them a superior choice.
On the other hand, CFL bulbs are also effective and can be a more budget-friendly choice if you're just starting out. They may not last as long as LEDs, but they still offer a decent energy efficiency and effectiveness in promoting herb growth.
Using timed lights is important for maintaining consistent light exposure. Setting up a timer guarantees that your herbs receive 12-16 hours of light daily, simulating natural sunlight patterns.
When evaluating different light options, consider the initial cost versus the long-term benefits. While LEDs might require a higher upfront investment, their energy efficiency and durability make them worth it for year-round herb cultivation indoors.
Maintain Proper Temperature
To keep your kitchen herbs thriving, aim for temperatures between 18-21°C.
Be mindful of avoiding extreme temperature changes, as these can stress your plants and affect their growth.
Regularly monitor your indoor conditions to make sure they stay within this ideal range.
Ideal Temperature Range
Maintaining a consistent temperature of 18-21°C in your kitchen is vital for ensuring your herbs thrive and grow robustly. Effective temperature control within this range is essential for growth optimization.
When your kitchen environment stays within these ideal temperatures, your herbs are less likely to experience stress that can hinder their development. Temperature fluctuations outside this range can disrupt their growth patterns, making them more susceptible to wilting and disease.
To achieve this, consider placing a thermometer near your herb garden to monitor the temperature regularly.
If your kitchen tends to be on the cooler side, you might need to use a heat mat or place your herbs near a warmer location, like close to the stove (but not too close).
Conversely, if your kitchen gets too warm, make sure proper ventilation or use a fan to maintain a stable environment.
Avoid Temperature Extremes
Even though herbs can be surprisingly resilient, they thrive best when you avoid exposing them to temperature extremes that could disrupt their growth and health. Maintaining proper temperature control is vital for ensuring your herbs develop robustly. Most herbs flourish within a consistent temperature range of 18-21°C.
When temperatures fluctuate suddenly, it can stress your herbs, leading to a negative growth impact.
One of the primary issues with temperature extremes is that they can cause herb leaves to wilt or discolor. This is especially true if your herbs are exposed to drafts or direct heat sources like radiators or stoves. To combat this, make sure your herb garden is situated in a location where temperature control is easier to manage.
Avoid placing your herbs near windows that might experience cold drafts or direct sunlight that could overheat them.
Water Your Herbs Correctly
When you're watering your herbs, make sure the top inch of soil is dry to the touch to avoid overwatering and guarantee healthy growth. Important watering frequency is vital for maintaining the best soil moisture. Consistency is key—herbs like a steady supply of water, but they despise being waterlogged.
To prevent overwatering, use a watering can with a narrow spout to target the roots directly, avoiding the leaves. This helps in keeping the foliage dry and reduces the risk of fungal diseases. It's also a great idea to water in the morning, allowing any excess moisture to evaporate during the day.
Here's a quick guide to help you master the art of watering herbs:
- Check Soil Moisture: Always check the soil moisture before watering. If the top inch is dry, it's time to water.
- Targeting Roots: Direct water towards the base of the plant to ensure that roots get the hydration they need without wetting the leaves.
- Adjust Watering Frequency: Different herbs have different needs. Adjust your watering schedule based on the specific requirements of each herb and the environmental conditions.
These practices will help you keep your kitchen herb garden thriving, ensuring your herbs grow healthy and strong.
Use Quality Potting Soil
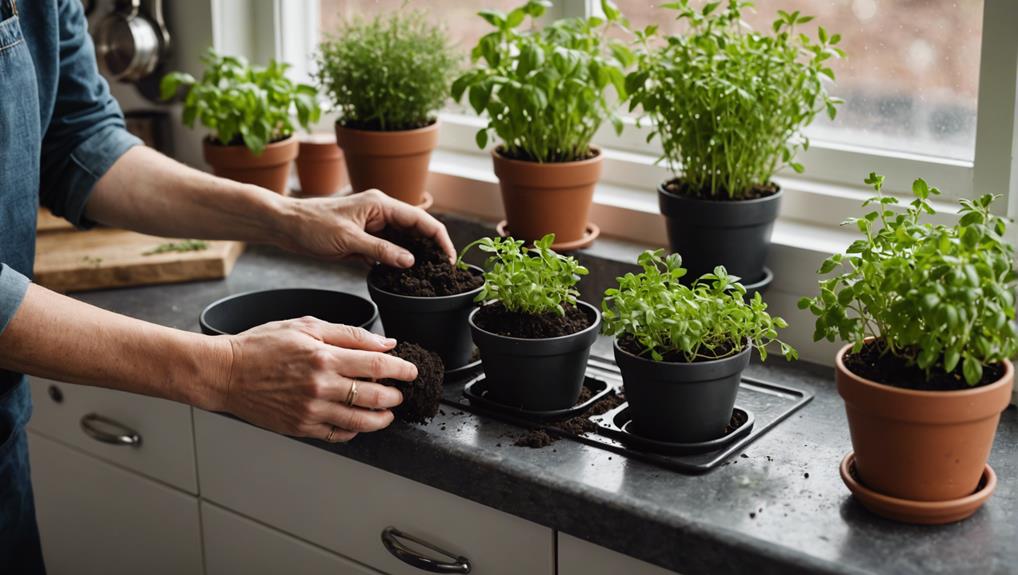
After mastering the art of watering, it's just as important to focus on using quality potting soil to guarantee your herbs receive the nutrients and aeration they need for robust growth. Quality potting soil is vital because it ensures proper soil composition and drainage, preventing waterlogging which can lead to root rot. Avoid heavy garden soil that may compact and suffocate herb roots, hindering their growth.
Look for potting soil specifically formulated for herbs. These mixes usually contain a blend of peat moss, vermiculite, and perlite, offering excellent aeration and moisture retention. This balance is key for fostering strong root development, which ultimately translates to vigorous herb growth and abundant harvests.
Consider the soil's pH levels and fertilization needs. Most herbs thrive in slightly acidic to neutral pH levels, around 6.0 to 7.0. Using soil with the right pH ensures that your herbs can absorb nutrients efficiently. Additionally, some specialty potting soils come pre-fertilized, providing your herbs with a nutrient boost right from the start.
Investing in quality potting soil might seem like a small detail, but it's a game-changer for the health and productivity of your kitchen herb garden.
Select Appropriate Pots
Selecting the right pots is essential for ensuring your kitchen herbs thrive, starting with choosing containers that have proper drainage holes to prevent waterlogging and root rot. Effective drainage solutions, such as adding stones or gravel at the bottom of your pots, are vital for maintaining healthy roots. Terracotta or ceramic pots are excellent choices, not only for their breathability but also for their appealing pot aesthetics.
When selecting pots, consider these key factors:
- Size and Material:
Choose pots with a suitable diameter to accommodate the root systems of your herbs. Materials like terracotta and ceramic offer excellent aeration and aesthetic appeal.
- Drainage Solutions:
Make sure your pots have drainage holes to prevent waterlogging. Enhancing drainage by placing stones or gravel at the bottom of the pots can further protect your herbs from root rot.
- Space-saving Options:
If countertop space is limited, explore hanging options or vertical growth solutions. Hanging baskets or vertical planters not only save space but also add a decorative touch to your kitchen.
Position for Good Airflow
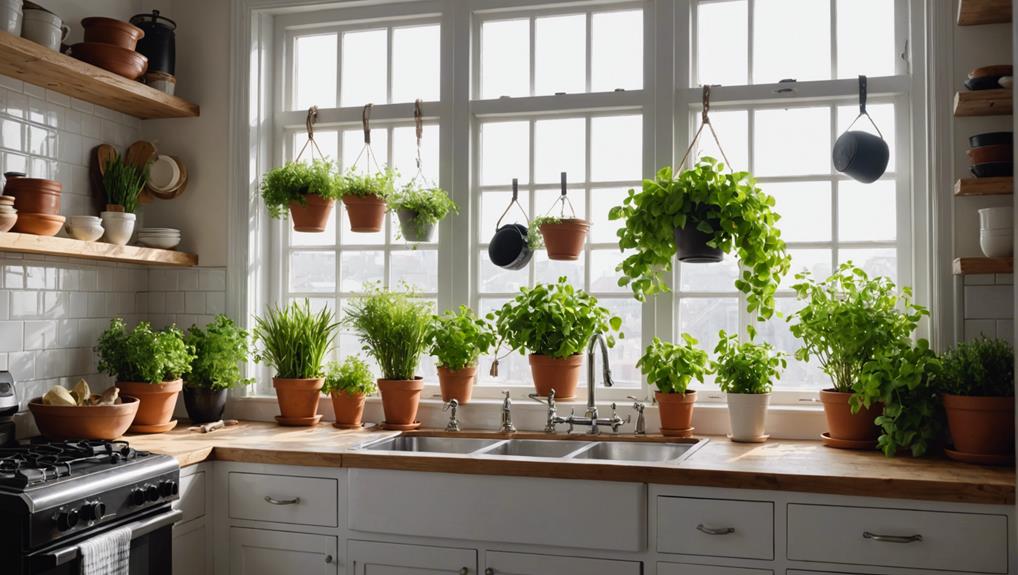
Ensuring your herbs have good airflow is vital for preventing fungal diseases and promoting robust growth. Proper airflow around your herbs not only reduces humidity levels but also helps in preventing pest infestations.
When you position your herb pots, make sure they're not crowded together. This spacing allows air to circulate freely, minimizing the risk of mold and mildew development.
One of the key airflow benefits is the reduction of humidity around your plants, which is important in an indoor environment like your kitchen. You can achieve this by placing your herbs near a window that you open regularly. If your kitchen lacks windows or good natural ventilation, consider using a small fan to keep the air moving around your plants.
Here are some practical ventilation tips: Avoid placing your herbs in corners or enclosed spaces where air tends to stagnate. Ensure there's enough distance between each pot to allow for adequate airflow.
Additionally, rotating your pots periodically can help expose all sides of the plants to fresh air, promoting even growth. By focusing on these airflow benefits, you'll create a healthier environment for your kitchen herb garden, making sure your plants thrive and produce abundant, flavorful leaves.
Regularly Prune Your Herbs
Regularly pruning your herbs is essential for encouraging bushier growth and maintaining their health. Pruning not only promotes the development of new leaves and stems but also helps you enjoy a continuous harvest.
One of the key pruning benefits is that it prevents herbs from flowering, which can often reduce the flavor and quality of the leaves. Additionally, removing dead or yellowing leaves through pruning can notably improve the plant's overall health.
To get the most out of your pruning efforts, keep these tips in mind:
- Pruning frequency: Regularly prune every few weeks to keep your plants in top shape. This encourages consistent growth and prevents legginess.
- Avoid common mistakes: Don't over prune. Signs of over pruning include stunted growth and a lack of new leaves. Always leave enough foliage for the plant to photosynthesize.
- Herb-specific techniques: Different herbs require different pruning methods. For example, basil benefits from pinching off the top set of leaves, while rosemary prefers trimming the outer stems.
Control Pests Naturally
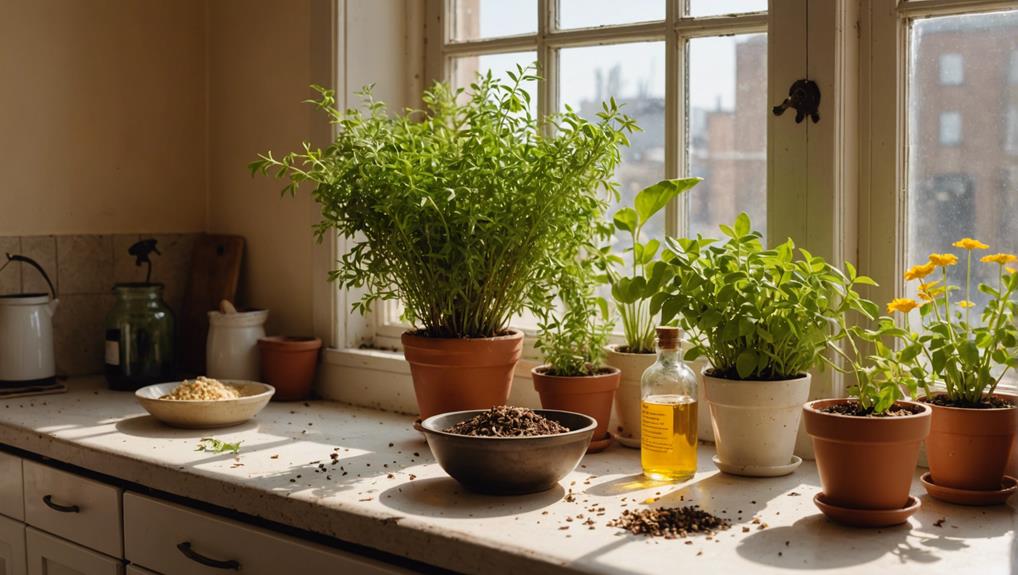
When it comes to controlling pests naturally, you've got several effective options at your fingertips. Homemade pest sprays, beneficial insect allies, and companion planting techniques can all help keep your herb garden thriving without chemicals.
Let's explore these methods to guarantee your herbs stay healthy and vibrant.
Homemade Pest Sprays
Creating homemade pest sprays with natural ingredients is a fantastic way to protect your kitchen herb garden while keeping it safe for you and the environment. These sprays use homemade repellent recipes and natural solutions that are both effective and easy to make. By incorporating DIY pest control into your gardening routine, you can enjoy organic options that are free from harmful chemicals.
To get started, consider these key ingredients for your homemade pest sprays:
- Neem Oil: Mix one tablespoon of neem oil with one teaspoon of liquid soap in one quart of water. This solution is excellent for controlling a wide range of pests and is safe for your herbs.
- Garlic & Onion: Blend one bulb of garlic and one small onion, mix with a quart of water, and let it sit for an hour. Strain and spray it on your plants to repel insects.
- Pepper Spray: Combine one tablespoon of cayenne pepper with a quart of water and a few drops of liquid soap. This mixture can deter many common pests.
Regularly applying these sprays can help prevent infestations, ensuring your herbs remain healthy and vibrant. Plus, they're cost-effective and eco-friendly, providing a chemical-free solution for your kitchen herb garden.
Beneficial Insect Allies
Harnessing the power of beneficial insect allies like ladybugs, lacewings, and parasitic wasps can transform your kitchen herb garden into a thriving, pest-free haven. These tiny heroes are nature's own pest prevention experts. Ladybugs devour aphids, lacewings feast on caterpillars, and parasitic wasps target harmful insects such as caterpillars and aphids.
To attract these beneficial insects, create a diverse garden ecosystem. Plant a variety of flowering plants that bloom at different times, ensuring a steady supply of nectar and pollen. Flowers like yarrow, dill, and fennel are particularly effective in drawing these allies.
Don't forget to provide a water source, such as a shallow dish with pebbles, to keep them hydrated. Avoid chemical pesticides, as they can harm these helpful insects and disrupt the balance of your garden ecosystem.
Companion Planting Techniques
Companion planting, an age-old gardening technique, lets you control pests naturally by strategically positioning herbs and vegetables to repel harmful insects and attract beneficial ones. By using these methods, you'll not only protect your plants but also enjoy the companion planting benefits that come with a healthier, more vibrant garden.
Here's how you can start:
- Basil and Tomatoes: Plant basil near tomatoes to repel pests like aphids and hornworms. This dynamic duo not only keeps the pests at bay but also enhances the flavor of your tomatoes.
- Marigolds with Herbs: Marigolds are a powerhouse in repelling nematodes and attracting beneficial insects. Plant them with your herbs to create a natural pest barrier and promote a thriving ecosystem.
- Mint around Cabbage: Mint can deter cabbage moths and ants. By planting mint around cabbage, you'll protect these vegetables while maximizing herb growth and enjoying fresh mint leaves for your culinary creations.
Additionally, intercropping herbs like chives with vegetables can confuse and repel pests, while rosemary planted near beans deters bean beetles and attracts pollinators.
Embrace these companion planting techniques to create a harmonious and pest-free kitchen garden!
Harvest and Enjoy
For the most flavorful results, harvest your herbs early in the morning when their essential oils are at their peak. Use sharp scissors or shears to make clean cuts, ensuring you don't damage the plant. Regular harvesting promotes growth and provides you with a constant supply for various culinary uses. Whether you're snipping basil for a fresh pesto or mint for an invigorating tea, timing and technique are key.
To preserve freshness, immediately wrap your harvested herbs in damp paper towels and store them in the refrigerator. This simple method helps retain their vibrant color and flavor. If you're storing cut herbs like parsley or cilantro in water, change the water daily to maintain their freshness.
For long-term storage, consider freezing herbs in oil or butter. This preserves their essential oils and makes them easy to use in cooking. Simply chop the herbs, mix them with oil or softened butter, and freeze in ice cube trays for convenient portions.
Here's a handy table to help you:
| Herb | Best Harvest Time | Storage Technique |
|---|---|---|
| Basil | Morning | Damp paper towel, fridge |
| Mint | Morning | Damp paper towel, fridge |
| Parsley | Morning | In water, change daily |
| Cilantro | Morning | In water, change daily |
Enjoy the burst of fresh flavors in your dishes by following these tips!
Frequently Asked Questions
What Herbs Are Good to Grow in the Kitchen?
You'll love growing basil, parsley, thyme, coriander, and chives in your kitchen. Use herb containers and make sure proper indoor lighting. Wild rocket, oregano, and mint also thrive indoors, adding fresh flavors to your culinary creations.
What Are the 10 Most Used Herbs?
The 10 most used herbs are basil, parsley, thyme, coriander, wild rocket, chives, oregano, dill, mint, and rosemary. Concentrate on these herb varieties and proper plant care to enhance your culinary creations.
What Are the 20 Commonly Used Herbs in the Kitchen?
You'll love using these 20 commonly used herbs in your herbal recipes: basil, parsley, thyme, coriander, wild rocket, chives, oregano, mint, dill, sage, rosemary, marjoram, tarragon, cilantro, bay leaves, lavender, lemongrass, fennel, garlic chives. For best herb storage, keep them cool and dry.
What Are the Best Herb Growing Tips?
Guarantee soil quality is excellent with well-draining containers. Provide optimal lighting conditions, at least 6 hours of sunlight daily. Water carefully to avoid overwatering. Prune regularly for bushier growth. You'll have thriving kitchen herbs!
Conclusion
You're all set to embark on the journey of transforming your kitchen into a flourishing herb haven. By selecting the right herbs, ensuring they receive adequate light, maintaining optimal temperature, and watering properly, you'll lay the foundation for success.
Remember to use high-quality potting soil, ensure good airflow, and regularly prune your herbs. Implementing natural pest control is crucial, and before you know it, you'll be harvesting and savoring your homegrown herbs.
Embrace the task with enthusiasm—your culinary creations will surely appreciate it!


Leave a Reply