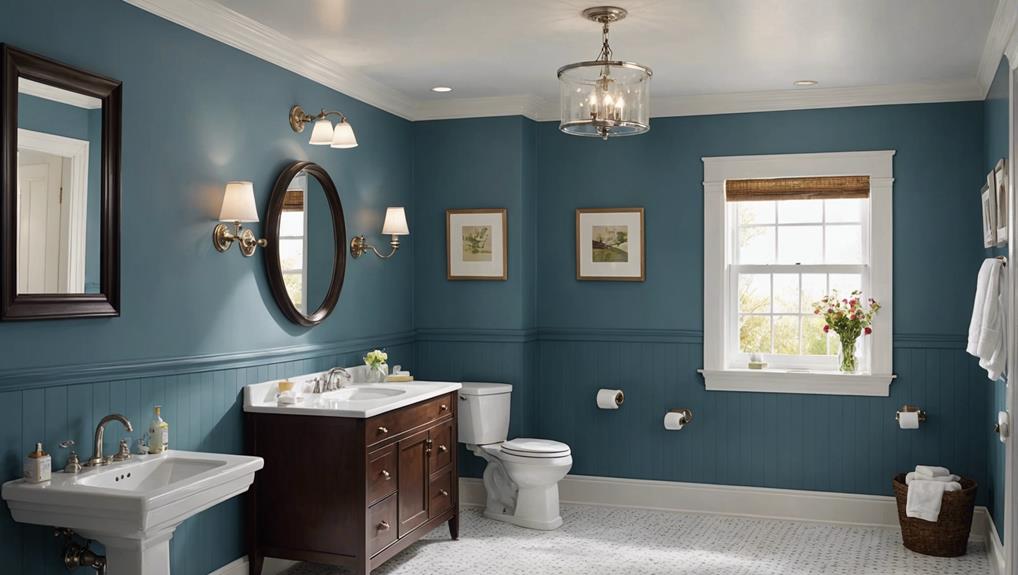
7 Tips for the Perfect Paint Finish on Your Bathroom Ceiling
Achieving a flawless paint finish on your bathroom ceiling involves critical steps. First, thoroughly clean and smooth the surface using sugar soap and sandpaper to eliminate imperfections. Opt for high-quality, moisture-resistant paint like satin or semi-gloss and always use a high-quality primer. Start by edging with a 2.5-inch angled brush, then switch to a high-quality roller for the main surface, applying multiple thin coats for even coverage. Allow proper drying time between coats to prevent drips. Make sure your workspace is well-ventilated to facilitate drying and avoid paint issues. Following these steps guarantees a professional finish you’ll learn more about.
Key Takeaways
- Thoroughly clean and inspect the ceiling surface before painting to ensure optimal adhesion.
- Use a high-quality primer to create a smooth base for the topcoat.
- Choose moisture-resistant paint with a satin or semi-gloss finish to prevent mold and peeling.
- Apply multiple thin coats, allowing proper drying time between each layer for even coverage.
- Use high-quality brushes and rollers to achieve a professional, streak-free finish.
Clean and Prepare the Surface
To achieve a professional paint finish on your bathroom ceiling, start by thoroughly cleaning the surface with a mixture of sugar soap and warm water to remove any dirt and grime. This step is vital for cleaning efficiency and ensuring surface protection. Once cleaned, allow the ceiling to dry completely. Any residual moisture can compromise paint adhesion, leading to peeling or bubbling.
Next, inspect the ceiling for any imperfections or flaking paint. Use sandpaper to smooth out these areas, ensuring a uniform surface. This prepainting prep will make a significant difference in the final appearance of your ceiling. Sanding not only removes imperfections but also helps the new paint adhere better, resulting in a longer-lasting finish.
Proper surface preparation is essential for achieving a smooth and professional look. Neglecting these steps can lead to unsatisfactory results, wasting both time and materials. By taking the time to clean and prepare your ceiling meticulously, you’ll ensure that the paint adheres well and the finish remains visually appealing for years.
In the world of painting, thorough prep work is non-negotiable and sets the foundation for success.
Choose the Right Paint
When selecting paint for your bathroom ceiling, prioritize high moisture area ceiling paint that’s mildew-resistant and moisture-resistant.
Opt for a satin or semi-gloss finish for best water resistance and durability.
Always use a high-quality primer to guarantee proper adhesion and vibrant color saturation.
Moisture-Resistant Properties
Choosing a high-quality bathroom ceiling paint formulated to resist moisture and humidity is essential for maintaining a pristine finish. When selecting the right paint, prioritize mold prevention and humidity resistance. These properties are critical in a bathroom environment where moisture is a constant concern. Look for paints specifically labeled as mildew-resistant and moisture-resistant. These formulations contain additives that inhibit mold growth, ensuring that your ceiling remains free from unsightly and potentially harmful mold.
Opt for a satin or semi-gloss finish as these finishes offer superior water resistance and are easier to clean. Satin and semi-gloss paints create a durable, washable surface that can withstand the frequent exposure to steam and water vapor typical in bathrooms.
Another excellent choice is acrylic eggshell paint. Known for its durability and moisture resistance, acrylic eggshell paint is particularly suited for bathroom ceilings, providing a long-lasting and aesthetically pleasing finish.
Investing in the right paint with moisture-resistant properties will help maintain the integrity and appearance of your bathroom ceiling over time. By choosing the correct paint, you can prevent common issues such as peeling, bubbling, and mold growth, ensuring a flawless finish that endures the test of time.
Color and Finish
Selecting the perfect paint color and finish for your bathroom ceiling not only enhances aesthetic appeal but also contributes greatly to moisture resistance and durability. When contemplating color selection, opt for lighter shades to maximize lighting effects and create an illusion of spaciousness. Light colors reflect more light, making the ceiling appear higher and the room more open.
For finish options, prioritize satin or semi-gloss finishes due to their reflective properties and resilience against moisture. These finishes aren’t only easier to clean but also better suited for high-humidity environments, guaranteeing your paint job lasts longer.
Here are some key points to bear in mind:
- Color Selection: Choose light colors to enhance lighting effects and create a sense of space.
- Finish Options: Satin or semi-gloss finishes are ideal for their reflective properties and moisture resistance.
- Mildew-Resistant Paint: Use mildew-resistant paint to shield against mold and mildew in humid conditions.
- Bathroom-Specific Paint: Select paint specifically labeled for bathrooms to make sure of durability.
Application Techniques
Applying the appropriate paint for your bathroom ceiling is essential for achieving a professional, long-lasting finish. Start by choosing a high-quality, moisture-resistant paint specifically formulated for bathroom ceilings. For top-notch water resistance and easy cleaning in high humidity environments, opt for a satin or semi-gloss finish.
Before you begin, consider using a primer to enhance adhesion and create a smoother surface. When applying the paint, use multiple thin coats rather than a single thick one. This technique guarantees an even and professional finish, minimizing the risk of drips and uneven coverage. Employ smooth, even strokes with a high-quality roller to achieve the best results.
Pay attention to drying times between coats, as rushing this step can lead to issues like bubbling or poor adhesion. If you encounter any problems, troubleshooting early can save you from extensive rework later.
For those seeking to add some character, consider using paint additives or opting for textured finishes. These can provide an additional layer of protection and aesthetic appeal.
Use Quality Tools
You’ll want to use high-quality brushes for cutting in around edges and corners, ensuring a crisp, clean finish.
Durable rollers, especially medium pile for textured surfaces, will provide even coverage and a professional look.
Don’t forget premium paint trays to maintain a consistent paint application throughout the project.
Choose the Right Brushes
Investing in high-quality paint brushes specifically designed for ceiling applications guarantees a smooth and professional finish for your bathroom ceiling. When selecting your tools, prioritize brushes that cater to your specific needs. Understanding brush types and proper brush technique is essential for achieving the best results.
- Brush Types: Opt for angled brushes for cutting in around edges and corners. These brushes provide precision and control, essential for a neat finish. Synthetic bristles are ideal for water-based paints, reducing the risk of brush marks.
- Proper Brush Technique: Utilize long, even strokes to apply paint uniformly. Start from one corner and work your way across the ceiling. Ensure each stroke overlaps slightly with the previous one to avoid streaks.
- Brush Maintenance: Clean your brushes immediately after use. Use warm, soapy water for water-based paints, ensuring all paint residue is removed. Proper brush care extends their lifespan and maintains performance.
- Brush Care: Store brushes in their original packaging or hang them bristle-side down to prevent bending. This practice preserves the brush shape and guarantees a consistent application for future projects.
Invest in Durable Rollers
When painting your bathroom ceiling, opt for high-quality rollers to achieve a smooth and even finish. Investing in durable rollers ensures they hold more paint, minimizing drips and splatters, which leads to a professional-looking result. Choose rollers designed specifically for smooth or textured surfaces, depending on your ceiling type.
A high-quality roller cover is essential to prevent shedding, which can disrupt the cleanliness of your painting process. Make sure you select the right roller nap thickness; this is vital for achieving the desired texture and coverage. For a smooth ceiling, a thinner nap (3/8 inch or less) works best, whereas a thicker nap (1/2 inch or more) suits textured surfaces.
Roller maintenance is key to prolonging their lifespan. After each painting session, engage in proper cleaning by thoroughly washing the roller cover with warm, soapy water and rinsing it until the water runs clear. This prevents paint build-up and preserves the roller’s effectiveness.
For roller storage, employ longevity techniques such as wrapping the roller in plastic wrap or placing it in an airtight container to keep it from drying out between uses. These steps ensure your tools remain in top condition for future projects.
Select Premium Paint Trays
Consistently achieving a flawless paint finish on your bathroom ceiling requires the use of premium paint trays designed for stability and efficiency. Investing in a high-quality paint tray can greatly enhance your painting experience by ensuring even paint distribution and minimizing paint spillage.
Here’s what you should look for:
- Durable Tray Material: Opt for trays constructed from metal or heavy-duty plastic. These materials offer longevity and withstand the rigors of frequent use, ensuring your tray doesn’t warp or crack over time.
- Deep Wells: Choose a tray with deep wells to hold more paint. This feature reduces the need for frequent refills, allowing you to maintain a steady painting pace without constant interruptions.
- Non-Slip Base: A non-slip base is essential for preventing accidents. It ensures the tray remains stable on various surfaces, reducing the risk of tipping over and causing paint spillage.
- Tray Maintenance: Easy-to-clean trays enhance tray upkeep. Look for designs that simplify the cleaning process, enabling you to maintain the tray’s condition and extend its lifespan.
Apply Primer
To guarantee excellent paint adhesion and a smooth finish, start by applying a high-quality primer specifically designed for bathroom environments. Primer benefits include sealing the surface, blocking stains, and enhancing paint adhesion, which are critical in a moisture-prone space like a bathroom. Without primer, you risk the paint peeling or staining over time. While there are alternatives, such as self-priming paints, a dedicated primer often yields superior results.
Application Tips:
- Use a brush for edges and a roller for the main surface.
- Apply in thin, even coats to avoid drips.
- Allow sufficient drying time between coats.
Common Mistakes:
- Skipping the primer step.
- Applying too thick a coat.
- Not allowing proper drying time.
| Primer Benefits | Alternatives | Common Mistakes |
|---|---|---|
| Seals the surface | Self-priming paints | Skipping primer |
| Blocks stains | Paint and primer in one | Too thick application |
| Enhances adhesion | Insufficient drying time | |
| Improves coverage | Uneven coat application | |
| Long-lasting finish | Using incorrect primer type |
Start From the Edges
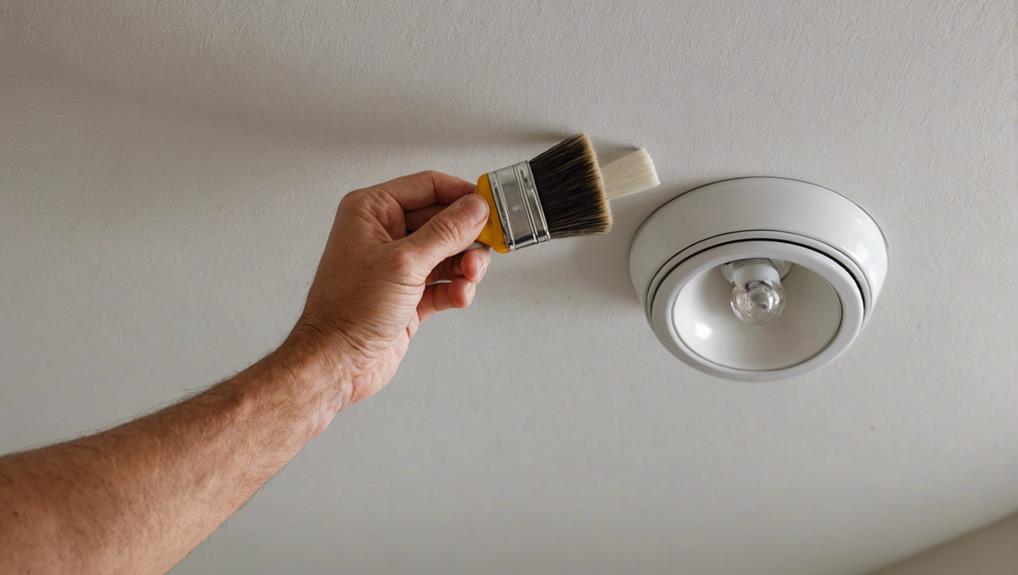
Beginning from the edges with a high-quality angled brush guarantees a sharp, clean line that sets the foundation for a flawless ceiling finish. This technique is essential for achieving a professional-grade outcome and maximizing your workflow.
To guarantee ideal results, follow these steps:
- Paint Selection: Choose a high-quality paint specifically formulated for bathrooms. This ensures durability and resistance to moisture.
- Precision Techniques: Use a 2.5-inch angled brush for better control and precision when cutting in around the edges. This minimizes drips and smudges.
- Time Management: Allocate enough time for this step. Rushing through the edges can compromise the entire project. Plan your schedule to allow meticulous attention to detail.
- Defined Borders: Carefully painting along the edges creates a defined border between the ceiling and walls. This not only enhances the room’s aesthetics but also simplifies subsequent steps.
Apply Multiple Coats
Applying multiple coats of paint on your bathroom ceiling guarantees superior coverage and a consistent, vibrant finish. Each coat should be thin and even, allowing it to dry completely before applying the next one. This method ensures smooth coverage and helps avoid drips or an uneven application. The process might seem time-consuming, but it’s crucial for achieving a professional-looking result.
Consider the following guideline to optimize your painting technique:
| Step | Action |
|---|---|
| 1. Preparation | Clean and prime the ceiling surface. |
| 2. First Coat | Apply a thin, even layer and let it dry completely. |
| 3. Second Coat | Apply another thin layer, ensuring smooth coverage. |
| 4. Final Coat | Inspect and apply a final coat for perfection. |
Applying multiple thin coats enhances the paint’s durability and longevity, particularly in a moisture-prone environment like a bathroom. This layering technique allows the paint to bond effectively with the surface, reducing the risk of peeling or blistering.
Using precision techniques and industry-standard tools, such as high-quality rollers and brushes, also contributes to an even application. Remember, patience and meticulousness in this step are key to a flawless ceiling finish. Don’t rush the drying process; each coat needs ample time to set properly before you proceed.
Ensure Proper Ventilation
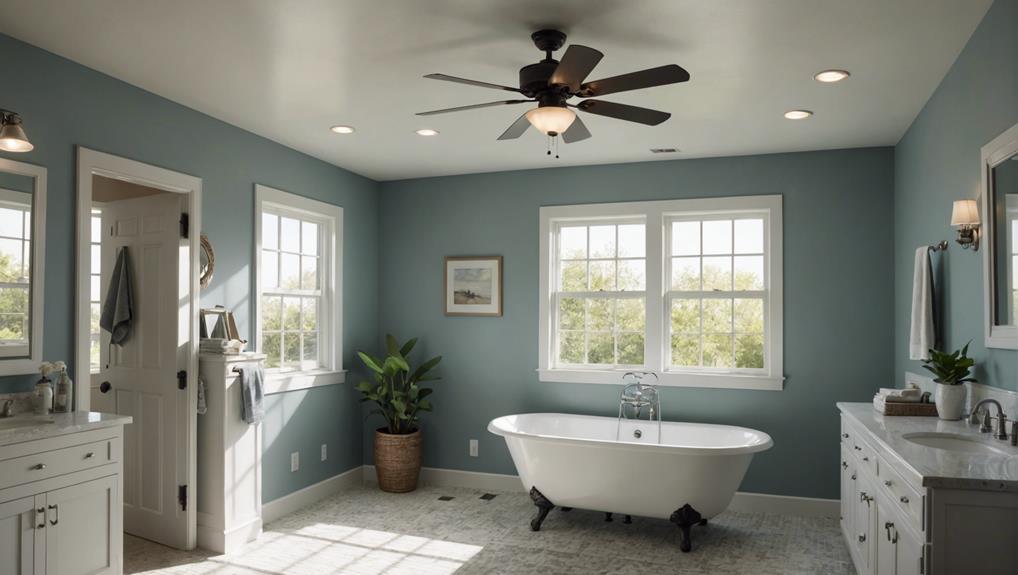
While applying multiple coats is essential for a smooth finish, maintaining proper ventilation in the bathroom is equally vital to prevent moisture-related paint issues. Proper ventilation maintenance and humidity control enable the paint to dry faster and more evenly, leading to a superior finish. Without adequate airflow, moisture buildup can cause paint peeling, bubbling, and even mold growth on the ceiling.
To maintain ideal ventilation, follow these technical recommendations:
- Install an Exhaust Fan: An exhaust fan is necessary for reducing humidity levels and preventing moisture buildup. Ensure it’s properly rated for your bathroom size.
- Open Windows: If your bathroom has windows, open them during and after painting to facilitate air circulation and expedite the drying process.
- Use a Dehumidifier: In bathrooms with poor ventilation, a dehumidifier can help maintain humidity control by removing excess moisture from the air.
- Regular Ventilation Maintenance: Clean exhaust fans and vents regularly to ensure they’re functioning efficiently, preventing mold and mildew growth.
These steps are pivotal not just during the painting process but also for maintaining the integrity of the paint and prolonging the life of your bathroom ceiling. Consistent ventilation maintenance ensures your ceiling remains pristine for years to come.
Frequently Asked Questions
What Is the Best Paint Finish for a Bathroom Ceiling?
For the most suitable paint finish on a bathroom ceiling, use eggshell for excellent humidity resistance and mold prevention. It’s durable, easy to clean, and balances moisture resistance with a slight sheen, unlike flat or matte finishes.
How to Properly Paint a Bathroom Ceiling?
To properly paint a bathroom ceiling, start with meticulous surface preparation—clean, fill cracks, sand smooth. Guarantee proper ventilation to expedite drying. Use moisture-resistant paint and apply multiple thin coats with high-quality brushes or rollers for best results.
Should Bathroom Ceilings Be Satin or Matt?
You should choose a satin finish for bathroom ceilings due to its superior light reflection and moisture resistance. Satin finishes offer a balance of durability and ease of cleaning, outperforming matt finishes in humid environments.
How to Stop Bathroom Ceiling Paint Peeling in the Uk?
To stop bathroom ceiling paint peeling in the UK, you’ll need effective humidity control and proper primer application. Use mould-resistant paint, guarantee good ventilation, and address any leaks. These steps will greatly prolong your paint’s lifespan.
Conclusion
By following these precision techniques, you’ll achieve a flawless paint finish on your bathroom ceiling.
Make sure you’ve thoroughly cleaned and prepped the surface, selected the appropriate paint, and used high-quality tools.
Don’t skip applying a primer and be meticulous with your edgework.
Multiple coats are essential, and always maintain proper ventilation.
With these industry-standard steps, your bathroom ceiling will boast a professional-grade finish, enhancing both aesthetics and durability.
Happy painting!
Leave a Reply