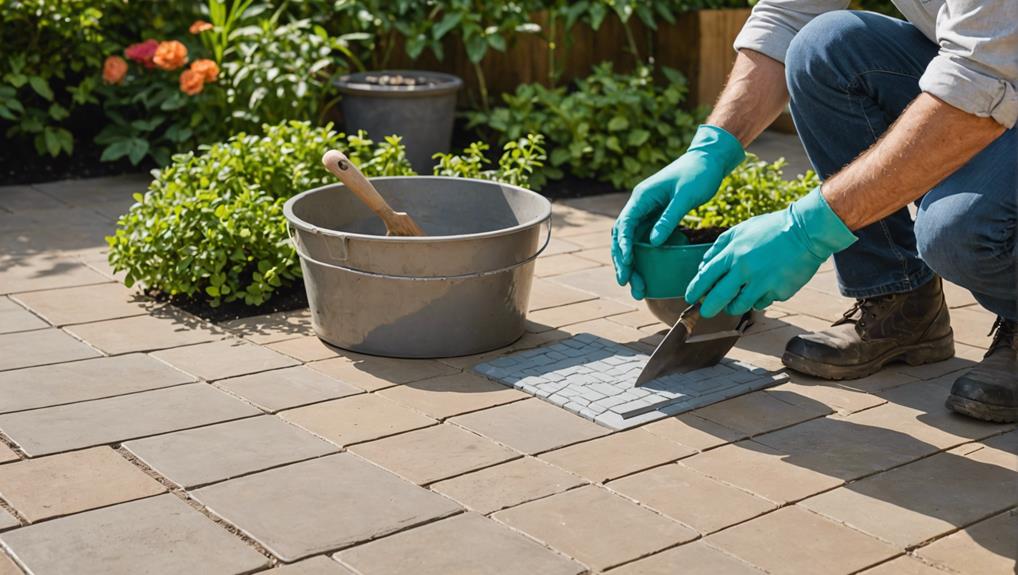
Outdoor Tile Mortar – Perfect Installation in 3 Steps
Achieving a flawless outdoor tile installation involves three critical steps. First, meticulous surface preparation guarantees stability and durability. Clean and level the surface using precision tools like spirit levels. Second, mix the mortar to the ideal water-to-mix ratio for best consistency and adhesion. Apply uniformly with a trowel, maintaining recommended thickness. Third, set the tiles onto the fresh mortar bed, using a notched trowel for even spread. Apply pressure for secure embedding and maintain uniform gaps between tiles. Allow the mortar to cure before grouting for a stable installation. Further details will optimize your process and results.
Key Takeaways
- Thoroughly clean and level the surface for optimal tile adhesion and stability.
- Mix mortar to the ideal consistency using a mixing paddle for smooth application.
- Apply mortar evenly with a notched trowel to ensure full tile coverage.
- Set tiles in fresh mortar, pressing firmly to ensure secure adhesion.
- Allow mortar to cure completely before grouting to ensure a stable installation.
Surface Preparation
Why is meticulous surface preparation crucial for guaranteeing the stability and durability of outdoor tile mortar installations?
The foundational aspect of any successful outdoor tile project is a well-prepared surface. The cleaning process is the first critical step, involving the removal of dust, dirt, and any contaminants that could compromise the mortar's adhesion and long-term performance. This process ensures that the bonding surface is pristine, facilitating ideal adherence between the mortar and the substrate.
In addition to cleaning, effective leveling techniques are paramount. The base must be level and compacted to prevent future tile movement or breakage. Addressing any cracks or uneven areas before mortar application is critical, as these imperfections can lead to structural weaknesses and potential failure of the installation. Employing precision tools such as spirit levels and straight edges ensures that the surface is uniformly flat.
The importance of these preparatory steps cannot be overstated. A meticulously prepared surface not only promotes the longevity and structural integrity of the tile installation but also sets the stage for a flawless finish. Therefore, investing time and effort in proper surface preparation is indispensable for ensuring a durable and aesthetically pleasing outdoor tile mortar installation.
Mixing and Applying Mortar
Achieving the ideal water-to-mix ratio is essential when preparing mortar for outdoor tile installations, as this guarantees proper consistency and adhesion. Start by following the manufacturer's guidelines precisely to avoid common issues related to mortar consistency, troubleshooting any deviations promptly.
Use a mixing paddle attachment on a power drill to blend the mortar thoroughly, ensuring a smooth and lump-free mixture. This uniformity is important for efficient application and long-lasting results.
To apply the mortar, utilize a trowel to spread it evenly across the substrate.
Here are some essential tips and tricks:
- Full Coverage: Make sure the mortar covers the entire back surface of the tile to prevent slippage and cracking over time.
- Proper Thickness: Adhere strictly to the recommended thickness as specified by the manufacturer to achieve the best bonding strength.
- Consistent Application: Apply the mortar in small sections, approximately 3-4 square feet at a time, to maintain workability and prevent the mortar from drying out before the tiles are set.
Setting the Tiles
To set the tiles correctly, begin by placing them onto the freshly applied mortar bed, making sure each tile is pressed firmly to eliminate air pockets and secure best adhesion. Utilize a notched trowel to spread the mortar evenly, creating a consistent thickness essential for proper tile alignment. This meticulous approach is important for establishing a durable and aesthetically pleasing outdoor surface.
After positioning each tile, apply consistent pressure to embed them thoroughly into the mortar. This process not only secures the tiles but also prevents potential future dislodgment. Maintaining a uniform gap between tiles is essential for achieving a professional finish. Tile spacers can be used to ensure these gaps are consistent, aiding in both tile alignment and the subsequent grouting process.
Allow the mortar to set and cure as per the manufacturer's guidelines before commencing with grouting techniques. This curing period is crucial for the longevity and integrity of the installation. Once the mortar has cured, grouting can be performed to fill the gaps between the tiles, further stabilizing the installation and providing a finished look. Adherence to these detailed steps ensures a resilient and visually appealing outdoor tile installation.
Frequently Asked Questions
What Is the 3/4/5 Rule for Tiling?
The 3/4/5 rule for tiling guarantees precise tiling angles and measuring squares by forming a right triangle with sides of 3, 4, and 5 feet. This geometric principle secures squareness and alignment, preventing misaligned tiles and ensuring professional results.
How to Lay Tiles on Outdoor Steps?
To lay tiles on outdoor steps, make sure the substrate is clean and dry. Apply weather-resistant mortar, align with a spirit level, and allow proper curing. Tile maintenance and weather considerations are essential for durability and safety.
How to Lay Down Tile Outside?
To lay down tile outside, begin with thorough surface preparation to guarantee stability. Apply outdoor tile mortar evenly, place tiles with consistent tile spacing using spacers, and allow mortar to cure before grouting for best results.
What Is the Best Mortar for Outdoor Tiles?
The best mortar for outdoor tiles is a rapid set flexible cement-based adhesive. It guarantees weather resistance and demands meticulous substrate preparation for peak adhesion, offering durability in various weather conditions and efficient installation.
Conclusion
Achieving an ideal outdoor tile installation necessitates meticulous adherence to three critical steps: surface preparation, mortar mixing, and application, and precise tile setting.
Properly preparing the surface guarantees a stable foundation, while accurately mixing and applying the mortar ensures strong adhesion.
Finally, setting the tiles with precision completes the process, resulting in a durable and aesthetically pleasing installation.
Mastery of these steps is crucial for guaranteeing the longevity and integrity of the tiled surface.


Leave a Reply