7 Essential Steps for Perfect Outdoor Tile Installation
Perfect outdoor tile installation necessitates precise execution across several steps. Start with thorough project planning, including power washing the patio and gathering materials. Choose the right tools like a notched trowel and tile saw. Mix mortar meticulously, ensuring a smooth consistency and proper water-to-mix ratio. Place tiles accurately using spacers, a chalk line, and checking for squareness. Employ cutting and corner solutions, favoring a diamond blade tile saw for precise cuts. Incorporate creative design elements for visual impact. Maintain tiles with regular and deep cleaning, using gentle products and applying sealant. Gain further insights into mastering each step seamlessly.
Key Takeaways
- Thoroughly clean and prepare the surface before starting the tile installation.
- Use a notched trowel to evenly apply mortar and ensure a solid bond.
- Employ tile spacers for uniform gaps and consistent grout lines.
- Precisely cut tiles with a tile saw for accurate fitting, especially around corners.
- Seal the tiles after installation to protect them from weather and wear.
Project Planning and Preparation
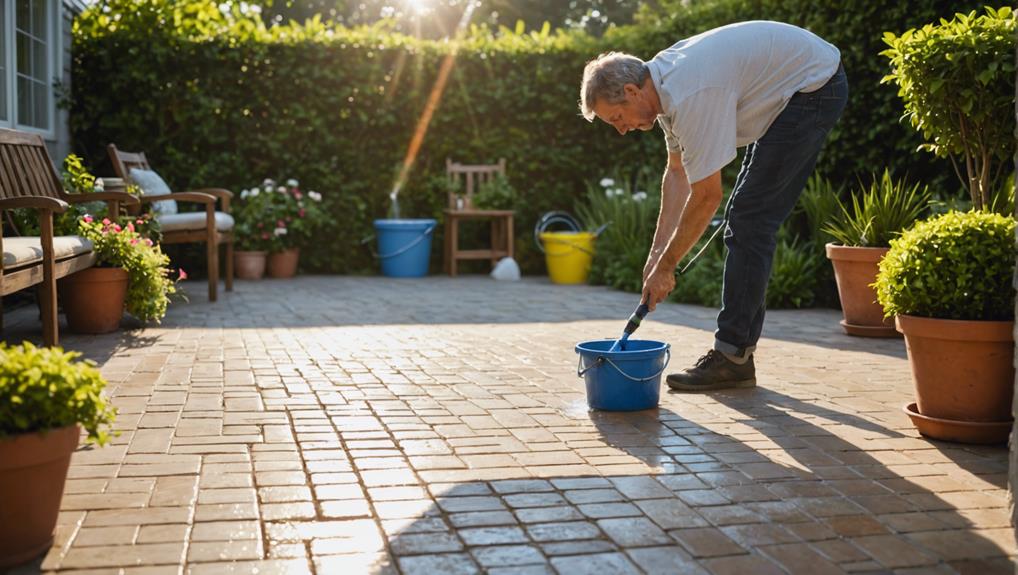
Begin the project by thoroughly power washing the patio to guarantee a clean and debris-free surface for tile installation. This important first step ensures that the tiles will adhere properly and achieve a long-lasting finish.
Once the surface is clean, assess the overall design inspiration for the project. Consider the aesthetic and functional goals, such as color schemes, tile patterns, and the intended use of the space to create a cohesive plan.
Next, establish a clear project timeline. A detailed schedule will help manage the workflow efficiently and avoid unnecessary delays. Allocate specific time frames for each phase, from surface preparation and layout planning to tile cutting and final grouting. This timeline should also factor in time for any unforeseen issues that might arise.
Before proceeding, gather all necessary materials and tools. Ensure that items such as tiles, mortar, grout, and essential tools are readily available. Proper preparation is key to maintaining a smooth and successful project.
Mixing the mortar correctly is also crucial; add water to the dry mix, stir for 4-5 minutes, and let it sit for 10 minutes before use. Following these steps will set a solid foundation for the tile installation process.
Choosing the Right Tools
Selecting the appropriate tools for outdoor tile installation is essential to ensuring both the precision and efficiency of the project. Proper tool selection not only contributes to the quality of the work but also impacts the durability and longevity of the installation. Key tools for this task include a trowel for applying mortar, a tile saw for precise cutting, a hammer drill for mixing mortar, a grout float for even grout application, and a sponge for cleaning excess grout.
Investing in quality tools or considering equipment rental can make a significant difference in the outcome of your project. For one-time or DIY installations, renting tools can be a cost-effective alternative that provides access to high-quality, professional-grade equipment without the high upfront costs.
- Mortar Application: Use a notched trowel to ensure even and precise application of mortar, which is essential for tile adhesion.
- Tile Cutting: A tile saw is important for achieving clean and accurate cuts, essential for fitting tiles around edges and obstacles.
- Grout Application: A grout float and sponge are necessary for applying and cleaning grout, ensuring a smooth and professional finish.
Proper Mortar Mixing
Proper mortar mixing is a critical step in guaranteeing the longevity and durability of outdoor tile installations. Achieving the right consistency involves adding water to the dry mix and stirring for 4-5 minutes until a smooth, lump-free texture is obtained. It's essential to adhere to the correct water-to-mix ratio to secure the bonding strength and durability of the mortar.
Once the mortar reaches the desired consistency, let it sit for approximately 10 minutes. This resting period allows the ingredients to bond effectively, enhancing the mortar's adhesion properties. The table below provides a quick reference guide for proper mortar mixing:
| Step | Time | Key Action |
|---|---|---|
| Mixing | 4-5 mins | Stir until smooth |
| Resting | 10 mins | Allow ingredients to bond |
| Application | Immediate | Evenly spread on surface |
| Troubleshooting | As needed | Adjust water/mix ratio |
For best results, work the mortar into the grooves of the surface evenly before placing the tiles. This technique ensures maximum adhesion and a robust foundation. If issues arise, such as inconsistent texture or premature drying, refer to the troubleshooting section to adjust the water-to-mix ratio accordingly. Properly mixed mortar provides a resilient base capable of withstanding diverse weather conditions, thereby ensuring the long-term success of your outdoor tile project.
Tile Placement Techniques
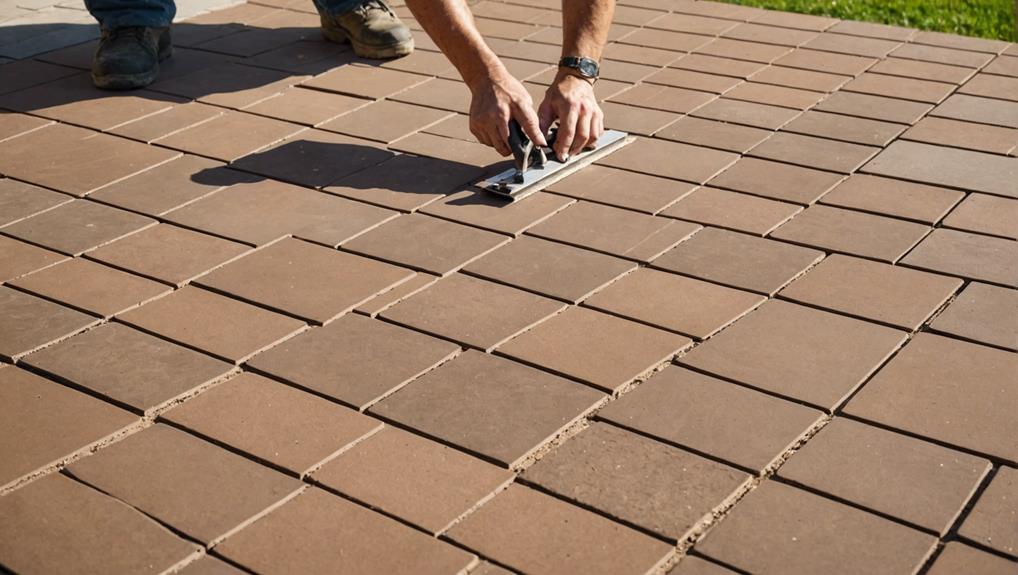
In the process of outdoor tile installation, precise alignment of tiles is essential for achieving a professional finish. Utilize tile spacers to guarantee uniform gaps, which are vital for both aesthetic consistency and accommodating expansion.
Employ tools such as a chalk line or laser level to guide accurate placement throughout the installation.
Aligning Tiles Precisely
Achieving precise alignment in tile placement begins with utilizing tile spacers to maintain uniform gaps between each tile. This essential step guarantees consistency, which is vital for both aesthetic appeal and functional integrity.
Before securing tiles, conduct a dry layout to plan their positioning and check for squareness by measuring the diagonals. Employ a straight edge or level to confirm the alignment of tiles in both horizontal and vertical directions, adjusting as necessary to achieve a symmetrical pattern.
Here are some detailed techniques to ensure accurate tile placement:
- Tile Spacers: Use tile spacers consistently to keep gaps even, facilitating a flawless grout line. This aids in applying grouting tips and waterproof sealants effectively.
- Dry Layout: Strategize your tile placement with a dry layout to visualize the final look and make necessary adjustments. Integrate tile edge finishes and accommodate outdoor lighting integration.
- Check for Squareness: Measure the diagonals of your layout to confirm it is square. This step ensures symmetry and precision before securing the tiles permanently.
Spacing for Expansion
Ensuring adequate spacing for expansion is important for accommodating temperature fluctuations and preventing tile damage. Proper expansion control is essential in outdoor tile installations, as tiles are subjected to various temperature considerations that can cause them to expand and contract. Leaving a 1/8 inch gap between tiles allows for this natural expansion and contraction, thereby minimizing the risk of buckling or cracking over time.
To maintain consistent spacing, follow these guidelines:
| Aspect | Recommendation |
|---|---|
| Gap Size | 1/8 inch |
| Spacing Consistency | Uniform spacing throughout the installation |
| Manufacturer Recommendations | Adhere to specific tile spacing requirements |
| Prevention of Tile Damage | Allows for expansion and contraction |
Adhering to these parameters ensures that the tiles have enough room to expand and contract without causing undue stress on the installation. Uniform spacing throughout the project is important for a professional finish and long-term durability. It's also critical to adhere to any specific manufacturer recommendations for tile spacing, as different materials may have unique expansion control needs. Paying close attention to these details guarantees a robust and aesthetically pleasing outdoor tile installation that withstands the test of time and varying temperature conditions.
Using Tile Spacers
Tile spacers are essential tools for achieving precise and uniform spacing between tiles, guaranteeing a professional and durable outdoor tile installation. By maintaining consistent grout line spacing, tile spacers help prevent shifting during the installation process, ultimately contributing to an efficient installation. These tools come in various sizes, making them adaptable to different tile layouts and designs, from intricate patterns to straightforward grid arrangements.
To utilize tile spacers effectively, place them at each corner of the tile as you lay them down. This technique ensures that the tiles remain perfectly aligned and that the grout lines are straight and even. Proper use of spacers not only simplifies the installation process but also enhances the overall aesthetic of the finished project.
- Consistent Grout Lines: Spacers maintain uniform grout line spacing, resulting in a polished and professional appearance.
- Prevent Tile Movement: They keep tiles securely in place during installation, reducing the risk of misalignment.
- Ease of Use: Tile spacers are easy to insert and remove, facilitating efficient installation and enabling seamless spacer removal during the finishing touches.
Cutting and Corner Solutions

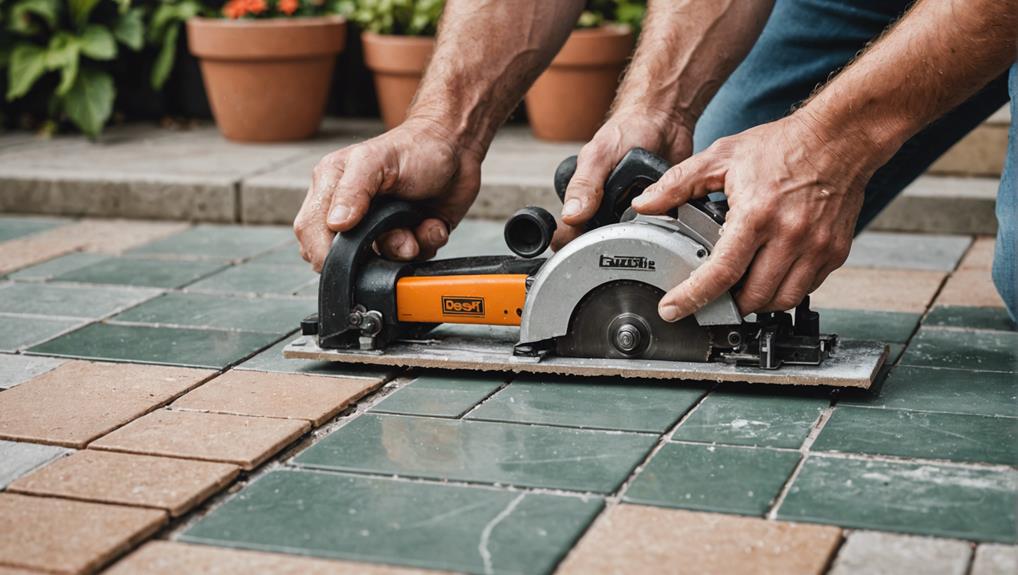
Achieving smooth corner changes in outdoor tile installation requires precision cutting techniques using a tile saw to notch precise angles. Accurate cuts guarantee edge pieces fit snugly into corners, eliminating gaps for a cohesive finish.
Proper planning and execution in cutting tiles contribute greatly to both the aesthetics and functionality of the installation.
Precision Cutting Techniques
Using a tile saw equipped with a diamond blade is essential for achieving precise cuts in outdoor tile installations. This tool guarantees cutting accuracy, which is vital for maintaining tight patterns and a polished finish.
When dealing with corner solutions, careful attention to detail is paramount. Notching out corners with a saw ensures a clean and accurate fit, enhancing the overall aesthetics of the installation.
To guarantee professional results, follow these key precision cutting techniques:
- Mark cut lines clearly: Use a grease pencil or a professional tile marker to outline the exact areas to be cut. This ensures that all cuts are made precisely where needed, avoiding costly mistakes.
- Use a guide: Employ a straight edge or a tile guide to maintain straight cuts. This is particularly important for edge pieces to maintain a seamless and professional look.
- Adjust for corner cuts: For corner solutions, measure and mark carefully before cutting. Consider making a template for complex angles to ensure a perfect fit.
Following these techniques will help achieve a flawless outdoor tile installation, characterized by meticulous cutting accuracy and well-executed corner solutions.
Seamless Corner Transitions
For seamless corner changes in outdoor tile installations, meticulous cutting and precise corner solutions are crucial to guarantee a cohesive and visually appealing finish. Achieving a smooth finish requires the use of a tile saw to make accurate cuts, ensuring flawless edges that smoothly blend into the overall design. Corner cutting is particularly crucial as it prevents gaps and uneven edges, which can detract from the professional results desired in any outdoor tiling project.
To facilitate flawless edges and a cohesive layout, notch out the corners of the tiles with a saw. This approach ensures a clean and tight fit, maintaining the integrity of the design. Accurate cutting of edge pieces is essential, as it contributes to a polished and professional look. Precision in each cut is key; even minor deviations can result in noticeable flaws in the final installation.
Here is a summary of the essential steps for seamless corner changes:
| Step | Tool Required | Key Benefit |
|---|---|---|
| Precise Tile Cutting | Tile Saw | Smooth finish |
| Notching Corners | Tile Saw | Flawless edges |
| Accurate Edge Cutting | Measurement Tools | Professional results |
| Ensuring Tight Fit | Tile Saw | Cohesive and visually appealing layout |
Taking the time to execute these steps with precision ensures a smooth finish and professional results in your outdoor tile installation.
Creative Design Elements
Incorporating creative design elements such as contrasting colors, varied tile sizes, and intricate patterns can greatly enhance the visual appeal and sophistication of your outdoor tile installation. Achieving a harmonious blend of color coordination and design cohesion is essential. By thoughtfully selecting contrasting yet complementary colors, you can add depth and interest to your outdoor space. Integrating different tile sizes and patterns, such as herringbone or chevron, further enhances the aesthetic appeal, creating a dynamic and unique design.
Outdoor tile accents and border options play an important role in defining and enhancing the overall look of the tiled area. Accents can be strategically used to highlight certain areas or features, while borders can provide a clean and polished finish. Mixing materials, such as porcelain and natural stone, introduces a stunning juxtaposition that modernizes the space.
- Color coordination and design cohesion: Make sure that the colors and patterns complement each other for a seamless look.
- Outdoor tile accents and border options: Use accents and borders to define spaces and add elegance.
- Varied tile sizes and intricate patterns: Employ different sizes and patterns to create a visually engaging and sophisticated outdoor area.
Cleaning and Maintenance

Maintaining the pristine condition of outdoor tiles involves regular cleaning, periodic deep cleaning, and timely repairs to prevent long-term damage.
Begin by sweeping or rinsing outdoor tiles frequently to remove dirt, leaves, and debris that could lead to staining or abrasion. Use a gentle cleaner specifically designed for outdoor tile materials to make sure the surface remains unscathed while effectively removing contaminants.
For a more thorough cleaning, employ a pressure washer on a low setting to avoid damaging the tiles and grout.
Regular application of a high-quality sealant is essential to shield the tiles from stains, moisture infiltration, and UV damage, thereby preserving both the tile and grout color options.
Inspect the tiles periodically for any signs of cracks or other forms of damage. Promptly addressing these issues will prevent them from exacerbating and potentially necessitating more extensive repairs.
Additionally, make sure that proper water drainage solutions are in place to avoid water accumulation, which can lead to mildew growth and structural damage.
Frequently Asked Questions
What Is the Best Way to Lay Outdoor Tiles?
The best way to lay outdoor tiles involves guaranteeing a solid base, using appropriate tile adhesives, and considering weather conditions. Properly mix and apply mortar, utilize correct tools for alignment, and perform regular maintenance to secure durability.
What Steps Are Necessary When Laying Tile?
To lay tile effectively, begin with thorough surface preparation, ensuring it is clean and level. Utilize proper tile spacing with spacers for uniform gaps. Select appropriate adhesive and tools, and allow mortar to cure before grouting and sealing.
What Is the 3/4/5 Rule for Tiling?
The 3/4/5 rule in tiling guarantees right angles and accurate tile spacing. By measuring 3 feet along one wall, 4 feet along the adjacent wall, and adjusting until the diagonal is 5 feet, perfect 90-degree angles are achieved.
How to Put Tile on Outdoor Steps?
To install tile on outdoor steps, prioritize weather resistance by using outdoor-rated adhesive and grout. Emphasize slip prevention by selecting textured tiles and applying a sealant. Regular maintenance is essential for sustained durability and safety.
Conclusion
The successful installation of outdoor tiles depends on meticulous planning. The selection of appropriate tools, accurate mortar mixing, and precise tile placement techniques are crucial elements.
Additionally, effective cutting and corner solutions, incorporation of creative design elements, and diligent cleaning and maintenance practices are imperative.
Adhering to these seven essential steps guarantees a durable and aesthetically pleasing outdoor tiled surface. It will be capable of withstanding environmental factors while enhancing the overall visual appeal of the space.


Leave a Reply