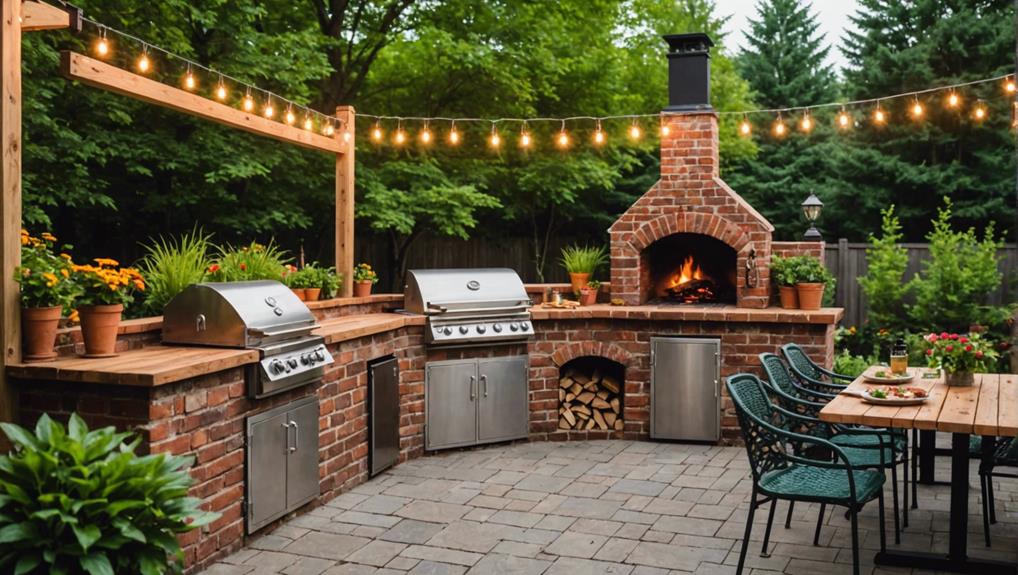
DIY Ideas for an Outdoor Kitchen: Step-by-Step Guide
To create a DIY outdoor kitchen, first evaluate your space, location, and safety needs. Design a functional layout incorporating essentials like a grill, sink, and refrigerator while using weather-resistant materials. Construct a stable frame with pressure-treated lumber and reinforce it with top-grade plywood. Waterproof the structure and secure it for durability. Install durable countertops, ensuring they are well-supported, and arrange appliances for convenience. Carefully connect utilities for lighting, gas, and plumbing. Finish with a protective sealant, ambient lighting, and personalize with decor. Regular maintenance is key to longevity and peak performance. Explore further to master each critical step.
Key Takeaways
- Evaluate space, location, and exposure to design a functional, adaptable outdoor kitchen layout.
- Construct a stable frame using pressure-treated lumber and galvanized screws for durability.
- Select weather-resistant materials like granite or stainless steel for countertops and appliances.
- Connect utilities carefully, ensuring proper installation for lighting, gas, and plumbing.
- Apply weather-resistant sealant and incorporate personalized decor elements for aesthetics and longevity.
Planning Your Outdoor Kitchen
When planning your outdoor kitchen, it is essential to meticulously evaluate factors such as space, location, exposure, and safety distance to guarantee a functional and secure setup. Begin by evaluating the available space and determining an ideal location that is both convenient and complies with safety regulations. Ensuring appropriate exposure to elements like wind and sunlight will enhance comfort and longevity.
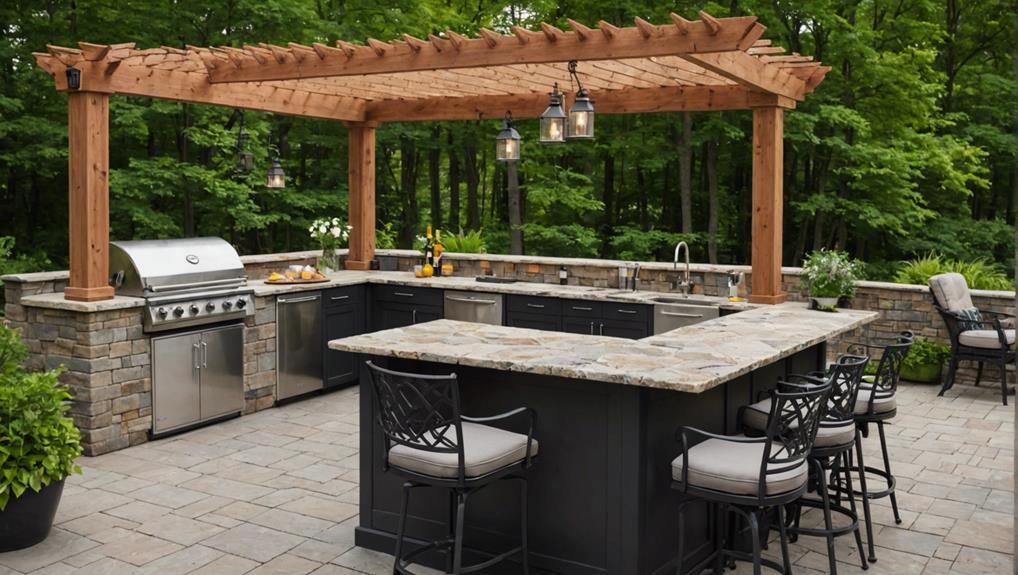
Incorporating outdoor seating and lighting options is necessary for creating a cohesive and enjoyable outdoor cooking environment. Consider a variety of seating arrangements, such as bar stools around a counter or a dining table with comfortable chairs, to accommodate different social settings and culinary activities.
Lighting options should be strategically placed to ensure both functionality and ambiance. Task lighting, such as under-cabinet lights and overhead fixtures, is important for cooking and prep areas to maintain visibility and safety. Ambient lighting, including string lights or lanterns, adds a welcoming atmosphere for evening gatherings.
Additionally, careful consideration of safety distances, especially around cooking appliances, is paramount. Ensuring adequate space between grills, prep areas, and seating minimizes risks and enhances workflow efficiency. Thorough planning at this stage lays the foundation for a successful and enjoyable outdoor kitchen experience.
Designing the Layout
When designing the layout of your outdoor kitchen, it is essential to optimize available space by strategically placing key appliances such as grills, sinks, and refrigerators. Carefully consider the traffic flow to guarantee ease of movement and functionality, particularly around cooking and prep areas.
Additionally, plan the layout to harmonize with the existing outdoor environment, accounting for sun exposure, privacy, and safety considerations.
Optimizing Available Space
Designing an effective layout for your outdoor kitchen involves strategic space planning to guarantee maximum functionality and flow. Space utilization and organization are paramount, ensuring every square foot is purposefully allocated.
Begin by evaluating the size and shape of your outdoor area to determine the most efficient layout. Position cooking, prep, and serving areas in a logical sequence to streamline operations and minimize unnecessary movement.
Leverage built-in features by using corners and walls to install grills, sinks, and countertops. This maximizes available space and contributes to a cohesive design. Creative storage solutions such as built-in cabinets and shelves are essential for maintaining order and accessibility, while also enhancing functionality.
Incorporate flexible elements, such as movable carts or tables, to adapt the layout for various uses or events. This adaptability is essential for accommodating different group sizes and activities without compromising the overall efficiency of the space.
Ensure sufficient room for appliances, seating, and traffic flow to avoid congestion and facilitate a comfortable cooking and dining experience. By thoughtfully integrating these elements, you can create an outdoor kitchen that is not only aesthetically pleasing but also highly functional and versatile.
Selecting Key Appliances
Selecting the key appliances for your outdoor kitchen requires careful consideration of functionality, durability, and integration into the overall design layout. Start by evaluating the size and type of grill that best suits your cooking preferences. Built-in gas, charcoal, or hybrid grills offer varying benefits; your choice should align with your culinary needs and available space.
Proper appliance placement is crucial to guarantee ease of use and efficient workflow. Incorporating a sink enhances food preparation and cleanup. Choose from drop-in, under-mount, or farmhouse styles based on aesthetic preferences and practical needs. Additionally, an outdoor refrigerator or cooler is essential for keeping beverages and perishables cold. Opt for energy efficient options to minimize electricity consumption and ensure the longevity of your appliances.
Countertop space is another critical element. Materials like granite, concrete, or tile not only provide durability but also complement the outdoor aesthetic. Ensure sufficient workspace for meal preparation, serving, and seating.
Integrating modern technology, such as smart appliances, can streamline maintenance and enhance the overall functionality of your outdoor kitchen. By meticulously planning these elements, you can create a well-organized and efficient outdoor cooking environment.
Considering Traffic Flow
After determining the key appliances, it is vital to take into account the traffic flow within your outdoor kitchen to guarantee an efficient and enjoyable cooking experience. Traffic flow management is essential to make sure that both hosts and guests can move seamlessly through the space without disruption.
A well-designed layout should facilitate easy access to cooking, prep, and serving areas while also considering outdoor decor to create an inviting atmosphere.
Strategically plan the arrangement of your appliances, storage, and seating to enhance functionality. Incorporate clear pathways and designated zones to minimize congestion and enable smooth movement.
Separate areas for cooking, dining, and lounging will optimize both efficiency and comfort, contributing to a more enjoyable experience for everyone involved.
- Cooking Zone: Position your grill, stove, and other cooking appliances in a central area to streamline food preparation.
- Prep Area: Ensure that countertops and prep spaces are adjacent to cooking zones for quick and easy access.
- Serving Zone: Locate serving stations near dining areas to facilitate effortless guest interaction and outdoor entertainment.
- Pathways: Designate clear, unobstructed pathways to connect different zones, enhancing traffic flow management and preventing bottlenecks.
Choosing Materials
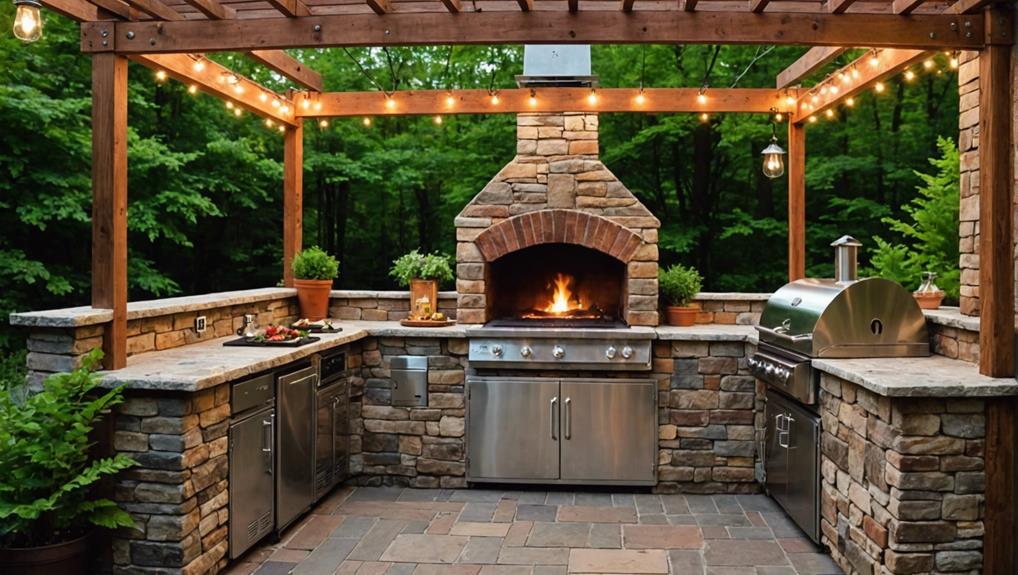
When crafting an outdoor kitchen, it is important to select weather-resistant materials like stainless steel, treated wood, or stone veneer to guarantee durability and longevity. Material durability and aesthetic appeal should be top priorities, as these materials need to not only withstand the elements but also enhance the overall look of your outdoor space.
Stainless steel is exceptionally resistant to rust and corrosion, making it a prime choice for cabinetry and appliances. Its sleek, modern appearance also adds a touch of elegance.
Treated wood offers a classic, natural aesthetic while providing enhanced weather resistance and low maintenance characteristics. Treated wood is specially processed to resist rot, insects, and moisture-related damage, ensuring that your outdoor kitchen remains sturdy and visually pleasing over time.
Stone veneer, on the other hand, combines robust material durability with an earthy, rustic appeal, making it ideal for countertops and backsplashes.
Selecting materials that are easy to clean and resistant to stains is equally important. Stainless steel and stone veneer naturally repel dirt and grime, while treated wood can be sealed for additional protection.
Considering your location's climate and environment will further ensure that your chosen materials can withstand seasonal changes, providing a hassle-free outdoor kitchen experience.
Building the Frame
To construct a reliable and durable frame for your outdoor kitchen, start by using pressure-treated 2x4s and plywood to guarantee structural integrity and longevity. Pressure-treated lumber is vital for outdoor applications as it is resistant to moisture and pests. Begin by laying out the base frame, making sure it is level and square to provide a stable base for the entire structure.
Corner posts and stretchers are essential components that contribute to frame stability. Corner posts serve as the vertical supports, while stretchers connect these posts horizontally, distributing weight evenly and preventing deformation. The use of high-quality plywood as part of your material selection further enhances the frame's strength and resilience.
When assembling the frame, it is crucial to ensure precise cuts and secure connections. Use galvanized screws or bolts to join the lumber, which offers better resistance to rust compared to standard fasteners.
Make sure the frame is perfectly level to avoid any structural issues later.
Double-check all measurements to maintain frame stability.
Use corner braces for added support in high-stress areas.
Verify the frame is square using a carpenter's square.
Adding Sheathing
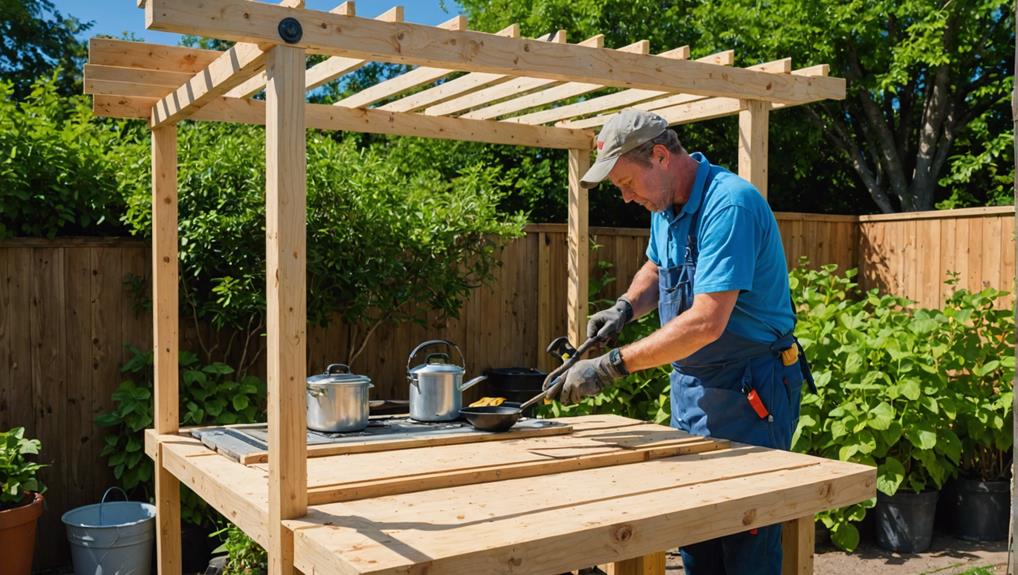
When adding sheathing to your outdoor kitchen, it is imperative to select high-quality plywood panels that offer both durability and ease of installation. Adhering to best practices during installation, such as ensuring proper alignment and secure fastening, will reinforce the structural integrity of the frame.
This foundational step is critical for providing a stable surface for subsequent layers, including wire lath and mortar for stone veneer.
Selecting Sheathing Materials
Selecting the appropriate sheathing materials is important for ensuring the durability and structural integrity of an outdoor kitchen frame. Plywood panels are a popular choice due to their robustness and ease of installation. These panels provide a stable base for applying wire lath and mortar, which are essential for stone veneer installation.
When selecting sheathing materials, consider the following:
- Waterproofing techniques: Ensure the plywood is treated with waterproofing solutions to prevent moisture damage.
- Cost-effective options: Plywood offers an affordable yet durable option compared to other sheathing materials.
- Maintenance considerations: Choose materials that require minimal upkeep to maintain their integrity over time.
- Eco-friendly choices: Opt for sustainably sourced plywood to minimize environmental impact.
Plywood panels must be securely fastened to the frame to guarantee stability and support for subsequent layers. Proper attachment of wire lath over the plywood is important as it creates a strong surface for the mortar, ensuring the stone veneer adheres effectively.
Prioritizing the right sheathing materials not only enhances the structural soundness of your outdoor kitchen but also contributes to its longevity and aesthetic appeal.
Installation Best Practices
Proper installation of sheathing is vital for ensuring the structural integrity and longevity of your outdoor kitchen. Utilizing plywood panels as the sheathing material offers durability and ease of installation, making it an excellent choice. Begin by securely attaching the plywood panels to the outdoor kitchen frame, taking care to align and fasten each panel appropriately to avoid any structural weaknesses.
To enhance sheathing waterproofing, consider applying a waterproof membrane over the plywood before proceeding. This step is essential for protecting the structure from moisture infiltration, which can lead to deterioration over time. Effective sheathing waterproofing techniques include using liquid-applied membranes or self-adhesive waterproofing sheets, both of which provide a strong barrier against moisture.
Next, affix a wire lath over the plywood sheathing. This lath serves as an important intermediary layer that helps the mortar adhere effectively. Once the wire lath is securely in place, apply a scratch coat of mortar. This coat should be thin and rough, providing an excellent surface for the final stone veneer application.
Sheathing maintenance is paramount to preserving the benefits of a well-constructed outdoor kitchen. Regular inspections and prompt repairs of any damage will sustain the structure's durability and aesthetics, ensuring long-term satisfaction.
Installing Countertops
Accurately measuring and cutting countertops to fit the exact dimensions of your outdoor kitchen is vital for achieving a professional and durable installation. Begin by selecting robust materials such as granite, concrete, or stainless steel, which are known for their resilience in outdoor environments. These materials offer various countertop finishes, from polished to matte, allowing you to customize the aesthetic to match your design preferences.
Make sure that the countertops are adequately supported and leveled to prevent sagging or uneven surfaces. Install sturdy brackets or frames to maintain structural integrity over time. Sealing the countertops is an important step to protect against weathering and to extend their lifespan. A high-quality sealant will guard against moisture, UV rays, and staining.
Consider incorporating a backsplash, which not only enhances the kitchen's visual appeal but also facilitates easier cleanup by preventing spills and splashes from reaching the walls.
Adhering to these guidelines will ensure a functional and aesthetically pleasing outdoor kitchen.
Key Points:
- Durable Materials: Choose granite, concrete, or stainless steel for longevity.
- Support and Leveling: Use sturdy brackets or frames to ensure stability.
- Sealing: Apply a high-quality sealant for protection against elements.
- Backsplash: Add for aesthetic enhancement and easier maintenance.
Applying Stone Veneer
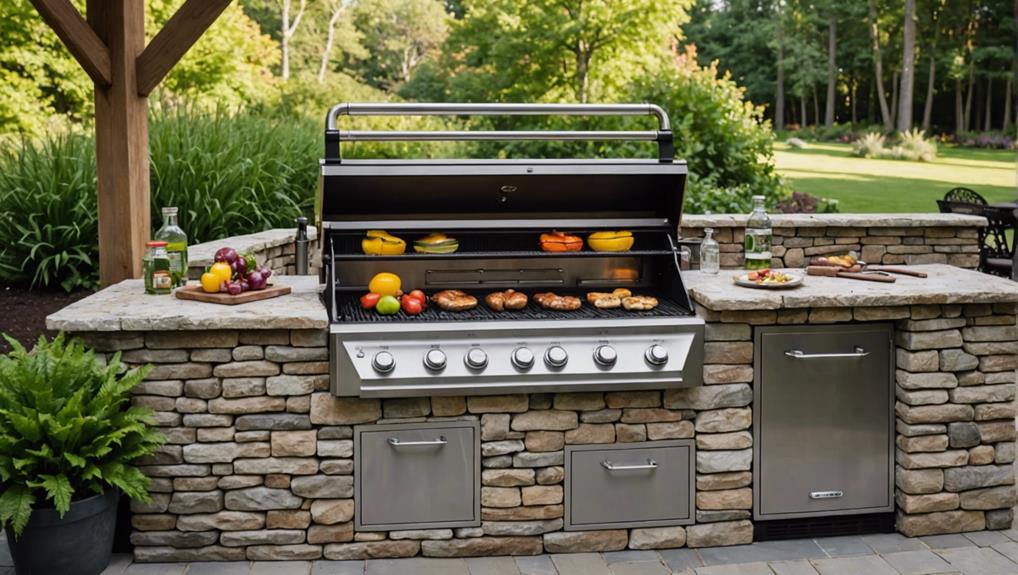
Applying stone veneer to your outdoor kitchen involves meticulous preparation and execution to achieve a durable and visually appealing finish. Begin by selecting the appropriate stone veneer; this decision impacts both aesthetics and functionality. Stone selection should consider color, texture, and compatibility with the overall design. Once selected, organize the stones into piles based on size and shape to facilitate efficient organization during installation.
The next step is the proper preparation of the surface. Secure a wire lath to the substrate and apply a scratch coat of mortar. This provides a textured surface that enhances the mortar application and guarantees a strong bond. Allow the scratch coat to cure as per manufacturer's instructions.
When ready, apply mortar to the back of each stone, a technique known as back-buttering, to ensure secure bonding to the scratch coat. Press each stone firmly into place, maintaining consistent pressure to achieve a uniform attachment. As you work, continuously check the alignment to maintain an even and aesthetically pleasing look.
After the installation, allow the stone veneer to set for at least 24 hours before proceeding with any further steps. This curing time is essential for securing the veneer's durability and longevity.
Setting Up Appliances
Selecting and positioning the right appliances is essential to ensuring both functionality and efficiency in your outdoor kitchen setup. Begin by choosing appropriate appliances such as a built-in grill, sink, outdoor refrigerator, and ample countertop space.
Proper appliance positioning is vital for effective ventilation, which helps manage smoke and odors. Positioning the grill in a well-ventilated area will prevent smoke buildup and improve air quality.
Weatherproof durability is another critical factor in selecting outdoor kitchen appliances. Opt for appliances specifically designed for outdoor use to withstand the elements, such as stainless steel finishes that resist rust and corrosion. Make sure that each appliance is strategically placed to facilitate easy access and efficient workflow.
Consider the following when setting up your appliances:
- Built-in grill: Place in a location with adequate ventilation to disperse smoke and heat.
- Outdoor refrigerator: Position in a shaded area to maintain energy efficiency and extend its lifespan.
- Sink: Locate near the prep area to streamline food preparation and cleanup.
- Countertop space: Ensure sufficient space around cooking and prep areas for convenience.
Connecting Utilities
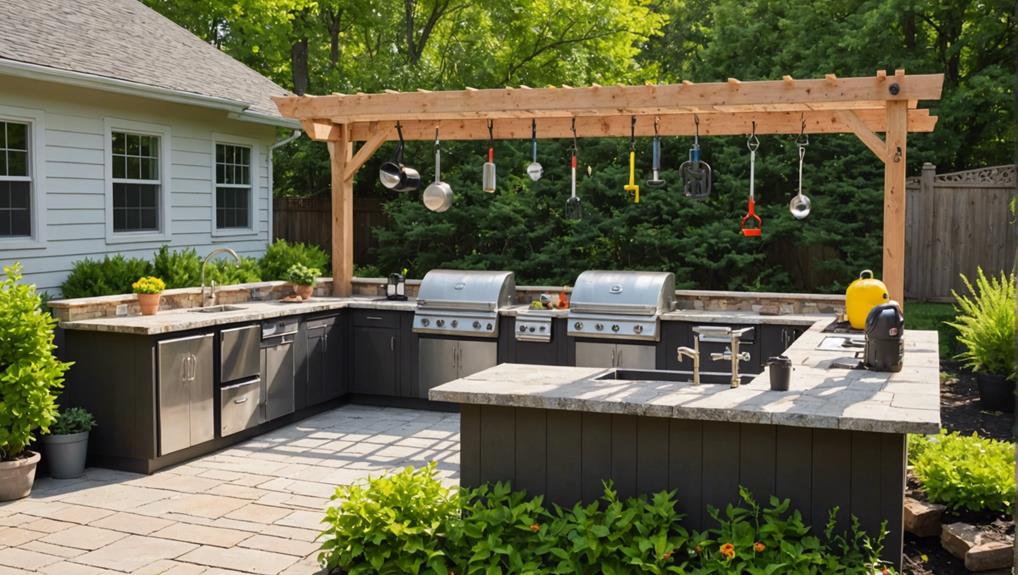
Properly connecting utilities is essential for the safe and efficient operation of your outdoor kitchen. Ensuring the seamless integration of electrical wiring, gas lines, and plumbing systems is a critical step in your build process.
For electrical wiring, plan meticulously to accommodate outdoor lighting, appliances, and outlets. This includes using weather-resistant materials to prevent electrical hazards and making sure all connections are secure and compliant with local building codes.
When it comes to gas lines, whether for propane or natural gas, safety is paramount. Installations should be performed by a licensed professional to guarantee adherence to safety regulations and to prevent potential gas leaks. This is particularly important for connecting grills, ovens, and other gas-powered appliances, where improper installation can lead to dangerous conditions.
Equally significant is the plumbing setup, which requires careful planning for both supply and waste. Installing a sink or outdoor faucet necessitates a reliable water supply line, while a proper drainage system is crucial to avoid water accumulation and potential damage.
Ensuring that all utility lines are securely connected and free from leaks is essential for the longevity and functionality of your outdoor kitchen. Always verify that all installations meet local codes and standards to ensure a safe cooking environment.
Finishing Touches
Improving your outdoor kitchen with finishing touches not only enhances its aesthetic appeal but also guarantees its durability and functionality. Begin by applying a weather-resistant sealant to all exposed surfaces. This protective layer is essential for preventing damage from the elements and extending the lifespan of your installation.
Next, consider various lighting options to enhance both the ambiance and usability of your outdoor kitchen during evening hours. LED strip lights, solar-powered fixtures, and pendant lights are excellent choices for creating a welcoming atmosphere.
Incorporate outdoor decor to personalize and beautify your space. Decorative elements such as potted plants, outdoor art, and hanging lights not only add charm but also make the area more inviting.
Regular maintenance and cleaning are essential to ensure your outdoor kitchen remains in top condition. Implementing a routine for cleaning grills, countertops, and storage areas will prolong their functionality and appearance.
Finally, for safety and peace of mind, ensure a fire extinguisher is readily accessible. This precaution is crucial for quickly addressing any unexpected emergencies.
These steps will greatly enhance both the practicality and visual appeal of your outdoor kitchen.
Frequently Asked Questions
How to Build an Outdoor Kitchen Step by Step?
To build an outdoor kitchen, start with a frame of weatherproof materials like pressure-treated wood. Sheathe with plywood, apply a scratch coat, and set stone veneer. Confirm proper appliance placement, then install fixtures after 24 hours.
How to Design an Outdoor Kitchen on a Budget?
To design an outdoor kitchen on a budget, utilize budget materials like reclaimed wood and concrete countertops, and follow design tips such as simplifying the layout. Prioritize durable materials and essential features while seeking second-hand or discounted appliances.
How to Build an Outdoor Kitchen in the Uk?
To construct an outdoor kitchen in the UK, prioritize weather considerations by selecting durable materials like stainless steel, stone, or weather-resistant wood. Guarantee proper drainage and waterproofing to mitigate damage from frequent rainfall.
Is It Cheaper to Build Your Own Outdoor Kitchen?
Yes, it is generally cheaper to build your own outdoor kitchen. Cost comparison reveals significant savings, particularly through self-labor and strategic material sourcing, allowing personalized, high-quality construction within a budget of $500 to $5,000.
Conclusion
The meticulous execution of an outdoor kitchen involves careful planning, precise designing of the layout, and the selection of durable materials.
The construction process includes the building of a robust frame, application of sheathing, and the installation of stone veneer.
Proper setup of appliances and seamless connection of utilities are critical.
The final touches complete the project, ensuring functionality and aesthetic appeal.
Adherence to detailed steps guarantees a durable and visually pleasing outdoor culinary space.
Leave a Reply