Building an Outdoor Covered Patio Attached to Your House in 3 Essential Steps
Start by planning your patio. Evaluate size, style, location, and materials, and sketch a detailed design. Conduct a sun exposure analysis for best placement. Next, gather materials and tools. Select high-quality lumber, screws, and a post hole digger. Guarantee a sturdy ladder and group tools by function for smooth assembly. During installation, secure anchors and column brackets to your house's exterior framework. Attach header beams for support and install columns securely. Verify that columns are plumb and stable. Master these steps to create a functional and attractive outdoor space, and uncover additional tips for a flawless build.
Key Takeaways
- Conduct a sun exposure analysis to determine the optimal placement for the patio.
- Secure anchors and column brackets to the house's framework using exterior-grade bolts.
- Build and attach header beams to the column brackets ensuring level placement and structural support.
- Use pressure-treated lumber, weather-resistant fabric, and rust-resistant metal for durability.
- Ensure all columns are plumb and stable during installation for a solid foundation.
Plan and Design
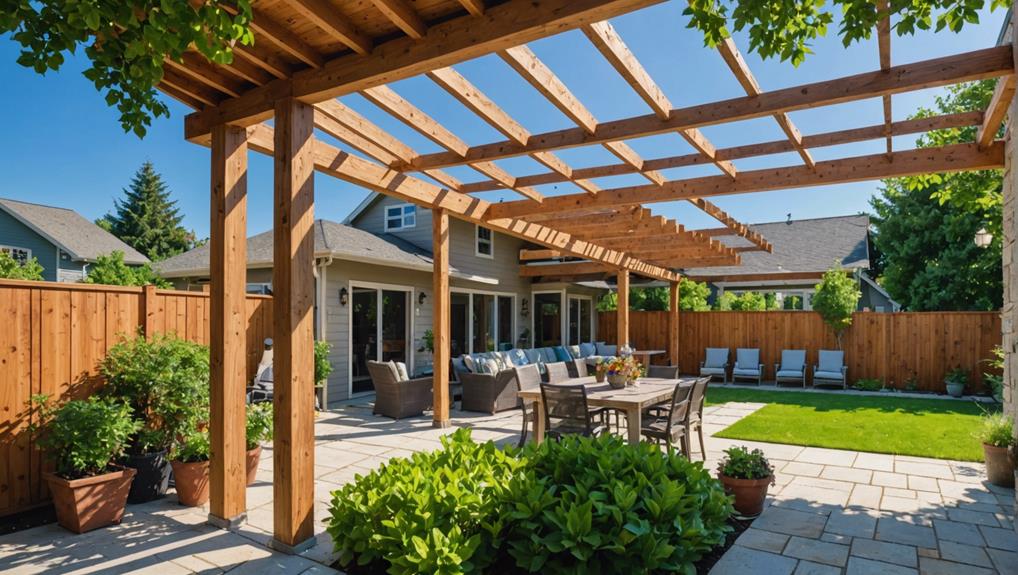
When planning and designing an outdoor covered patio, you'll need to evaluate factors such as size, style, and materials to guarantee a functional and aesthetically pleasing result.
Start by conducting a thorough location selection. Assess potential spots around your house, considering existing structures and the intended use of the patio.
Next, perform a detailed sun exposure analysis. Observe how the sun moves across your yard throughout the day and year. This will help you determine the best placement to maximize or minimize sunlight, depending on your needs. For instance, if you want a shaded area during hot afternoons, choose a location with minimal direct sun exposure.
Once you've pinpointed the location, sketch out a detailed design plan. Include precise dimensions, roof slope, and any additional features like skylights or curtains. Make sure your design aligns with building codes and regulations by consulting with a professional or using reliable online resources.
Choosing the right materials is essential. Opt for pressure-treated lumber for the frame, weather-resistant fabric for any coverings, and rust-resistant metal for durability.
Gather Materials and Tools
To effectively gather materials and tools for your outdoor covered patio project, start by compiling a thorough checklist that includes essentials like a saw, drill, level, hammer, tape measure, and ladder. Material selection is vital, making sure that you use high-quality lumber, screws, brackets, and roofing materials. Don't overlook the concrete for your foundation, which will require additional tools such as a post hole digger, mixing tub, and wheelbarrow.
- Select high-quality lumber and screws for durability.
- Use a post hole digger for precise foundation work.
- Be sure you have a sturdy ladder for safe access.
When planning for tool organization, group your tools by their function to streamline the construction process. Store all cutting tools together, like your saw and drill, and keep measuring tools such as your tape measure and level in one accessible spot. This organization will help you work more efficiently and reduce the time spent looking for specific tools.
Bear in mind the size and weight of the materials to ensure they're manageable during construction. Proper material selection and tool organization are crucial steps to guarantee the structural integrity and longevity of your patio cover.
Installation Process
Start the installation process by securing the patio cover's anchors and column brackets to your house's exterior framework. Use appropriate anchoring methods and attachment techniques to guarantee a solid connection. Drill pilot holes, then insert the anchors, making sure they're flush with the surface. Attach the column brackets firmly, using bolts designed for exterior use, to support the weight of the patio cover.
Next, build the header beams. Attach them to the column brackets and verify they're level. These beams provide critical structural support, so double-check all measurements and connections. Structural considerations are paramount; use beams that can handle the anticipated load and are treated to resist weather elements.
Install the columns next. Position them into the column brackets, securing them with bolts. Verify they're plumb and stable, as they add both support and aesthetic value. Properly aligned columns will distribute the load evenly.
Frequently Asked Questions
Can You Build a Patio Cover Attached to House?
Yes, you can construct a patio cover attached to your house. You'll need to secure building permits and carefully consider material selection to guarantee structural integrity and compliance with local building codes. Always consult regulations beforehand.
What Are the Steps to Building a Patio?
To build a patio, you'll select durable materials like stone or concrete. Plan proper drainage to avoid water pooling. Excavate the area, lay a stable base, and then set your patio materials precisely, ensuring level alignment.
What Do You Call a Covered Patio Attached to a House?
You call a covered patio attached to a house a 'patio cover' or 'attached pergola.' Roof types include gable, flat, and hip roofs. Material options range from wood and aluminum to vinyl, each offering unique benefits.
How Do You Build a Covered Patio Area?
To construct a covered patio area, begin by verifying permit requirements. Utilize durable materials like pressure-treated lumber and weather-resistant fabrics. Guarantee proper alignment, stability, and contemplate material selection for longevity and aesthetics.
Conclusion
By following these crucial steps, you'll successfully build an outdoor covered patio attached to your house.
Start with a thorough plan and design to guarantee your patio meets your needs.
Gather all necessary materials and tools beforehand, avoiding any delays.
Finally, execute the installation meticulously, adhering to best practices and safety guidelines.
With careful attention to detail, you'll create a functional and aesthetically pleasing outdoor space that enhances your home's value and usability.


Leave a Reply