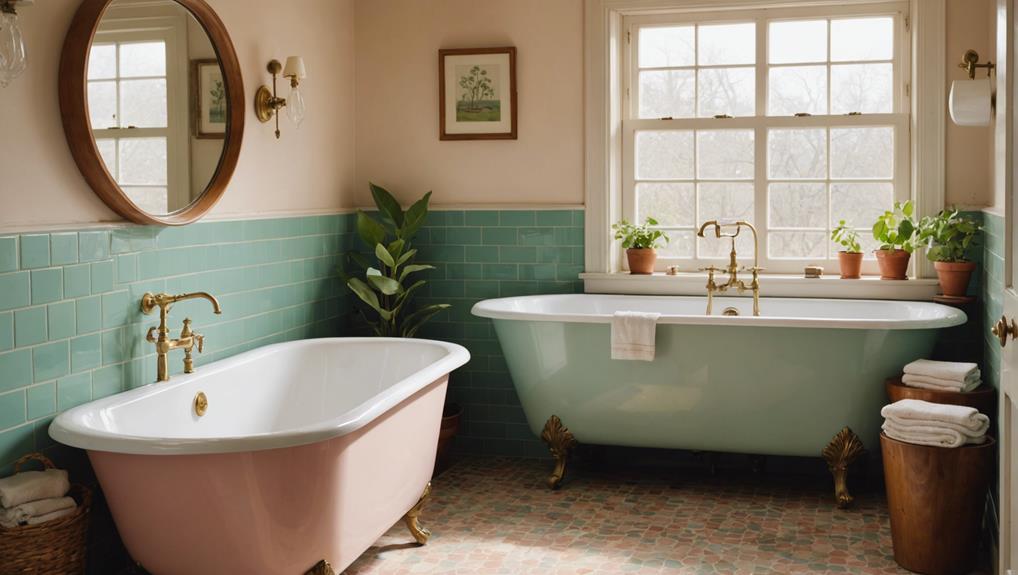
Restoring an Original Mid-Century Bathroom – A Step-by-Step Guide
Evaluating an original mid-century bathroom involves a meticulous process balancing preservation and modernization. Begin by evaluating the current space, noting features like dark wood shutters or white tile floors. Set a realistic budget, prioritizing essential upgrades and allocating for surprises. Research key mid-century elements, such as clean lines and minimalist designs, to inform your design plan. Carefully select materials and fixtures that embody the era's aesthetic, like granite tiles and circular accents. Update plumbing and lighting with modern efficiencies while retaining vintage charm. Finish with mid-century decor and strategic geometric patterns. Discover how each step integrates for authentic restoration success.
Key Takeaways
- Identify and preserve key mid-century features such as clean lines, minimalist silhouettes, and geometric patterns.
- Replace outdated plumbing fixtures with modern, water-efficient options while maintaining mid-century style.
- Use bold geometric wallpaper and circular elements for a balanced and cohesive aesthetic.
- Refinish or replace wood cabinetry to enhance functionality and maintain period-specific charm.
- Incorporate vintage lighting fixtures and hardware to blend timeless design with modern functionality.
Assessing the Current Bathroom
The initial evaluation of the current bathroom revealed a mix of charming mid-century features, such as dark wood shutters and white tile floors, juxtaposed with dated light fixtures and wood cabinetry in need of renewal. A thorough review of the layout identified opportunities for space optimization, important for enhancing both functionality and aesthetic appeal.
Upon removing the dark wood shutters, unexpected challenges emerged, including mold growth and a hole concealed behind the wallpaper. Mold remediation became a priority to guarantee a healthy environment and prevent further structural damage. Addressing these hidden issues required immediate attention, necessitating a careful balance between preserving the bathroom's original character and modernizing its components.
Space optimization strategies were integral to the renovation plan. This involved reconfiguring the placement of fixtures and storage solutions to maximize usability without compromising the mid-century design ethos. The goal was to maintain the bathroom's distinct style while introducing updated elements that enhanced convenience and visual harmony.
Setting a Budget
Setting a realistic budget is vital to the success of your mid-century bathroom restoration. Begin by estimating the total project cost, accounting for materials, labor, and a contingency fund of 10-20% to address any unexpected expenses.
Prioritize essential renovations over aesthetic enhancements to guarantee financial feasibility and project completion within the allocated budget.
Estimate Total Project Cost
To accurately estimate the total project cost for restoring a mid-century bathroom, begin by clearly defining the scope of your renovation or restoration efforts. Whether you are undertaking a full renovation or a partial restoration, establishing the extent of the project will help you calculate budget requirements and avoid overspending.
Here are the steps to create a thorough budget:
- Research Material Costs: Investigate the prices of essential materials such as granite countertops, vintage-inspired wallpaper, and mid-century lighting fixtures. This will provide a realistic estimate of the material expenses.
- Factor in Labor Costs: Engage with professionals like plumbers and electricians to get quotes for their services. Labor can be a significant portion of your budget, so accurate estimates are important.
- Include Unexpected Expenses: Allocate funds for unforeseen issues such as mold removal or structural repairs. Planning for these contingencies will prevent budget overruns.
- Contingency Fund: Maintain a contingency fund of at least 10-15% of your total budget. This financial buffer will accommodate any unexpected costs that arise during the project.
Prioritize Essential Upgrades
Establishing priorities is crucial when setting a budget for essential upgrades in your mid-century bathroom restoration. A well-defined budget guarantees that you can achieve a balance between your design inspiration and practical necessities.
Start by evaluating the essential elements that require immediate attention, such as new lighting fixtures, wallpaper, and modern accessories. These elements should be your design priorities, as they have a substantial impact on the overall aesthetics and functionality of the space.
Next, consider budget-friendly options for materials and labor. Conduct thorough research to compare prices and make sure you are getting the best value without compromising on quality. Prioritizing cost-effective solutions can help you stay within your set budget while maintaining the integrity of the mid-century design.
It's also wise to allocate a portion of your budget for unexpected expenses. Restoration projects often uncover hidden issues, and having a financial buffer ensures these surprises don't derail your progress.
Lastly, be meticulous in your planning and execution. Document every expense, and continually reassess your budget to ensure alignment with your design inspiration and essential upgrades.
Researching Mid-Century Design
Understanding mid-century design begins with identifying key design elements such as:
- Clean lines
- Minimalist silhouettes
- The use of organic materials like wood and stone.
To source authentic materials, one might look to vintage magazines, catalogs, and architectural publications from the era, or study the works of iconic designers like Eames, Saarinen, and Jacobsen.
This foundational research guarantees that the restoration not only pays homage to the period but also maintains historical accuracy and aesthetic integrity.
Identifying Key Design Elements
Researching mid-century design requires a keen eye for identifying key elements such as sleek lines, geometric shapes, and a minimalistic approach that defined the era. To successfully restore an original mid-century bathroom, it is imperative to focus on specific design features that will revive the original charm while embracing retro vibes and enhancing authenticity.
Exploring vintage fixtures: Seek out original or reproduction fixtures that reflect the era's aesthetic, such as starburst clock motifs, sculptural lighting, and streamlined faucets.
Reviving original charm: Incorporate materials like wood, metal, and glass that showcase their natural beauty, which will help in reviving the space's authentic feel.
Embracing retro vibes: Utilize a color palette of earth tones, pastels, and bold pops of color like orange or teal to capture the vibrant yet sophisticated mood of mid-century design.
Enhancing authenticity: Study iconic designers such as Charles and Ray Eames, George Nelson, and Eero Saarinen to draw inspiration and incorporate elements like atomic motifs and Eames chairs that epitomize the era.
Sourcing Authentic Materials
To bring the vision of a mid-century bathroom to life, selecting authentic materials is paramount in replicating the era's distinctive aesthetic. Researching the popular styles from the 1960s can provide invaluable insights into the essential elements that define mid-century design. Key materials include geometric patterns, bold colors, and sleek lines that were staples of the period.
Start by sourcing vintage fixtures or reproduction pieces such as circular mirrors, pendant lights, and white porcelain knobs, which imbue the space with retro charm and contemporary flair. For countertops, granite or terrazzo options are ideal, while white subway tiles and chrome fixtures can capture the minimalist elegance of mid-century decor.
Retro wallpaper featuring geometric prints or abstract designs can add a nostalgic touch, seamlessly integrating with other mid-century elements. Additionally, incorporating orange accents, wood cabinetry, and minimalist decor can further enhance the authenticity of your renovation.
For those seeking a modern twist on mid-century aesthetics, blending these traditional materials with contemporary elements can create a unique yet cohesive look. By meticulously selecting and combining these materials, you can successfully recreate the timeless appeal of a mid-century bathroom while infusing it with a hint of modern sophistication.
Creating a Design Plan
Drawing inspiration from the original era of the home is essential when creating a design plan for a mid-century bathroom restoration. This process begins with researching trends from the mid-20th century to guarantee authenticity. Focus on iconic elements such as tile floors, cabinetry, and fixtures, which can often be retained and refurbished to stay within a low-budget renovation goal. Budget planning is vital to prioritize which aspects of the bathroom will require more significant investment and which can be enhanced simply and cost-effectively.
To develop a cohesive and stylish design plan, consider the following key steps:
- Researching Trends: Investigate mid-century modern design elements, focusing on geometric patterns, sleek lines, and vibrant color palettes. This will guide your choices in wallpaper, tiles, and accessories.
- Budget Planning: Allocate funds appropriately by determining which original features can be salvaged and refurbished. This might include existing faucets and lighting fixtures, which often retain a lot of the mid-century charm.
- Incorporate Circular Elements: Blend in circular mirrors and light fixtures to achieve a balanced and harmonious mid-century modern aesthetic.
- Add Pops of Color: Apply vibrant hues, such as orange or teal, to accentuate the space, creating visual interest while staying true to the period's style.
Gathering Necessary Tools
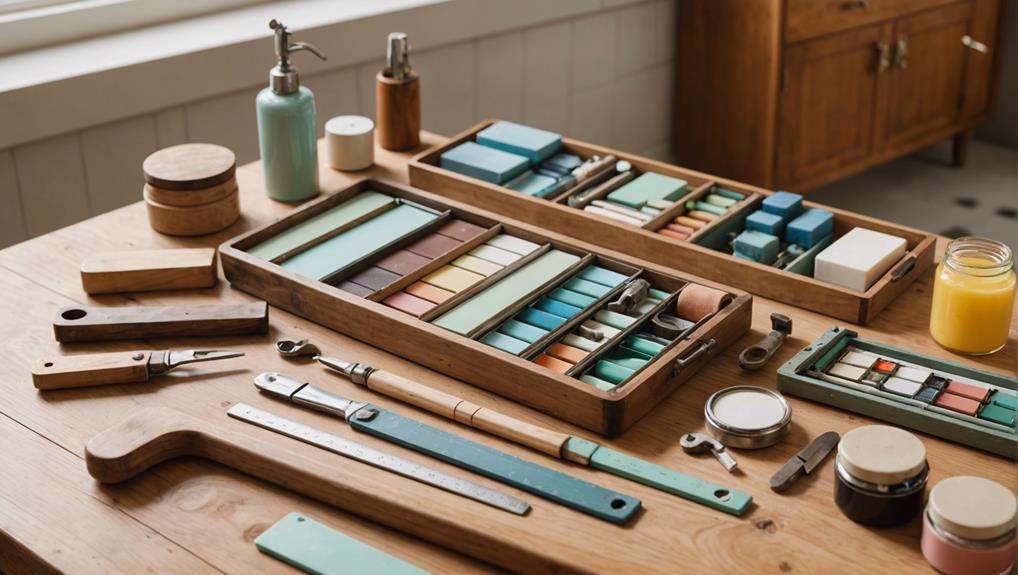
Equipping yourself with the right tools is a critical step in guaranteeing the success of a mid-century bathroom restoration project. Selecting high quality tools not only enhances efficiency but also contributes to achieving professional results.
Essential tools include a putty knife and scraper for surface preparation, sandpaper for smoothing surfaces, and painter's tape for precise edging. A level ensures accurate alignment, while a drill, screws, measuring tape, utility knife, and caulking gun are indispensable for various installation tasks.
For projects involving tile work, specialized tools such as a tile cutter, grout float, and tile spacers are essential. Safety is paramount; hence, gloves, goggles, and a mask should be used when handling chemicals, stripping wallpaper, or working with electrical components.
Additionally, a sturdy ladder, along with high-quality paint brushes, rollers, and a paint tray, will facilitate painting tasks.
Organizing your workspace is equally important. Arrange tools in an easily accessible manner, ensuring that frequently used items are within reach. This systematic approach minimizes disruptions and enhances workflow.
Demolition and Prep Work
The demolition phase began with removing dark wood shutters and outdated fixtures to create an open, inviting space. Clearing out debris revealed unexpected challenges, including mold and structural issues, necessitating thorough surface preparation.
These essential steps laid the groundwork for a seamless transformation, ensuring the bathroom's foundation was ready for its mid-century revival.
Removing Old Fixtures
Carefully removing old fixtures like light fixtures, faucets, and cabinet knobs is the important first step in preparing your mid-century bathroom for renovation. This pivotal phase, known as fixture removal, sets the stage for a seamless and stylish transformation. Utilize appropriate tools such as screwdrivers, pliers, and wrenches to safely detach and disconnect the old fixtures.
During this process, consider the following steps to guarantee a meticulous and eco-friendly approach:
- Assess Condition: Examine each fixture to determine if it is still functional and in good condition.
- Consider Donation Options: Usable items can be donated to local charities or organizations, providing a second life to fixtures and reducing waste.
- Practice Responsible Disposal: For fixtures that are no longer usable, make sure they are disposed of responsibly. Look for recycling centers that accept metal, glass, and other materials.
- Eco-Friendly Choices: Opt for environmentally friendly disposal methods to minimize your renovation's impact on the planet.
After removing the fixtures, inspect the walls and floors for any damage that may have been caused during the process. Repair any issues promptly.
Clearing Out Debris
Initiating the demolition phase involves meticulously removing outdated elements such as dark wood shutters, dated light fixtures, and unwanted accessories to pave the way for a pristine restoration. Careful attention must be paid to avoid damaging essential components like tile floors, wood cabinetry, and plumbing fixtures that may still have value. Salvaging vintage fixtures during this process is not only important but also environmentally responsible, preserving the authenticity of the mid-century design.
Effective waste disposal strategies are vital to maintaining an organized and safe work environment. All debris should be properly sorted and disposed of in accordance with local regulations. Recycling options should be explored to minimize the environmental impact of the demolition. For instance, wood and metal parts can often be recycled, reducing the amount of waste sent to landfills.
Thoroughly cleaning out the debris ensures a clean slate for the upcoming restoration work. This step also provides an opportunity to inspect the walls for hidden issues such as mold or structural damage, which must be addressed before proceeding. By adhering to these meticulous and environmentally conscious practices, the foundation for a successful mid-century bathroom restoration is firmly established.
Surface Preparation Steps
Evaluating the condition of the existing structures, the surface preparation steps began by identifying and addressing hidden issues such as mold and structural damage revealed during the demolition. The process was essential not only for ensuring safety but also for laying the groundwork for restoring the bathroom's mid-century charm.
The following steps were undertaken:
- Demolition of Outdated Elements: Dark wood shutters, dated light fixtures, and old wallpaper were meticulously removed. This demolition uncovered hidden problems like mold and a hole in the wall, which needed immediate attention.
- Thorough Assessment: The condition of existing features such as tile floors, wood cabinetry, the bathtub, sinks, and the toilet was carefully reviewed. This evaluation was critical to decide what could be restored and what needed replacement.
- Mold Remediation and Structural Repair: Addressing the mold and repairing the discovered hole were priorities. Proper mold remediation techniques were employed to ensure a healthy environment.
- Surface Preparation Techniques: With renovation challenges in mind, the surfaces were prepared using techniques that aligned with the mid-century design inspiration. This included ensuring smooth, clean surfaces ready for new finishes that would enhance the room's mid-century aesthetic.
Choosing Color Schemes
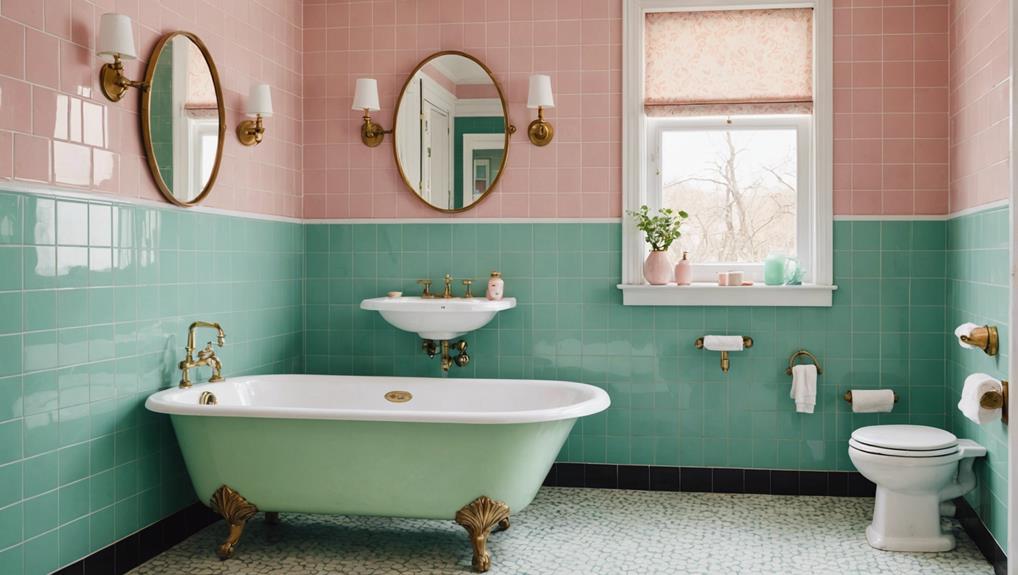
When selecting color schemes for a mid-century bathroom restoration, vibrant hues like oranges and teals can effectively capture the era's iconic aesthetic. The use of these bold colors aligns seamlessly with the principles of color psychology, where such shades evoke feelings of energy and creativity, characteristic of mid-century design trends.
To further enrich the authenticity, consider earthy tones such as avocado green, mustard yellow, and burnt orange. These hues not only resonate with the vintage mid-century influence but also create a warm and inviting atmosphere.
Contrast plays a pivotal role in balancing vintage elements with contemporary influences. For a modern twist, incorporate black and white accents. This duality not only adds a sleek, updated feel but also maintains the integrity of the mid-century theme.
Accessories such as towels, rugs, and artwork can introduce pops of color, allowing for personal expression without overwhelming the space.
Experimentation with different color combinations is essential to achieving the perfect balance. Whether aiming for a purely retro ambiance or a blend of old and new, the chosen palette should reflect the unique personality of the space, ensuring a cohesive and visually appealing design.
Selecting Tiles and Materials
Selecting the perfect tiles and materials is of utmost importance to achieving an authentic mid-century aesthetic in your bathroom restoration. The choice between Granite vs. Marble plays a vital role in establishing this distinctive style.
Opting for granite tiles imbues the space with a mid-century modern feel, particularly when paired with bold patterns and geometric wallpaper. This combination not only enhances the circular elements in your tile design but also creates visual interest and depth.
When selecting materials, consider the balance between Vintage vs. Modern elements. Refurbishing old faucets can maintain the mid-century charm, while integrating round ceiling lights and pendants ensures the overall look stays cohesive and period-appropriate.
For a polished and authentic finish, adhere to the following guidelines:
- Granite over Marble: Choose granite tiles to evoke the classic mid-century modern look.
- Bold Patterns and Neutral Tones: Combine bold geometric patterns with neutral tones to achieve a balanced yet striking aesthetic.
- Circular Elements: Install round mirrors and ceiling lights to complement the circular motifs in your tile design.
- Refurbish, Don't Replace: Wherever possible, refurbish vintage fixtures to maintain authenticity.
Updating Plumbing Fixtures
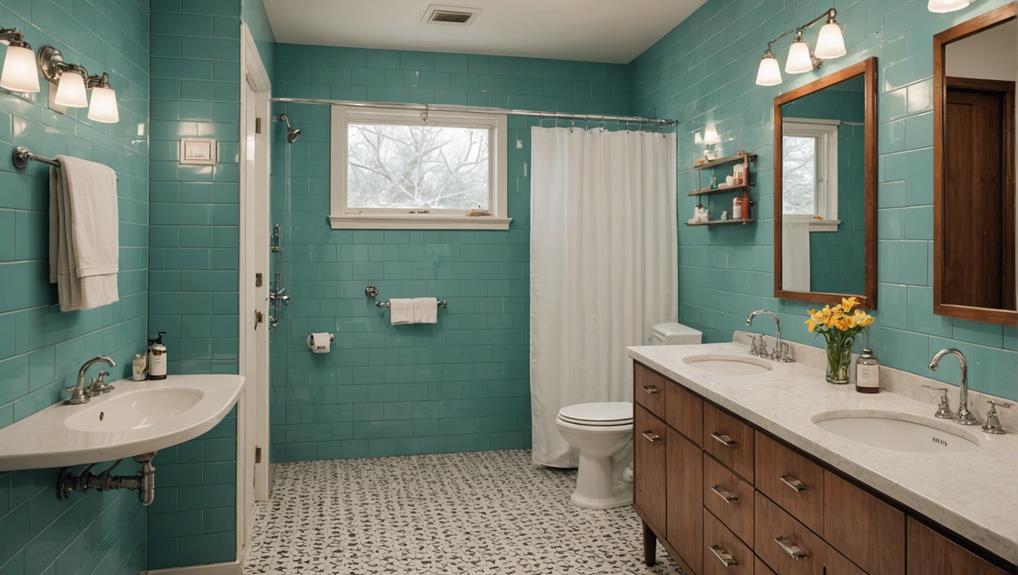
Updating the plumbing fixtures in your mid-century bathroom is an essential step in enhancing both its functionality and aesthetic appeal. Begin by replacing outdated faucets and showerheads with contemporary, water-efficient options. These choices not only contribute to environmental sustainability but also align with modern aesthetics, ensuring your bathroom remains stylish and up-to-date.
When selecting new fixtures, opt for designs that complement the clean, minimalistic lines characteristic of mid-century style. Sleek, chrome finishes and simple geometric shapes can harmonize beautifully with the period's architectural elements. Performance upgrades are equally important; modern fixtures often offer improved water flow and pressure, enhancing your overall bathing experience.
Proper installation is vital to guarantee the longevity and excellent performance of your new fixtures. Make sure that all connections are secure and free from leaks, and consider consulting a professional plumber if you encounter any uncertainties. Additionally, familiarize yourself with the manufacturer's installation tips and guidelines to avoid common pitfalls.
Incorporating these modern yet period-appropriate fixtures can greatly enhance the look and feel of your mid-century bathroom, offering the perfect blend of historical charm and contemporary convenience.
Installing New Lighting
Illumination plays a pivotal role in both the functionality and aesthetic harmony of a mid-century bathroom, making the selection and placement of lighting fixtures an essential aspect of the restoration process. To achieve an authentic mid-century modern look, it is vital to choose lighting fixtures that reflect the era's design, such as round ceiling lights and pendant lights.
Thoughtful lighting placement is critical to enhance the geometric wallpaper and accentuate the bathroom's circular elements.
Consider the following steps to guarantee excellent lighting installation:
- Select Energy-Efficient Fixtures: Choose fixtures that not only capture the mid-century aesthetic but also prioritize energy efficiency to reduce energy consumption and costs.
- Strategic Lighting Placement: Position lights to highlight key features such as the geometric wallpaper and circular elements, thereby enhancing the room's visual appeal.
- Incorporate Dimmable Lighting: Install dimmable options to adjust the brightness and create different ambiance levels, catering to various times of the day and moods.
- Optimize Mirror Interaction: Place lighting to interact effectively with mirrors, maximizing brightness and contributing to a spacious and well-lit environment.
Refinishing or Replacing Cabinets
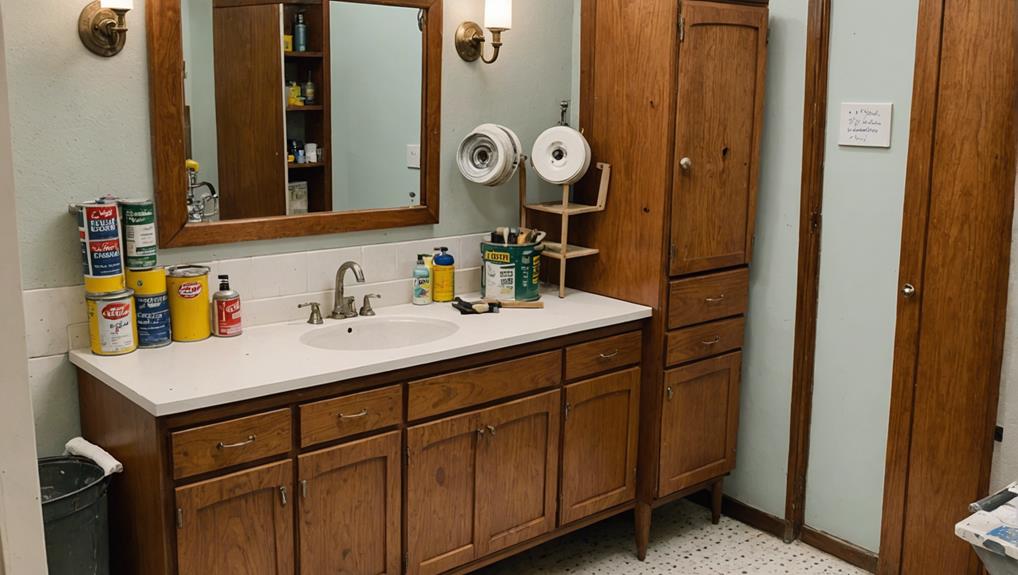
When considering whether to refinish or replace cabinets in a mid-century bathroom, it is imperative to first assess their current condition.
Choose restoration materials that enhance the wood's natural beauty while adhering to the desired aesthetic.
Assess Current Cabinet Condition
A thorough evaluation of the existing wood cabinetry is essential to determine whether refinishing or replacing them aligns better with the envisioned mid-century bathroom restoration. Conducting a detailed woodwork assessment helps in making an informed decision.
The following steps can guide you through this process:
- Examine Structural Integrity: Check for any signs of damage such as warping, rot, or loose joints. Cabinets that are structurally sound may only need cosmetic updates, whereas severely damaged ones might require replacement.
- Assess Surface Condition: Look for wear and tear like scratches, stains, and peeling finishes. If the surface issues are minimal, cabinet restoration through sanding, painting, or staining might suffice to rejuvenate their appearance.
- Evaluate Style Compatibility: Consider whether the current design of the cabinets complements the mid-century aesthetic. If the style is outdated and cannot be altered to fit the theme, replacing the cabinets might be more beneficial.
- Check for Functionality: Make sure that the cabinets provide adequate storage and functionality. Well-designed, functional cabinetry is important for maintaining an organized and visually appealing bathroom space.
Choose Restoration Materials Wisely
Having assessed the current condition and compatibility of your bathroom cabinetry, it's crucial to choose restoration materials that will either enhance the existing wood or provide a suitable replacement to achieve the desired mid-century aesthetic. Begin by evaluating whether a fresh coat of paint or stain can revitalize your cabinetry. This approach not only preserves the original charm but also serves as a cost-effective solution.
If the underlying wood is in good condition, consider eco-friendly finishes that highlight its natural beauty. Light, natural wood finishes, or bold, era-appropriate colors can complement your overall design scheme. Additionally, modern techniques such as cabinet refacing allow you to update doors and drawer fronts without a complete overhaul, balancing sustainability with aesthetic appeal.
Sustainable options should be prioritized to make certain that the restoration process is environmentally responsible. Incorporate vintage hardware to maintain authenticity, and seek professional advice to align restoration methods with your aesthetic goals and budget.
Hire Professional or DIY
Deciding between hiring a professional or starting on a DIY journey for refinishing or replacing your mid-century bathroom cabinets is a critical step that will influence both the quality and authenticity of your restoration project. Here are some considerations to help you make an informed decision:
- Pros and Cons of Hiring a Professional:
- Pros: Guarantees a high-quality finish, maintains the original mid-century look, saves time, and leverages expert knowledge.
- Cons: Higher cost, potential scheduling delays, and less personal satisfaction of completing the project yourself.
- DIY Refinishing:
- Pros: Cost-effective, offers personal satisfaction, and allows for complete control over the project.
- Cons: Requires significant time, proper tools, materials, and advanced skills to achieve a professional finish.
- Cost Comparison:
- Hiring a professional may be more expensive upfront but can save on potential mistakes and rework.
- DIY refinishing is less costly but may incur additional expenses for tools and materials.
- Skill Level Needed:
- Professionals bring specialized skills and experience to guarantee authenticity and durability.
- DIY refinishing demands a high skill level in sanding, painting, or staining to restore the cabinets effectively.
Researching cabinet refinishing techniques and products is essential to determine the best approach for your mid-century bathroom renovation project.
Adding Mid-Century Accents
Incorporating mid-century accents into your bathroom can seamlessly blend timeless design elements with modern functionality. One of the most effective ways to achieve this is through the integration of retro lighting fixtures. Opt for circular or sputnik-style chandeliers that harken back to an era defined by innovation and streamlined aesthetics. These fixtures not only illuminate the space but also serve as captivating focal points that infuse the room with a nostalgic charm.
Another essential element is vintage hardware. Select faucets, towel racks, and cabinet handles that reflect the period's characteristic design. Brass or chrome finishes with sleek, curved lines can provide the perfect touch of authenticity. These elements, while subtle, significantly contribute to the overall mid-century modern feel by adding texture and visual interest.
Additionally, incorporating circular shapes into accessories such as mirrors and wall art can further enhance the mid-century vibe. Round mirrors with metallic frames can tie together the retro lighting and vintage hardware, creating a cohesive design narrative.
Incorporating Geometric Patterns
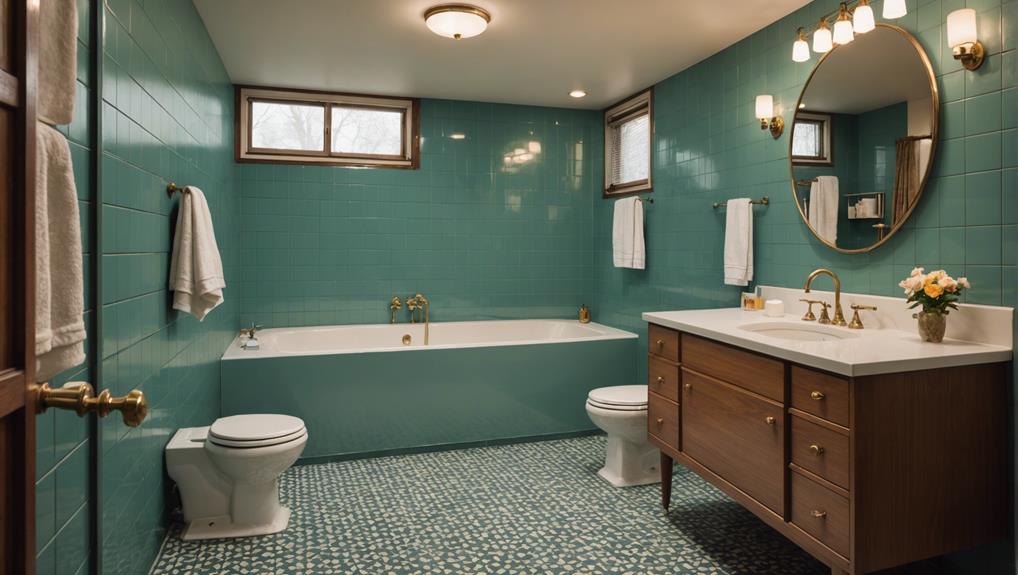
Building on the synergy of mid-century accents, geometric patterns play a pivotal role in infusing the bathroom with the dynamic visual interest characteristic of the era. The strategic use of geometric designs on the wallpaper, reflective of the 1960s mid-century mod style, notably enhances the space's personality and visual appeal. By mixing patterns and playing with shapes, one can create a harmonious yet striking environment.
Here are four essential steps to effectively incorporate geometric patterns into a mid-century bathroom:
- Select Geometric Wallpaper: Choose a wallpaper that features bold geometric designs to serve as a focal point. This not only adds a retro feel but also modernizes the space.
- Complement with Circular Elements: Integrate circular elements such as mirrors and fixtures to balance the angular geometric tiles, enriching the room's aesthetic.
- Mix Patterns with Care: While incorporating various geometric patterns, make sure they complement rather than clash. This can be achieved by maintaining a cohesive color palette.
- Focus on Symmetry and Balance: Arrange geometric elements symmetrically to mirror the structured yet dynamic nature of mid-century design, ensuring the space feels both organized and lively.
Final Touches and Decor
Adding the final touches and decor elements is crucial in seamlessly melding functionality with the distinctive mid-century aesthetic. Replacing outdated brass knobs with white porcelain ones not only modernizes the space but also complements the sleek, minimalist design ethos of mid-century interiors. Round mirrors installed above the sinks further enhance the circular design motifs prevalent in the renovated bathroom, injecting a sense of cohesiveness and elegance.
Artistic embellishments such as crow art and a glass sculpture bring a unique and refined flair to the room. These pieces serve as more than mere decorations; they become focal points that add depth and character. Personalized touches are essential to transforming the space into a stylish powder room that feels both inviting and uniquely yours.
Encouraging the client to retain and enhance existing items helps maintain the integrity of the mid-century character while updating the overall aesthetic. Unique accessories like vintage soap dispensers or retro towel racks further cement the period-specific charm. By thoughtfully integrating these stylish decor elements, the bathroom evolves into a space that balances practicality with an unmistakable mid-century allure, making it perfect for both guests and daily use.
Maintaining the Restored Bathroom
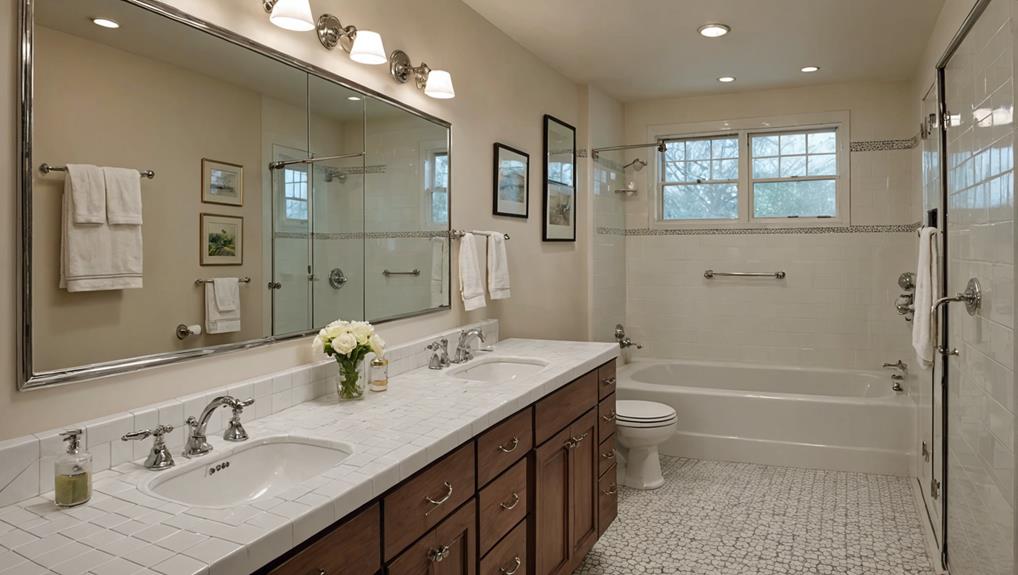
Regular maintenance is crucial to preserve both the aesthetic and functionality of your restored mid-century bathroom. This not only helps in preventing discoloration but also guarantees the bathroom retains its vintage charm for years to come.
Here are some key strategies to ponder for long-term preservation:
- Cleaning Techniques: Utilize mild, non-abrasive cleaners specifically designed for vintage surfaces. This protects the original tiles, cabinetry, and fixtures from wear while effectively removing dirt and grime.
- Prompt Issue Resolution: Address any emerging issues immediately to prevent mold growth or structural deterioration. Regularly inspect areas prone to moisture, such as around sinks and baths, to catch problems early.
- Monitor Condition: Keep an eye on the wallpaper and ceiling lights, as these elements can show signs of wear over time. Prompt repairs or replacements can prevent minor issues from escalating into significant damage.
- Avoid Harsh Chemicals: Protect the mid-century elements by steering clear of harsh chemicals and abrasive cleaning tools. These can cause irreversible damage to the delicate surfaces, undermining your restoration efforts.
Frequently Asked Questions
In What Order Do You Renovate a Bathroom?
Renovate a bathroom by first conducting budget planning and contractor selection, followed by removing old fixtures, repairing damage, updating plumbing, installing new flooring and treatments, then adding fixtures, and completing with final touches.
How to Redo Bathroom Step by Step?
Begin bathroom renovation by meticulously planning your budget and design theme. Carefully choose fixtures that align with your style and budget. Remove old elements, install new features per guidelines, and personalize with art for a refined finish.
When Remodeling a Bathroom, What Comes First?
When remodeling a bathroom, the first step involves addressing design choices and identifying any plumbing issues. This guarantees a cohesive plan and prevents potential complications, thereby streamlining the subsequent stages of demolition, construction, and finishing touches.
How Do You Refurbish an Old Bathroom?
To refurbish an old bathroom, start with tile selection that complements the desired aesthetic. Update plumbing fixtures to guarantee functionality and modern appeal. Incorporate geometric designs, vibrant colors, and personal touches to enhance the overall decor.
Conclusion
The meticulous restoration of a mid-century bathroom necessitates a thorough approach that includes in-depth assessment, budget planning, design research, and detailed execution.
By integrating mid-century accents and geometric patterns, the space can be transformed to reflect its original charm.
The final touches and decor serve to enhance the aesthetic, ensuring the bathroom remains both functional and visually appealing.
Proper maintenance will preserve the integrity of the restoration, providing lasting elegance and historical fidelity.
Leave a Reply