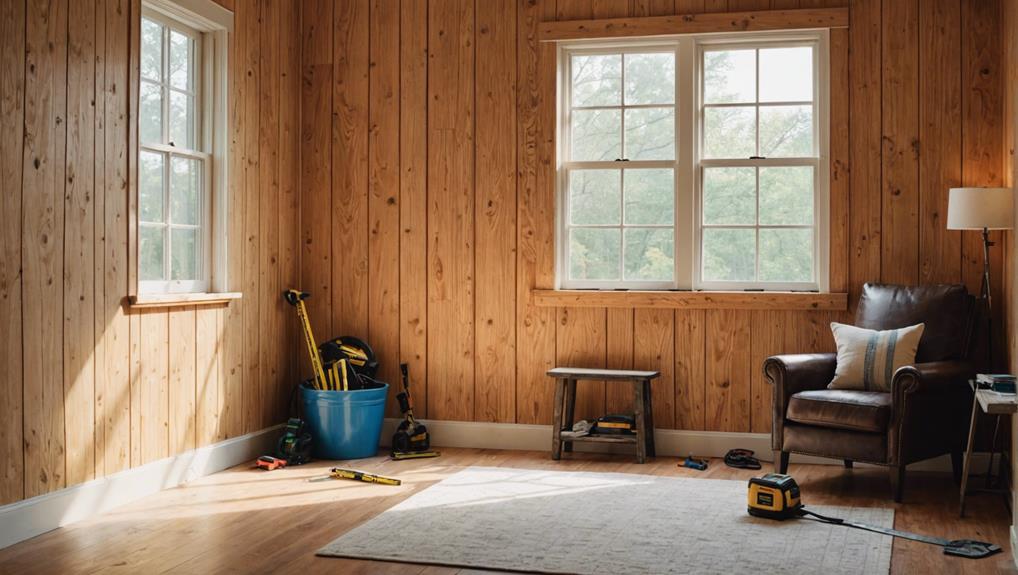
3 Tips for Installing a Shiplap Half Wall in Your Living Room
To install a shiplap half wall in your living room, start by measuring the height of your wall and cut the boards precisely with a miter saw. Sand the edges for a smooth finish. Next, apply construction adhesive to the back of each board and use a brad nailer to secure them, making special cuts around outlets. Maintain consistent spacing with electrical spacers. Finally, fill nail holes with wood filler, sand the surface, and caulk the edges for a refined look. Choose a paint color that complements your decor and add decorative accents. Discover finer details to enhance your project further.
Key Takeaways
- Measure wall height accurately and cut plywood strips precisely for a seamless finish.
- Use electrical spacers to ensure consistent spacing between shiplap boards.
- Apply construction adhesive and secure boards with a brad nailer for stability.
- Sand edges and fill nail holes for a smooth, polished look.
- Caulk edges and choose a complementary paint color to enhance the room's aesthetic.
Measure and Cut Boards
To begin, measure the height for your vertical shiplap installation to determine the precise lengths for each board. Accurate measurements guarantee a seamless and aesthetically pleasing finish. Use a tape measure to record the distance from the floor to your desired end height. This dimension will dictate the board length needed for your project.
Next, prepare your plywood strips. Select high-quality plywood and cut it into boards of your desired width. Precision cutting is essential to achieve uniformity. Utilize a miter saw for this task, as it offers the accuracy required for clean and straight cuts. The miter saw's precise blade control helps you achieve the exact board length necessary for a professional result.
After cutting, don't forget to sand the edges of each board. This step smooths any rough edges, ensuring a refined and polished look. Sanding also readies the boards for easier installation and a better finish.
Removing any existing baseboards carefully will provide a clean surface for your shiplap installation. This allows you to attach a 1×4 trim board at the desired height, creating a sturdy base for your vertical shiplap boards.
With these steps, you're well on your way to a beautifully crafted shiplap half wall.
Prepare and Install
With your boards precisely cut and prepped, it's time to focus on properly preparing your wall and installing the shiplap. Start by making sure each board's edges are smooth using a sanding technique to remove any splinters or rough spots. This step is essential for a seamless finish.
Next, apply construction adhesive to the back of each shiplap board. This adhesive application will provide extra security alongside brad nails. Press the board firmly against the wall to establish a solid bond. Use electrical spacers to maintain spacing consistency between boards, ensuring a uniform look across the entire wall.
For areas around outlets, pipes, or switches, make special cuts with a Dremel or jig saw. Precision in these cuts ensures your shiplap fits perfectly without gaps.
Here's a quick reference table for your installation:
| Step | Tools Required | Key Techniques |
|---|---|---|
| Sanding edges | Sandpaper | Sanding technique |
| Adhesive application | Construction adhesive | Firm pressing |
| Spacing consistency | Electrical spacers | Consistent gaps |
| Special cuts | Dremel, jig saw | Precision cutting |
| Nailing boards | Brad nailer | Secure attachment |
Finishing Touches
As you near the culmination of your shiplap half wall project, filling nail holes with wood filler will guarantee a seamless, polished finish. This step is important for achieving a flawless look. After the filler dries, sand the surface to make sure it's smooth and even.
Next, caulk the edges of the baseboards, horizontal board, corners, and any areas around sinks. This not only enhances the aesthetic but also seals any gaps. Utilize a baby wipe to smooth out the caulk, making sure a clean, professional appearance.
When selecting a paint color, consider the overall theme of your living room. Whether you opt for a bold statement or a subtle hue, pre-painting the boards before installation can make touch-ups easier and provide a more uniform look.
Finally, add decorative accents to personalize and enhance the space.
Here's a concise list to guide your finishing touches:
- Fill and Sand: Fill nail holes with wood filler and sand for a seamless finish.
- Caulk Seams: Caulk all edges and smooth with a baby wipe for a polished look.
- Choose Paint and Decor: Select a cohesive paint color and add decorative accents to complete the project.
These steps will make sure your shiplap half wall is both beautiful and professionally crafted.
Frequently Asked Questions
How to Install Shiplap Half Wall?
To install a shiplap half wall, first gather your shiplap materials. Prepare the wall by cleaning and measuring. Use construction adhesive and brad nails, addressing outlets with precision cuts. Finish by filling nail holes and painting.
Do You Start at the Top or Bottom When Installing Shiplap?
Think of the craftsmanship of Michelangelo. You'll start at the bottom for shiplap installation. Ensuring wall alignment and proper board spacing becomes easier, creating a secure and aesthetically pleasing finish that's seamlessly aligned to the top.
How Tall Should Half Wall Shiplap Be?
When deciding on the wall height for your shiplap, consider design preferences. Typically, 3 to 4 feet works well. A taller wall offers a dramatic look, while a shorter one maintains openness, adding texture and interest.
Does Shiplap Make a Room Look Bigger or Smaller?
Shiplap makes a room look bigger, especially with light color choices and good room lighting. Vertical shiplap elongates walls, while horizontal shiplap widens them. Both approaches enhance space perception, creating a more open, inviting atmosphere.
Conclusion
As you step back, the shiplap half wall transforms your living room into a cozy haven, its crisp lines and natural textures adding layers of visual warmth.
Picture the soft glow of evening light dancing across the wooden planks, evoking a sense of rustic elegance.
You've not just installed a feature; you've crafted an intimate space where memories will be made.
With these tips, your living room now exudes both charm and sophistication.


Leave a Reply