7 Steps to Seal Painted Wood for Outdoor Use
To seal painted wood for outdoor use, start by sanding the surface with fine-grit sandpaper. Clean thoroughly with mild detergent and fill any imperfections with a suitable wood filler. After filling, inspect for any remaining blemishes and re-sand for a smooth finish. Apply the first coat of sealer using a synthetic-bristle brush, ensuring even coverage. Allow it to dry completely before applying a second coat for enhanced protection. Opt for water-based polyurethane for quick drying and durable finish. Regularly inspect and maintain the sealed wood, clean with mild detergent, and reapply sealer as necessary. With meticulous attention, achieve enduring outdoor protection and aesthetics.
Key Takeaways
- Sand the painted wood with fine-grit sandpaper to create a smooth surface.
- Clean the wood thoroughly using a mild detergent to remove dirt and grease.
- Apply the first coat of sealer evenly with a synthetic-bristle brush.
- Allow the sealer to dry completely before applying additional coats.
- Use water-based polyurethane for faster drying and enhanced protection.
Sand the Painted Wood
To prepare the painted wood for sealing, start by thoroughly sanding the surface with fine-grit sandpaper to guarantee excellent adhesion and smoothness. Employing important sanding techniques is vital for surface preparation and ensuring the painted wood achieves outdoor durability and weather resistance. Select sandpaper within the 220-320 grit range to effectively remove rough spots, imperfections, and any flaking paint without damaging the underlying material.
Begin by sanding in the direction of the wood grain to minimize scratches and achieve an even finish. Apply consistent pressure and make multiple passes over the surface, focusing on areas with visible imperfections. This process not only smoothens the painted surface but also opens up the paint layers, allowing the sealer to penetrate more effectively.
Expert tip: Utilize a sanding block or an orbital sander to maintain uniform pressure and avoid uneven sanding. Ensure complete coverage of the entire surface, including edges and corners, as these areas are often prone to weather damage.
After the initial sanding, inspect the surface for any remaining rough patches or flaking paint and address these areas as needed. Proper surface preparation through meticulous sanding is paramount for achieving excellent sealing results, enhancing the wood’s resistance to outdoor elements.
Clean the Surface
After thoroughly sanding the painted wood, it’s crucial to clean the surface meticulously to remove any residual dust, dirt, or debris that could impede the sealer’s adhesion. Proper surface preparation is vital to guarantee that the sealer bonds effectively and provides long-lasting protection.
To achieve a pristine surface, utilize the following cleaning methods:
- Mild Detergent: Mix a mild detergent or TSP substitute with water to create a gentle yet effective cleaning solution. Use a soft-bristle brush or sponge to scrub the surface, ensuring all contaminants are removed.
- Rinse Thoroughly: After scrubbing, rinse the wood thoroughly with clean water to eliminate any soap residue. Residual detergent can impact the sealer’s performance.
- Drying Time: Allow the wood to dry completely before proceeding. Trapped moisture can cause adhesion issues and lead to premature sealer failure. Drying time may vary based on weather conditions, so make sure ample time is provided.
- Weather Conditions: Perform cleaning on a dry, calm day to prevent new debris from settling on the wet surface and to expedite the drying process.
Fill Imperfections
To guarantee a flawless finish, begin by meticulously identifying surface blemishes such as cracks or holes in the painted wood.
Select an appropriate wood filler that matches the wood type, and use a putty knife to apply it, making sure to scrape off any excess for a seamless application.
Once the filler has dried, sand the areas to achieve a smooth and uniform surface, which is essential for effective sealing and prolonged durability.
Identify Surface Blemishes
Thoroughly inspect the painted wood surface to identify and catalog any imperfections such as cracks, holes, or rough spots. This important step in surface preparation guarantees a smooth base for the sealing process and enhances the wood’s weather resistance. Utilizing effective painting techniques starts with addressing these surface blemishes to prevent moisture penetration and extend the wood’s lifespan.
To identify and catalog surface imperfections, follow these steps:
- Visual Examination: Carefully scrutinize the painted wood in natural light to detect visible cracks, holes, and rough spots.
- Tactile Inspection: Run your hands over the surface to feel any irregularities not easily visible.
- Mark Problem Areas: Use a pencil or chalk to mark identified imperfections for easier reference during the filling process.
- Document Findings: Keep a detailed record of all blemishes to make sure none are overlooked during subsequent steps.
Once identified, these imperfections should be meticulously filled to achieve an even and seamless finish. Properly filling these blemishes before sealing not only improves the overall appearance but also enhances weather resistance and aids in future maintenance. This attention to detail in the preliminary surface preparation phase is crucial for achieving a durable and aesthetically pleasing outdoor wood finish.
Choose Appropriate Filler
Selecting a high-quality, outdoor-grade wood filler is crucial for effectively addressing imperfections such as cracks, holes, and rough spots on painted wood surfaces. An appropriate wood filler not only enhances the aesthetic appeal but also strengthens the structural integrity and outdoor durability of the painted wood, providing a critical foundation for subsequent sealing.
Choose water-resistant or weatherproof options to guarantee that the filler can withstand harsh outdoor conditions. These fillers are specifically formulated to handle temperature fluctuations, moisture, and UV exposure, ensuring longevity and stability of the repaired areas. Before application, make sure that the surface is clean and dry to promote ideal adhesion and curing.
Below is a comparison table of different types of outdoor wood fillers:
| Wood Filler Type | Key Features |
|---|---|
| Epoxy Wood Filler | High strength, excellent water resistance |
| Latex Wood Filler | Easy to use, quick drying, paintable |
| Polyester Resin Filler | Extremely durable, resistant to shrinking |
| Acrylic Filler | Flexible, good for small repairs |
| Solvent-based Filler | Long-lasting, suitable for large gaps |
For best results, choose a wood filler that closely matches the color of the existing painted wood. This ensures that, once sealed, the repairs blend seamlessly, maintaining the visual and functional integrity of the wood surface.
Sand for Smoothness
Prior to sealing, it is vital to sand the painted wood surface using fine-grit sandpaper to achieve a smooth, even texture that promotes ideal adhesion of the sealer. This essential step guarantees that any imperfections, rough spots, and uneven areas are adequately addressed, paving the way for a professional and long-lasting finish.
To optimize surface smoothness and enhance sealer adherence, consider the following sanding techniques:
- Use fine-grit sandpaper: Opt for sandpaper in the 220-320 grit range to gently abrade the surface without causing damage.
- Sand in the direction of the wood grain: This technique minimizes scratches and ensures a uniform smoothness.
- Apply consistent pressure: Avoid pressing too hard, which can create uneven spots, and instead, maintain a steady, light pressure.
- Inspect and repeat if necessary: After the initial sanding, examine the surface for any remaining imperfections and re-sand as needed.
Post-sanding, meticulously clean off all dust and debris from the wood surface, as any residual particles can interfere with the bonding of the sealer. Employing these expert sanding techniques will greatly enhance the final outcome, ensuring that the sealer penetrates and bonds effectively, thereby protecting the wood from outdoor elements.
Apply the First Coat
Make sure the painted wood surface is meticulously clean and completely dry before applying the first coat of sealer. This step is important to guarantee excellent adhesion and durability of the sealer.
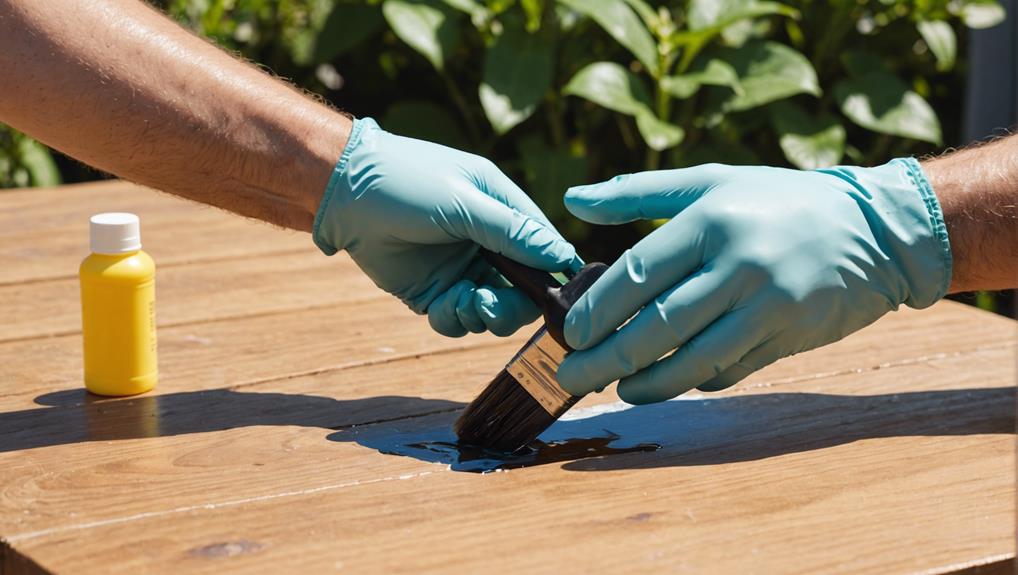
Begin by selecting a high-quality, synthetic-bristle brush, as this will provide a smooth application and reduce the likelihood of streaks or bubbles forming. The choice of a high-quality brush is essential for evenly distributing the sealer across the painted wood surface.
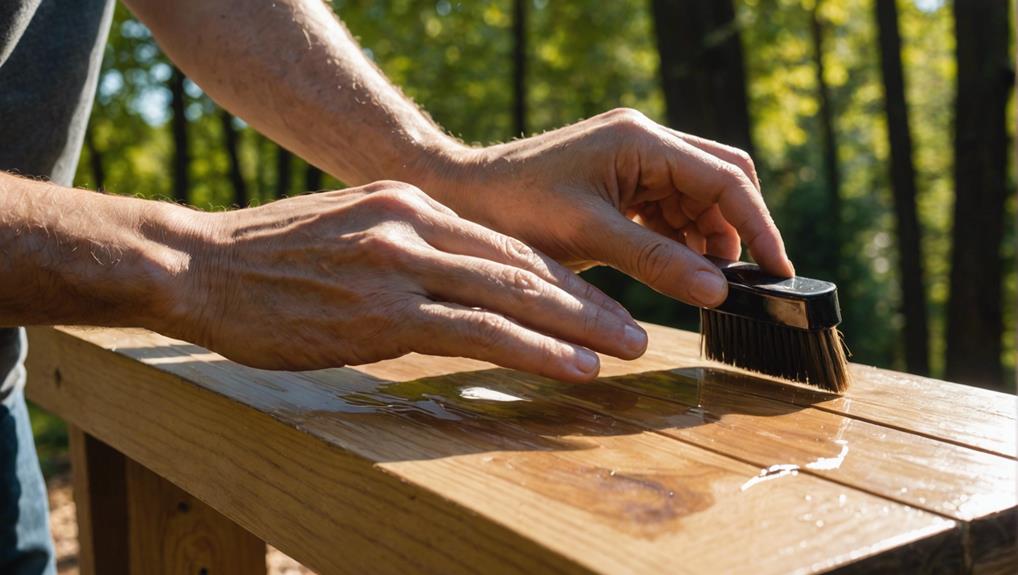
Before application, stir the sealer thoroughly to ensure a uniform consistency. When applying the sealer, use long, even strokes following the direction of the wood grain. This technique helps to achieve a smooth and even coat, minimizing the risk of lap marks.
Maintain a wet edge to avoid visible lines where fresh sealer overlaps dried areas.
Ensure proper ventilation during the application process to facilitate effective curing. If working indoors, open windows or use fans to enhance airflow. For outdoor applications, choose a day with mild weather conditions, avoiding high humidity or direct sunlight, which can affect drying time and finish quality.
Consider using a water-based polyurethane sealer for faster drying times and ease of cleanup.
Allow to Dry

Guaranteeing that the painted wood is completely dry before applying the sealant is essential to prevent moisture entrapment and subsequent issues like bubbling or peeling. Proper drying time is critical for the paint to adhere effectively to the wood surface, laying a solid foundation for the sealant. The drying duration can vary based on the type of paint used, so it is prudent to consult the manufacturer’s recommendations.
To facilitate the drying process, follow these key steps:
- Maintain adequate ventilation in the drying area to expedite the evaporation of moisture.
- Use a moisture meter to verify the wood’s dryness before proceeding with sealant application.
- Avoid direct sunlight or heat sources that can cause the paint to dry unevenly.
- Be patient, refraining from rushing, to ensure the paint cures thoroughly, which can prevent future complications.
Proper ventilation is particularly critical, as it helps maintain a consistent drying environment, reducing the risk of moisture being trapped.
Using a moisture meter is an expert tip that provides precise measurements, ensuring that the wood has reached the appropriate dryness level.
Apply the Second Coat
To achieve best protection and durability for your painted wood, apply the second coat of sealer only after the first coat has thoroughly dried. The drying time is essential as it guarantees that the second coat adheres effectively, forming a robust protective layer. Typically, the drying time can vary based on the type of sealant used, ambient temperature, and humidity levels; however, waiting at least 24 hours is generally recommended.
The second coat benefits include enhanced protection against moisture, UV rays, and temperature fluctuations, which are essential for maintaining the integrity and appearance of outdoor wood. A well-applied second coat significantly strengthens the seal, providing a durable barrier against the elements.
For the best sealant application, use a high-quality brush or roller. Begin by lightly sanding the surface of the first coat to ensure better adhesion of the second layer. Remove any dust particles with a tack cloth before proceeding. Apply the sealant evenly, ensuring complete coverage without overloading the brush or roller.
Allow sufficient drying time for the second coat as recommended by the manufacturer. This additional protective layer will substantially extend the lifespan of your painted wood, ensuring it remains resilient and visually appealing despite exposure to harsh outdoor conditions.
Seal With Polyurethane

To effectively seal painted wood for outdoor use, selecting the appropriate polyurethane is essential. This can be either water-based for easier cleanup and lower toxicity or solvent-based for robust durability.
Employ meticulous application techniques to guarantee a uniform protective layer. This includes using even strokes and paying close attention to coverage.
Allow sufficient drying and curing time between multiple coats to optimize the wood’s defense against moisture and UV exposure. This step enhances both the longevity and appearance of the sealed wood.
Choosing the Right Polyurethane
Selecting the appropriate type of polyurethane for sealing painted wood is essential to achieving the best durability and aesthetic appeal for outdoor applications. Polyurethane finishes play an important role in providing wood protection against various environmental stressors such as UV rays, moisture, and general wear and tear.
When choosing the right polyurethane, consider the following:
- Water-based Polyurethane: This variant dries faster, emits fewer fumes, and is easier to clean up with soap and water. It is ideal for projects requiring a quick turnaround.
- Solvent-based Polyurethane: Provides a harder and more durable finish, making it suitable for high-traffic areas and extreme weather conditions.
- UV-resistant Polyurethane: Specifically formulated to protect against sun damage, preserving the vibrancy of painted wood over time.
- Gloss Level: Available in various sheen levels—matte, satin, semi-gloss, and high-gloss—allowing customization of the final appearance to match aesthetic preferences.
Each type has distinct advantages, and the choice depends on the specific needs of your project. Water-based finishes are excellent for rapid application and ease of use, while solvent-based options excel in longevity and robust protection.
Proper selection ensures that the painted wood remains both attractive and resilient when exposed to outdoor elements.
Application Techniques
Once the appropriate type of polyurethane has been selected, the meticulous application process begins to guarantee maximum protection and a flawless finish for the painted wood surface. To achieve best results, either the brush application or spray technique can be utilized, each requiring specific steps for precision.
For brush application, use a high-quality, synthetic-bristle brush to apply the polyurethane in thin, even coats. Begin by dipping the brush about one-third the length of the bristles into the polyurethane. Apply with long, smooth strokes, following the wood grain to avoid streaks and bubbles. Allow each coat to dry thoroughly before lightly sanding with fine-grit sandpaper (220 grit) to ensure a smooth surface. Repeat this process for at least two to three coats, depending on the desired durability.
Alternatively, the spray technique offers a more uniform finish, particularly useful for larger surfaces or intricate designs. Use a high-volume, low-pressure (HVLP) sprayer for best results. Maintain consistent motion and distance from the surface to prevent drips and uneven coverage. Make sure proper ventilation during application to avoid inhalation of fumes, and always wear appropriate personal protective equipment (PPE).
Each method, when executed with care, promises a resilient and aesthetically pleasing seal for outdoor use.
Drying and Curing Time
Proper drying and curing times are essential to achieve the full protective benefits and durability of a polyurethane seal on painted wood surfaces. Typically, polyurethane sealers require 24-48 hours to dry and cure completely. However, this duration can be influenced by various factors such as weather conditions, temperature, humidity, and the thickness of the applied sealer coat. To ensure best results, it is vital to take into account these variables and follow best practices.
Key considerations include:
- Temperature and Humidity: Ideal conditions are 70°F with 50% humidity. Lower temperatures or higher humidity levels can extend drying times.
- Coat Thickness: Thicker coats take longer to dry and cure. Apply thin, even coats for faster curing.
- Accelerating Curing: Use fans or dehumidifiers to maintain air circulation and reduce humidity, thereby expediting curing.
- Avoiding Heavy Use: Refrain from exposing the surface to heavy use or moisture during the drying and curing period to prevent damage.
Ensuring that the polyurethane sealer is fully cured is essential for achieving a tough, waterproof finish that will protect the painted wood from outdoor elements. By adhering to these guidelines, you can significantly enhance the lifespan and appearance of your sealed wood surfaces.
Frequently Asked Questions
How to Seal Painted Wood for Outdoor Use?
To seal painted wood for outdoor use, guarantee thorough cleaning, apply a polyurethane sealant designed for weather resistance and UV protection, use multiple thin coats, sand between coats for smoothness, and inspect regularly for best durability.
How Do You Seal Wood so It Can Be Outside?
To guarantee weather resistance and enhance wood longevity for outdoor use, apply a polyurethane sealer. Begin by lightly sanding the surface, then apply multiple coats of the sealer, making sure proper ventilation and conducting regular maintenance and touch-ups.
How Do You Prepare Wood for Outdoor Painting?
To prepare wood for outdoor painting, utilize proper sanding techniques with fine-grit sandpaper for a smooth finish, thoroughly clean the surface, apply wood primers as necessary, and make sure all imperfections are filled with wood filler for best paint adhesion.
How to Seal Wood Signs for Outdoor Use?
To seal wood signs for outdoor use, apply polyurethane or polycrylic for weather durability and UV protection. Guarantee an even coat across the surface, allowing sufficient drying time between layers, and finish with a spray sealer for enhanced resilience.
Conclusion
woodProperly sealing painted wood for outdoor use involves a meticulous process to guarantee longevity and durability. Sanding the painted wood, cleaning the surface, filling imperfections, applying the first coat, allowing it to dry, applying the second coat, and finally sealing with polyurethane are essential steps.
Each phase must be executed with precision and attention to detail to create a protective barrier against the elements. Adhering to these steps will greatly enhance the wood’s resistance to weathering and extend its lifespan.


Leave a Reply