Replace Your Outdoor Light Fixture in 5 Simple Steps
Replace your outdoor light fixture efficiently and safely by following these five steps. First, turn off the power at the circuit breaker to avoid electrical shocks and confirm with a voltage tester. Next, unscrew and carefully remove the old fixture. Identify the wires, making certain they are not live and label if necessary. Align and mount the new fixture, securing it tightly. Finally, test the light to guarantee proper functionality and stability. This method guarantees a safe and effective installation, and further steps provide additional details for thorough completion.
Key Takeaways
- Shut off power at the circuit breaker and confirm with a voltage tester to ensure safety.
- Remove the old fixture by unscrewing thumb screws and detaching the mounting bracket.
- Identify and label the neutral, hot, and ground wires after confirming they are not live.
- Mount the new fixture by aligning it with the existing mounting plate and securing it tightly.
- Test the light by toggling the switch and checking for proper illumination and stability.
Turn Off the Power
Before you begin replacing your outdoor light fixture, make sure to shut off the power at the circuit breaker to prevent electrical shocks. Electrical safety is vital when dealing with any electrical components, and your first step should always be to disconnect the power source. Locate your home's circuit breaker panel and identify the breaker that controls your outdoor light fixture. Switch it to the off position.
Next, use a voltage tester to confirm that the power is indeed off. This step is essential for establishing a safe working environment. Simply touch the tester to the wires connected to the fixture. If the tester indicates that there's still power, double-check the circuit breaker and try again until you're certain the power is cut off.
Never skip this step or assume the power is off without verification. This diligence in electrical safety will greatly reduce the risk of accidents, such as electrical shocks, while you work on replacing your outdoor light fixture.
Double-checking that the power source is disconnected ensures that you can proceed with the installation or removal process safely and efficiently.
Remove the Old Fixture
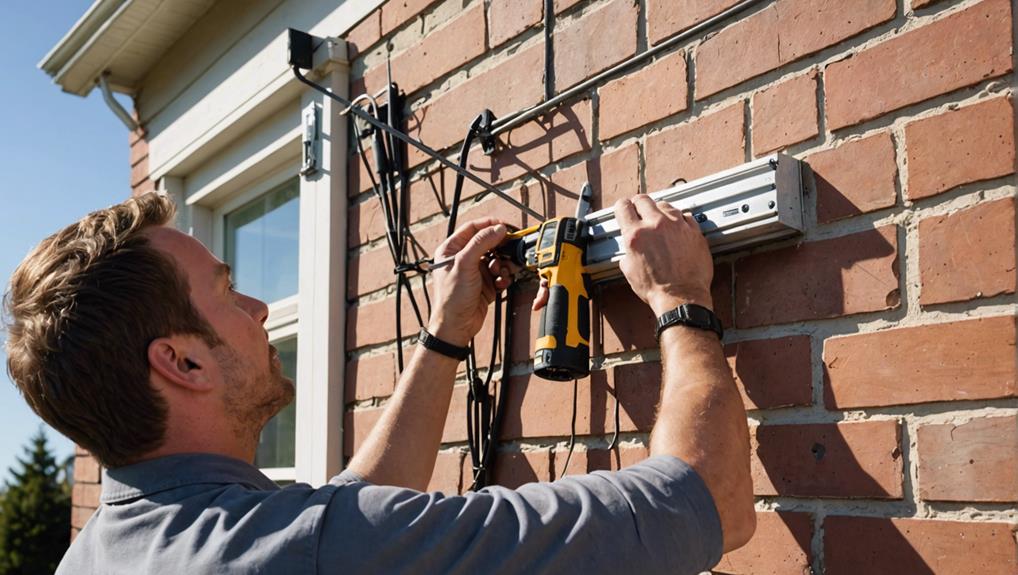
Begin by unscrewing the thumb screws or bolts that hold the old fixture in place. Make sure you've taken all necessary safety precautions, such as shutting off the power at the circuit breaker. Once the screws are removed, gently pull the fixture away from the wall. Be cautious as it may still be connected to the electrical wires.
Next, carefully detach the old fixture from the mounting bracket. Hold onto the fixture firmly to prevent it from falling. Identify the neutral (white), hot (black), and ground wires. Before disconnecting these wires, make a mental note or take a photo of the wire connections. This will make installing your new fixture much easier.
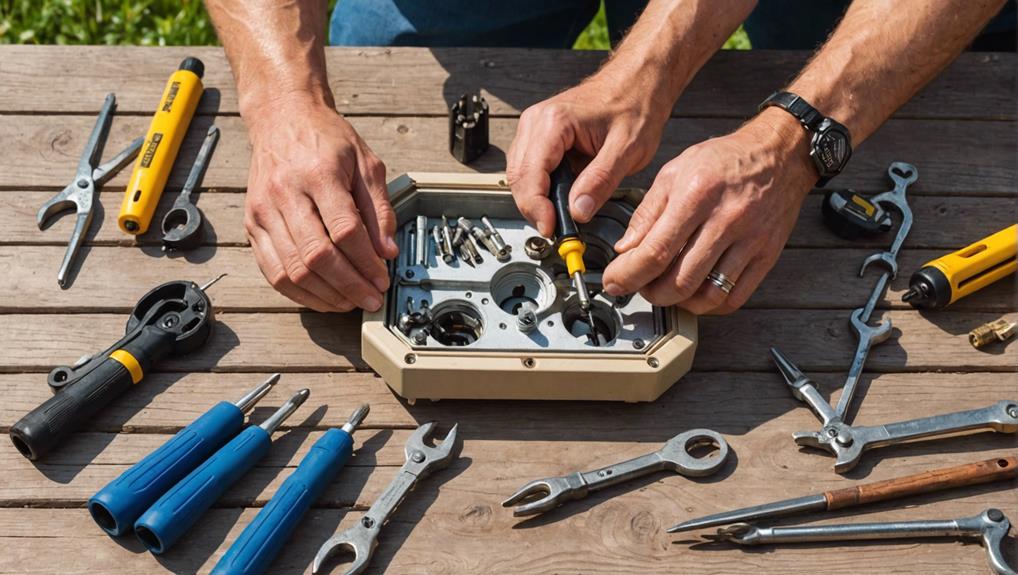
Once the wires are identified, use a screwdriver or pliers to disconnect them. Remove the old fixture completely and set it aside.
Consider recycling old materials, like metal and glass, from the fixture. Many local recycling centers accept these items, reducing waste and promoting sustainability.
Identify the Wires
To identify the wires correctly, first use a voltage tester to confirm they're not live. This is an important safety precaution to prevent electric shock.
Once you've confirmed the wires are safe to handle, focus on the wire color coding to identify each wire's function.
Typically, the neutral wire is white. It completes the circuit and carries current back to the source.
Next, locate the hot wire, which is usually black. This wire carries the current from the power source to your light fixture.
The last wire to identify is the ground wire, often green or bare copper. This wire is essential for safety, as it helps prevent electric shocks by grounding the electrical system.
Carefully label the wires if necessary. This step ensures you won't mix them up during the installation process. Maintaining clear identification is important for the new fixture to function correctly and safely.
Mount the New Fixture
Align the new fixture's mounting block with the existing mounting plate to guarantee a secure and stable installation. Start by carefully positioning the mounting block so it fits the specific dimensions of your outdoor wall. This step is crucial for achieving proper mounting block alignment, which ensures the fixture stays securely in place.
Next, utilize the provided washers during installation. These washers play a significant role in preventing wobbling or loosening of the fixture over time. Make sure to place them between the mounting block and the screws to distribute the pressure evenly and enhance the stability of the fixture.
Carefully feed the wires through the mounting hole. It's essential to avoid any unnecessary twisting or bunching of the wires to maintain a neat and organized appearance. This not only aids in a cleaner installation but also prevents potential electrical issues down the line.
Double-check the tightness of the thumb screws. Confirm that they're snug but not overly tightened, as this could damage the fixture or the mounting plate. A secure installation is achieved when the fixture is firmly attached to the wall without any movement.
Ensuring these steps are followed precisely will result in a safe and long-lasting outdoor light fixture.
Test the Light
Once the new fixture is securely mounted, restore power to the circuit to test its functionality. First, toggle the switch to make sure the light turns on and off as expected. Keep an eye out for any flickering or dimness, as these could indicate wiring issues that require immediate attention.
Next, assess the light brightness. The fixture should illuminate the intended area effectively. If the light isn't bright enough or seems uneven, you may need to adjust the fixture or check the bulb's wattage. This step is important for both safety and functionality, ensuring that pathways and outdoor spaces are well-lit.
After confirming the light brightness, examine the fixture for stability. Gently wiggle it to ensure it's securely mounted and doesn't move. An unstable fixture could pose a safety hazard, especially in harsh weather conditions.
Lastly, verify the weather resistance of your new light fixture. Ensure all seals and gaskets are properly in place, protecting the internal components from moisture and debris. This will extend the lifespan of your fixture and maintain its performance through various weather conditions.
Frequently Asked Questions
How to Replace Outdoor Lighting Fixtures?
To replace outdoor lighting fixtures, first identify the neutral, hot, and ground wires. Choose compatible fixture styles and bulb types. Secure the new fixture with the mounting bracket, connect the wires, and test for proper functionality.
How Do You Change a Light Fixture for Beginners?
To change a light fixture for beginners, follow key safety precautions: turn off power at the breaker. Understand wiring basics: connect ground first, then neutral, then hot. Secure the fixture and bulb, ensuring stability and weatherproofing.
Can I Replace an Outside Light Myself?
Yes, you can replace an outside light yourself. Focus on safety considerations like shutting off the power. Gather required tools: a screwdriver, voltage tester, and wire strippers. Follow detailed steps to guarantee a secure, safe installation.
How to Install Outdoor Lighting in the Uk?
To install outdoor lighting in the UK, adhere to UK regulations and consider weather conditions. Check that fixtures are weatherproof and IP rated. Opt for energy-efficient LEDs and consult a qualified electrician to guarantee safety and compliance with building standards.
Conclusion
By following these steps, you'll safely replace your outdoor light fixture with ease.
Always double-check that the power's off and make sure all connections are secure.
Don't rush; take your time to identify the wires correctly and mount the new fixture properly.
Testing the light as the final step guarantees everything's working perfectly.
With attention to detail and a focus on safety, you'll complete this task like a seasoned pro.
Enjoy your newly lit outdoor space!


Leave a Reply