Paint Bathroom Cabinets Without Sanding in 3 Simple Steps
Transforming your bathroom cabinets without sanding can be achieved in three simple steps. First, meticulously remove the cabinet doors and hardware, organizing the hardware to streamline reinstallation. Next, thoroughly clean the surfaces using a high-quality cleaner to eliminate dirt and grime, and then apply a high-quality primer designed for cabinets to guarantee proper adhesion. Finally, apply a moisture-resistant paint with a quality brush, allowing for the appropriate drying times, and finish with a protective top coat for enhanced durability. These steps will guarantee a professional and long-lasting result, and there's much to explore about each step in detail.
Key Takeaways
- Clean the cabinets thoroughly with a high-quality cleaner to remove dirt and grime.
- Use a high-adhesion primer designed specifically for cabinets to ensure proper paint adherence.
- Remove all cabinet doors and hardware to achieve an unobstructed and thorough paint application.
- Organize and label all hardware in a safe place to streamline the reinstallation process.
- Apply a high-quality, moisture-resistant paint followed by a protective top coat for durability.
Remove Doors and Hardware

Begin the painting process by meticulously removing all cabinet doors and hardware using a screwdriver to guarantee an unobstructed and thorough application of paint. This step is vital for achieving a professional finish on your bathroom cabinets. By taking off hinges, knobs, and drawer pulls, you secure a smooth and even application of paint on all surfaces. The door removal benefits are substantial, providing better access to all edges and corners that would otherwise be challenging to reach.
Effective hardware organization is essential during this phase. Place all removed hardware in a designated safe place to avoid misplacement. Consider using labeled bags or containers to keep track of each piece, which will streamline the reinstallation process post-painting. This method prevents confusion and ensures that every component is easily accessible when needed.
Removing the doors and hardware not only facilitates a more efficient painting process but also protects these elements from potential paint splatters and drips. This meticulous preparation sets the stage for a pristine, professional-looking finish that enhances the overall appearance of your bathroom cabinets.
Clean and Prime Surfaces
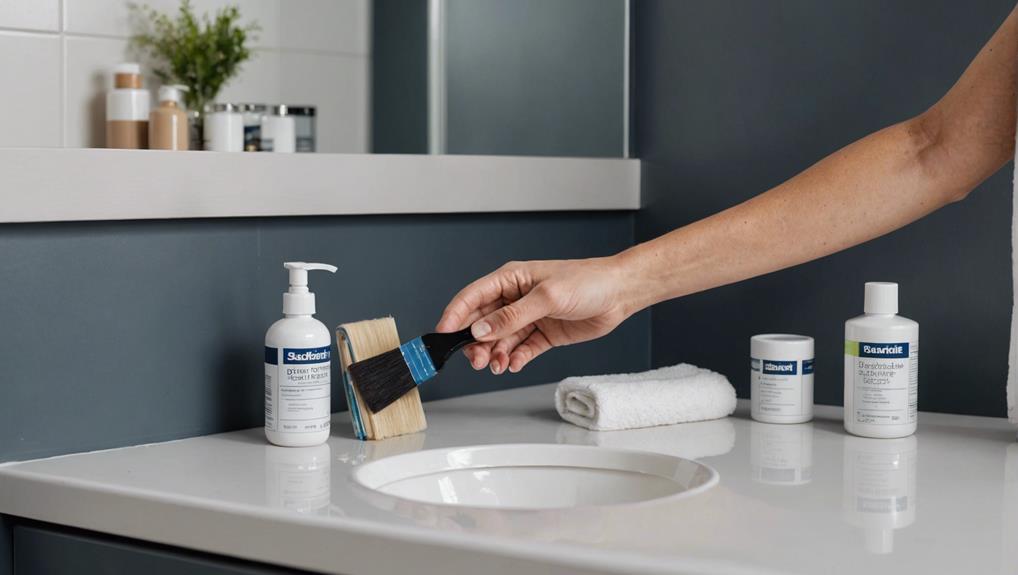
Thoroughly cleaning and priming the surfaces of your bathroom cabinets are essential preparatory steps to guarantee the paint adheres properly and provides a durable, professional-looking finish. Begin with meticulous surface preparation by using a high-quality multi-purpose cleaner to remove all dirt, grime, and residues. This step is vital as any lingering contaminants can greatly impact the adhesion quality of the primer and paint, potentially leading to a subpar finish.
Once cleaned, it's important to make sure the surfaces are completely dry before moving on to priming. Opt for a high-quality primer specifically formulated for cabinets. This type of primer is designed to enhance adhesion quality, ensuring the paint bonds effectively to the surface. Applying the primer evenly across all surfaces creates a smooth, uniform base that not only helps in achieving a professional look but also fortifies the durability of the paint.
Proper cleaning and priming are integral components of surface preparation. These steps help prevent issues such as chipping or peeling, thereby prolonging the longevity of the paint job. Invest the necessary time and effort in these preparatory steps to guarantee your bathroom cabinets attain a flawless, long-lasting finish.
Apply Paint and Top Coat

To achieve a smooth and professional finish, apply the paint and top coat in light, even layers. Begin by choosing appropriate colors that complement your bathroom's overall design. Opt for high-quality paint specifically designed for cabinetry to guarantee durability and resistance to moisture. Use a quality brush recommended by the paint manufacturer to apply the paint, guaranteeing even coverage and minimizing brush strokes.
Understanding drying times is essential to avoid any imperfections. Allow each coat of paint to dry thoroughly before applying the next layer. This step is vital to prevent drips and uneven coverage. Typically, a drying time of 24 hours between coats is advisable, but always refer to the paint manufacturer's guidelines for the best results.
After the final paint layer has been applied and fully dried, proceed with the protective top coat. This top coat will add a layer of durability and protect the cabinets from daily wear and tear. Use the same technique of light, even layers with the top coat. Allow the cabinets to dry completely before reattaching any hardware or using them. This ensures that the finish remains pristine and long-lasting.
Frequently Asked Questions
How to Paint Bathroom Cabinets Without Sanding?
To paint bathroom cabinets without sanding, first remove the cabinet hardware. Clean and degloss the surfaces. Apply a bonding coat with a suitable paint type, and finish with a protective top coat for lasting durability and aesthetic appeal.
How Do You Paint Bathroom Cabinets Step by Step?
To paint bathroom cabinets step by step, start with surface preparation by removing cabinet hardware and cleaning thoroughly. Use a deglosser, apply primer, and finish with two coats of bonding paint. Reattach hardware once fully dried.
Can I Paint Over Cabinets Without Sanding?
Yes, you can paint over cabinets without sanding by using alternative finishes such as a deglosser. These sanding alternatives effectively remove glossy finishes, ensuring a professional look when primer and paint are subsequently applied.
Do You Have to Sand Bathroom Cabinets to Paint Them?
For best results, sanding bathroom cabinets is generally recommended. However, thorough surface prep and appropriate primer selection can sometimes eliminate the need for sanding, ensuring paint adhesion and durability despite bypassing the traditional sanding step.
Conclusion
The process of painting bathroom cabinets without sanding can be effectively executed by following three fundamental steps:
- Removing doors and hardware
- Thoroughly cleaning and priming surfaces
- Applying both paint and a protective top coat
Adhering to these steps guarantees a professional and durable finish, enhancing the aesthetic appeal and functionality of the cabinetry.
This method not only saves time but also minimizes labor, making it a practical solution for updating bathroom interiors.
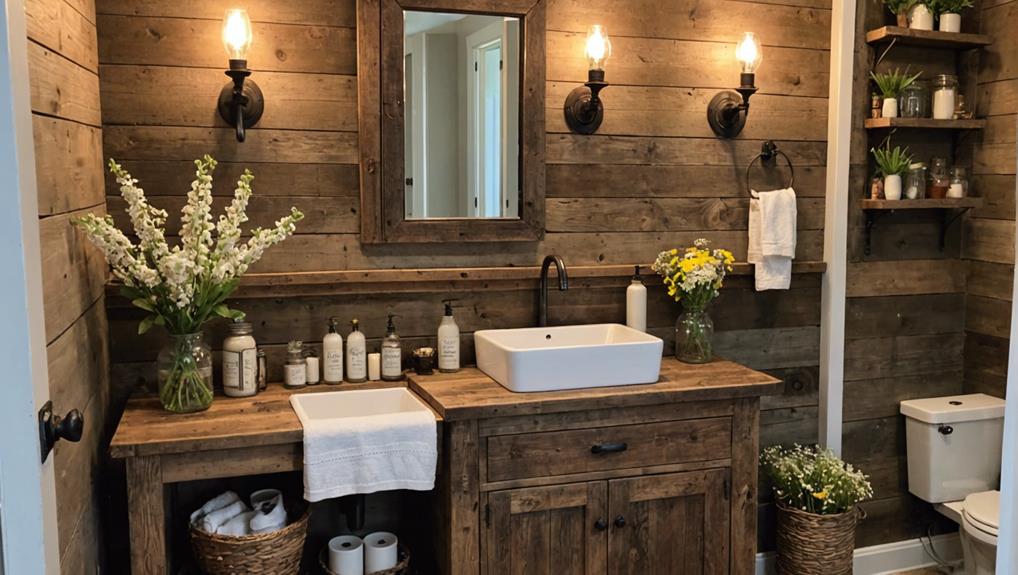
Transform Your Space With Farmhouse Bathroom Vanity Ideas
Discover how to elevate your bathroom's charm with farmhouse vanity ideas that blend rustic and
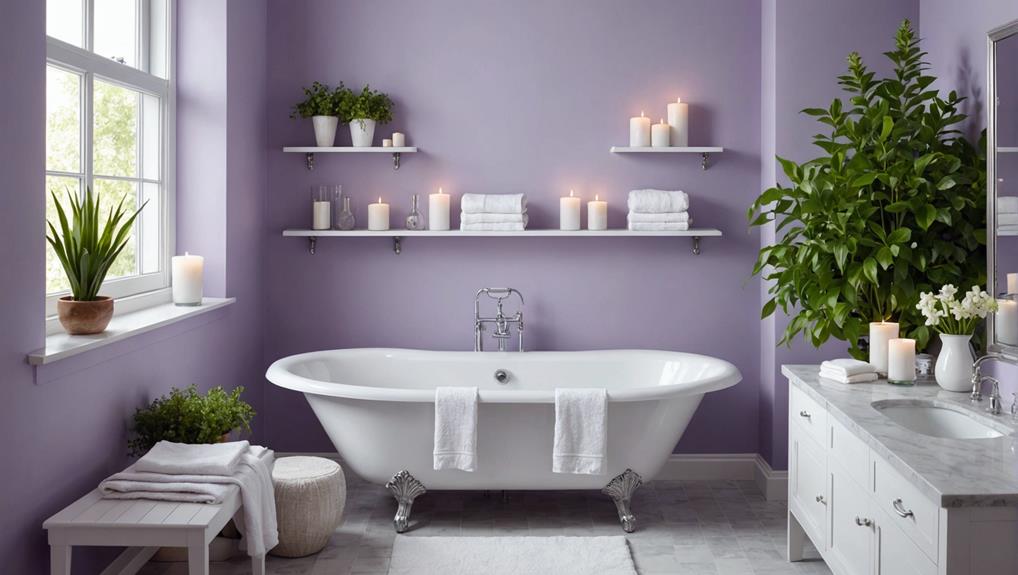
Fresh Tips for a Tranquil Lilac Bathroom
Transform your bathroom into a serene retreat with these fresh lilac decor tips—discover how t
10 Stunning Examples of Bathroom Tile to Transform Your Space
Keep reading to discover ten stunning bathroom tile options that will transform your space into a ha
Leave a Reply