5 Simple Steps to Build Your Own Outdoor Furniture
To build your own outdoor furniture, start by selecting high-quality, sustainable materials like cedar or teak. Measure and cut your timber accurately using a circular saw, making sure all pieces are straight and smooth. Lay out and secure the frame with screws, checking for stability and alignment. Attach prefab legs evenly using a power drill and a spirit level to guarantee balance. Finish by applying a weather-resistant sealant or paint, adding protection and a polished look. Each step brings you closer to crafting customized, durable outdoor pieces.
Key Takeaways
- Select sustainable, weather-resistant materials like cedar, teak, or bamboo.
- Accurately measure and cut timber, ensuring pieces are straight and free of defects.
- Assemble the frame securely using pre-drilled holes, screws, and weather-resistant sealant.
- Attach prefab legs evenly, ensuring stability and alignment with a spirit level.
- Apply protective finishes, such as Ultra Clear in Satin or natural oils, and maintain annually.
Gather Your Materials
Begin by selecting high-quality materials like cedar, teak, or redwood to guarantee that your outdoor furniture withstands the elements. These woods are naturally resistant to decay and insects, making them ideal for outdoor conditions.
When considering material selection, compare costs carefully. Cedar is typically less expensive than teak, but teak offers superior durability and longevity, which might justify the higher cost over time.
If you're concerned about sustainability, look into eco-friendly alternatives. Bamboo is a renewable resource that's gaining popularity, though it may require more maintenance. Reclaimed wood is another option that not only helps reduce waste but also adds a unique character to your furniture. Always verify that your chosen materials come from certified sustainable sources to address sustainability concerns effectively.
Additionally, consider weather-resistant finishes to protect your furniture. Make sure you have all the necessary tools and equipment for the construction process. Plan ahead to gather all your materials before starting; this preparation minimizes interruptions and helps you stay focused.
Measuring and cutting materials accurately is essential, so double-check dimensions to guarantee a precise fit during assembly. By prioritizing these steps, you'll set a solid foundation for your outdoor furniture project.
Cut and Prepare Timber
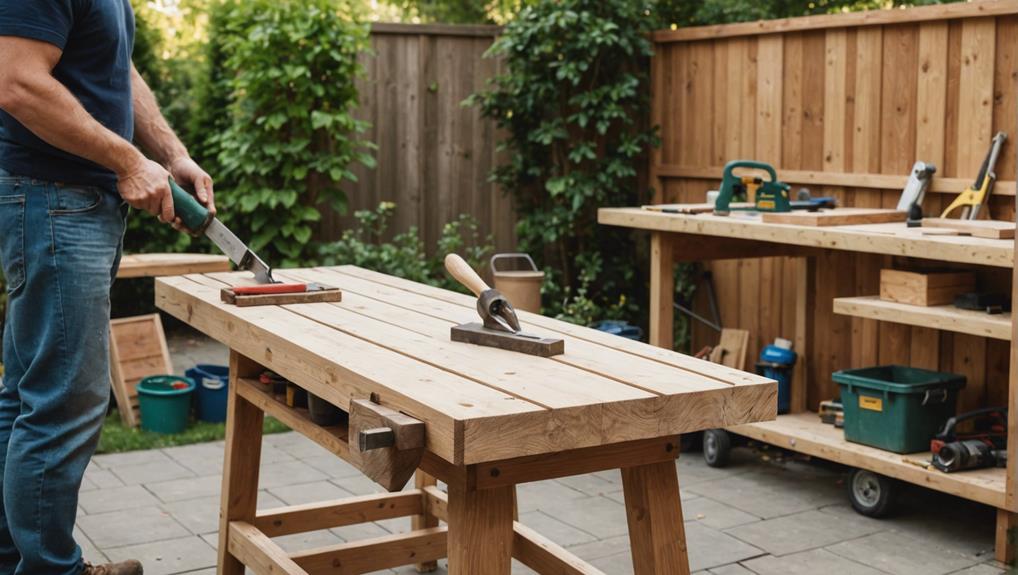
Once you've gathered all your materials, measure and cut the timber precisely according to your outdoor furniture plans to guarantee a perfect fit during assembly. Begin with accurate timber selection; choose pieces that are straight and free from knots or cracks. When you're ready for timber cutting, use a circular saw or miter saw to make precise cuts. Be sure to measure twice and cut once to avoid any costly mistakes.
| Step | Tool Needed | Purpose |
|---|---|---|
| Measure Timber | Measuring Tape | Verify precise dimensions |
| Cut Timber | Circular/Miter Saw | Achieve accurate lengths |
| Pre-Drill Holes | Drill | Prevent splitting during assembly |
After cutting, focus on surface preparation. Sand and smooth the edges of the timber to prevent splinters and ensure a polished finish. Edge smoothing is critical; use fine-grit sandpaper and work along the grain for the best results.
Next, pre-drill holes in the timber pieces. This will make the assembly easier and prevent the wood from splitting. Finally, apply a wood sealant or stain to protect the timber from outdoor elements and enhance its durability. Proper surface preparation, including sealing, ensures your furniture withstands the test of time and weather.
Assemble the Frame
To start assembling the frame, make sure you have all your tools and materials organized and within reach. Begin by laying out your pressure-treated lumber or metal pieces according to your design. Use a tape measure and pencil to double-check your measurements and alignments to avoid any mistakes.
First, secure the base pieces together using a drill and screws. Make certain the connections are tight to maintain frame stability.
Next, add vertical supports, fastening them securely to the base. Use clamps to hold pieces in place while you drill and screw them together. For added reinforcement, consider installing additional support beams or braces, especially for larger furniture pieces. This guarantees the structure can handle weight and usage over time.
Don't forget weatherproofing techniques. Apply a weather-resistant sealant or paint to protect the frame from the elements. This step is essential to prevent wood rot or metal corrosion, extending the life of your furniture.
As you assemble, periodically check for any wobbling or misalignment. Adjust as necessary to make sure everything remains square and stable.
Taking these careful steps will result in a durable, weatherproof frame that's ready for the next phase of your project.
Attach Prefab Legs
With your frame securely assembled, now's the time to attach the prefab legs, guaranteeing your outdoor furniture stands stable and level. Prefab legs provide a quick and easy solution for adding support, making this step straightforward and efficient.
First, gather your tools and materials. You'll need a power drill, screws, and a measuring tape.
Here are three leg installation tips to keep in mind:
- Measure Twice, Drill Once: Guarantee the legs are evenly spaced and aligned with the corners of your frame to prevent wobbling.
- Use Appropriate Screws: Select screws that are compatible with the material of your prefab legs, whether they're steel or aluminum, to ensure a secure attachment.
- Check for Level: After attaching each leg, use a spirit level to confirm that the furniture stands evenly on all sides.
The benefits of prefab legs are numerous. They're designed with stability and durability in mind, ideal for outdoor settings. Prefab legs come in various styles and sizes, allowing you to customize your furniture to match your aesthetic preferences and functional needs.
Apply Finishing Touches
Applying the finishing touches to your outdoor furniture not only enhances its appearance but also greatly boosts its durability and weather resistance. Start with a clear finish like Ultra Clear in Satin for a sleek, modern look. This product seals the wood, ensuring it can withstand the elements.
You might also consider water-resistant finishes that offer superior protection against moisture, which is important for outdoor use.
When it comes to color options, you can either stick with the natural wood look or choose from a variety of weatherproofing stains and paints. If you prefer DIY alternatives, you can mix your own stain using natural oils like linseed or tung oil, which also offer some degree of weatherproofing.
Maintenance tips are essential for long-lasting furniture. Regularly clean your furniture with a mild soap solution to remove dirt and debris. Every year, inspect the finish and reapply if you notice any wear or damage. This will keep your outdoor pieces looking new and extend their lifespan.
Frequently Asked Questions
What Type of Wood to Use for Outdoor Furniture?
For outdoor furniture, choose wood with durability like cedar, teak, or redwood for natural resistance. Treated lumber, such as pressure-treated pine, is budget-friendly. Consider acacia for affordability and sustainability, and hardwoods for a rich appearance.
How to Make a Couch Waterproof for Outside?
To make your outdoor couch waterproof, apply waterproof paint to the frame. Use waterproof covers for the cushions, and consider additional protection like waterproof sprays. Guarantee proper drainage and clean regularly to maintain effectiveness.
How to Waterproof Cushions for Outdoor Furniture?
To waterproof cushions for outdoor furniture, clean and dry them first. Apply a fabric sealant spray evenly, focusing on seams. Use protective covers when not in use and reapply regularly. Proper drying techniques enhance effectiveness.
How Do You Prepare Wood Furniture for Outdoor Use?
To prepare wood furniture for outdoor use, start with proper sanding techniques to smooth rough spots. Apply wood sealants to protect against moisture and UV rays. Regularly maintain the surface for prolonged durability and appearance.
Conclusion
Congratulations on completing your outdoor furniture project! By gathering quality materials, precisely cutting and preparing your timber, assembling a sturdy frame, and attaching reliable prefab legs, you've crafted a durable piece.
Don't forget to apply those finishing touches to protect and beautify your furniture. Now, enjoy the satisfaction of your handiwork and relax in your custom-built outdoor oasis.
Remember, the key to longevity is regular maintenance, so keep it clean and well-protected against the elements. Happy lounging!


Leave a Reply