10 Steps to Set the Perfect Height for Your Bathroom Sink Drain
To set the perfect height for your bathroom sink drain, first gather necessary tools like a measuring tape and pipe cutter. Measure the existing drain height and consult the manufacturer's guide to determine the ideal new height. Mark this new height on the drain pipe. Install mounting brackets at the marked locations, then cut the drain pipe to fit. Secure the new drain line and attach the P-trap assembly. Finally, test the system to make sure there are no leaks. For a more detailed explanation of each step, there's more to explore.
Key Takeaways
- Consult the manufacturer's rough-in guide for recommended drain height and plumbing requirements.
- Measure the existing drain height and ensure it is level for accurate alignment.
- Mark the new drain height location on the plumbing pipe, using a level to confirm accuracy.
- Cut the drain pipe carefully, smooth the edges, and seal properly to prevent leaks.
- Install and secure the P-trap assembly, ensuring all connections are tight and aligned as per manufacturer's guidelines.
Gather Necessary Tools
To begin setting the perfect height for your bathroom sink drain, gather essential tools like a tape measure, level, flashlight, and the manufacturer's rough-in guide. These tools are vital for ensuring accurate measurements and proper alignment of your sink drain.
Start with tool organization; having everything within reach will streamline the process and reduce the chance of errors. A tape measure and level are essential for confirming the drain height and ensuring the drainpipe is installed horizontally for best drainage.
Proper lighting is also important. Use a flashlight to inspect plumbing connections and verify alignment during installation. This ensures you catch any potential issues early.
Before you start, focus on workspace preparation. Clear the area of any obstructions to allow for easy access and maneuverability. Lay down a protective covering to keep the area clean and prevent damage to flooring or cabinetry.
Safety precautions can't be overlooked. Wear protective gloves and safety goggles to protect yourself from sharp edges and debris. Make sure the workspace is well-ventilated to avoid inhaling any harmful fumes.
Following these steps will set you up for a smooth and successful installation process.
Measure Existing Drain Height
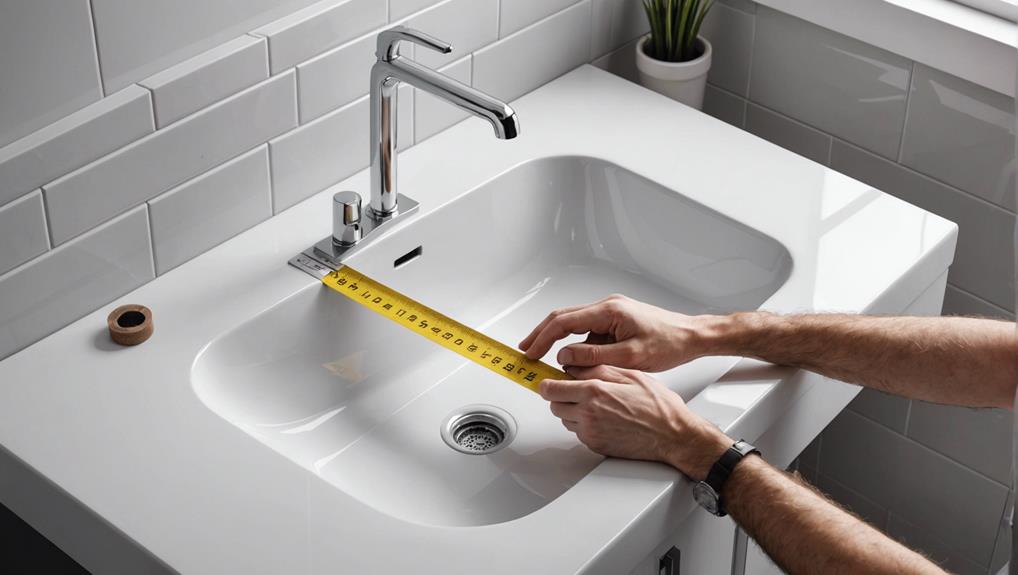
Start by using your tape measure to determine the distance from the bottom of the sink basin to the floor where the drain connects. This measurement is crucial to account for any drain height variations and guarantee accurate sink drain adjustments.
Here are the steps to follow:
- Prepare Your Tools: Gather a tape measure and a flashlight to clearly see the connection point. Make sure the drainpipe is level horizontally to prevent future drainage issues.
- Measure the Distance: Place one end of the tape measure at the bottom of the sink basin and extend it down to the floor. Note the distance in inches, ensuring precision.
- Check for Best Range: Confirm that the measurement falls within the best range of 16 to 24 inches for a bathroom sink. This ensures the drain height is suitable for standard plumbing codes and functionality.
- Record Your Measurement: Write down the exact distance for reference during installation. Accurate recording helps avoid discrepancies and guarantees a smooth process when making sink drain adjustments.
Consult Manufacturer's Guide
Always refer to the manufacturer's guide to find the recommended height for setting your bathroom sink drain. This guide provides essential information, including specific measurements and ideal drain height, ensuring proper installation. By adhering to the manufacturer's instructions, you can avoid common issues that arise during drain height troubleshooting, such as improper water flow or inadequate drainage.
The manufacturer's guide often includes detailed rough-in dimensions and plumbing requirements. These details are vital for a precise and professional installation. Analyzing the manufacturer's recommendations ensures that you adhere to the designed specifications of your sink and its components. This analysis should be your primary reference point before proceeding with any installation steps.
Consulting the manufacturer's recommendations is important because it provides tailored advice for the specific model of your bathroom sink. These guidelines are designed to optimize the performance and longevity of your sink and its drainage system. Following these instructions minimizes the risk of potential installation errors and ensures that all components function harmoniously. By prioritizing the manufacturer's guide, you set a strong foundation for a successful and efficient bathroom sink drain installation.
Determine Ideal Height
When determining the ideal height for your bathroom sink drain, consider the type of sink and vanity, as well as standard plumbing guidelines that recommend a height range of 16 to 24 inches. This guarantees efficient drainage and prevents plumbing issues down the line.
Here are some key factors to guide you:
- Drain height considerations: Review plumbing codes specific to your area as they might provide exact requirements. Adhering to these codes is essential for compliance and functionality.
- Sink and vanity compatibility: Different sink types such as pedestal, wall-mounted, or vessel sinks have varying drain height requirements. Ensure the drain height aligns with both the sink and vanity for best performance.
- Professional recommendations: Consult a professional plumber for precise measurements tailored to your bathroom setup. They can provide insights that consider both standard practices and the unique aspects of your installation.
- User comfort and accessibility: Take into account the height preferences of the primary users of the bathroom. A properly positioned drain height contributes to a comfortable and accessible bathroom experience.
Mark the New Height
To mark the new height:
- Start by measuring the existing drain height and noting the ideal sink position.
- Using a tape measure, mark the precise new location on the plumbing pipe.
- Confirm the height aligns correctly by double-checking with a level.
Measure Existing Drain Height
Start by using a tape measure to determine the vertical distance from the bottom of your sink basin to the floor, establishing the existing drain height. This initial measurement is essential for evaluating current drain height considerations and ensuring proper sink basin alignment. Verify that the existing drain height falls within the ideal range of 16 to 24 inches, adhering to plumbing code compliance. This step is vital for ideal range verification and avoiding future drainage issues.
To mark the new height accurately, follow these steps:
- Measure Existing Height: Use a tape measure to record the vertical distance from the sink basin's bottom to the floor.
- Verify Ideal Range: Check if the measured height is between 16 to 24 inches, complying with local plumbing codes.
- Ensure Horizontal Level: Confirm the drainpipe is level horizontally to prevent potential drainage problems.
- Adjust as Needed: If the drain height needs adjustment, cut or extend the pipes to achieve the desired measurement.
Accuracy in measuring and marking the new drain height is critical for a successful bathroom sink installation. Precision ensures that all components align correctly, facilitating smooth water flow and compliance with plumbing standards.
Determine Ideal Sink Position
Now that you've measured the existing drain height, it's time to determine the best sink position by marking the new height for the drain. Begin by considering the sink placement and aesthetic appeal within the bathroom space. Ideally, bathroom sink drains should be set within a range of 16 to 24 inches from the floor.
To achieve the best drain height, take into account the specific sink and vanity height. Use a tape measure to find the desired height, and make sure it's practical for daily use. Proper functionality considerations are essential, so the drain outlet should be around 14 5/8 inches down from the sink rim. This ensures effective drainage and prevents water buildup.
Next, use a level to mark the precise location on the wall where the drain pipe stub out will be installed. For accuracy, align with the manufacturer's rough-in guidelines, which provide specific measurements for setting the perfect height.
Mark Precise New Location
With your tape measure in hand, accurately mark the new height for the bathroom sink drain on the wall using a pencil. This step is important for the height adjustment and subsequent installation process.
Use the recommended height for best drainage, typically around 18 to 20 inches from the floor, depending on your sink type. Make sure the mark is level and aligns with the center of the sink basin to achieve proper alignment and drainage efficiency.
Follow these steps to ensure precision:
- Measure Twice, Mark Once: Double-check your measurements to guarantee accuracy. A small error can lead to significant plumbing issues later on.
- Use a Level: Confirm that your mark is perfectly horizontal using a carpenter's level. Proper alignment is key for efficient drainage.
- Clear the Area: Remove any obstacles or obstructions around the marked area. This will make the installation process smoother and prevent any interference.
- Mark Clearly: Use a pencil to make a clear, visible mark on the wall. This ensures you can easily locate it during the installation process.
Cut the Drain Pipe
Carefully measure and mark the drain pipe to make sure it aligns with your sink and vanity specifications. This precise measurement is important for ensuring pipe compatibility and proper drainage function.
Once marked, utilize appropriate cutting techniques, such as a pipe cutter or hacksaw, to make a clean, straight cut at the designated height. A pipe cutter is recommended for its ability to produce a more accurate and smooth edge, minimizing potential issues.
After cutting, examine the edge of the pipe for any burrs or rough spots. These imperfections can interfere with sealing methods and lead to leaks. Use a deburring tool or fine sandpaper to smooth out the cut edge, ensuring a perfect fit with the sink drain.
Double-check the height of the cut pipe to confirm it aligns correctly with both the sink drain and the P-trap.
Proper sealing is important for leak prevention. Ensure that any connections made, especially at the cut edge, are secure and watertight. Employ suitable sealing methods, such as plumber's tape or joint compound, to enhance the seal and avert potential leaks, promoting long-term reliability.
Install Mounting Brackets
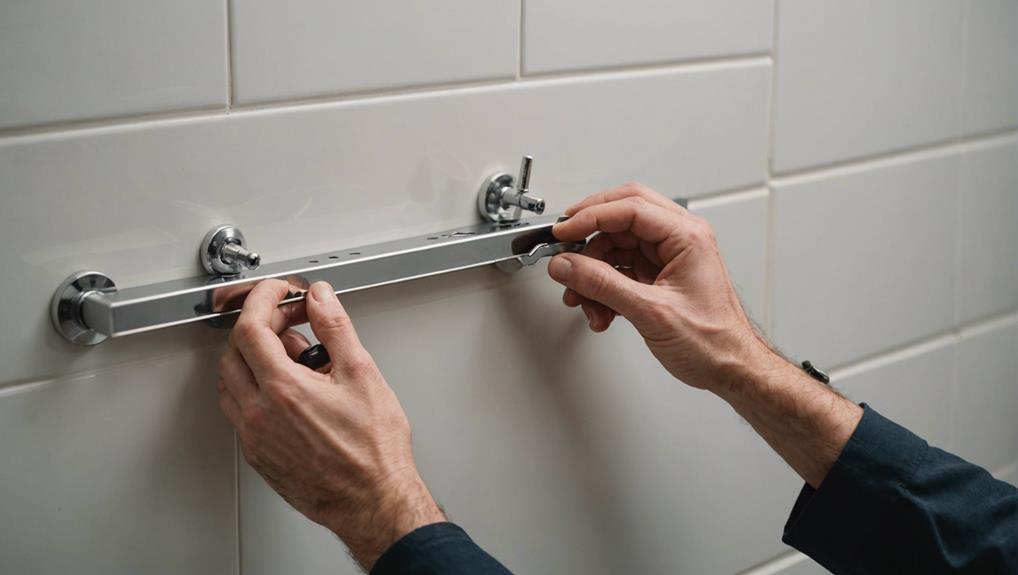
Mounting brackets typically need to be installed before setting the sink in place to guarantee proper stability and alignment. These brackets are essential for securing the sink to the wall or vanity and come in various sizes and styles to fit different sink designs. Properly installed brackets will make sure that your sink remains stable and level over time.
Here's a step-by-step guide to effective bracket installation techniques:
- Measure and Mark: Measure the height at which the sink will be installed. Mark the points on the wall or vanity where the brackets will be attached. Accurate measurements are important to avoid any common bracket mistakes.
- Drill Pilot Holes: Use a drill to create pilot holes at the marked points. This helps prevent the wood or wall from splitting and ensures the screws will go in straight.
- Attach the Brackets: Secure the brackets to the wall or vanity with screws. Make sure they're tightly fastened to provide maximum support for the sink.
- Check Alignment: Use a level to make sure the brackets are perfectly horizontal. Misalignment can lead to instability and improper sink placement.
Secure the Drain Line
To secure the drain line, measure the pipe length accurately to guarantee a proper fit.
Tighten all connections securely using appropriate fittings to prevent leaks.
This guarantees a reliable and efficient drainage system for your bathroom sink.
Measure Pipe Length
Begin by measuring the length of the drain pipe from the bottom of the sink basin to the floor to confirm the correct height. Ensuring drain pipe compatibility with your sink's design is essential for a smooth installation. Use a tape measure and level to achieve precise measurements, which are important for avoiding future drainage issues.
To accurately measure and secure the drain line, follow these steps:
- Measure Pipe Length: Use a tape measure to determine the distance from the bottom of the sink basin to the floor. This helps you select the proper drain pipe length.
- Check Compatibility: Make sure the drain pipe you choose is compatible with your sink's design and plumbing system. This prevents any installation mishaps.
- Utilize Height Adjustment Options: Consider height adjustment options if your initial measurements don't align perfectly. Adjustable pipes or fittings can help you achieve the ideal height.
- Level the Drain Line: Use a level to confirm the drain pipe is horizontally straight. This prevents water from pooling or draining incorrectly.
Tighten Connections Securely
Make sure you tighten the connections between the drain line and the P-trap using a wrench to prevent leaks and maintain peak drainage. Use proper tightening techniques to guarantee the connections are snug but not overly tight. Over-tightening can damage the pipes, leading to costly repairs, while loose connections can result in leaks and inefficient drainage.
Here's a quick reference for common connection issues and how to resolve them:
| Common Issues | Solutions |
|---|---|
| Over-tightened nuts | Loosen slightly to relieve pressure |
| Loose connections | Tighten until secure, but not forced |
| Leaks | Check washers and re-tighten |
After tightening, inspect the connections for any signs of water leakage. Turn on the faucet and let the water run for a few minutes to ensure everything is secure. If you notice any drips or moisture around the connections, you may need to adjust the tightness or replace the washers.
Properly securing the drain line is essential for maintaining the integrity of your plumbing system. By following these steps, you'll avoid common connection issues and guarantee your bathroom sink drain operates efficiently.
Attach P-trap Assembly
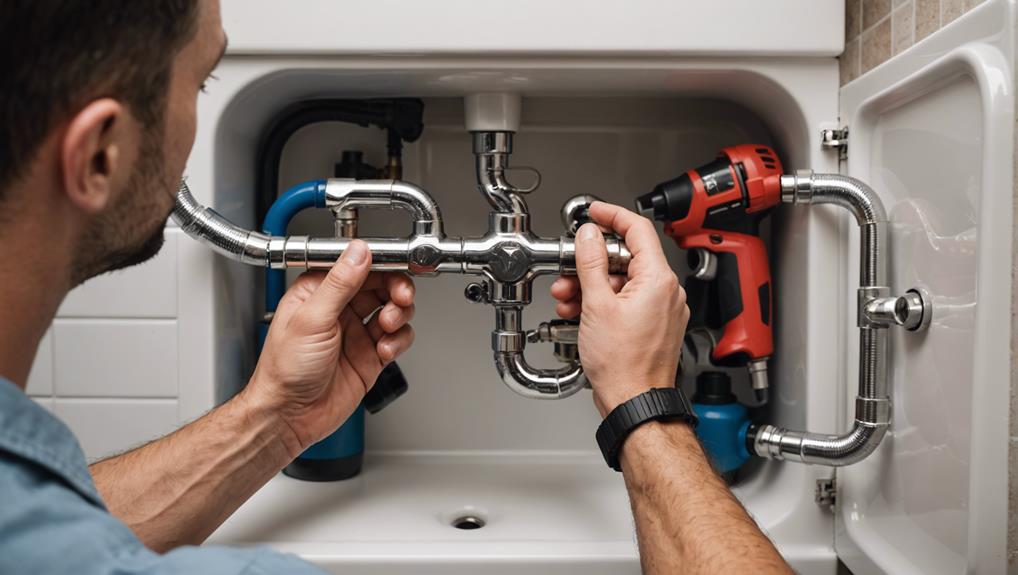
Before confirming the P-trap assembly, make sure it's positioned 6 to 8 inches below the sink basin to effectively prevent sewer gas odors. Proper P trap alignment and height adjustment are important for smooth drainage and minimizing clogs.
To attach the P-trap assembly, follow these steps:
- P-trap alignment: Ensure the P-trap is level horizontally. This alignment is essential to maintain a proper flow of water and prevent any potential blockages.
- Height adjustment: Adjust the P-trap height so that it's securely connected to both the tailpiece from the sink and the drainpipe leading to the wall. Double-check that the height falls within the 6 to 8-inch range.
- Secure connections: Attach the slip nuts and washers to the tailpiece and the drainpipe, then tighten them securely. Make sure there's no play in the connections to prevent future leaks.
- Accessibility: Position the P-trap assembly in a way that it remains easily accessible for future maintenance and cleaning. This will save you time and hassle when it comes to routine plumbing upkeep.
Following these steps ensures a reliable and efficient installation, adhering to all manufacturer guidelines for best plumbing performance.
Test for Leaks
Check for leaks by running water through the sink and closely inspecting all drain connections. Look for any signs of water pooling or dripping underneath the sink, which could indicate potential leaks in the drain system. Use a flashlight to examine the P-trap and other drain connections for any water seepage or moisture accumulation.
| Inspection Area | Tool Needed | Action Required |
|---|---|---|
| Underneath Sink | Flashlight | Check for pooling water |
| P-trap | Flashlight | Inspect for seepage |
| Drain Connections | Flashlight | Look for moisture |
| Fittings | Wrench | Tighten if loose |
| Persistent Leaks | Professional Help | Consult a plumber |
Tighten any loose connections or fittings to enhance leak prevention and ensure the proper functionality of your drain system. If tightening doesn't resolve the issue, it may be necessary to explore other leak prevention and maintenance strategies. Persistent leaks require immediate attention to avoid long-term water damage.
Leak detection is important for maintaining the integrity of your bathroom and preventing costly repairs in the future. If you continue to experience leaks despite tightening and other efforts, consult a professional plumber to accurately diagnose and address the issue. This proactive approach helps avoid extensive water damage and ensures a properly functioning bathroom sink drain.
Frequently Asked Questions
How High Should the Drain Be for a Bathroom Sink?
For ideal drain placement, follow plumbing standards and set the bathroom sink drain height between 16 and 24 inches from the floor. Typically, an 18-20 inch stub-out height works best, but always consult the manufacturer's rough-in guide.
What Height Should a Bathroom Sink Be Set At?
For guaranteed accessibility standards and compatibility with various vanity styles, you should set your bathroom sink at a height of 32 to 36 inches from the floor. This maximizes ease of use for most individuals.
How to Adjust the Height of a Bathroom Sink Stopper?
To adjust your bathroom sink stopper mechanism, use adjustment tools to loosen the nut behind the faucet. Slide the stopper to the desired height, then tighten the nut. Test the sink drain to guarantee proper functionality.
How High Should Under Sink Drain Be?
Your under sink drain should ideally be 16 to 24 inches high. Consider pipe materials and installation tools. Consult plumbing codes and manufacturer's guidelines for specifics. Always guarantee proper P-trap functionality and efficient drainage by setting the correct height.
Conclusion
You've successfully set the perfect height for your bathroom sink drain by following these steps.
With the right tools, accurate measurements, and proper installation techniques, your drain will function efficiently.
Don't forget to consult the manufacturer's guide and thoroughly test for leaks.
Your attention to detail guarantees a professional result, enhancing both functionality and aesthetics.
Enjoy the satisfaction of a job well done and a perfectly installed bathroom sink drain.



Leave a Reply