Step-by-Step Guide to Installing Hardwood Flooring in a Bathroom
Installing hardwood flooring in a bathroom demands precise preparation and execution. First, select moisture-resistant wood, such as engineered hardwood or durable species like oak, and acclimate it for 72 hours. Prepare the subfloor by cleaning, leveling, and installing a moisture barrier. Remove old flooring following specific techniques and install underlayment with overlapping edges. Measure, cut, and fit floorboards around obstacles using precise tools like jigsaws. Apply polyurethane sealant and secure trims and thresholds for a professional finish. Properly maintaining your tools enhances accuracy and durability. Remaining steps cover intricate details to guarantee an impeccable installation and long-lasting results.
Key Takeaways
- Acclimate hardwood planks in the bathroom for 72 hours to stabilize.
- Clean, level, and repair the subfloor, adding a moisture barrier.
- Use moisture-resistant underlayment and overlap edges, securing with tape.
- Measure and cut floorboards precisely, fitting around obstacles with a jigsaw.
- Seal the hardwood with polyurethane or varnish for moisture resistance.
Choose Moisture-Resistant Wood
When selecting hardwood flooring for a bathroom, it is essential to choose moisture-resistant options like engineered hardwood. Engineered hardwood is specifically designed to withstand the unique challenges posed by high-humidity environments, thanks to its multi-layered plywood base which offers enhanced dimensional stability compared to solid wood. This construction mitigates the risks of warping and swelling typically associated with moisture exposure.
For best performance in a bathroom setting, choosing the most suitable wood species is vital. Varieties such as oak, maple, and walnut are renowned for their inherent durability and resistance to damp conditions. These species not only provide aesthetic appeal but also ensure long-term functionality in high-moisture areas.
Proper sealing of the wood is an indispensable step to protect against water damage. Various wood sealer options, including polyurethane, varnish, and prefinished hardwood, offer distinct advantages. Polyurethane and varnish provide robust surface protection, repelling water and reducing the risk of stains and scratches. Prefinished hardwood, on the other hand, comes with a factory-applied sealant, offering an additional layer of defense against moisture, thereby simplifying the installation process.
Incorporating these moisture-resistant strategies will greatly enhance the longevity and performance of hardwood flooring in bathroom environments.
Remove Existing Flooring
Removing the existing flooring is an important first step to guarantee the subfloor is clean and level, providing a suitable foundation for new hardwood installation. This phase demands precision and the right set of tools, ensuring the integrity of the subfloor is maintained.
Common flooring types encountered in bathrooms include tiles, vinyl, and laminate, each requiring specific flooring removal techniques for effective extraction. Tiles should be pried up with a crowbar and hammer, taking care to minimize subfloor damage. For vinyl, a utility knife can be used to cut sections, followed by a scraper to lift the material. Laminate flooring can often be removed by disengaging the tongue and groove connections, then prying up each piece.
Attention must be given to the subfloor preparation essentials. All adhesive residues, grout, or underlayment must be meticulously removed. This guarantees a smooth surface, critical for the adhesion and longevity of the new hardwood flooring. Use a scraper and solvent to ensure a clean finish.
Proper disposal of old flooring materials is crucial to maintain a clutter-free and safe work environment. Collected debris should be promptly discarded according to local regulations, ensuring no safety hazards impede the installation process.
Prepare the Subfloor
After successfully removing the existing flooring, the next vital step is to guarantee the subfloor is meticulously prepared to provide a stable and moisture-resistant foundation for the new hardwood installation. Begin by making sure the subfloor is clean, dry, and devoid of any debris or uneven surfaces. Subfloor leveling is essential; any inconsistencies can lead to an unstable installation and premature wear of the hardwood.
Next, conduct thorough moisture testing of the subfloor to identify any potential dampness that could compromise the hardwood. Utilize a moisture meter to verify that the moisture content is within acceptable limits, typically below 12%. Should you detect excessive moisture, delay the installation and address the source of the dampness to prevent future issues.
Address any structural concerns, such as loose or damaged sections of the subfloor, by performing necessary repairs to ensure a solid base.
Installing a suitable moisture barrier or underlayment is imperative to protect the hardwood from potential water damage. This layer acts as a shield, enhancing the longevity of the flooring.
Acclimate the Wood
Proper acclimation of hardwood flooring is an essential step in ensuring stability and longevity, particularly in the high-moisture environment of a bathroom. To achieve best results, the wood planks must be allowed to sit in the installation room for a minimum of 72 hours. This period allows the wood to adjust to the specific humidity and temperature conditions of the bathroom, which is crucial for preventing future warping or gaps.
Maintaining precise humidity control and temperature adjustment during this process is necessary. The room temperature should be kept between 60-75 degrees Fahrenheit, with humidity levels ranging from 35-55%. These conditions ensure that the wood achieves a balanced moisture content, important for moisture prevention and structural integrity.
Additionally, when storing wood planks on an on-grade concrete floor, a 4-inch airspace should be provided to mitigate moisture-related issues. This precaution helps maintain the wood's dimensional stability.
Proper alignment is another key aspect of the acclimation process. Locating joists by driving nails and marking them 16-24 inches apart will facilitate correct installation alignment later.
Lastly, cutting the casing to allow for the neat fitting of planks ensures a seamless and professional finish, essential for a bathroom installation.
Install the Underlay
Selecting the appropriate moisture-resistant underlayment is crucial for guaranteeing the durability of your hardwood flooring in the bathroom. This layer acts as a barrier to moisture, preventing water damage and extending the lifespan of your flooring. Begin by choosing an underlayment specifically designed for bathroom use, which offers superior moisture protection compared to standard options.
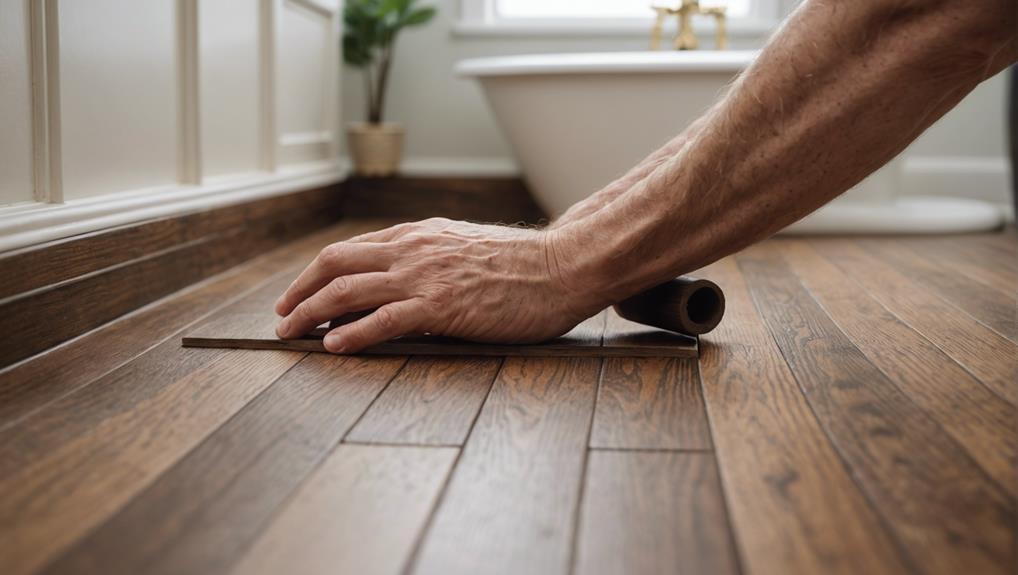
Start laying the underlayment from one corner of the room, working your way towards the opposite side. Make sure that the edges overlap by approximately 4 inches and secure them with moisture-resistant tape to create a seamless barrier. Be meticulous in cutting the underlayment to fit snugly around obstacles such as pipes and corners, using a utility knife or scissors for precision.
Key considerations include:
- Underlayment benefits: Provides moisture protection, noise reduction, and added cushioning.
- Alternatives: Various materials like rubber, foam, or cork, each with different properties.
- Common mistakes: Failing to overlap edges properly, using incorrect tape, or uneven cutting.
- Troubleshooting: Address any gaps or irregularities immediately to prevent moisture seepage.
Fit Floorboards Around Obstacles
To fit hardwood floorboards around obstacles, precise measurements and accurate marking of cuts are crucial. Utilize a jigsaw to achieve the necessary precision, guaranteeing clean and seamless integration around radiator pipes, sinks, and toilets.
This approach guarantees a professional finish, enhancing both the functionality and aesthetic appeal of the bathroom.
Measure and Mark Cuts
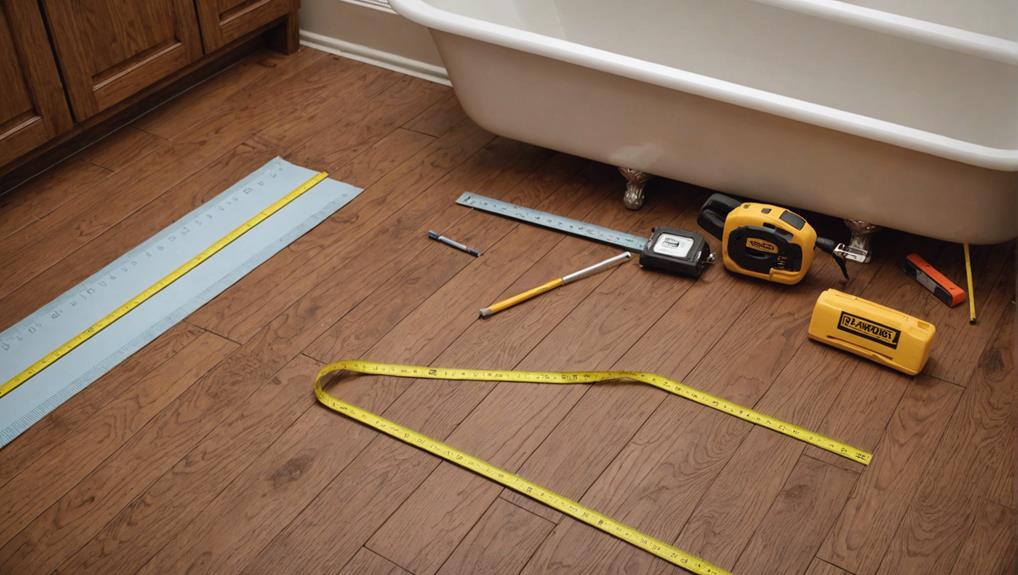
When fitting hardwood floorboards around obstacles such as radiator pipes and vanities, it is important to measure these areas meticulously to guarantee precise cuts. Start with accurate measurements to make sure each cut fits seamlessly around the obstacles.
Utilizing templates or cardboard cutouts can greatly assist in transferring the exact shape and size of the obstacles onto the floorboards. This technique helps in maintaining accuracy and avoiding costly mistakes.
Employ the following steps to guarantee a professional finish:
- Accurate measurements: Measure the dimensions and positions of obstacles precisely. Double-check your measurements to avoid errors.
- Templates: Create templates from cardboard to trace the shape of obstacles. This ensures the cuts will match the actual size and position of the obstacles.
- Marking: Use a pencil to mark the cut lines on the floorboards clearly. Ensure these markings are crisp and exact.
- Cutting techniques and tools: Choose the right cutting tools, such as a handsaw or jigsaw, to make precise cuts. Ensure your tools are sharp and suited for hardwood to achieve clean edges.
Properly measuring and marking cuts will ensure a seamless and visually appealing hardwood floor installation in your bathroom.
Use Jigsaw for Precision
Utilizing a jigsaw, professionals can achieve precise and intricate cuts necessary for fitting hardwood floorboards around obstacles, guaranteeing a flawless installation. The jigsaw's versatility allows for cutting complex shapes and curves, essential for maneuvering around pipes, corners, and other impediments common in bathroom environments.
Employing advanced jigsaw techniques, such as adjusting cutting angles and maintaining a steady hand, enhances the accuracy of each cut, thereby reducing gaps and uneven edges.
Tool maintenance and blade selection are critical factors in achieving peak performance with a jigsaw. Regularly inspecting the tool for any signs of wear and tear ensures that it operates smoothly and efficiently. Choosing the appropriate blade for hardwood flooring, typically a fine-toothed hardwood blade, ensures clean and precise cuts. This blade selection is essential to avoid splintering and to maintain the integrity of the floorboards.
Before making cuts on the actual floorboards, it is advisable to practice on scrap pieces of wood. This practice allows professionals to fine-tune their jigsaw techniques, ensuring confidence and precision when working on the final installation. By mastering these elements, one can achieve a seamless and professional finish, critical for bathroom hardwood flooring installations.
Apply Trim and Thresholds

Applying trim and thresholds is essential for achieving a seamless and professional finish in your bathroom hardwood flooring installation.
Select trim that complements your flooring style and use a Scotia trim cutter for precise cuts, ensuring a secure fit with adhesive application.
Additionally, install threshold bars across doorways to create a smooth connection between rooms, securing them with glue or screws for stability.
Choose Appropriate Trim
Selecting the appropriate trim and thresholds is essential to achieving a cohesive and professional finish for your hardwood flooring installation in a bathroom. The choice of trim styles and proper installation techniques are vital to guarantee both functionality and aesthetic appeal. Trim pieces should harmonize with the flooring and the overall color scheme of the bathroom, thereby enhancing the room's visual continuity.
To achieve this, consider the following steps:
- Trim Styles and Installation:
Select a trim style that complements your flooring. Use a Scotia trim cutter for precise cuts. Apply adhesive to the back of the trim pieces and secure them neatly against the skirting boards to make sure of a seamless integration.
- Color Schemes and Coordination:
Match the trim color with your hardwood flooring and bathroom decor. This coordination will give the room a unified appearance.
- Concealing Imperfections:
Use wood effect discs to hide holes cut for radiator pipes, ensuring a polished finish.
- Threshold Bars:
Even though detailed installation will be covered later, selecting a threshold bar that matches the trim and flooring is important for a clean connection between rooms.
Install Door Thresholds
To achieve a smooth changeover between rooms, start by precisely cutting the threshold bar to fit the doorway dimensions. Select a threshold style that complements your bathroom's hardwood flooring, making sure that it aligns with current design trends. The correct threshold placement is vital for both aesthetics and functionality.
Once cut to the appropriate size, apply a high-quality adhesive to the back of the threshold trim. Press it firmly against the skirting board to achieve a clean and professional finish. For additional security, you may choose to use screws, ensuring the threshold bar remains securely in place.
It's essential to make sure the threshold bar fits snugly and aligns well with the flooring. This alignment guarantees a smooth transition between the rooms, enhancing both the visual appeal and structural integrity of the flooring. Consider using wood effect discs to conceal any holes cut for radiator pipes within the threshold area, maintaining a polished look.
Regular maintenance of the threshold bar is necessary to sustain its appearance and functionality. Periodically check for any signs of wear or loosening, addressing these issues promptly to extend the lifespan of your threshold and maintain a pristine finish.
Regular Maintenance Tips
Regular maintenance of hardwood flooring in a bathroom is essential for preserving its longevity and aesthetic appeal. To effectively prevent water damage and maintain shine, it is important to incorporate specific care routines.
Regular cleaning with a specialized hardwood floor cleaner will remove dirt and grime, which can dull the floor's finish and lead to long-term damage. Immediate attention to spills using a soft, damp cloth will mitigate the risk of water seeping into the wood grain, thereby preventing potential swelling and warping.
To extend the longevity of your hardwood flooring and protect your investment, avoid the use of harsh chemicals or excessive water, as these can deteriorate the wood and its finish. Additionally, strategic placement of rugs or mats in high traffic areas will shield the floor from wear and tear.
Key maintenance tips include:
- Regularly clean with a hardwood floor cleaner.
- Wipe up spills immediately with a soft, damp cloth.
- Avoid using harsh chemicals or excessive water.
- Place rugs or mats in high traffic areas.
For effective upkeep, schedule professional hardwood floor refinishing every 3-5 years. This not only maintains the beauty and durability of the flooring but also ensures it remains a long-term asset in your bathroom.
Frequently Asked Questions
How to Install Hardwood Flooring Step by Step?
To install hardwood flooring, first acclimate planks, then lay a moisture barrier. Use a chalk line for alignment, guarantee proper nail spacing, and place underlayment perpendicular to joists, overlapping edges for coverage. Maintain straight board placement.
Which Way Do You Lay Wood Flooring in a Bathroom?
For best stability and visual appeal, lay wood flooring perpendicular to floor joists, considering natural light and the longest wall. Incorporate moisture barriers and align floor orientation to manufacturer guidelines to prevent moisture-related issues.
Can I Put Hardwood Floors in My Bathroom?
Yes, hardwood floors can be installed in a bathroom, provided you choose engineered hardwood, apply an appropriate wood sealant, and take measures to mitigate bathroom moisture through proper ventilation and regular maintenance to prevent damage.
How Do You Prepare a Floor for Hardwood Flooring?
To prepare a floor for hardwood flooring, conduct a thorough subfloor inspection, ensuring it is clean, level, and dry. Install moisture barriers to prevent damage, and fill any gaps or cracks to create a stable foundation.
Conclusion
To sum up, installing hardwood flooring in a bathroom requires careful selection of moisture-resistant wood.
Meticulous preparation of the subfloor is essential, along with precise fitting of floorboards around obstacles.
The process demands the acclimation of wood to the bathroom environment and the installation of an appropriate underlay to prevent moisture damage.
The application of trim and thresholds guarantees a professional finish.
Regular maintenance, including proper cleaning and humidity control, is essential to preserve the integrity and longevity of the hardwood flooring.


Leave a Reply