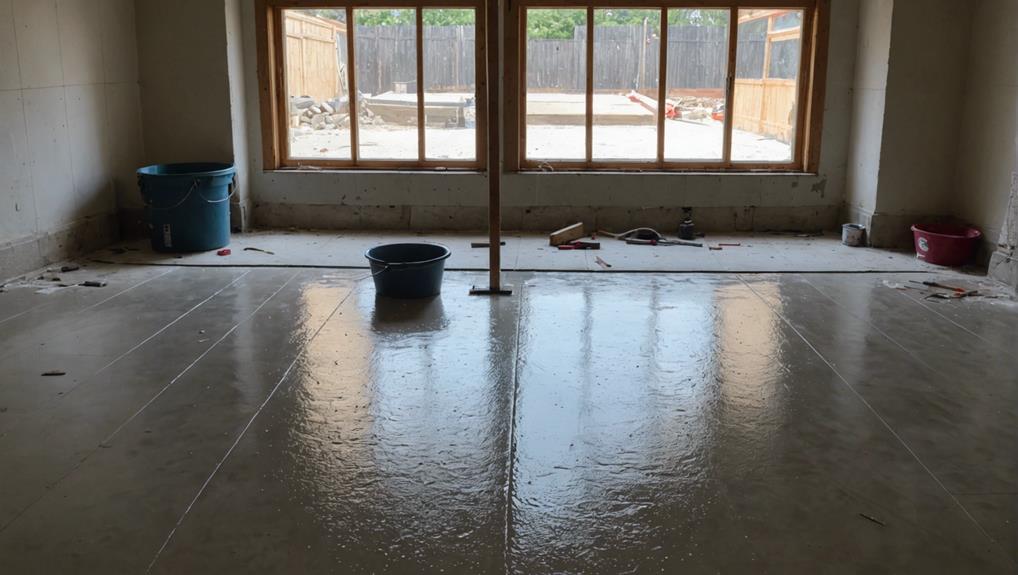
How to Install a Concrete Bathroom Floor – Step-by-Step Guide
To install a concrete bathroom floor, start by gathering essential tools such as a trowel, level, and safety gear. Prepare the subfloor by cleaning, leveling, and repairing any cracks. Install a moisture barrier suitable for wet areas, ensuring proper sealing. Mix the concrete with precise measurements and pour it uniformly. Use a screed board for leveling and cover with plastic for curing. After the standard 28-day curing period, apply an even concrete sealant in multiple coats. Finish with grout colorant, caulking, and threshold strips. Each step is critical for achieving a flawless, long-lasting floor—the complete guide covers all necessary details.
Key Takeaways
- Prepare subfloor by cleaning, leveling, and repairing any cracks.
- Install a moisture barrier, ensuring proper overlap and multiple coats if necessary.
- Mix and pour concrete, ensuring uniform blending and correct consistency.
- Level the concrete using a screed board, and cover with plastic sheeting for curing.
- Apply a concrete sealant evenly after the standard 28-day curing period.
Gather Necessary Tools
To guarantee a successful installation of a concrete bathroom floor, it is essential to gather all the necessary tools beforehand. Effective tool organization can greatly streamline the installation process. Essential tools include a trowel, level, tape measure, safety goggles, and knee pads. A diamond blade grinder is indispensable for surface preparation, ensuring the concrete base is adequately smooth and ready to adhere to new materials.
For the application of thinset mortar, a notched trowel is necessary. It allows for even spreading, which is critical for the proper adhesion of tiles. Spacers are required to ensure consistent tile spacing, preventing misalignment that could affect the floor's aesthetics and integrity. A rubber mallet is another important tool, aiding in the precise tapping of tiles into place without causing damage.
When applying and smoothing grout, a grout float is essential, complemented by a sponge for cleaning excess grout from the tile surface. Additionally, a wet saw is advisable for cutting tiles to fit edges and corners accurately. Adhering to safety precautions, such as wearing safety goggles and knee pads, is paramount to protect oneself during the installation process.
Prepare the Subfloor
Ensuring the concrete surface is impeccably clean is the foundational step in preparing the subfloor for a new bathroom installation. Begin by thoroughly cleaning the concrete surface with a vacuum and detergent to remove all dirt and debris. This step is essential as any remaining particles can compromise the adhesion of subsequent layers.
Next, conduct a thorough subfloor inspection. This involves:
- Moisture Testing: Utilize a moisture meter to confirm that the concrete is dry. Excess moisture can lead to adhesive failure and potential mold growth.
- Leveling Techniques: Examine the concrete for any uneven areas. If discrepancies are found, apply a self-leveling underlayment to create a smooth, level base. Pour and spread the underlayment evenly, ensuring it settles into all voids and depressions.
- Subfloor Repair: Address any cracks or damages on the concrete surface. Use appropriate patching compounds to repair these areas, ensuring a stable and uniform subfloor.
Install a Moisture Barrier
Having prepared the subfloor, the next step involves installing a moisture barrier to protect the concrete from water infiltration. This is a critical step in ensuring the longevity and durability of your concrete bathroom floor. Employing effective waterproofing techniques will prevent moisture from seeping through, thereby averting potential issues like mold and mildew.
There are two primary barrier types to take into account: sheet membranes and liquid-applied waterproofing products. Sheet membranes are rolled out over the entire surface of the subfloor and adhered with a suitable adhesive. Make sure that the sheets overlap slightly and are sealed well at the seams to guarantee full moisture resistance.
Liquid-applied products are brushed or rolled onto the subfloor in a continuous, even layer. These products often require multiple coats, with drying time in between, to build up an effective barrier.
When selecting a moisture barrier, choose one specifically designed for wet areas like bathrooms. Follow all manufacturer's installation tips closely to ensure proper application. Proper installation of the moisture barrier is vital; it forms the foundation of a water-resistant bathroom floor that will stand the test of time. This attention to detail ensures optimal protection against water damage.
Mix the Concrete
To guarantee a successful concrete mix, begin by gathering all necessary materials and tools, including the concrete mix, water, and any additives or colorants.
Accurately measure the water-to-concrete ratio as specified by the manufacturer to achieve the required consistency.
Utilize a concrete mixer or appropriate tools to blend the components into a smooth and uniform mixture, working efficiently to prevent premature setting.
Gather Necessary Materials
Begin by accurately measuring and gathering the required amount of concrete mix based on the dimensions of the bathroom floor. This initial step guarantees that you have the right volume of material to cover the entire floor space without interruptions.
Different concrete types offer various advantages, such as quick setting or enhanced durability, catering to specific project needs. Additionally, consider color options and design ideas early on, as tinted concrete can add a unique aesthetic appeal to your bathroom floor.
To proceed efficiently, you will need the following materials:
- Concrete Mix: Choose a high-quality concrete mix suitable for flooring applications.
- Mixing Container: Use a robust container capable of holding the concrete mix and water without spilling.
- Drill with Mixing Paddle: This tool ensures thorough and consistent blending of the concrete mix.
Follow the manufacturer's instructions meticulously to achieve the proper consistency. Utilize the mixing container and drill with a mixing paddle to blend the concrete thoroughly, ensuring it is lump-free and well-mixed.
Work in small batches to prevent the concrete from drying out too quickly during the installation process, maintaining the quality and workability of the mix throughout the project.
Measure and Mix Ratios
Accurately determining the correct mix ratios is vital to achieving a durable and strong concrete bathroom floor. The typical mix ratio for this application is 1 part cement, 2 parts sand, and 3 parts aggregate. Precision in measurement is paramount to ensuring the mixture's durability and strength. Utilize a concrete mixer for larger projects or a wheelbarrow for manual mixing in smaller undertakings.
Here is a concise reference table:
| Ingredient | Ratio |
|---|---|
| Cement | 1 part |
| Sand | 2 parts |
| Aggregate | 3 parts |
| Water | Per instructions |
| Mixing Method | Mixer/Hand |
Proper mixing techniques involve first measuring the dry ingredients individually to maintain measurement accuracy. Combine the cement, sand, and aggregate in the mixer or wheelbarrow, ensuring a homogeneous mixture before adding water. Follow the manufacturer's guidelines for the precise amount of water, as this is essential to achieving the desired consistency and ultimately, the floor's strength and durability.
Achieve Desired Consistency
Achieving the desired consistency in your concrete mix requires a careful balance of ingredients, gradual addition of water, and thorough mixing. To begin, adhere to the standard ratio of 3 parts sand, 2 parts aggregate, and 1 part cement. This formula guarantees a solid foundation for your concrete bathroom floor.
Effective water management is essential. Begin by adding water gradually to the dry mix while continually stirring. The goal is to achieve a consistency akin to thick oatmeal. This precise water addition prevents the mix from becoming too wet or soupy, which can compromise structural integrity.
Proper mixing techniques are critical. Mix the concrete for at least 5 minutes to activate the cement and create a robust bond. Utilizing concrete additives can enhance the mix's properties, ensuring added durability and workability.
Testing consistency is a simple yet crucial step:
- Hand Squeeze Test: The mix should hold its shape when squeezed without crumbling.
- Surface Appearance: The mix should be smooth and cohesive, not runny.
- Workability: It should be easy to spread and level, facilitating a uniform application.
Pour the Concrete
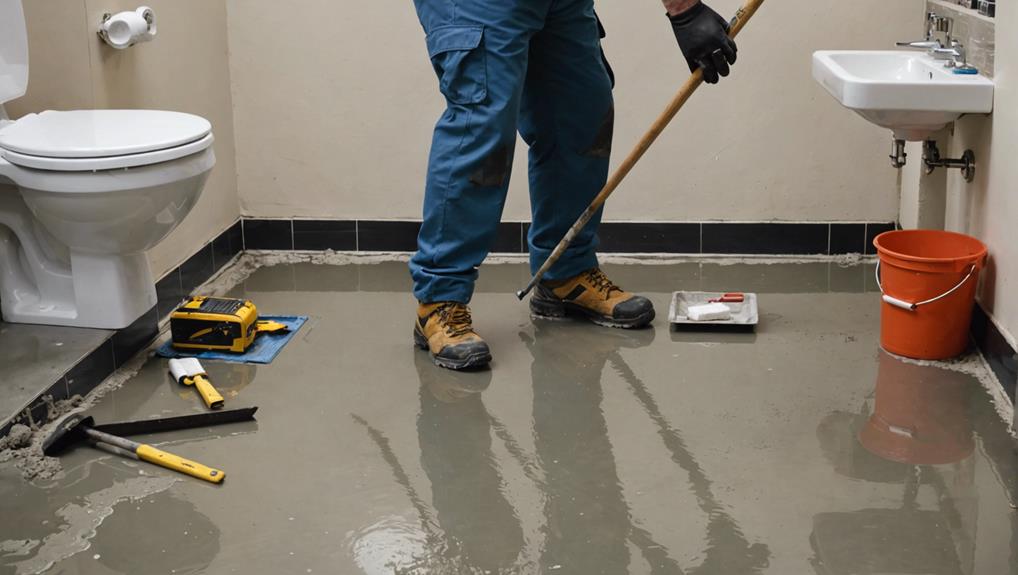
Ensuring a smooth and durable finish, mix the concrete to the correct consistency before pouring it onto the bathroom floor. This step is vital for achieving an even surface that will stand the test of time.
Employ effective concrete finishing techniques by using a screed board to level the concrete, eliminating any high or low spots. This tool will help you achieve a uniform thickness and a flat surface, essential for the subsequent steps in your bathroom floor installation.
For the best curing methods, cover the freshly poured concrete with plastic sheeting and keep it moist for several days. This practice helps prevent cracks and ensures a robust finish. Consider adding color or texture to the concrete mix for creative design options that can enhance the aesthetic appeal of your bathroom.
In the process of pouring, some troubleshooting tips include addressing any visible air pockets promptly by tapping the sides of the formwork or using a concrete vibrator. This action ensures that the concrete settles properly and reduces the risk of future structural issues.
Allow the concrete to dry and cure completely before proceeding with any further installations or tiling activities.
Level the Concrete
To achieve a perfectly level bathroom floor, start by using a long level to identify any high or low spots in the concrete. This initial step is important as it sets the foundation for subsequent concrete smoothing techniques.
Once the uneven areas are identified, follow these steps:
- Surface Preparation: Before applying any leveling products, make sure the concrete surface is clean and free of debris. This is essential for the proper adhesion of the concrete primer, which enhances the bond between the existing floor and the self-leveling underlayment.
- Apply Concrete Primer: Use a concrete primer on the prepared surface to improve adhesion. Allow the primer to dry according to the manufacturer's instructions. This preparatory step is crucial for the success of the leveling techniques that follow.
- Self-Leveling Underlayment: Pour the self-leveling underlayment over the primed surface. Use a trowel to spread the underlayment evenly, filling in any low spots to create a uniformly level surface. The underlayment will naturally find its level, but careful application ensures a flawless result.
Mastering these concrete smoothing techniques and understanding the importance of surface preparation will guarantee a perfectly level concrete bathroom floor, essential for successful tile installation.
Allow Concrete to Cure
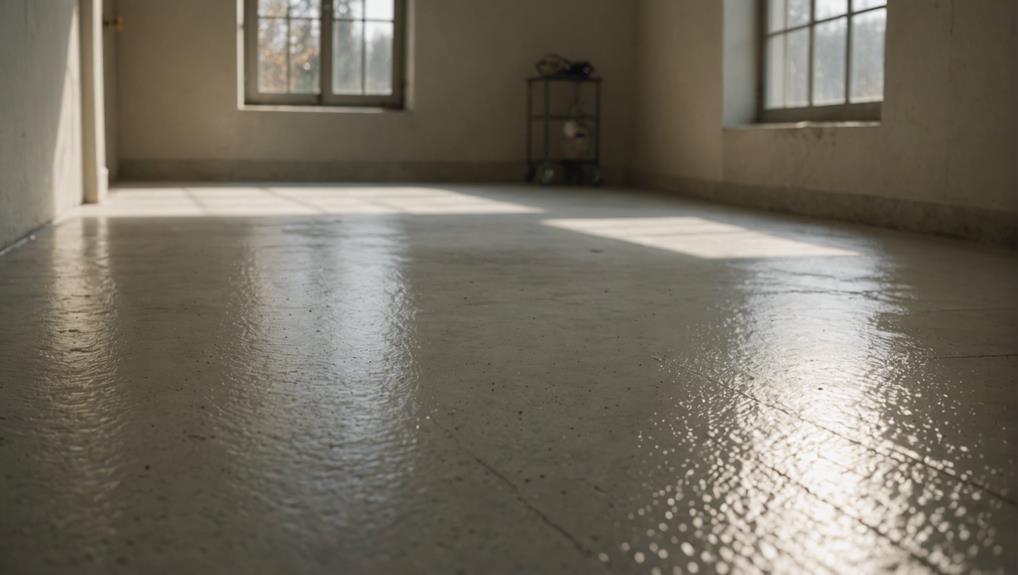
Proper curing of the concrete is a vital phase that guarantees its strength and durability for subsequent tile installation. The standard curing period is typically 28 days, allowing the concrete to reach its optimum structural integrity.
During this time, it is paramount to adhere to the specified curing time to avoid common misconceptions that may compromise the quality of your work. Factors such as the concrete mix, ambient temperature, and humidity levels can influence the curing duration, so continuous monitoring is essential.
One essential aspect that should not be overlooked is moisture testing. The importance of ensuring that the concrete has adequately dried cannot be overstated, as residual moisture can lead to issues such as cracking or adhesive failure during tile installation.
Utilizing a moisture meter to test the concrete's moisture levels before proceeding with tiling is a prudent step that can prevent long-term problems.
Apply Concrete Sealant
Applying a high-quality concrete sealant is an important step to safeguard the bathroom floor from moisture and stains, thereby enhancing its durability and aesthetic appeal. The benefits of sealant application include creating a protective barrier that prevents water seepage, reducing the risk of damage over time, and enhancing the concrete's color and texture.
To achieve best results, consider the following sealant application techniques:
- Surface Preparation: Make sure the concrete surface is clean and dry. Remove any debris, dust, or grease that could interfere with the sealant's adhesion.
- Even Application: Use a brush, roller, or sprayer to apply the sealant evenly. Overlapping strokes help ensure uniform coverage. Avoid pooling of the sealant to prevent uneven drying.
- Multiple Coats: Depending on the product, apply multiple coats for better protection. Allow each coat to dry according to the manufacturer's recommendations for sealant drying time.
Proper maintenance of the sealed concrete floor is important for its longevity. Regularly inspect the surface and reapply the sealant as needed. This not only preserves the protective barrier but also maintains the floor's appearance and ease of cleaning.
Finishing Touches
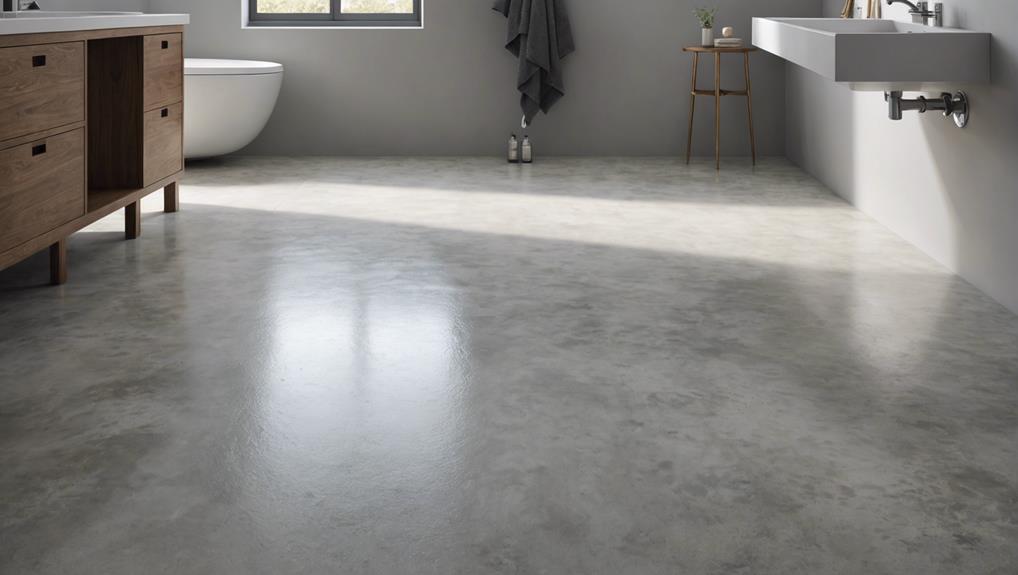
Enhancing the final appearance and functionality of your concrete bathroom floor involves several key finishing touches that guarantee both durability and aesthetic appeal. One important step is applying a quality sealant to protect the grout and tiles from moisture and stains, thereby prolonging the lifespan of your flooring.
Choosing grout colorant is another significant consideration; this allows you to either enhance the existing grout color or change it entirely for a more customized look that complements your bathroom decor.
Properly caulking edges is essential for creating a clean and finished appearance. This involves applying caulk around the perimeter of the room where the tiles meet walls or fixtures, which not only improves aesthetics but also prevents water seepage and potential damage.
Installing threshold strips at doorways ensures a smooth shift between different flooring materials, enhancing both safety and visual continuity.
Additionally, consider placing furniture pads under heavy items to prevent scratching or damaging the newly tiled concrete floor. These simple yet effective measures provide the final touches that enhance the overall quality of your bathroom renovation, ensuring the floor remains both beautiful and functional for years to come.
Frequently Asked Questions
What Are the Steps to Lay a Concrete Floor?
To lay a concrete floor, begin with thorough surface preparation, including cleaning and leveling. Pour the concrete, ensuring even distribution. Allow the curing process to complete, typically over 28 days, before proceeding with any additional treatments.
What to Put Down on a Concrete Floor Before Tiling?
Prior to tiling, guarantee proper surface preparation by cleaning and drying the concrete floor. Apply a latex primer, followed by a self-leveling underlayment. Consider underlayment options like an anti-fracture membrane to prevent potential tile cracking.
Do You Have to Waterproof a Concrete Bathroom Floor Before Tiling?
Yes, it is vital to waterproof a concrete bathroom floor before tiling. Applying a moisture barrier and proper sealant application prevents water damage, mold growth, and guarantees the longevity and durability of the tiled surface.
Can You Do a Concrete Floor in a Bathroom?
Yes, a concrete floor can be installed in a bathroom. Concrete aesthetics offer a modern, industrial look, while proper maintenance requirements, such as sealing, guarantee durability and resistance to water damage, improving both functionality and longevity.
Conclusion
The process of installing a concrete bathroom floor involves several critical steps. These include gathering necessary tools, preparing the subfloor, installing a moisture barrier, mixing and pouring concrete, leveling the surface, allowing it to cure, and applying a sealant.
Each step must be executed with precision to guarantee a durable and aesthetically pleasing result. Following these guidelines will provide a robust foundation that is both functional and enduring, suitable for the unique environmental conditions of a bathroom.


Leave a Reply