7 Steps to Perfectly Caulking Your Undermount Kitchen Sink
To perfectly caulk your undermount kitchen sink, follow these precise steps. Gather all necessary materials including 100% silicone kitchen sealant, denatured alcohol, and tools. Clean the work area thoroughly, removing items and old sealant. Prepare the caulk gun, ensuring it's clean and loaded correctly. Apply painters tape to guide the caulk line. Apply a continuous bead of silicone caulk around the sink and immediately smooth it. Allow the caulk to dry for at least 24 hours without disturbance. Regularly inspect for gaps and reapply as needed. By mastering these steps, you'll achieve a flawless finish and learn essential maintenance tips.
Key Takeaways
- Clean the work area thoroughly by removing old sealant and debris before starting.
- Use high-quality, 100% silicone kitchen sealant for a durable, waterproof finish.
- Apply a continuous bead of caulk around the sink's perimeter, smoothing it immediately with a wet finger or tool.
- Allow the caulk to dry for at least 24 hours, keeping the area stable and undisturbed.
- Inspect the seal regularly and reapply caulk as necessary to maintain protection.
Gather Necessary Materials
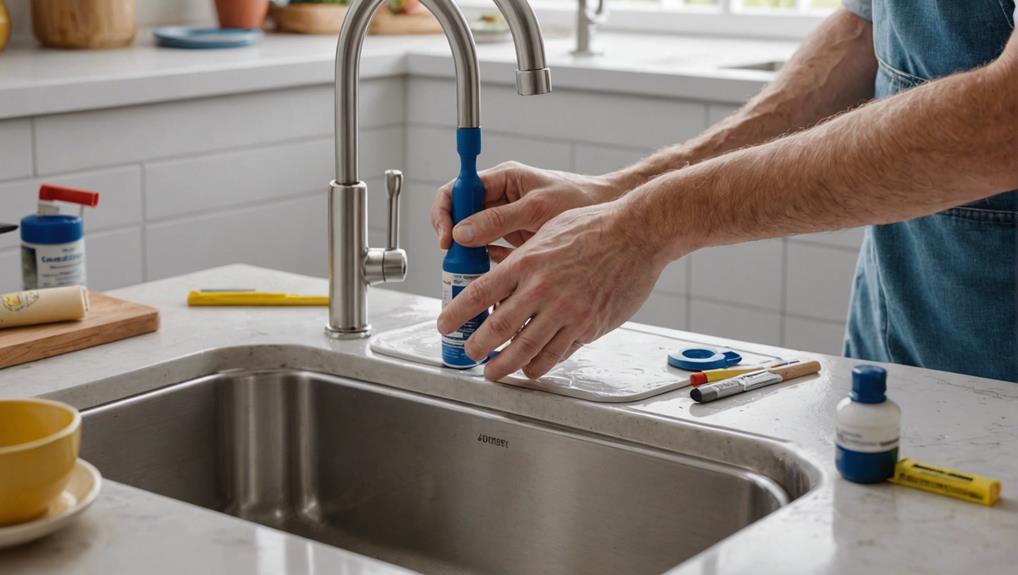
To perfectly caulk your undermount kitchen sink, start by gathering essential materials like 100% silicone kitchen sealant, replacement undermount sink clips, denatured alcohol, a bucket, and old towels. Ensuring you have the necessary tools is critical for a proper application. You'll need an electric drill, putty knife, rags, and safety glasses. By focusing on thorough material collection, you'll streamline the process and avoid interruptions.
100% silicone kitchen sealant is essential for its durability and water resistance. Replacement undermount sink clips will secure the sink, preventing future sagging. Denatured alcohol is necessary for cleaning surfaces before caulking, ensuring a strong bond between the silicone and the sink. A bucket and old towels are indispensable for managing spills and keeping your workspace tidy.
To achieve a proper application, methodically gather all these materials and tools in advance. This preparation allows you to work efficiently and produce a professional result. Remember, the key to a successful caulking job is having everything you need from the start, minimizing the risk of mistakes or delays.
Proper material collection sets the foundation for a seamless and effective caulking process.
Clean the Work Area
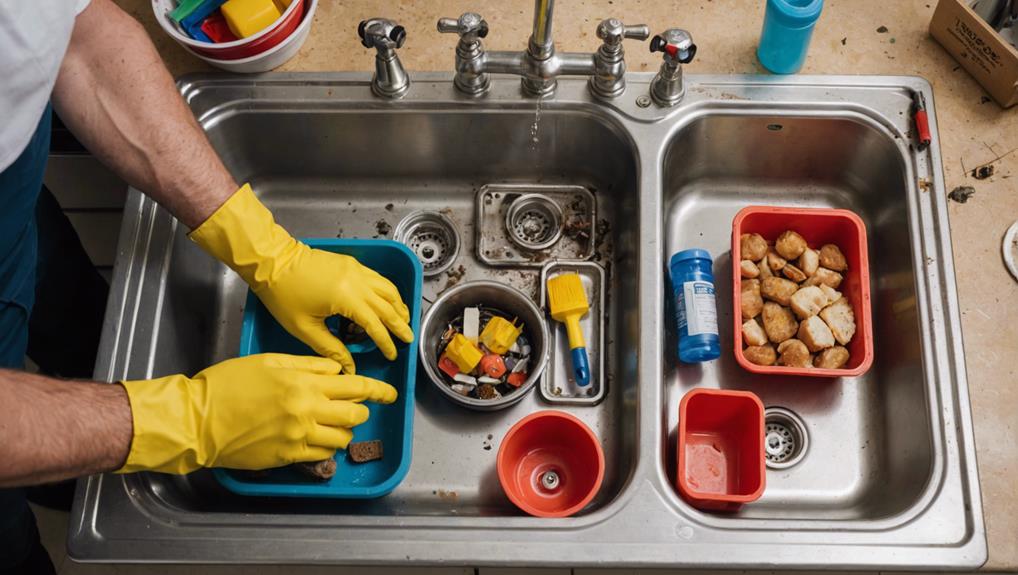
Prior to starting the caulking process, make sure the work area is meticulously prepared by clearing out all items from under the sink. This step is vital for guaranteeing a clear workspace that allows you to move freely and efficiently.
Begin by turning off the water supply to prevent any unexpected leaks. Next, remove all plumbing fixtures and connections. This not only gives you better access to the sink but also prevents any damage during the caulking process.
Once the space beneath the sink is clear, focus on unclamping the undermount sink from the countertop. Carefully detach it to avoid any unnecessary strain on the sink or countertop surfaces.
Now, it's time to scrape off all old sealant or caulk. Use a putty knife or a caulk remover tool to ensure a clean, fresh surface. This step is essential for the new caulk to adhere properly.
Prepare the Caulk Gun
With the work area thoroughly cleaned and prepped, you can now turn your attention to preparing the caulk gun for a smooth and efficient application. Start by confirming your caulk gun is clean and free of any old caulk residue. This prevents clogs and guarantees a consistent flow.
Next, inspect the nozzle of your chosen caulk tube to make sure it's securely attached. When choosing caulk, it's important to pick the right type for your project. For an undermount kitchen sink, a silicone-based caulk is ideal due to its flexibility and water resistance. Other types of caulk, like acrylic or latex, may not offer the same durability in a wet environment.
Once you've selected the appropriate caulk, load the tube into the gun securely. Make sure it's seated correctly to avoid any mishaps during application. Test the caulk gun by squeezing the trigger to make certain of smooth and steady pressure. This step is important for achieving an even bead of caulk.
Keep a damp cloth or paper towel handy to clean up any excess caulk immediately. This preparation ensures that when you start caulking, you'll have a seamless and efficient experience.
Apply Painters Tape
Apply painters tape along the edges where the sink meets the countertop to achieve clean and precise caulk lines. This step is vital for both the aesthetics and functionality of your caulking job. By placing the tape on either side of the seam, you create a controlled area for the caulk, preventing excess from spreading onto the countertop or sink. This not only guarantees a smoother caulk bead application but also simplifies the cleanup process.
Start by cutting strips of painters tape and carefully applying them along the edges where the sink and countertop meet. Make sure the tape adheres well to both surfaces; this is essential for ensuring adhesion and the longevity of the caulk. The tape serves as a guide for where to apply the caulk, helping you maintain a straight and even line.
Once you've applied and tooled the caulk, immediate tape removal is necessary. Peel it off slowly and at a slight angle to avoid disturbing the fresh caulk bead. This will leave behind a neat, professional finish. Proper tape application and removal are key to achieving a flawless caulking job around your undermount kitchen sink.
Apply the Caulk
When you're ready to apply the caulk, choose a high-quality silicone caulk designed for kitchen use.
Apply a continuous bead around the sink's perimeter, pressing steadily to make certain it fills all gaps.
Smooth the caulk immediately with a wet finger or tool for a clean, even finish.
Choose Quality Caulk
Selecting a 100% silicone kitchen sealant is crucial for guaranteeing a durable and watertight seal for your undermount sink installation. You'll want to pay close attention to the caulk color and caulk brand. A high-quality caulk not only matches your sink and countertop but also offers superior adhesion and flexibility.
When choosing the caulk type, opt for one specifically designed for kitchen applications. This ensures it can withstand moisture, temperature changes, and frequent cleaning. While considering caulk cost, remember that investing in a premium product can save you from potential issues down the road.
Here's a quick comparison to help you select the best caulk:
| Criteria | Details |
|---|---|
| Material | 100% Silicone |
| Caulk Color | Matches your sink and countertop |
| Caulk Brand | Reputable brands like GE, DAP, or Loctite |
| Caulk Cost | Higher initial cost for long-term savings |
Applying the caulk correctly is just as important as choosing the right one. Use a caulk gun to control the flow, ensuring even application around the entire sink perimeter. This approach guarantees a clean and professional finish, essential for both aesthetics and functionality.
Ensure Smooth Application
Start by placing the caulk gun at a 45-degree angle to the seam where the sink meets the countertop. This essential technique guarantees a steady, even bead of caulk, which is vital for a waterproof seal. Maintain a relaxed grip on the caulk gun to allow for smooth and consistent application. A common mistake is applying too much pressure, causing uneven distribution and excess caulk.
As you move the caulk gun along the seam, apply a steady bead of caulk. If you notice any gaps or voids, fill them with additional caulk to make sure a complete seal. Avoid stopping frequently, as this can lead to an inconsistent application and potential weak spots in the seal.
After laying down the caulk, use a caulk tool or your finger to smooth out the bead. This step is necessary for a clean finish and guarantees the caulk adheres properly to both the sink and countertop surfaces. Smoothing also helps to eliminate air bubbles, another common mistake that can compromise the seal.
Smooth the Caulk Line
To achieve a professional finish, use a caulk tool or your wet finger to evenly smooth the caulk line along the seam. Exercise caution when smoothing, as excessive pressure can remove too much caulk, guaranteeing the seal. Be certain the caulk is pressed firmly against the sink and countertop edges for a secure bond.
Common mistakes include not working quickly enough, allowing the caulk to begin drying before it's fully smoothed, which can result in an uneven and unattractive finish.
Begin by running your caulk tool or wet finger along the caulk line, making sure to maintain consistent pressure. This will help eliminate any bumps or excess caulk. Be meticulous in your approach; a well-smoothed caulk line not only looks better but also guarantees a watertight seal around the sink. Work steadily to avoid the caulk drying prematurely, which can make smoothing difficult and less effective.
Remember to wipe away any excess caulk immediately with a damp cloth to prevent it from hardening and becoming difficult to remove. With careful attention and a steady hand, you'll achieve a clean, professional-looking caulk line that enhances both the appearance and functionality of your undermount kitchen sink.
Allow Caulk to Dry

Allow the caulk to dry completely, following the manufacturer's recommended drying time for best results.
Don't use the sink or expose it to water until the caulk is fully cured.
This patience guarantees a strong, watertight seal and enhances the longevity of your work.
Optimal Drying Time
After applying the caulk, make sure it dries for at least 24 hours to achieve a strong and durable seal. This critical drying period guarantees that the caulk forms a robust bond between the sink and the countertop. Employing proper drying techniques is essential for best results.
You should maintain a stable room temperature and humidity level to facilitate even drying. Avoid using any fans or heaters directly on the caulk, as uneven drying can compromise the seal's integrity.
Drying precautions are equally important. Refrain from touching or disturbing the caulk during this time. Any disruption can lead to gaps or weak points in the seal, undermining its effectiveness. Additionally, keep the area free from water or any form of moisture. Even minor exposure to water can prevent the caulk from curing properly, diminishing its ability to withstand daily use.
Patience during the drying period is vital. Fully cured caulk provides long-lasting protection against water damage and mold growth, essential for maintaining a hygienic kitchen environment. By allowing the caulk to dry thoroughly, you guarantee it will endure the demands of daily kitchen activities, providing a reliable and lasting seal.
Post-Drying Maintenance
Once the caulk has dried for the recommended 24 hours, focus on inspecting the seal for any gaps or imperfections. Carefully examine the entire perimeter of your undermount kitchen sink. Look for inconsistencies that might compromise the seal, such as air bubbles or missed spots. If you find any, it's important to address them immediately to prevent mold and guarantee a watertight seal.
In case you need to make adjustments, gently remove any faulty caulk sections using a razor blade or a caulk removal tool. Clean the area thoroughly, ensuring no residue is left behind before applying a fresh bead of caulk. This re-caulking step is crucial for sealing gaps and ensuring durability.
To further prevent mold and maintain the integrity of the seal, keep the area well-ventilated and avoid exposing the caulk to water or cleaning agents until it's fully cured. Typically, this means waiting an additional 24-48 hours.
Regularly inspect the seal over time, especially in high-moisture areas, and reapply caulk as needed.
Frequently Asked Questions
How to Recaulk a Kitchen Sink Undermount?
For recaulking an undermount sink, begin with caulk removal by scraping off old sealant. Guarantee proper undermount preparation by cleaning the area with denatured alcohol. Apply 100% silicone sealant around the rim and let it dry.
How Do You Caulk a Sink Perfectly?
To caulk a sink perfectly, choose 100% silicone sealant. Guarantee thorough surface preparation by cleaning and drying the seam. Apply the caulk evenly, smooth it with a tool, and let it dry completely for a watertight seal.
How to Apply Clear Silicone Around a Kitchen Sink?
Guarantee proper ventilation and clean the surface thoroughly. Load the caulk gun with clear silicone, applying a continuous bead around the sink rim. Smooth the bead with a wet finger. Allow it to dry completely before use.
Should I Caulk My Kitchen Sink or Silicone?
You should caulk your kitchen sink. For sealing tips, caulk offers superior adhesion and flexibility compared to silicone. Caulk vs. silicone? Caulk provides a more durable, long-lasting seal, preventing water damage and ensuring a cleaner finish.
Conclusion
You've now mastered the art of caulking your undermount kitchen sink. By gathering the right materials, cleaning the area, preparing your caulk gun, and using painter's tape, you've set yourself up for success.
Applying and smoothing the caulk guarantees a professional finish. Finally, allowing the caulk to dry completes the process.
With these steps, your kitchen sink is both functional and aesthetically pleasing. Remember, precision and patience are key to achieving the best results.


Leave a Reply