Budget-Wise Bathroom Tile Revamps: A DIY Guide
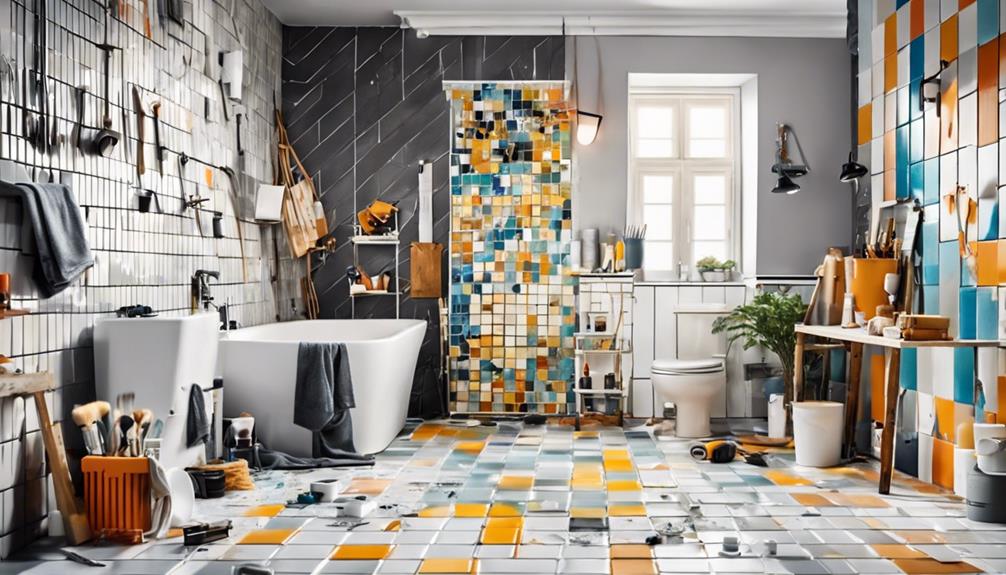
Transforming your bathroom tiles on a budget is easier than you think. Start by measuring your space and choosing a complementary color scheme. For a fresh look, opt for high-quality tile paint, ensuring surfaces are clean before you begin. Add personality with stencil designs or effortless flair with peel-and-stick decals. Don't overlook your grout; a pH-neutral cleaner and grout pen can work wonders. Seal everything for longevity, protecting against moisture and stains. Finish with decorative touches like patterned plants and amber glass bottles for a chic vibe. Excited to see your bathroom transform? Keep exploring for more ingenious ideas.
Key Takeaways
- Explore high-quality tile paints and primers for a fresh, budget-friendly makeover.
- Utilize stencil designs, such as geometric or floral patterns, to add personalized flair without high costs.
- Apply peel-and-stick decals for an easy, mess-free update that can dramatically change the look.
- Clean and color grout lines using pH-neutral cleaners and grout pens to enhance tile appearance.
- Seal tiles with a high-quality sealer to protect against water and stains, extending the revamp's durability.
Planning Your Tile Makeover
Before immersing yourself in your bathroom tile revamp, it's important to assess the current state and layout of your existing tiles, ensuring a smooth transition to your new, aesthetically pleasing design. Begin by accurately measuring the area. This step isn't just about calculating square footage; it's about envisioning the space you'll transform. Precision in measuring lays the groundwork for minimizing waste and ensuring you buy just the right amount of materials.
Next, explore the world of tile layout optimization and color coordination. The way your tiles are arranged can dramatically alter the perception of space. Consider linear patterns for a stretching effect or diagonal placements to add dynamism. Color plays an important role too. Harmonizing hues can create a serene backdrop or, on the other hand, bold color combinations can inject vitality into your bathroom haven.
Budget-friendly options like ceramic or porcelain tiles offer both economic and aesthetic benefits. These materials not only keep your costs down but also come in a plethora of designs, imitating more expensive materials without sacrificing style. With a focus on minimizing cuts and choosing grouts that complement your chosen tiles, you'll achieve a cohesive, luxurious look without straining your wallet.
Choosing Paint for Tiles
Selecting the right paint for your bathroom tiles is vital, guaranteeing both a stunning transformation and enduring quality. Immerse yourself in the world of high-quality tile paints, specifically designed for bathroom environments. These specialized coatings promise long-lasting results, resisting the humidity and wear typical in bathroom settings. Your choice of color plays a pivotal role in this makeover. Opt for a hue that not only complements your bathroom's existing decor but also reflects your personal style. Whether you're aiming for a serene, spa-like atmosphere with soft pastels or a bold, dramatic look with vibrant shades, color selection is key to achieving a cohesive aesthetic.
Surface preparation can't be overlooked. Before the first stroke of paint, make sure your tiles are impeccably clean, dry, and free from any grease or grime. This step ensures the paint adheres properly, laying the groundwork for a flawless finish. Consider applying a primer specifically designed for tiles to enhance both adhesion and durability. The primer acts as a solid foundation, ensuring your paint job withstands the test of time.
Carefully follow the manufacturer's instructions for both application and drying times. Patience during these steps is essential for achieving a professional, enduring finish that transforms your bathroom into a work of art.
Stencil Design Ideas
Incorporating stencil designs offers a transformative way to infuse your bathroom tiles with personalized flair and intricate patterns, effortlessly elevating the space's aesthetic appeal. With the ability to create customized designs, stenciling becomes a gateway to showcasing your unique style through creative patterns and personalized options. It's a budget-friendly path to revamping your bathroom, making it as distinctive as you are.
| Design Style | Recommendation |
|---|---|
| Geometric | Opt for sharp, clean lines to bring a modern twist to your space. Geometric patterns can introduce a dynamic visual effect, making the bathroom appear more spacious. |
| Floral | Floral stencils add a touch of nature and softness to your bathroom. They work beautifully with unique color schemes, blending in seamlessly or standing out as a bold statement. |
| Abstract | For those who love a bit of mystery and creativity, abstract designs offer endless possibilities. They allow you to play with forms and colors, creating a truly one-of-a-kind look. |
Applying Peel-and-Stick Decals
Moving into the artistic touch of stencils, peel-and-stick decals offer an equally innovative yet hassle-free option to refresh your bathroom tiles with stylish designs. These decals not only bring a burst of personality into your space but also allow for a creative expression that can be easily updated or changed.
Here's how to engage in this trend:
- Decal Design Tips: Choose designs that complement your bathroom's color scheme and aesthetic. From intricate patterns to bold graphics, select decals that reflect your style while enhancing the room's overall appeal.
- Installation Hacks: Make sure your tiles are clean and dry before application. For a seamless look, carefully align the decals with the tile edges, smoothing out any bubbles as you go.
- Removing Old Decals: When you're ready for a change, gently peel off the decals. A hairdryer set on low heat can help facilitate the removal process without leaving residue behind.
- Custom Sizing Options: Tailor your decals to fit unique tile sizes by trimming them with a sharp craft knife or scissors. This customization ensures a perfect fit, elevating the look of your bathroom.
Grout Cleaning and Coloring
Now that your tiles gleam with their new decals, it's time to turn your attention to the grout lines that frame them.
Choosing the right cleaner can transform your grout from grimy to gleaming, while a grout pen offers an innovative way to add a splash of color, ensuring your design stands out with precision.
After revamping, following specific maintenance tips will keep your bathroom's new beauty lasting longer and shining brighter.
Choosing the Right Cleaner
To guarantee your bathroom tiles remain pristine and vibrant, selecting a grout cleaner tailored to your tile type is essential. Securing the longevity and beauty of your tiles involves more than just a cursory scrub; it necessitates strategic choice and application of cleaners.
Here's how to make sure you're making the right choice:
- Use a pH-neutral cleaner to maintain the integrity of both grout and tile surfaces without risking damage.
- Opt for a cleaner designed specifically for your tile type to avoid any adverse reactions.
- Conduct a compatibility test on a small, inconspicuous area to confirm the cleaner won't discolor or damage your tiles.
- Contemplate a color sealant post-cleaning to refresh your grout lines, adding an extra layer of protection for a lasting finish.
Effective Coloring Techniques
Revitalizing your bathroom's aesthetic can be as simple as employing effective grout cleaning and coloring techniques, breathing new life into the space between your tiles.
Begin with a homemade mix of baking soda and vinegar to scrub the grout lines clean. Once dry, a grout pen, especially one with an angled nib, can transform your tiles by providing sharper, neater lines.
For a more innovative touch, experiment with color blending using multiple grout pen shades to create artistic patterns that accentuate your bathroom's theme. Not only does this method enhance the overall look with minimal effort, but it's also a cost-effective way to refresh your space.
With a few strokes, your tiles can exhibit a polished, refined appearance that highlights your attention to detail.
Maintenance Tips Post-Revamp
Maintaining your bathroom's newly revamped tiles requires regular grout care to preserve their fresh, polished look. Grout maintenance isn't just a chore; it's an art that guarantees the longevity and beauty of your bathroom's aesthetic. Here's how you can keep it pristine:
- Mix baking soda and vinegar for a powerful, natural cleaning solution that breaks down grime in grout lines.
- Use grout pens with angled nibs for precise application, revitalizing old and stained grout for a cleaner appearance.
- Apply a second coat from grout pens to deepen the color and enhance the overall neatness of your tiles.
- Consider tile sealing after cleaning and coloring grout to lock in the freshness and make future cleanups a breeze.
With these steps, your bathroom tiles won't only look good but also stay in top condition.
Sealing and Protecting Tiles
Now that you've revitalized your bathroom's grout, it's time to shield your tiles with the perfect sealer. Selecting the right sealer guarantees your tiles repel moisture and stains with an invisible armor, preserving their vibrant look and intricate patterns.
With simplified application techniques, you'll find safeguarding your bathroom's beauty isn't just practical but also a creative endeavor.
Selecting the Right Sealer
Selecting the right sealer transforms your bathroom's ambiance, safeguarding your tiles' beauty and integrity against daily wear. Understanding sealer types and their benefits is essential, as is knowing the best application tips.
Here's how to make sure you're making the most of your tile sealer:
- Penetrating Sealer: Ideal for natural stone, it prevents stains and moisture from seeping in.
- Topical Sealer: Adds a protective layer on ceramic tiles, guarding against wear.
- Color-Enhancing Sealer: Elevates the look while offering protection.
- High-Quality Sealer: Ensures longevity and maintains appearance.
Following the manufacturer's application and maintenance guidelines is key to effective protection, making your DIY bathroom revamp both innovative and enduring.
Application Techniques Simplified
Applying a high-quality sealer to your bathroom tiles is an essential step in creating a durable, beautiful space that withstands the test of time and usage. By choosing a sealer with a finish that complements your aesthetic—be it matte, gloss, or natural—you're not just sealing; you're enhancing.
The art of sealer application goes beyond mere tile protection; it's a safeguard against water damage, stains, and discoloration, effectively extending the life and brilliance of your tiles. Properly sealed tiles simplify cleaning, turning dreaded chores into effortless tasks.
Don't forget the grout lines—shielding them from moisture and mold is pivotal for a flawless finish. Commit to regular reapplication every 1-3 years, and you'll guarantee your bathroom remains a sanctuary of beauty and hygiene.
Final Touches and Decor
Incorporating house plants in stylish pots can instantly infuse your bathroom with a natural touch and a revitalizing vibe, elevating the space's overall aesthetic. The charm of plant arrangements nestled in corners or perched on shelves brings life into the room, transforming it into a serene retreat. With the right mix of greenery and stylish accents, your bathroom can mirror the tranquility of a spa.
To further enhance this oasis, consider these four key elements:
- Opt for plants with patterned leaves to introduce dynamic visual interest and a burst of lively texture amidst your calming color palette.
- Invest in amber glass bottles for shampoo and soap. This not only adds an element of sophistication but also contributes to a clutter-free space, allowing the beauty of your tile work and plant arrangements to shine.
- Accessorize with items in neutral colors to maintain a cohesive and harmonious design. These subtle tones complement the natural elements, creating a tranquil and balanced atmosphere.
- A multi-functional bath caddy is essential for luxurious, relaxing bath experiences, providing a convenient spot for your book, candle, or even a glass of wine as you unwind.
Frequently Asked Questions
How to Update Bathroom Tiles on a Budget?
To update your bathroom tiles on a budget, consider tile painting for a fresh look. Products like Ronseal One Coat offer affordable, durable finishes. Don't forget grout renewal to fully transform your space aesthetically.
How Do You Update Bathroom Tiles Without Removing Them?
You can rejuvenate your bathroom tiles without removing them by opting for tile painting and grout renewal. This innovative approach not only refreshes their look but also saves you both time and money.
How Do You Modernise Old Bathroom Tiles?
To modernize old bathroom tiles, consider tile painting and grout renewal. Choose trendy colors and apply high-quality paint for a durable finish. Clean tiles thoroughly before starting and follow the instructions for a chic look.
How Can I Spruce up My Bathroom Cheaply?
You can spruce up your bathroom on a budget by adding vibrant accent walls and swapping out old light fixtures for something more modern. These changes instantly brighten and refresh the space without breaking the bank.
Conclusion
You've journeyed through the transformative process of giving your bathroom tiles a budget-friendly makeover. From selecting vibrant paints to applying chic, peel-and-stick decals, and revitalizing the grout, every step has been a stroke of your creativity.
Now, with the tiles sealed and protected, it's time to add those final, personal touches. Think elegant accessories and soft lighting to highlight your handiwork. You've not just updated your space; you've infused it with personality and style, crafting a bathroom that's uniquely yours.


Leave a Reply