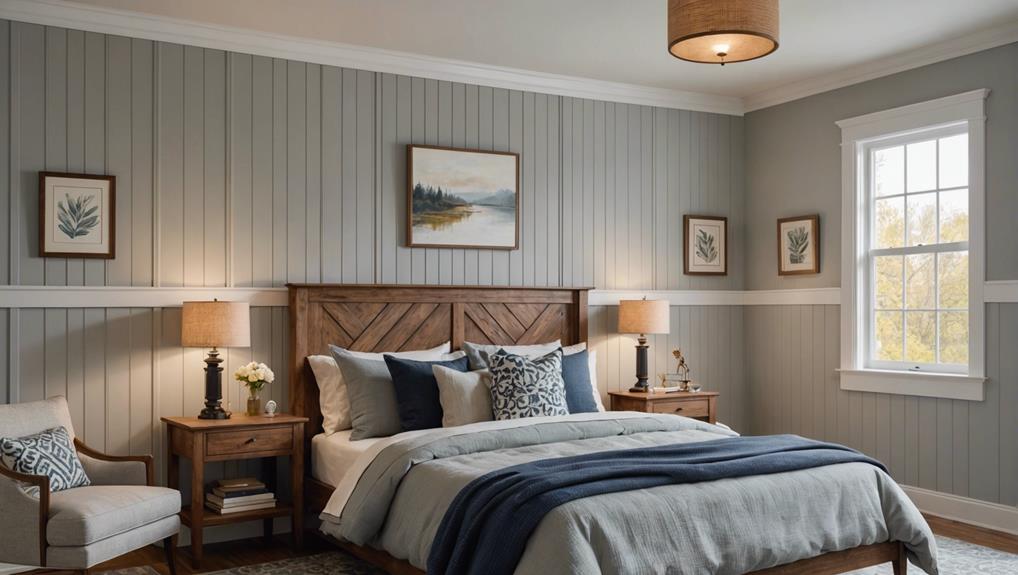
DIY Board and Batten Half Wall – Step-by-Step Guide for Your Bedroom
Transform your bedroom with a stylish DIY board and batten half wall. Start by sketching your design and choosing a harmonious color scheme. Measure your walls precisely and take any furniture into account. Gather high-quality materials like 1 x 3 pine boards and lattice strips. You'll need a miter saw, nail gun, and stud finder. Remove baseboards carefully, sand the surface, and fill any holes. Secure the battens with a brad nail gun, add a top ledge board, and a matching chair rail. Finally, caulk seams, prime, and paint for a polished look. Follow these steps closely for a stunning transformation.
Key Takeaways
- Visualize and sketch out the wall design, considering the color scheme and furniture arrangement for a balanced aesthetic.
- Measure the wall's height and width accurately, and plan the spacing between vertical panels for symmetry.
- Choose high-quality 1 x 3 pine boards and lattice strips, ensuring they are straight and defect-free.
- Use a miter saw, nail gun, and level for precise installation, and ensure all tools are well-maintained and organized.
- Prepare the wall by removing baseboards, patching holes, and sanding for a smooth surface before installation.
Make a Plan
Before you start your DIY board and batten half wall, sketch out your wall on paper to meticulously plan the layout. Begin with a detailed visual plan, incorporating essential planning tips and design ideas.
Determine the overall height and spacing of the vertical battens, making sure they complement your bedroom's existing décor. Your sketch should focus on achieving symmetry and balance in the placement of both horizontal and vertical elements.
Consider the color scheme early in your planning process. The board and batten design can dramatically enhance your bedroom's aesthetic, so choose colors that harmonize with your current decor options. For instance, a crisp white board and batten wall can create a fresh, clean look, while a deep, rich hue can add a touch of sophistication and warmth.
Visualizing your design on paper helps you see where each batten will be placed, and how they'll interact with other elements in the room. This step allows you to make adjustments before any cuts or installations, saving time and materials.
Measure Your Walls
With your detailed plan in hand, it's time to measure your walls accurately to make sure your board and batten half wall fits perfectly. Start by measuring the height and width of the walls where you plan to install the board and batten. Use a tape measure and level for precision. Accurate measurements guarantee a symmetrical and visually pleasing design.
Consider the spacing between vertical panels to achieve the desired aesthetic. This step is essential in wall preparation, as it influences the overall layout and painting techniques you'll use later. Keep in mind any obstacles like outlets or switches that could affect your measurements and panel placement.
Next, factor in your existing furniture arrangement. The height of your board and batten half wall should complement the room's layout and enhance its color coordination. For instance, if you have a low bed or seating, adjusting the height of the wall treatment could create a balanced look.
Gather Materials
Start by selecting quality 1 x 3 pine boards and lattice strips, ensuring they're straight and free of defects.
Acclimate the wood for a week to prevent future issues like cracking or warping.
For precise cuts and easy installation, have the wood pre-cut at a home improvement store and gather essential tools like a laser level, stud finder, and pneumatic brad nail gun.
Essential Tools Needed
Having the right tools at your disposal is essential for creating a polished and professional-looking board and batten half wall in your bedroom. Start by making sure you have a miter saw, nail gun, stud finder, level, and tape measure. These tools are indispensable for accurate measurements, precise cuts, finding studs for secure installation, and guaranteeing every piece is perfectly level.
Before you begin, consider your tool maintenance and tool organization strategies. Well-maintained tools not only last longer but also perform better, making your job easier. Ensure your miter saw blade is sharp and your nail gun is properly oiled and loaded.
Keeping your tools organized will streamline the installation process and save you time. Use a tool belt or a designated workspace where each tool has its place, so you're not wasting precious minutes searching for what you need.
Having these tools ready before starting your project will make the entire process smoother and more efficient. Proper tools and preparation will guarantee your board and batten half wall looks professional and enhances the aesthetic of your bedroom, making the effort truly worthwhile.
Selecting Quality Materials
When starting on your DIY board and batten half wall project, prioritize selecting high-quality materials to guarantee durability and a polished finish. Choosing the right wood is essential for both the material durability and aesthetics of your finished wall. Opt for 1 x 3 pine boards for the top rails and lattice strips for the vertical battens. These materials not only provide a smooth finish but are also sturdy enough to stand the test of time.
To guarantee your wood selection and finishing process go smoothly, consider these steps:
- Acclimate the wood: Let the wood sit in your home for about a week before installation to prevent cracking or warping.
- Pre-cut wood: Purchase pre-cut wood from stores like Home Depot to save time and ensure precise measurements.
- Use quality tools: A laser level and stud finder are indispensable for accurate positioning and attachment.
- Secure top rails: Nail the top rails into studs for stability and easy removal if needed in the future.
Gather Tools
Prior to starting your DIY board and batten half wall project, make sure you gather essential tools like a stud finder, level, tape measure, brad nail gun, and caulk gun to achieve professional results. Efficient tool organization and workspace setup are important for a smooth workflow. Arrange your tools on a sturdy workbench or sawhorse to keep them within arm's reach. Don't forget a pencil for marking measurements, and make sure you have a hammer or mallet for securing nails.
Safety precautions are essential. Equip yourself with safety goggles and gloves to protect against splinters and accidental mishaps. Regularly check your equipment for maintenance needs; a well-maintained brad nail gun or caulk gun ensures precision and reduces the chance of errors.
For cutting wood, a sawhorse provides a stable platform. Keep a putty knife handy for filling any gaps, and use sandpaper to smooth surfaces before painting. A measuring tape extension can be invaluable for longer walls, and a step ladder will help you reach higher areas safely.
Remove Baseboards
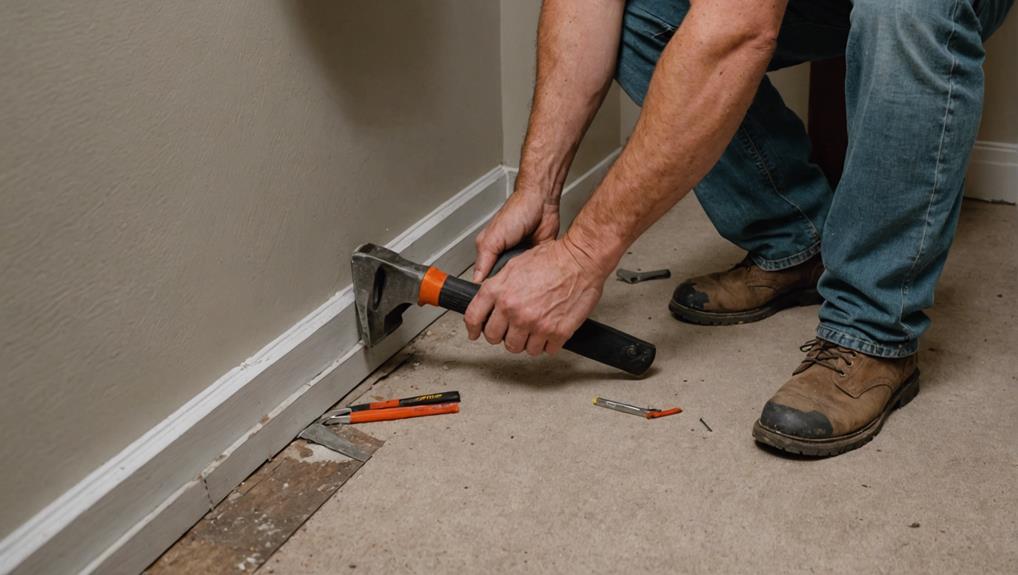
Wondering how to start your board and batten project? Begin by scoring the existing baseboards with a utility knife to break the caulk seal. This important step guarantees you won't damage the wall's surface when you remove the baseboards.
Next, carefully pry off the baseboards using a pry bar or a putty knife. Here are some essential baseboard removal tips to keep in mind:
- Work slowly: Patience is key to avoid damaging the wall.
- Use the right tools: A utility knife, pry bar, and putty knife are must-haves.
- Remove nails and screws: Ensure no fasteners are left in the wall.
- Preserve the baseboards: If you plan on reusing them, take extra care during removal.
Once the baseboards are off, inspect the wall for any damage. Repairing the wall after removal is important for a smooth installation process later. Patch any holes or uneven spots with spackle and sand it down for a flawless finish.
Install Top Rail
Installing the top rail is a crucial step in achieving the classic board and batten style. Let's get started by marking a precise 40-inch height from the floor using a laser level. This guarantees uniformity and a polished look.
Next, acclimate your 1 x 3 pine boards for about a week to prevent any cracks or warping post-installation.
Once your wood is ready, position the boards along the marked line. Securely attach the top rail to the studs using a pneumatic brad nail gun, making sure it's firmly in place. This will provide the necessary stability for your half wall.
For an impeccable finish, consider sanding the edges and surfaces of the top rail before installation.
You can also explore top rail finishes to complement your room's decor—stains for a rustic appeal or paint for a more modern touch. If pine isn't your preference, think about alternative materials like MDF or poplar, known for their smooth finishes and ease of painting.
Attach Vertical Battens
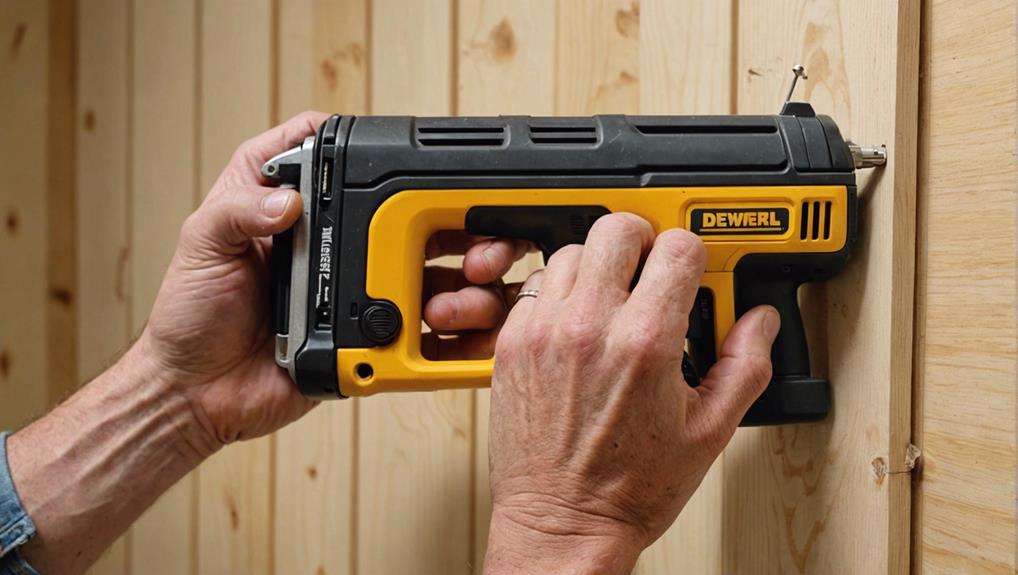
Begin by measuring and marking the placement of your vertical battens according to your design layout.
Once marked, confirm each batten is straight and aligns perfectly with the top rail to achieve a symmetrical look.
Use an instant grab adhesive and a pneumatic brad nail gun to secure the battens, then double-check with a level for uniformity.
Measure and Mark Placement
To achieve a polished and symmetrical look, start by meticulously measuring and marking the placement of each vertical batten according to your design plan. Begin by considering your chosen paint color and decorative finishes, as these will influence the final aesthetic of your board and batten wall. Make sure that the vertical battens are evenly spaced and perfectly aligned with the top rail.
Use a level to mark the positions accurately. Here's a quick checklist to guide you:
- Measure and Mark: Measure the height and width where each batten will be placed. Mark these points lightly with a pencil.
- Use a Level: Confirm your markings are level to avoid a crooked appearance.
- Double-Check: Re-measure and verify all markings. Precision is essential for a uniform look.
- Space Evenly: Verify the spacing between battens to maintain symmetry.
Double-check your measurements and markings before moving on. This step is vital to avoid any errors that could disrupt the uniformity of your design.
Secure Battens Properly
Guaranteeing each batten is perfectly aligned, use a pneumatic brad nail gun to securely attach the vertical battens to the wall. This tool guarantees a firm attachment, maintaining the batten alignment with the top rail for a uniform appearance. Begin by positioning your battens so they don't extend past your existing baseboards for a cohesive look. If necessary, consider replacing the baseboards to accommodate wider battens or to update the room's aesthetic.
To help you master these securing techniques, here's a quick reference table:
| Step | Action | Purpose |
|---|---|---|
| 1 | Align battens with top rail | Ensure uniform appearance |
| 2 | Use pneumatic brad nail gun | Securely attach battens |
| 3 | Position battens within existing baseboards' width | Maintain cohesive look |
Choosing lattice strips as your vertical battens can be a cost-effective and compatible choice with existing baseboards. Lattice strips are not only budget-friendly but also easier to align and secure, ensuring your project stays smooth from start to finish. By following these securing techniques, you'll achieve a professional-looking board and batten half wall that enhances your bedroom's charm and character.
Install Top Ledge
Securing the top ledge, a vital board that crowns your board and batten wall, adds a polished and cohesive finish to your design. This essential step not only enhances the overall aesthetic but also ties together your vertical battens with a seamless, decorative line. For top ledge finishing, you can select a board that complements your room's style, whether it's a sleek, modern look or something more traditional.
To install the top ledge, follow these steps:
- Measure and Cut: Accurately measure the length of your wall and cut the top ledge board to size.
- Secure in Place: Use nails or adhesive to firmly attach the board. Make sure it's level for a crisp, professional appearance.
- Sand and Smooth: Sand down any rough edges or splinters on the top ledge to prepare it for painting or staining.
- Add Decorative Embellishments: Consider adding moldings or trim to the top ledge for an extra touch of elegance.
Add Chair Rail
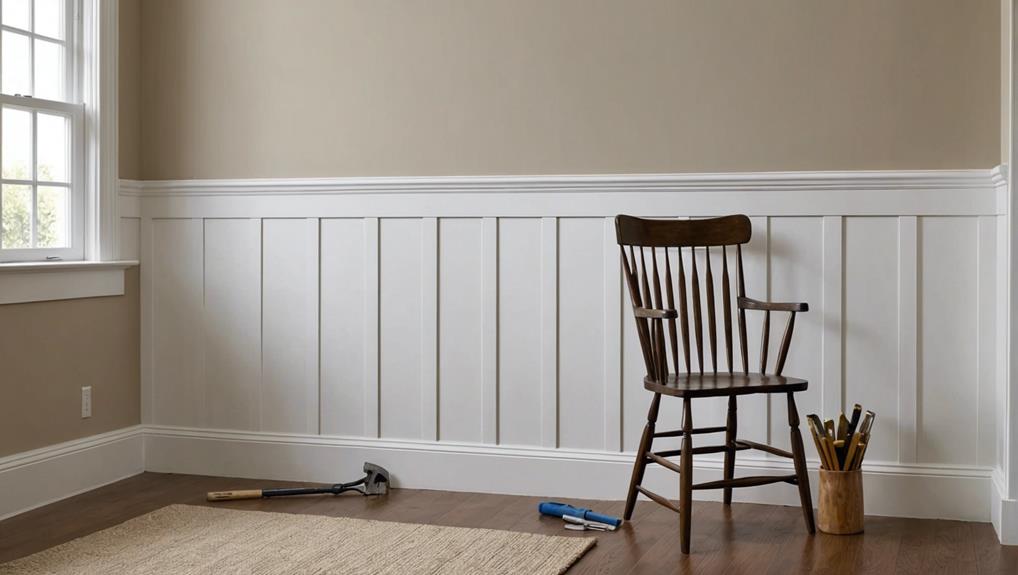
Adding a chair rail to your board and batten wall not only enhances its visual appeal but also introduces a sophisticated, architectural element to your space. This decorative molding is typically installed horizontally between the top rail and the vertical battens, helping to break up the visual space and create a more polished look.
When selecting chair rail styles, consider the overall design of your room and the board and batten wall itself. You might opt for a simple, streamlined chair rail for a modern aesthetic or a more ornate style for a traditional or classic feel. The size of the chair rail should also complement the proportions of your wall and room, making sure it doesn't overwhelm or underwhelm the existing features.
Once you've chosen the perfect chair rail, it's time to think about painting techniques. Before installation, consider painting the chair rail separately to achieve even coverage. You might choose a contrasting color to make it stand out or match it with the rest of the wall for a seamless look.
After painting, carefully measure and level the chair rail before nailing it into place, ensuring it aligns perfectly with the top rail and battens.
Fill Nail Holes
Begin by applying a lightweight spackling compound to each nail hole using a putty knife, guaranteeing smooth and even coverage. This essential step sets the stage for a flawless finish.
Here are some nail hole filling tips and spackling compound techniques to achieve professional results:
- Preparation: Make sure the area around each nail hole is clean and free of dust or debris. This helps the spackling compound adhere better.
- Application: Use a small amount of the spackling compound on your putty knife. Press it firmly into each nail hole, smoothing it out to avoid any air pockets.
- Smooth Finishing: After filling the holes, wipe away any excess compound around the hole using the edge of the putty knife. This guarantees a smooth transition between the filled area and the wall.
- Drying Time: Allow the spackling compound to dry completely. Follow the manufacturer's guidelines for drying time to ensure best results.
Using these nail hole repair hacks will ensure a seamless appearance. Master these smooth finishing tricks for a polished, professional look that'll make your board and batten half wall stand out. Once dried, you're ready to move on to the next step!
Sand the Surface
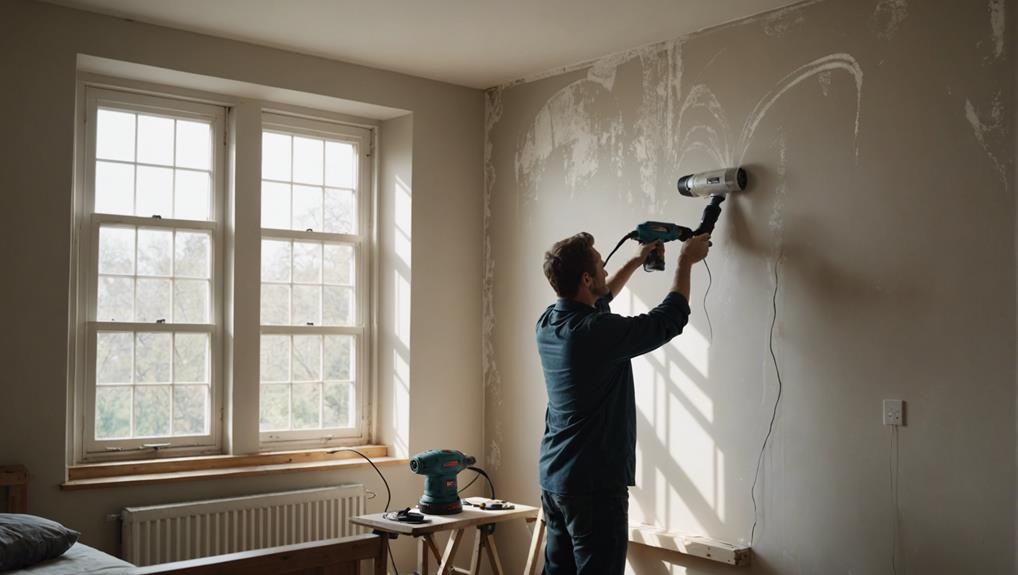
Now it's time to sand the surface to achieve that flawless finish. Choose sandpaper with a grit of 120 or higher and work in the direction of the wood grain to smooth out any imperfections.
After sanding, wipe down the surface with a tack cloth to remove all dust and debris, ensuring the paint or stain adheres perfectly.
Choose Sandpaper Grit
Selecting the right sandpaper grit is crucial for achieving a smooth and professional finish on your board and batten half wall. When it comes to sandpaper selection, you'll need to take into account various grit options to get the best results. Here's a detailed breakdown to help you make an informed choice:
- Start with 120 Grit: If your surface has rough patches or imperfections, begin with a lower grit sandpaper like 120. This will effectively remove any uneven areas and prepare the wall for finer sanding.
- Transition to 150 Grit: Once the rough areas are smoothed out, switch to a 150 grit sandpaper. This medium grit will help refine the surface, making it more even without leaving noticeable scratches.
- Finish with 220 Grit: For a polished look, use a higher grit sandpaper, such as 220. This will guarantee a smooth finish, perfect for paint adhesion and a professional appearance.
- Consistency is Key: Always sand in the direction of the wood grain to avoid creating cross-grain scratches. This consistent method will contribute to a flawless finish.
Proper sandpaper selection and understanding grit options are critical steps in your DIY project, guaranteeing your board and batten half wall looks impeccable.
Smooth Out Imperfections
To achieve a flawless finish on your board and batten half wall, carefully sand the surface to smooth out any imperfections and prepare it for painting or staining. Start by selecting fine-grit sandpaper, which will help you tackle rough patches, bumps, and uneven areas without damaging the wood.
Utilize gentle, consistent sanding techniques, moving in the direction of the wood grain to avoid scratches. Pay special attention to corners, edges, and tight spaces, as these areas often harbor imperfections that can disrupt the smoothness of your wall. For these tricky spots, a sanding sponge or a detail sander can be particularly effective.
Surface preparation is key to a professional look. Sanding creates a clean and smooth base, ensuring that paint or stain adheres evenly and enhances the overall aesthetic. After sanding, run your hand over the surface to check for any remaining rough spots and sand them down as needed.
Don't skip this vital step. Proper sanding before painting or staining transforms your board and batten wall from a DIY project into a polished, stylish feature in your bedroom.
Once you're satisfied with the smoothness, you're ready to move on to the next step in your renovation journey.
Caulk the Seams
Caulking the seams between the boards and the wall guarantees a seamless, professional finish that enhances the overall look of your DIY board and batten half wall. To achieve this, use paintable caulk to fill any gaps or joints. This not only perfects the visual appeal but also promotes longevity and durability.
Here are some caulk application tips to get you started:
- Choose the Right Caulk: Opt for paintable caulk from best caulk brands like DAP or GE. These ensure strong adhesion and a smooth finish.
- Apply Evenly: Cut the tip of your caulk tube at a 45-degree angle for better control and apply a thin bead of caulk along the seams.
- Smooth It Out: Use a damp finger or a caulk finishing tool to smooth the bead. This provides a clean, professional look.
- Fill Imperfections: Don't forget to fill nail holes or any imperfections in the woodwork. This step is pivotal for a flawless finish.
Allow the caulk to dry completely before moving on to the next step. This drying period is vital for ensuring a smooth, uniform appearance when you eventually paint over it.
Prime the Wall
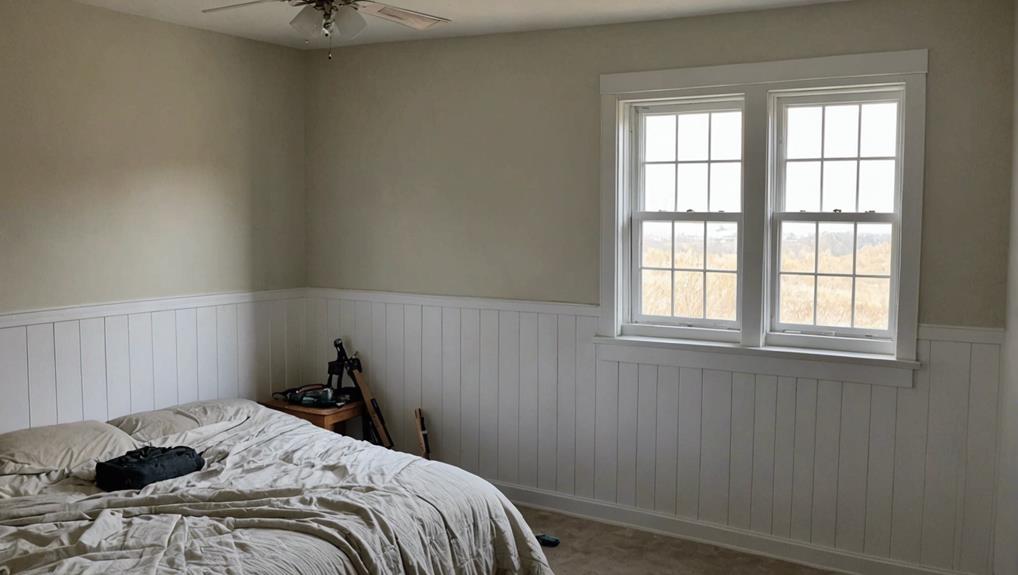
Before you begin installing your board and batten, priming the wall is essential to guarantee better paint adhesion and a flawless finish. Start by choosing primer brands that are known for their quality and reliability, such as Kilz or Zinsser. These brands offer primers that seal the wall surface effectively, creating a smooth base for your interior paint.
Applying a good primer helps prevent color bleed-through and ensures that your final paint job looks professional and consistent. It also enhances the overall durability of your board and batten installation. Make sure to cover the entire wall evenly, paying special attention to any patched or uneven areas to create a uniform surface.
Once you've applied the primer, allow it to dry completely. This drying time is crucial for ensuring that the primer fully seals the wall and is ready to support your chosen interior paint. Skipping this step or rushing through it can lead to a less polished finish and may affect the longevity of your project.
Paint the Wall
Painting the wall is a crucial step that sets the stage for a polished and professional board and batten half wall. Begin by selecting a high-quality, durable acrylic latex paint. Your color selection should harmonize with the room's decor while the paint finish can range from matte to semi-gloss, depending on the desired look and durability.
For a smooth paint application, follow these steps:
- Preparation: Use painter's tape to protect surfaces like the floor or ceiling from accidental paint splatters.
- Tools: Employ a roller for larger areas and a brush for edges and corners to achieve an even, neat finish.
- Coats: Apply at least two coats of paint to ensure full coverage and a professional appearance.
- Drying Time: Allow each coat to dry completely before applying the next. This prevents streaks and smudges.
Start by cutting in with a brush along the edges, then use a roller for the main sections.
Patience is key—don't rush the drying time between coats. A well-painted wall not only enhances the aesthetic but also provides a durable and easy-to-maintain surface. Follow these guidelines, and your board and batten half wall will look stunning!
Frequently Asked Questions
How to Do Wall Panelling in a Bedroom?
To do wall paneling in a bedroom, measure your space, select paneling materials like MDF boards and battens, and choose paint finishes. Plan your layout for symmetry, install panels with adhesive, then finish with caulk and paint.
What Height Should Board and Batten Be in a Bedroom?
For board and batten wall height in a bedroom, aim for around 40 inches. However, consider design considerations such as furniture height and overall room aesthetics. Adjust to create a cohesive, balanced look that enhances your space.
How Do You Space Board and Batten Around a Room?
Use spacing tools to measure the room's width, ensuring design symmetry. Calculate and adjust panel spacing around obstacles like doors or windows. Employ a level for precise alignment, providing a cohesive and professional finish.
Do You Put Plywood Behind Board and Batten?
You don't always need plywood behind board and batten. If the wall's smooth, skip it. But for textured walls, plywood's a good choice. Use various wood types and adhesive options for added support and stability.
Conclusion
You've transformed your bedroom with a stylish board and batten half wall, giving it a sophisticated yet cozy feel. By carefully planning, measuring, and executing each step, you've demonstrated that DIY projects can be both fun and rewarding.
Now, as you enjoy your refreshed space, remember that attention to detail and patience are key. So, take pride in your work, and let this project inspire future home improvements. Your bedroom has never looked better!


Leave a Reply