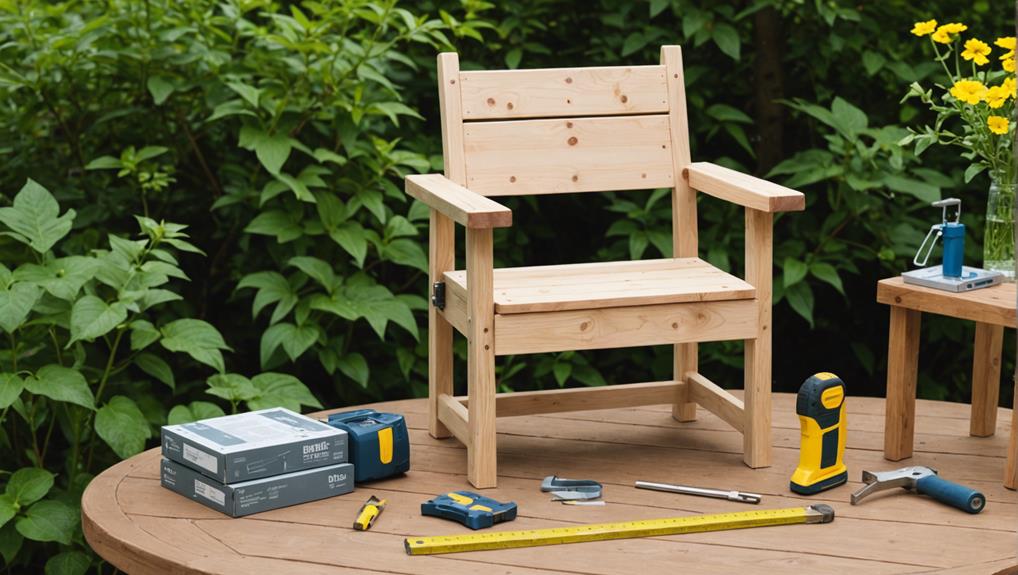
10 Steps to Build Your Own Outdoor Chair: Complete Blueprint Plans
Building your own outdoor chair is rewarding and requires precision. First, gather essential tools like a miter saw, drill, and orbital sander. Choose high-quality cedar, then sand all wood surfaces. Assemble the frame, checking alignment with a carpenter's square. Attach legs and seat supports, using wood glue and screws. Secure the backrest and evenly position seat slats. Use a countersink bit for screw heads, ensuring stability. Thoroughly sand the entire chair before applying a wood finish for protection. These ten steps set the groundwork for crafting a sturdy, beautiful outdoor chair. Keep going for the full detailed blueprint plans.
Key Takeaways
- Gather all necessary tools and high-quality outdoor wood like cedar before starting the project.
- Carefully sand all wood surfaces to ensure smoothness and proper finish application.
- Use wood glue and screws to reinforce joints and ensure a cohesive structure.
- Pre-drill pilot holes and use countersink bits for screws to maintain a clean finish.
- Apply an appropriate wood finish to protect the chair and enhance its appearance.
Gather Necessary Tools
To build your own outdoor chair, you'll need to gather essential tools like a miter saw, drill, orbital sander, and a carpenter's square. First, make sure your tools are in excellent condition. Regular tool maintenance is vital; check the blades on your miter saw for sharpness and clean your drill bits to ensure efficient operation. A well-maintained tool not only improves precision but also extends the tool's lifespan.
Next, focus on your workspace setup. A clean, organized workspace enhances safety and efficiency. Place your miter saw on a stable workbench to prevent any wobbling during cuts. Ensure your drill and orbital sander are easily accessible, and have a designated area for your carpenter's square and other measuring tools. Clamps should be within reach to secure wood pieces effectively during assembly.
Safety gear is non-negotiable. Always wear eye protection, ear protection, and a respirator mask to safeguard yourself from dust and debris. Additionally, consider using a Kreg Jig for creating strong joints with pocket hole screws and a table saw for precise cuts.
Proper workspace setup and tool maintenance are foundational for a successful chair-building project.
Prepare the Wood
Choosing high-quality outdoor wood like cedar guarantees that your chair will be durable and weather-resistant. Begin with careful wood selection, making sure each piece is free of knots and cracks. Use a miter saw to cut the wood to specified lengths, following the blueprint precisely. Accurate cuts are crucial for a sturdy assembly.
Next, sand all wood surfaces thoroughly. This step is essential for achieving a smooth finish that not only looks professional but also enhances the wood's resistance to the elements. Start with coarse-grit sandpaper and progress to finer grits for an even, polished surface.
To strengthen the chair's joints, use wood glue reinforcement. Apply a generous amount of wood glue to the contact surfaces before joining them. This adds significant durability and helps to create a cohesive structure.
Assemble the Frame
Begin assembling the frame by laying out the 2×4 lumber according to the blueprint, ensuring all pieces align perfectly. This step is vital for achieving proper frame alignment and guaranteeing the wood frame durability.
First, arrange the horizontal and vertical pieces on a flat surface, following the precise measurements and angles specified in your plans.
Once laid out, use wood screws and outdoor glue to secure the joints. The combination of screws and glue will provide maximum strength and durability, essential for an outdoor chair. For added robustness, consider using pocket hole joinery, which creates a strong, hidden connection between the wood pieces.
Here are a few tips to ensure success:
- Double-check alignments: Make sure everything is square and aligned before securing each connection.
- Pre-drill holes: This helps prevent the wood from splitting when inserting screws.
- Clamp pieces together: Clamping ensures tight joints while the glue dries and screws are inserted.
Attach Chair Legs
To attach the chair legs, follow these steps:
- Measure and cut the legs to ensure they are of equal length for uniformity.
- Pre-drill holes and secure each leg with 2 ½ inch exterior screws to prevent splitting and guarantee stability.
- Use a carpenter's square to position the legs at a perfect right angle.
- Place the front legs approximately 21 inches from the back legs for proper balance.
Measure and Cut Legs
For a sturdy foundation, start by using a miter saw to cut the chair legs to the specified length, ensuring precise measurements and angles. Maintaining cutting precision is essential to achieve the correct leg angle, which directly impacts the chair's stability and balance. Double-check each measurement before cutting to avoid errors that could compromise the structure.
After cutting the legs, focus on the following steps to ensure best results:
- Pre-drill Holes: Pre-drill holes at the connection points to prevent the wood from splitting when you attach the legs.
- Check Alignment: Use a carpenter's square to ensure the legs are perpendicular to the ground, promoting proper weight distribution.
- Cross Support: Connect the front and rear legs with a cross support to add strength and stability.
These steps help you create a balanced and stable chair structure. Accurate leg angle and cutting precision are key factors in achieving a professional finish.
Secure With Screws
Secure the chair legs to the frame using 2 ½ inch exterior screws, ensuring pre-drilled holes align perfectly to prevent wood splitting and maintain structural integrity. Begin by positioning the front legs approximately 21 inches from the back legs. This placement guarantees proper balance and weight distribution. Make sure you've pre-drilled holes in both the frame and the legs to accommodate the screws.
Next, make sure that the screw length is appropriate for the thickness of your materials. The 2 ½ inch screws should provide a strong connection without protruding through the opposite side of the wood. Align each leg with the pre-drilled holes in the frame, carefully checking that all legs are of consistent length to maintain uniformity.
Screw placement is critical; position screws at the centerline of each leg to maximize holding strength. Drive the screws in slowly and evenly to avoid misalignment and ensure a tight, secure fit.
Repeat this process for each leg, confirming that the legs are firmly attached and aligned correctly. This precision in screw placement and screw length will contribute significantly to the overall stability and durability of your outdoor chair.
Ensure Stability
Ensuring the stability of your outdoor chair starts with attaching the legs securely and precisely. Begin by pre-drilling holes in the legs to prevent splitting when you screw them into the frame. Use 2 ½ inch exterior screws for a robust connection. This step is essential to maintain the chair's structural integrity.
For best leg positioning, place the front legs approximately 21 inches from the back legs. This spacing ensures proper balance and prevents tipping. Consistent leg length is also important. Measure carefully to maintain uniformity and aesthetic appeal.
In addition to screws, apply wood glue to the joints where the legs meet the frame. This combination provides a strong and durable bond. Follow these stability tips to make sure your chair is safe and secure:
- Pre-drill holes: Prevents wood from splitting.
- Use wood glue: Strengthens the connection.
- Consistent leg length: Ensures uniform appearance and balance.
Attach each leg by aligning it with the pre-drilled holes, applying wood glue, and then driving the screws in securely. Repeat this process for all four legs to achieve a stable and durable outdoor chair.
Install Seat Supports
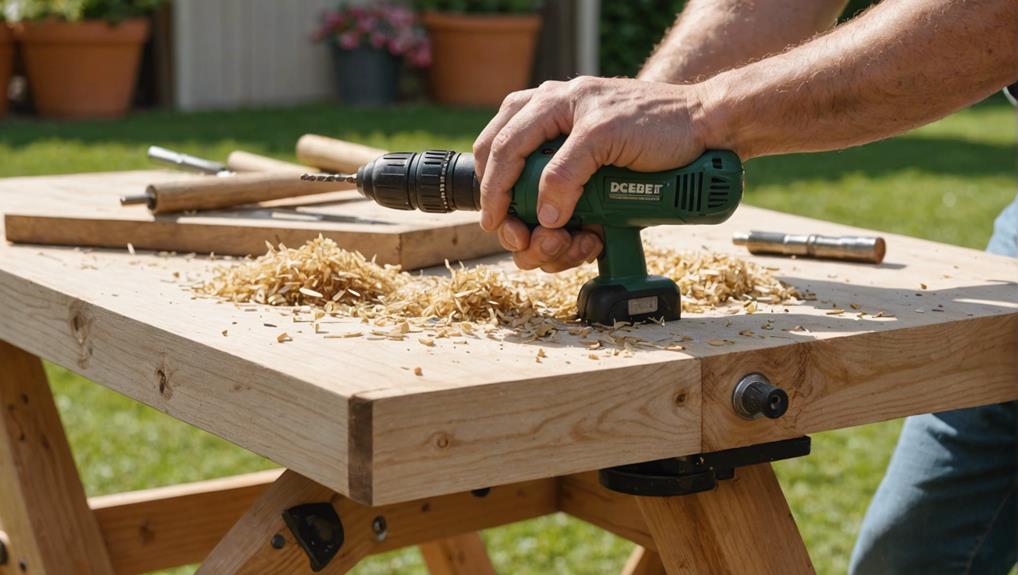
Begin by attaching the outer seat supports to the front and rear legs using wood screws to guarantee stability. Make sure the seat supports are parallel to the ground to maintain a level seat height. This alignment is vital for comfort and structural integrity. Double-check the spacing between each support to distribute weight evenly, enhancing the chair's weight capacity.
Apply wood glue to the contact points before inserting the screws. This combination of wood screws and glue ensures a secure and durable connection, preventing any wobbling or loosening over time.
After positioning the outer supports, you'll want to confirm they're firmly attached to the rear support board. This attachment provides additional structural integrity, which is essential for supporting varying weights.
When drilling, use a countersink bit to create a recess for the screw heads, avoiding any protrusions that could affect seat comfort. Regularly check the alignment as you work to maintain precision. The goal is to create a sturdy and level base, ensuring the seat height is consistent and the chair can support significant weight without compromising stability.
Attach Chair Rails
To attach the chair rails, start by drilling dowel holes at the marked locations on the chair frame for precise alignment. Use a Kreg multimark tool to guarantee each dowel hole is accurately placed. This step is essential for maintaining the consistency and stability of your chair rail design.
Next, cut and paint your dowels beforehand. This not only enhances durability but also ensures a cleaner finish. Once the dowels are ready, secure them with wood glue, aligning them carefully with the pre-drilled holes.
Critical Spacing: Ensure each chair rail is evenly spaced for a professional look.
Alignment: Double-check the rail alignment against the seat frame to avoid misalignment.
Securing: Use both wood glue and screws to attach the chair rails firmly to the seat frame.
When attaching the chair rails, focus on stability and precision. The combination of glue and screws will provide added strength, crucial for outdoor chair maintenance. Properly aligned and securely attached rails will contribute to the longevity and aesthetic appeal of your outdoor chair.
Secure Backrest
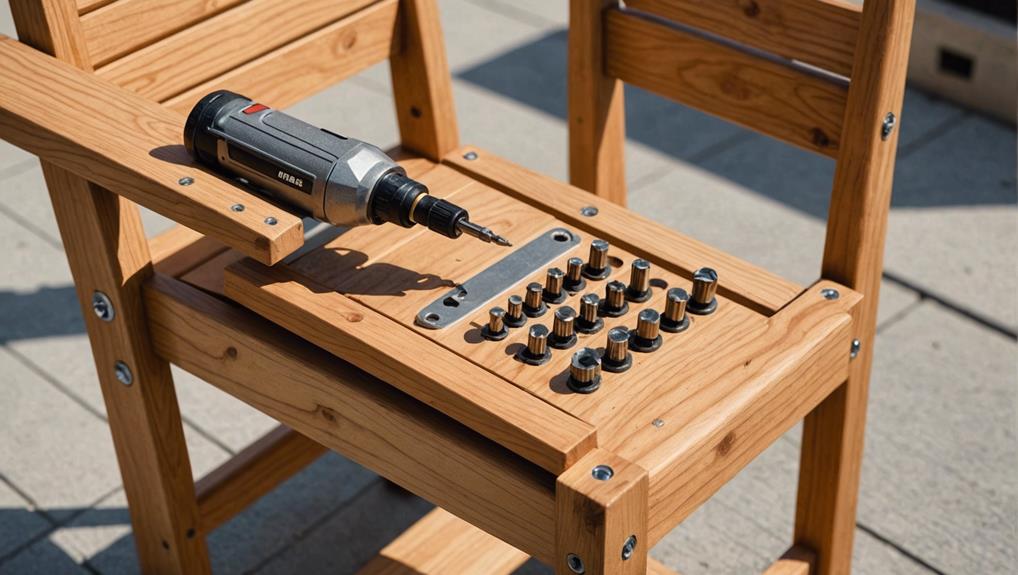
To secure the backrest, start by selecting durable wood that can withstand outdoor conditions. Use wood screws and wood glue for reliable fastening, ensuring the backrest is at a comfortable angle.
Pre-drill pilot holes to prevent splitting, and use a carpenter's square for precise alignment.
Choose Durable Materials
When securing the backrest, opt for durable outdoor materials like cedar wood and guarantee stability with strong wood glue and screws. Cedar wood is an excellent choice due to its natural resistance to moisture, decay, and insect damage, making it perfect for outdoor furniture.
To confirm the longevity of your chair, consider the following:
- Wood finish options: Apply a protective wood finish like polyurethane, varnish, or oil-based stains. These finishes not only enhance the natural beauty of the wood but also provide a layer of defense against environmental elements.
- Weatherproofing techniques: Utilize weatherproofing methods such as sealing the wood with a water-repellent preservative. This will help prevent moisture infiltration and extend the life of your chair.
- Proper joinery methods: Use joinery techniques like dowels or pocket hole screws when attaching the backrest. These methods offer a robust connection that can handle the stresses of regular use.
Proper Fastening Techniques
Although securing the backrest might seem straightforward, using wood glue and screws guarantees a durable and stable connection to the chair frame. Begin by applying wood glue to the contact surfaces of the backrest and chair frame. This adds an extra layer of adhesion, enhancing the overall strength of the joint.
Next, confirm proper alignment. Use a level and square to check that the backrest is perfectly vertical and centered. These backrest alignment tips will help prevent any wobbling or unevenness.
Once aligned, pre-drill pilot holes through the backrest and into the frame. Pilot holes are vital as they prevent the wood from splitting when you drive in the screws.
When selecting screws, opt for ones that are long enough to penetrate both the backrest and frame securely but not so long that they protrude through the other side. This fastening techniques comparison highlights the importance of choosing the right screw length for a secure attachment.
Add Seat Slats
Position the seat slats evenly across the chair frame, guaranteeing uniform spacing and ideal comfort. Proper seat slat spacing is essential not only for aesthetics but also for maintaining the chair's weight capacity. Begin by measuring the width of the chair frame and calculating equal gaps between each slat. A consistent gap of about 1/4 inch usually works well.
To secure the slats, use wood screws and wood glue for maximum stability. First, apply a thin layer of wood glue to the contact points on the chair frame. Then, place each slat onto the frame, making sure they're all aligned properly. Secure each slat with wood screws, driving them through pre-drilled holes to prevent splitting.
Consider these steps for added precision:
- Measure Twice: Always double-check your measurements to ensure even spacing.
- Pre-drill Holes: Prevent wood from splitting by pre-drilling holes for your screws.
- Check Stability: After attaching each slat, give it a slight wiggle to ensure it's stable and secure.
Sand the Chair
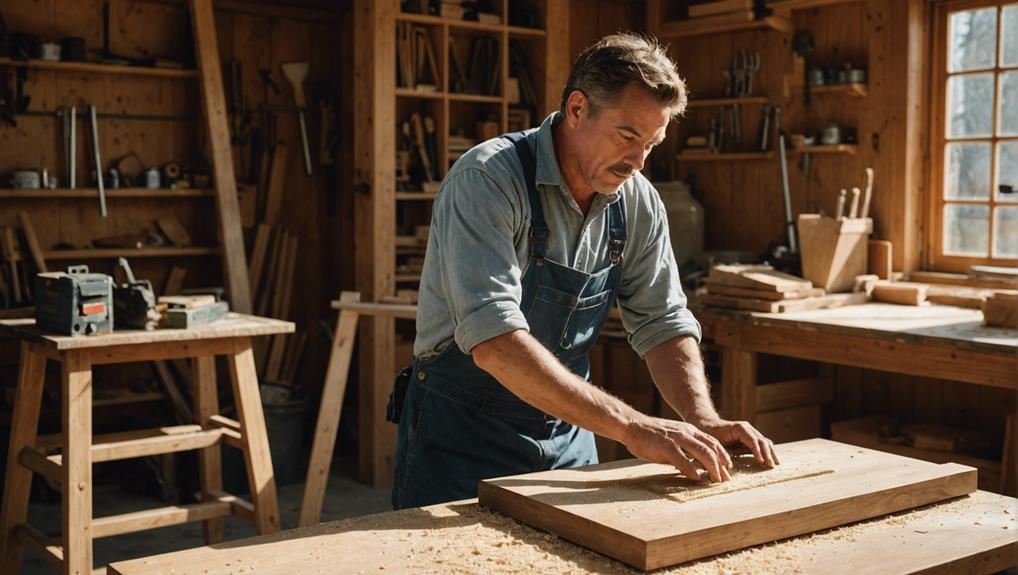
To achieve a smooth and polished finish, start by thoroughly sanding the entire chair with fine-grit sandpaper. Begin with a 120-grit paper, moving to a finer 220-grit for the final pass. This guarantees you remove all rough edges and imperfections effectively, vital for both the chair's appearance and durability. Sand all exposed surfaces, including the seat, backrest, and armrests, as uneven surfaces can impede painting or staining.
Focus on sanding techniques to make sure a uniform finish. Use circular motions on flat areas and follow the wood grain on detailed sections. Corners and intricate parts of the chair design require special attention; a sanding sponge or small piece of sandpaper can help you reach these spots.
Different wood types may require slightly different approaches. For softer woods, don't press too hard to avoid gouging. Hardwoods might need a bit more pressure but be consistent to maintain an even surface.
Proper sanding prepares your chair for the next steps—whether you choose to stain or select one of your preferred paint colors, the smooth surface will enhance the final result, making your outdoor chair both attractive and comfortable.
Apply Finishing Touches
With your chair now smoothly sanded, it's time to apply the finishing touches that will safeguard and enhance its appearance. Start by using outdoor wood filler to hide any screw holes or imperfections. This guarantees a polished look and prevents moisture from seeping in. Once the filler has dried, sand the filled areas to maintain a smooth surface.
Next, choose your finish. You can opt for paint or varnish, both providing protection against sun, rain, and moisture. Apply multiple coats, allowing each to dry thoroughly before adding the next. This enhances durability and weather resistance, ensuring your chair lasts for years.
Consider adding outdoor cushions for added comfort and style. These are available in various upholstery options, from weather-resistant fabrics to stylish designs. Make sure the cushions are specifically designed for outdoor use to withstand the elements.
Here are some additional finishing touches:
- Decorative elements: Add personal touches like decorative trims or painted designs.
- Extra protection: Apply a sealant for an additional layer of defense against the elements.
- Custom upholstery: Select from a variety of upholstery options to match your outdoor decor.
Frequently Asked Questions
How Are Chairs Made Step by Step?
To make chairs step by step, assemble the frame, attach legs, and guarantee ergonomic design. Drill dowel holes, secure rails, and use glue. Install seat frames for chair stability. Add cushions, decorative elements, and paint for durability.
What Manufacturing Process Is Used for Chairs?
You'll find chairs made through CNC machining for precise cuts in wood or metal, and injection molding for forming plastic. The chosen method depends on material, production volume, finish, and cost.
How Much Paracord Do I Need for a Patio Chair?
You'll need 100-150 feet of paracord for a simple chair weaving design. For more intricate patterns, have 200 feet on hand. Different paracord types may affect the length needed, so measure carefully.
What Materials Are Used to Make a Wooden Chair?
You'll need various wood types like cedar, pine, oak, or teak. Use wood screws, wood glue, and wood putty for assembly. Finishing techniques include applying an outdoor wood sealer or paint to protect against weathering.
Conclusion
You've just crafted your own outdoor chair by following these detailed steps. With all the components securely assembled—from the frame and legs to the seat slats and backrest—it's now ready for use.
After a thorough sanding and applying the finishing touches, your chair not only looks great but is also built to last. Enjoy the satisfaction and comfort of your handiwork every time you take a seat.
Well done!



Leave a Reply