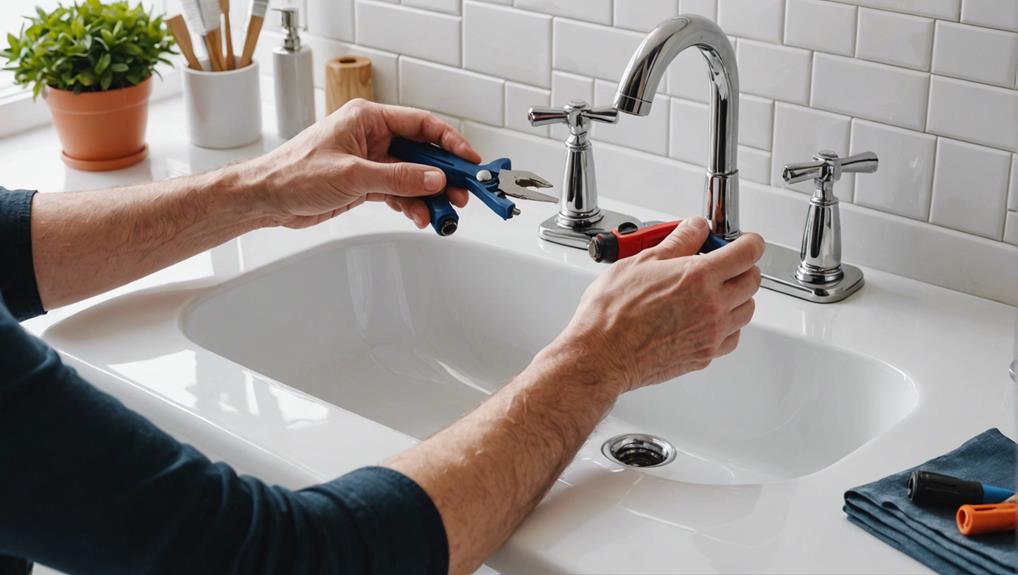
Fix a Stuck Bathroom Sink Stopper: Step-by-Step Guide
To fix a stuck bathroom sink stopper, gather essential tools such as pliers, a screwdriver, steel wool, and silicon spray. Begin by examining the stopper for debris, rust, or misalignment. Attempt manual removal using pliers, or utilize a suction cup or plunger to dislodge it. If unsuccessful, locate and remove the pivot rod. Clean the stopper with appropriate tools and reassemble, ensuring all parts are correctly positioned. Re-test the stopper for smooth operation. Persistent issues may require professional plumber assistance for a thorough inspection and repair. Continue to discover detailed methods for each step involved in this process.
Key Takeaways
- Identify and assess the root cause of the stuck sink stopper by inspecting for debris, rust, or mechanical failure.
- Use pliers or a screwdriver to manually remove the stopper, applying silicon spray or WD40 if necessary.
- Clean the stopper and surrounding sink area with steel wool, wire brush, and mould cleaner to remove any buildup.
- Reassemble the stopper correctly, ensuring all parts are aligned and functioning smoothly.
- Conduct a function test post-reassembly to verify the sink stopper operates efficiently and without obstruction.
Gather Necessary Tools
Before addressing the issue of a stuck bathroom sink stopper, it is crucial to gather essential tools such as pliers, a screwdriver, steel wool or a wire brush, silicon spray or WD40, and mould cleaner. These tools are essential for the disassembly, cleaning, and reassembly of the sink stopper mechanism. Proper tool maintenance guarantees that your tools remain effective and safe for use, thereby facilitating a smooth and efficient repair process.
Pliers and screwdrivers are indispensable for loosening and tightening various components of the sink stopper. Steel wool or a wire brush is crucial for removing accumulated debris and rust, ensuring the stopper operates smoothly. Silicon spray or WD40 is used to lubricate moving parts, reducing friction and preventing future sticking. Mould cleaner helps in eliminating any biological residue that may impede the functionality of the stopper.
Budget-friendly alternatives such as multipurpose pliers or all-in-one screwdrivers can also be considered, provided they meet the necessary specifications. Making sure you have the correct tools not only prevents damage to the sink stopper and surrounding components but also extends the lifespan of the mechanism, maintaining its functionality and efficiency over time.
Assess the Situation
To effectively resolve a stuck bathroom sink stopper, start by identifying the root cause of the issue, such as visible obstructions or buildup.
Next, make sure you have the necessary tools on hand for a thorough inspection and potential repair.
Identify the Problem
Evaluating the situation involves checking if the sink stopper is stuck in the open or closed position, and inspecting for visible debris, rust, or misaligned components that may be causing the issue. Identifying the issue is critical to determine the appropriate corrective measures.
Common causes of a stuck stopper include accumulated debris such as hair or soap scum, which can obstruct the mechanism, or rust that can cause parts to bind together.
First, observe the sink stopper's position. If it is stuck in the open position, it may be an indication of a mechanical failure, such as a disconnected or malfunctioning pivot rod. Conversely, if the stopper is stuck in the closed position, it might be due to debris lodged in the drain or a faulty seal that prevents movement.
Next, inspect the visible parts of the stopper for signs of wear, rust, or misalignment. The stopper mechanism typically includes a lever or pivot rod under the sink, which should be checked for proper connection and operation.
Understanding these common causes will guide you in diagnosing whether the problem lies with the mechanical components or if it is an issue of blockage or corrosion.
Gather Necessary Tools
Begin by gathering the essential tools such as pliers, a screwdriver, a flashlight, and lubricant, which will facilitate an efficient diagnosis and resolution of the stuck bathroom sink stopper. Proper tool organization is paramount to streamline the repair process.
Arrange the tools within easy reach on a clean, flat surface. This organized workspace minimizes interruptions, allowing for a smooth workflow.
Before commencing the repair, make sure that each tool is in excellent working condition. Tool maintenance is vital; inspect the pliers for rust, verify that the screwdriver fits securely in the screw head, and check the flashlight batteries. Lubricant should be readily available to ease any tight or rusted components.
Assess the situation by first determining if the sink stopper is stuck in an open or closed position. This initial assessment will guide your troubleshooting strategy. Understand the components of the sink stopper mechanism—typically comprising the stopper, lift rod, pivot rod, and clevis strap—to identify potential issues such as debris accumulation, rust, or misalignment.
Clearing the area under the sink provides unobstructed access to these components, further aiding in efficient diagnostics and repair.
Check Stopper Mechanism
Carefully inspect the stopper mechanism to identify any debris buildup, rust, or misalignment that could be causing the issue. Begin by examining the stopper itself and its surrounding components. Any debris or rust on the stopper can impede its smooth operation, necessitating thorough cleaning as part of regular stopper maintenance. Check the pivot rod and nut for secure attachment, ensuring there is no excessive wear or damage.
| Component | Potential Issues |
|---|---|
| Stopper | Debris, Rust, Misalignment |
| Pivot Rod | Loose, Damaged, Misaligned |
| Nut | Loose, Corroded |
Next, focus on the alignment of the stopper with the pivot rod, as misalignment can prevent the stopper from moving fluidly. When troubleshooting tips suggest ensuring each part is properly aligned, it often resolves common issues. Look for visible signs of wear on the pivot rod and stopper, as these can indicate the need for replacement components.
Correctly aligning the stopper with the pivot rod is critical to its functionality. If the components appear worn or damaged, consider replacing them to avoid future malfunctions. By addressing these specifics, you can effectively determine the root cause of a stuck bathroom sink stopper and proceed with the appropriate repair steps.
Attempt Manual Removal
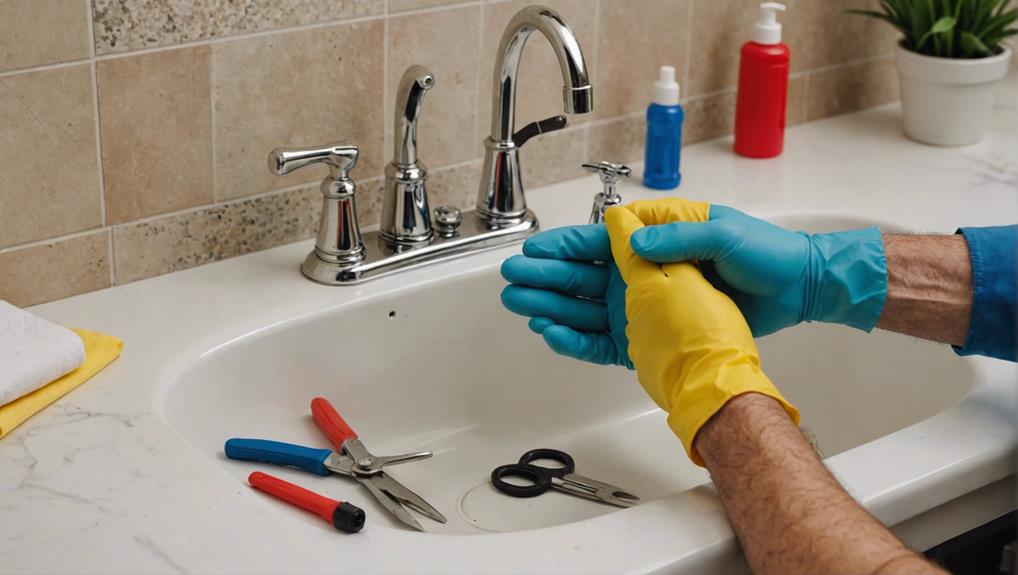
To manually remove a stuck bathroom sink stopper, start by pulling up the stopper using the knob located at the center of the sink. This initial step is often a quick and easy DIY solution for minor blockages. However, if the stopper doesn't budge, you may need to investigate further.
Before proceeding, consider the importance of guaranteeing clogs through regular maintenance tips such as periodic cleaning of the stopper and drain. One common mistake is neglecting these preventive measures, which can lead to more serious blockages.
Next, inspect the area under the sink to locate the pivot rod. Using pliers, carefully remove the pivot rod to release the stopper mechanism. This will allow the stopper to be lifted out of the drain. Make sure you keep track of all components for correct reassembly later.
When reassembling, align the stopper and pivot rod correctly to restore proper function. Failure to do so may result in additional issues. If the stopper remains immovable after these efforts, it is advisable to seek professional plumbing assistance to resolve the issue effectively.
Understanding and implementing these DIY solutions can help in maintaining a clog-free sink and avoid common mistakes that lead to stuck stoppers.
Use a Suction Cup
Why not utilize a suction cup to create a seal over the filled sink and apply upward force, effectively dislodging a stuck bathroom sink stopper? This non-invasive method leverages the principles of suction to generate the necessary force to release the obstructed stopper. Begin by filling the sink with water to guarantee a tight seal with the suction cup. Align the cup over the drain and press firmly to eliminate any air gaps. Once a secure seal is formed, apply a steady upward pull.
If the stopper remains immovable, repeat the process with increased pressure. For those seeking DIY solutions, a variety of suction cup alternatives are available, such as rubber sink plungers or specialized sink unclogging tools. These alternatives can provide comparable results through similar mechanisms.
| Step | Description |
|---|---|
| 1 | Fill the sink with water to create a seal. |
| 2 | Align the suction cup over the drain and press firmly. |
| 3 | Apply upward force; repeat if necessary with more pressure. |
This method is particularly advantageous as it avoids potential damage to sink components, making it a preferred initial approach before considering more invasive techniques.
Try a Plunger
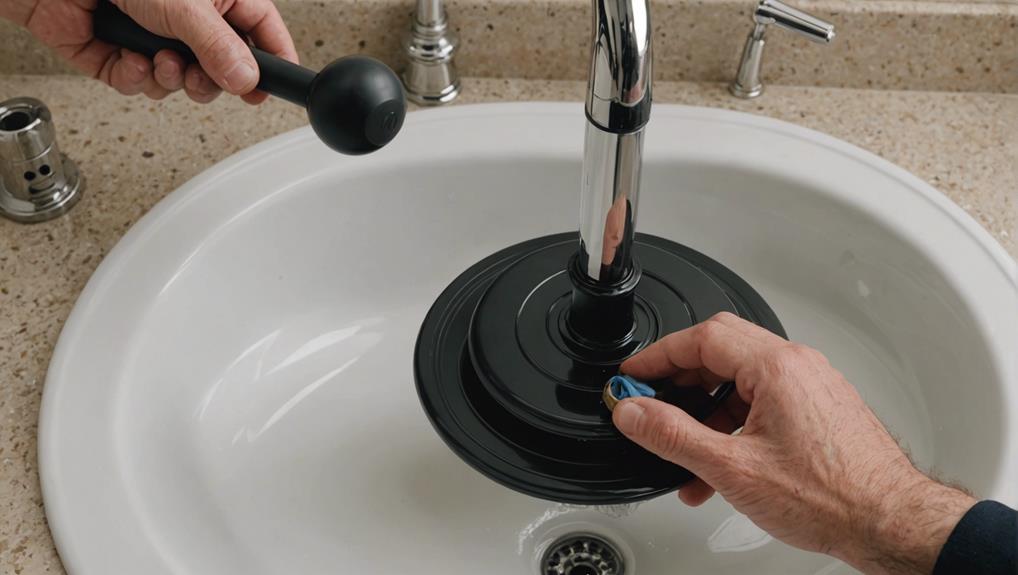
To address a stuck bathroom sink stopper, employing a plunger can be a highly effective method.
Make sure the plunger is securely sealed over the drain, then apply firm pressure and perform a vigorous pumping motion to create suction.
This action can help break the seal holding the stopper in place, facilitating its removal and potentially clearing any stubborn blockages.
Proper Plunger Technique
To achieve an effective plunging technique, make sure the plunger cup completely covers the sink drain to establish a proper seal. This step is critical for generating the necessary pressure to dislodge a stuck sink stopper. Confirm the plunger is upright and centered over the drain to maintain an ideal seal throughout the process.
When executing the plunging motion, use quick, strong thrusts. This action creates significant pressure differences that can break the seal holding the stopper in place. Be prepared to repeat this motion multiple times. Consistency and persistence are often needed to achieve results.
Adjust the position of the plunger if necessary. Targeting different angles around the stopper can enhance the technique's effectiveness. These adjustments ensure that pressure is applied evenly across the stopper, potentially loosening it more efficiently.
Common mistakes to avoid include failing to cover the drain entirely and using weak plunges, which reduce the effectiveness of the procedure. Regular plunger maintenance, such as cleaning and inspecting for damage, can prevent these issues.
If plunging proves ineffective, consider sink stopper alternatives or additional methods as subsequent steps. Employing the proper technique is paramount to maximizing the success of this approach.
Clearing Stubborn Blockage
Addressing a stubborn blockage in a bathroom sink often begins with employing a plunger, a tool designed to generate suction capable of dislodging debris.
To maximize effectiveness, follow these steps:
- Form a Tight Seal: Make sure the plunger completely covers the drain opening. This seal is essential for creating the necessary vacuum.
- Consistent Pressure: Apply firm and consistent pressure, using both downward and upward motions. This action helps to push and pull the blockage, breaking it up.
- Repeat as Needed: Multiple repetitions may be necessary to fully dislodge the blockage. Be persistent for best results.
A plunger is often the first line of defense in DIY hacks for clearing sink blockages. However, if the blockage remains stubborn, alternatives such as chemical solutions or a drain snake may be considered.
Chemical solutions can dissolve organic material obstructing the pipes, while a drain snake, also known as an auger, can physically break up and extract debris.
For particularly resilient blockages, professional services might be necessary. Plumbing professionals possess the expertise and specialized equipment to address severe clogs that DIY methods cannot resolve.
Employing these strategies ensures a thorough approach to maintaining a clear and functional bathroom sink.
Locate the Pivot Rod
Understanding the location of the pivot rod is essential for diagnosing issues with a stuck bathroom sink stopper. The pivot rod, a critical component in the sink stopper mechanism, is situated beneath the sink basin. It serves as the intermediary between the lift rod and the horizontal rod, enabling the stopper to ascend and descend as needed.
For effective pivot rod troubleshooting, first, identify its position by looking directly below the sink, where you will find it attached to the drainpipe via a connection secured by a nut. The pivot rod typically extends horizontally from the back of the drainpipe and connects to the stopper mechanism inside the sink.
Common pivot rod issues include misalignment, corrosion, or the nut becoming loose, all of which can impede the stopper's operation. Proper alignment and secure fastening of the pivot rod are crucial for efficient functionality.
If the rod appears rusted or bent, it might need a thorough inspection or replacement. Ensuring the pivot rod is correctly positioned and functioning can often resolve the problem of a stuck sink stopper, paving the way for further steps in the repair process.
Remove the Pivot Rod
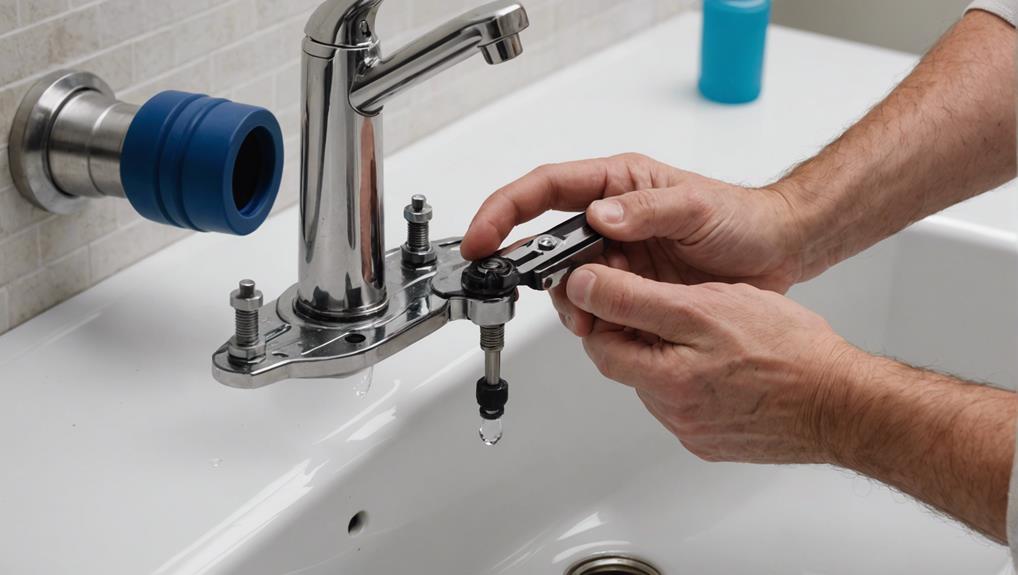
Carefully loosening the securing nut, initiate the removal of the pivot rod to gain access to the sink stopper for maintenance or cleaning. The pivot rod, a critical component in the sink's drainage system, must be handled with precision to avoid any potential damage.
- Identify the securing nut: Locate the nut that holds the pivot rod in place, typically found beneath the sink basin where the drain pipe connects.
- Apply proper lubrication: Use a suitable lubricant to make sure the nut can be loosened smoothly, especially if it has been in place for an extended period.
- Loosen the nut and remove the pivot rod: Gently turn the nut counterclockwise using a wrench or pliers, and carefully extract the pivot rod from its housing.
In some cases, alternative methods such as using a penetrating oil or a specialized nut removal tool may be necessary if the securing nut is particularly stubborn. Proper lubrication can greatly ease this process, reducing the risk of damaging the pivot rod or surrounding components.
Once the pivot rod is successfully removed, you will have unrestricted access to the sink stopper, enabling thorough maintenance or cleaning. Ensuring correct reassembly is crucial for the stopper's efficient function.
Release the Stopper
To release the stopper, gently pull it upwards from the drain hole after the pivot rod has been removed. This step is vital in guaranteeing that the stopper can be fully extracted without causing damage to adjacent components.
Use pliers to carefully remove the pivot rod nut, which secures the stopper. Once the pivot rod is detached, the stopper should lift out easily. However, if resistance is encountered, avoid using excessive force, as this is a common mistake that can lead to breakage.
Applying lubrication techniques can facilitate the removal process. A small amount of silicone-based lubricant around the stopper's edges can reduce friction and make it easier to pull out. Ensure that the stopper is properly aligned with the pivot rod when reassembling to prevent future sticking.
In cases where the stopper remains immovable despite these efforts, it may be necessary to seek professional plumbing assistance. Technicians can employ specialized tools and methods to address persistent issues.
Misalignment during reassembly is another common mistake that can lead to operational inefficiencies, so take care to reassemble all components precisely. By following these steps diligently, you can successfully release a stuck bathroom sink stopper.
Clean the Stopper
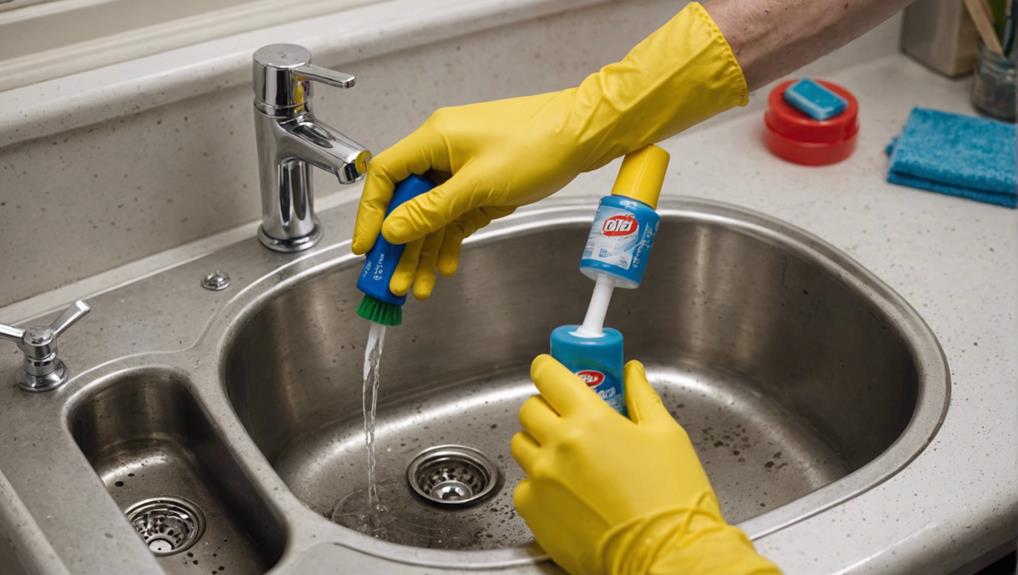
After successfully releasing the stopper, proceed to clean it thoroughly to guarantee peak performance. This step is critical to secure the longevity and functionality of your bathroom sink stopper. Utilize a few DIY solutions and maintenance tips to achieve an ideal result.
Begin by removing any visible debris. Use a screwdriver to safely extract the stopper from the sink. Once removed, follow these steps:
- Brush and Detergent: Use a small brush, preferably with stiff bristles, and a mild detergent to scrub the stopper. This will help eliminate soap scum and other residues that have accumulated over time.
- Debris Removal: Carefully inspect the stopper for hair, debris, or any buildup. Utilize tweezers or a similar tool to remove these obstructions, ensuring no material remains that could impede functionality.
- Hot Water Rinse: Rinse the stopper thoroughly with hot water. This step is essential to make sure that all cleaning agents and remaining grime are completely washed away.
Regular maintenance of the stopper, such as periodic cleaning, can prevent future clogs and ensure smooth operation. Implement these maintenance tips consistently as part of your routine to avoid more significant plumbing issues.
This DIY solution is straightforward but highly effective in maintaining an ideal performance.
Reassemble the Stopper
Begin by ensuring that all components are thoroughly cleaned and dried before starting the reassembly process. Proper cleanliness prevents debris from causing future blockages and ensures a smooth reassembly.
Reassembling the stopper involves aligning the stopper correctly with the pivot rod. It's vital to make sure the stopper alignment is precise for the best operation. Insert the stopper into the drain, ensuring that the hole in the stopper stem is facing the back of the sink where the pivot rod will be reinserted.
| Step | Description |
|---|---|
| 1 | Insert the stopper into the drain. Make sure the stopper stem hole is facing the back. |
| 2 | Slide the pivot rod through the hole in the stopper stem. |
| 3 | Secure the pivot rod with the retaining nut. Avoid over-tightening to prevent damage. |
| 4 | Conduct a function test by lifting and lowering the stopper multiple times to ensure proper operation. |
During reassembly, avoid over-tightening the nut securing the pivot rod, as this can lead to damage. Additionally, consider cleaning the U-bend or P-trap for thorough maintenance tips. Once reassembled, perform a function test to verify the stopper operates smoothly. This ensures the stopper alignment and pivot rod are correctly positioned, resulting in a fully functional bathroom sink stopper.
Seek Professional Help
If you encounter persistent issues or complex repairs that exceed your DIY capabilities, it is advisable to consult a professional plumber. Selecting a qualified technician guarantees accurate diagnostics and effective solutions, leveraging specialized tools and industry expertise.
Additionally, evaluating cost considerations will help you make an informed decision for efficient and reliable service.
When to Call
Consider seeking professional help when DIY methods fail to unjam a stuck bathroom sink stopper. Persistent issues with the sink stopper can be indicative of deeper plumbing problems that require professional intervention. Specifically, look for signs of a serious blockage, such as slow drainage or water backing up, which are often beyond the scope of typical household fixes.
Common DIY mistakes can exacerbate the problem. For instance, using excessive force to remove the stopper can damage the linkage or the drainpipe, leading to more significant repairs. Additionally, improper reassembly after an attempt at fixing can cause leaks or further blockages.
Seek professional help in the following scenarios:
- Persistent Clogs: If your sink continues to drain slowly or not at all, despite multiple attempts to clear the blockage, it is time to call a plumber.
- Unsuccessful DIY Repairs: When your DIY efforts result in no improvement or make the situation worse, a professional's expertise is invaluable.
- Physical Damage: Noticeable damage to the sink stopper mechanism or drain components should prompt immediate professional attention.
Qualified plumbing experts possess the necessary tools and expertise to diagnose and resolve complex sink stopper issues efficiently, ensuring your sink returns to its best operational state.
Choosing a Plumber
Selecting a competent plumber involves evaluating their experience, certifications, and customer reviews to make sure they can effectively address your stuck sink stopper issue.
A well-qualified plumber brings a wealth of expertise to tackle various types of sink stopper mechanisms, whether it's a lift-and-turn, push-and-pull, or a pop-up stopper. This plumbers' expertise is vital for diagnosing the root cause of the malfunction and implementing lasting solutions that prevent recurrence.
When considering hiring benefits, one should note that professional plumbers guarantee that the issue is resolved correctly and efficiently. They possess the necessary tools and knowledge to dismantle and reassemble sink components without causing damage. Additionally, hiring a reputable plumber ensures quality workmanship and reliable results, mitigating the risk of further complications.
Before making a selection, check for essential qualifications such as licensing and insurance. These credentials indicate a plumber's adherence to industry standards and legal requirements. Additionally, reading customer reviews and testimonials can provide insights into the plumber's reliability and service quality.
Cost Considerations
Understanding the cost considerations for hiring professional help to fix a stuck bathroom sink stopper is essential for budgeting and decision-making. Professional plumbers generally charge between $50 to $150 per hour, depending on their expertise and geographic location. Additionally, a diagnostic fee ranging from $50 to $100 is typically incurred to assess the issue.
When evaluating the total cost, consider the following components:
- Hourly Rates and Diagnostic Fees: Plumbers charge an hourly rate for labor, in addition to a diagnostic fee for identifying the problem.
- Complexity of the Issue: The overall expense may increase based on the complexity of the stuck stopper and the time required for repairs.
- Replacement Parts: Any necessary parts or adjustments to the sink stopper mechanism may incur additional costs.
Despite the expense, professional plumbers ensure the proper handling and resolution of the issue, offering peace of mind. However, for those looking to minimize costs, exploring DIY solutions can be a viable alternative.
Implementing cost saving tips such as routine maintenance and early detection of issues can also mitigate the need for professional intervention.
Balancing these considerations enables informed decision-making and effective budget management.
Frequently Asked Questions
How to Get a Sink Stopper Unstuck?
To unstick a sink stopper, consider using lubricant options like WD-40 to ease movement. Employ alternative tools such as a suction cup or plunger for additional leverage. If unsuccessful, removing the pivot rod may be necessary.
How to Release a Stuck Bath Plug?
To release a stuck bath plug, alternative methods using household tools include applying WD-40 for lubrication, utilizing a plunger or suction cup for removal, and inspecting the lever mechanism. If unsuccessful, consult a professional plumber.
How to Fix a Pop-Up Sink Plug That Won't Stay Down?
To fix a pop-up sink plug that won't stay down, verify proper drain alignment and consider seal replacement. Misalignment often causes malfunction, while worn seals prevent secure closure. Professional plumbers possess the expertise to address these issues effectively.
How Do I Fix the Stopper in a Sink?
To fix a sink stopper, start with manual stopper removal and inspect for debris. If stuck, disassemble the pivot rod and nut. Verify proper alignment during reassembly. Regular stopper maintenance prevents future issues and guarantees smooth functionality.
Conclusion
Addressing a stuck bathroom sink stopper involves several methodical steps, from gathering tools to potential professional intervention. Initial efforts should focus on manual removal, aided by tools such as suction cups and plungers when necessary.
Releasing and cleaning the stopper are critical to restoring functionality. Should these efforts prove ineffective, professional assistance may be necessary.
Utilizing these techniques can guarantee a systematic and effective resolution to a common household issue.


Leave a Reply