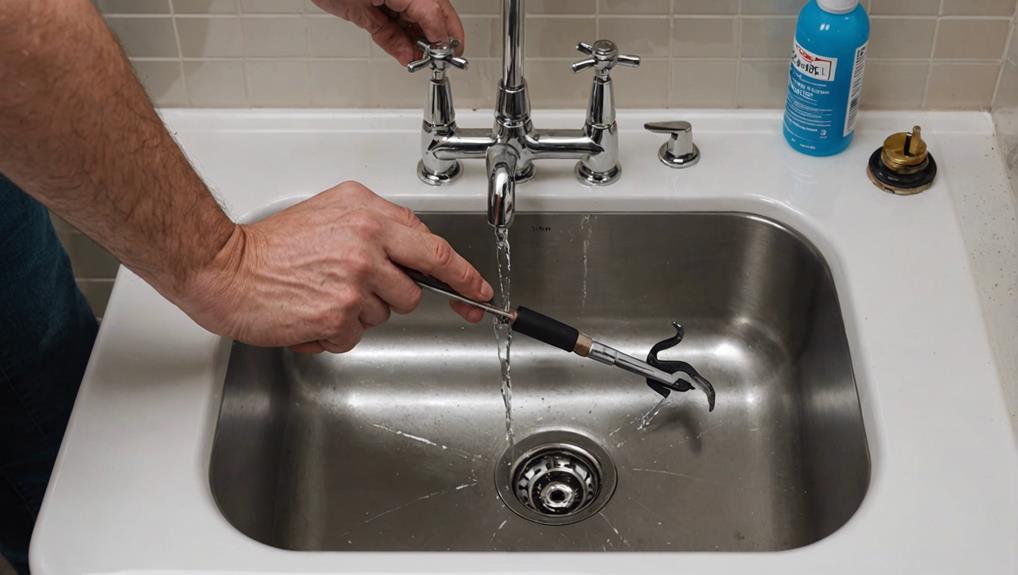
Fixing a Stuck Bathroom Sink Plug
Fixing a stuck bathroom sink plug requires a well-equipped toolkit, featuring pliers, screwdrivers, silicon spray, and more. Start with a thorough examination of the pop-up waste system, checking for blockages or wear. Methods such as the lever check technique, suction cup extraction, magnet retrieval using neodymium magnets, and the twist-and-pull method may offer solutions. In addition, removing the U bend with adjustable pliers and cleaning it thoroughly can address deeper obstructions. Professional assistance guarantees an accurate diagnosis and long-term maintenance. For a detailed guide, detailed methods and expert advice are further explained.
Key Takeaways
- Inspect the lift rod connection and ensure the horizontal rod is unobstructed and properly connected.
- Use a suction cup to gently remove the stuck plug without damaging the sink.
- Employ a neodymium magnet for efficient and non-intrusive plug extraction.
- Lubricate the plug and apply consistent pressure using the twist and pull approach to free it.
- Clean the U bend by loosening slip joint nuts, removing debris, and inspecting for blockages.
Gather Tools and Materials
Before commencing the repair process for a stuck bathroom sink plug, it is essential to assemble essential tools and materials, such as pliers, a screwdriver, steel wool, silicon spray, and mould cleaner, to guarantee an efficient and effective procedure. The initial phase of any repair endeavor mandates meticulous tool organization and a thorough material checklist. These preparatory steps are vital for ensuring a streamlined and efficacious workflow.
Pliers and screwdrivers serve as fundamental instruments for the dismantling and reassembly of the sink plug components. Steel wool is imperative for the removal of accumulated debris and corrosion, thereby facilitating the smooth operation of the plug mechanism. Silicon spray acts as a lubricating agent, mitigating friction and ensuring seamless movement of the plug assembly. Mould cleaner is essential for the eradication of biofilm and microbial growth, which can obstruct the proper functioning of the sink plug.
Effective tool organization minimizes downtime and enhances procedural efficiency, allowing for immediate access to required instruments. A detailed material checklist ensures all necessary items are readily available, precluding any interruptions during the repair process.
Inspect the Plug Mechanism
Initiate the inspection by meticulously examining the pop-up stopper for any obstructive debris or blockages that could impede its functionality. This initial step in plug maintenance is critical for mechanism troubleshooting. Utilize a flashlight to enhance visibility and guarantee thoroughness in identifying any foreign material.
Next, proceed to a detailed inspection of the lift rod and horizontal rod assemblies. Verify their proper connection to the stopper mechanism, as disconnections or misalignments can greatly impact operational efficiency. Pay close attention to signs of corrosion or wear, as these factors can jeopardize the movement and integrity of the plug components.
Additionally, ascertain the security of the clip holding the horizontal rod in place. An improperly secured clip can lead to obstructions, thereby hindering the stopper's function.
To assist in a thorough examination, consider the following checklist:
- Debris and Blockages: Check for any material causing an obstruction.
- Lift Rod Connection: Ensure proper linkage to the stopper.
- Horizontal Rod Integrity: Inspect for wear and tear.
- Clip Security: Verify the clip is firmly in place.
- Pop-up Waste System: Examine the entire system for potential issues.
Lever Check Method
To evaluate the operational status of a lever-operated pop-up waste mechanism, begin by inspecting the plug mechanism for any visible obstructions or misalignments.
Subsequently, adjust the lever position by moving it up and down, confirming the corresponding movement of the sink plug.
This diagnostic approach effectively determines whether the sink plug control is lever-based, facilitating targeted troubleshooting.
Inspect Plug Mechanism
Begin by locating the lever on the tap that actuates the sink plug mechanism, making sure it's the control for either the pop-up waste or standard waste plug. This lever is essential to the effective operation of the plug and is vital for both plug maintenance and sink plug troubleshooting.
Examine if the lever moves freely and inspect whether it has any resistance or obstruction. Understanding the lever's functionality will help in diagnosing potential issues with the sink plug mechanism.
To systematically inspect the plug mechanism, consider the following steps:
- Visual Inspection: Check for visible signs of wear, rust, or damage on the lever and associated components.
- Operational Test: Move the lever up and down to observe if it directly affects the plug's movement.
- Connection Integrity: Make sure that the connecting rod between the lever and the plug is securely attached and not loose or broken.
- Alignment Check: Verify that the lever and plug are properly aligned, as misalignment can hinder functionality.
- Debris Removal: Clear any debris or buildup that might obstruct the lever's movement or the plug's operation.
Adjust Lever Position
For best adjustment of the lever position in a bathroom sink plug mechanism, make sure the lever is precisely aligned to facilitate unobstructed plug movement. Lever troubleshooting is a critical step in addressing a stuck plug fix, ensuring that the lever mechanism operates seamlessly.
Initially, inspect the lever on the tap by moving it up and down to ascertain whether the plug responds accordingly. If the plug remains immobile, it signifies misalignment or mechanical obstruction within the lever system.
To achieve perfect plug adjustment, the lever positioning must be meticulously calibrated. Begin by examining the connection points between the lever and the sink plug mechanism, ensuring all components are securely attached and free of debris. Adjust the lever's angle incrementally, testing the plug's movement after each modification. This iterative process helps pinpoint the precise lever position necessary for free plug operation.
Ensuring the lever is properly positioned can significantly enhance plug adjustment, resolving issues related to a stuck plug fix. By methodically adjusting the lever, you facilitate the smooth operation of the sink plug, thus restoring full functionality to the bathroom sink.
Proper lever positioning is an indispensable technique in the maintenance and troubleshooting of bathroom sink plug mechanisms.
Suction Cup Technique
Utilizing a suction cup smaller than 1 ¼ inches in diameter can effectively mitigate the issue of a stuck bathroom sink plug, leveraging its strong adhesive properties to provide a secure grip for removal. This method presents a viable alternative to more invasive techniques, aligning with DIY solutions that are both cost-effective and efficient. Common household items such as shower wall hooks or window glass hooks can be repurposed for this task, offering practical uses beyond their intended function.
Suction cups exhibit several key benefits in this scenario:
- Guaranteeing Adherence: Ensures a firm grip on the plug, which facilitates easy extraction.
- Non-Intrusive: Prevents potential damage to plumbing fixtures, maintaining the integrity of the sink.
- Cost-Efficient: Utilizes readily available household items, minimizing the need for specialized tools.
- Effectiveness: Quickly addresses the issue of a stuck plug, especially when caused by debris or grime accumulation.
- Safety: Reduces the risk of injury compared to more aggressive removal techniques.
Magnet Extraction
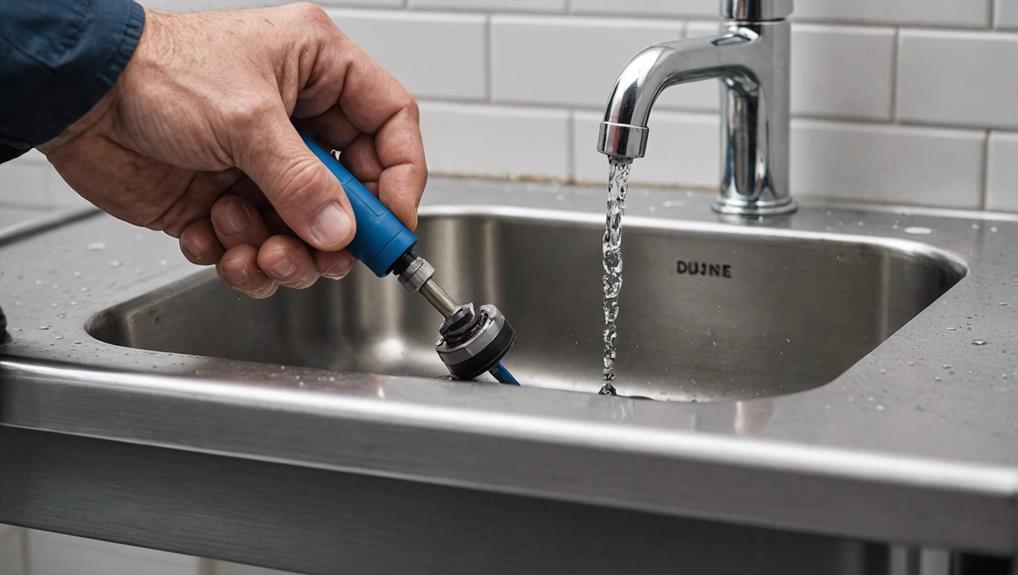
Following the utilization of suction cup techniques, employing a neodymium magnet can provide an efficient solution for extracting a stuck bathroom sink plug, leveraging its robust magnetic field to engage and lift metallic components securely.
Neodymium magnets, known for their exceptional magnetic pull, offer a formidable approach to magnetic removal of metallic sink plugs. Frequently found in household items such as refrigerator magnets or spice jar lids, these magnets are typically accessible and versatile for various DIY tasks.
To execute this method, simply position the neodymium magnet directly atop the stuck plug. The intense magnetic force will attract any ferrous materials within the sink plug mechanism, facilitating a secure grip. Subsequently, a steady, upward pull should dislodge the plug from its aperture. This alternative method circumvents the need for more invasive tools or techniques.
However, it is imperative to observe magnet safety protocols during this procedure. Neodymium magnets possess a substantial pull force, which can result in pinched fingers or damage to surfaces if mishandled. Adhering to DIY tips such as wearing protective gloves and ensuring a clear workspace can mitigate potential hazards.
This approach offers an effective, non-invasive solution for addressing stubborn sink plugs.
Twist and Pull Approach
Employing the twist and pull approach necessitates wearing a rubber glove to enhance grip, followed by firmly rotating the stuck plug anti-clockwise to facilitate its removal. This method is a cornerstone in plug maintenance and DIY solutions, providing an initial, non-invasive attempt to rectify the obstruction.
For best results, consider the following steps:
- Lubrication: Apply WD-40 to the plug, allowing it to permeate the mechanism for several minutes to reduce friction.
- Consistent Pressure: Maintain steady, uniform pressure while twisting to avert damage to the plug or sink mechanism.
- Grip Enhancement: Utilize a rubber glove to augment grip, ensuring a secure hold during the twisting process.
- Avoid Over-Torque: Exert controlled force to prevent undue stress on the plug assembly, which could compound the issue.
- Professional Consultation: If resistance persists, engaging a professional may be prudent to prevent exacerbation of the problem.
Removing the U Bend
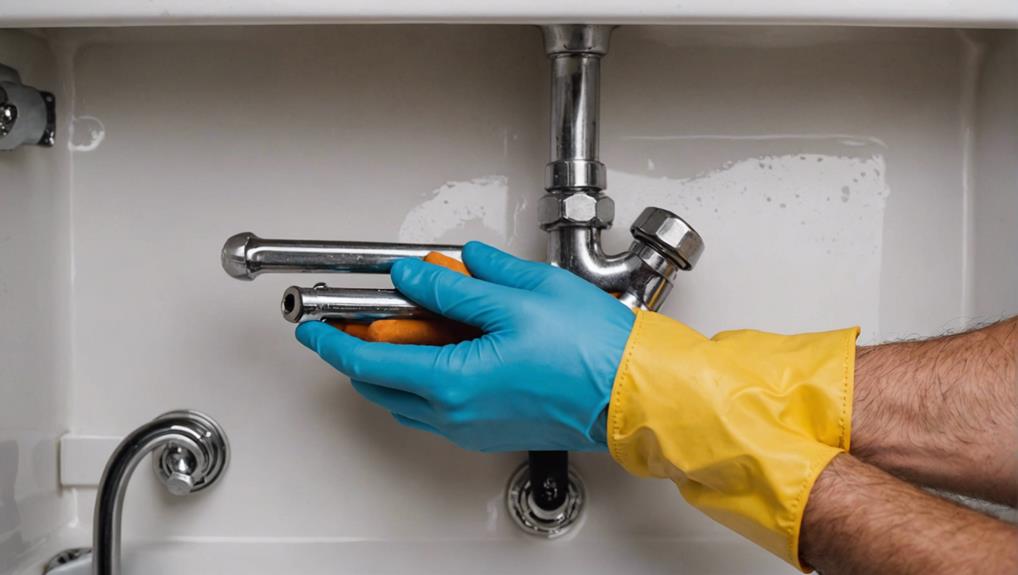
To effectively remove the U bend, first gather essential tools such as an adjustable wrench and a bucket to capture any residual water or debris.
Carefully loosen the slip joint nuts securing the U bend to the adjacent pipes, ensuring minimal disruption to the surrounding plumbing.
Once removed, thoroughly clean and inspect the U bend to enhance drainage efficiency and mitigate future blockages.
Tools You'll Need
Essential tools for removing the U bend include adjustable pliers for loosening nuts and a bucket for catching residual water. These tools are indispensable for any plumbing task involving a stuck sink plug and are part of the fundamental piping tools required for this operation.
The primary objective is to make certain that all components are handled with precision to prevent any inadvertent damage to the plumbing system.
Here is a detailed list of essential piping tools:
- Adjustable Pliers: These are vital for gripping and turning the nuts securing the U bend in place.
- Bucket: Positioned beneath the U bend to catch any residual water, thereby avoiding any spillage.
- Pipe Wrench: Useful for providing additional torque if the nuts are particularly stubborn.
- Towels/Rags: These are necessary for cleaning up any minor spills or for wiping down the pipes.
- Gloves: Protect your hands from sharp edges and provide a better grip on tools and pipes.
Using these tools correctly ensures that the removal process is efficient and minimizes the risk of leaks or damage. Mastery of these fundamental piping tools is essential for any plumbing operation, particularly when addressing issues with a stuck bathroom sink plug.
Loosening the U Bend
After gathering the necessary tools, the next step involves methodically loosening the U bend to access the stuck bathroom sink plug. This procedure is vital to U bend troubleshooting and encompasses several key aspects of DIY plumbing.
Initially, make sure all items stored beneath the sink are cleared to facilitate unobstructed access. The U bend, also known as the P-trap, must be carefully disengaged to reach the horizontal rod linked to the plug mechanism.
Employing a wrench, turn the slip nuts counterclockwise to loosen the U bend. It is important to place a bucket underneath to capture any residual water and debris. Understanding the operational dynamics of the horizontal rod within the U bend system is essential. This rod, often a pivot rod, is crucial for manipulating the plug; hence, precision during disassembly is vital.
Various sink plug strategies may be employed; however, addressing the plug removal alternatives necessitates direct interaction with the U bend. Depending on the specific plumbing configuration, the removal process might exhibit slight variances.
Properly loosening the U bend not only facilitates the extraction of the stuck plug but also offers insight into underlying mechanical issues within the assembly.
Cleaning and Inspecting
Upon successfully loosening the slip nuts, carefully detach the U bend to commence a thorough inspection and cleaning of the sink trap. This process is pivotal for effective plug maintenance and ensuring peak drainage performance. The U bend, or sink trap, serves as a critical barrier preventing sewer gases from entering your living space, while also capturing debris that can impair drainage efficiency.
Begin by emptying any residual water from the U bend into a bucket to avoid spillage. Once removed, inspect the U bend for any visible obstructions or accumulated debris.
The following steps outline a detailed approach to this task:
- Visual Examination: Identify any blockages or foreign objects obstructing the flow.
- Manual Cleaning: Use a pipe brush to scrub the interior of the U bend, removing any sludge or buildup.
- Drainage Inspection: Verify the integrity of the U bend and connected pipes for any signs of corrosion or wear.
- Reassembly: Ensure all components are securely refitted to prevent leaks.
- Testing: Run water through the system to confirm proper drainage and absence of leaks.
Regularly conducting such drainage inspections and cleaning can greatly extend the lifespan of your sink's plumbing system and avert recurrent clogging issues.
Cleaning and Maintenance
Regular maintenance of the bathroom sink plug involves systematic disassembly, thorough cleaning of all components, and meticulous reassembly to prevent operational failures. Implementing routine maintenance tips is important for preserving the functionality of the sink plug.
This includes the regular removal of the plug mechanism to clear out any accumulated debris that could impede its operation. Employing drain guards is an effective measure for preventing blockages by trapping hair, soap particles, and other detritus before they enter the drain.
To prevent blockages, it is advisable to avoid the introduction of grease and other viscous substances into the drain system, as these can congeal and cause obstructions. Periodic testing of the sink stopper is recommended to identify potential issues at an early stage, thereby averting more severe operational disruptions.
Ensuring that the stopper mechanism remains lubricated will promote smooth operation and prevent the occurrence of sticking. Regularly applying a suitable lubricant to the moving parts can greatly reduce friction and wear.
These preventative measures, when diligently followed, can extend the lifespan of the sink plug, enhancing its efficiency and reliability, and minimizing the likelihood of encountering a stuck plug.
Professional Help Options
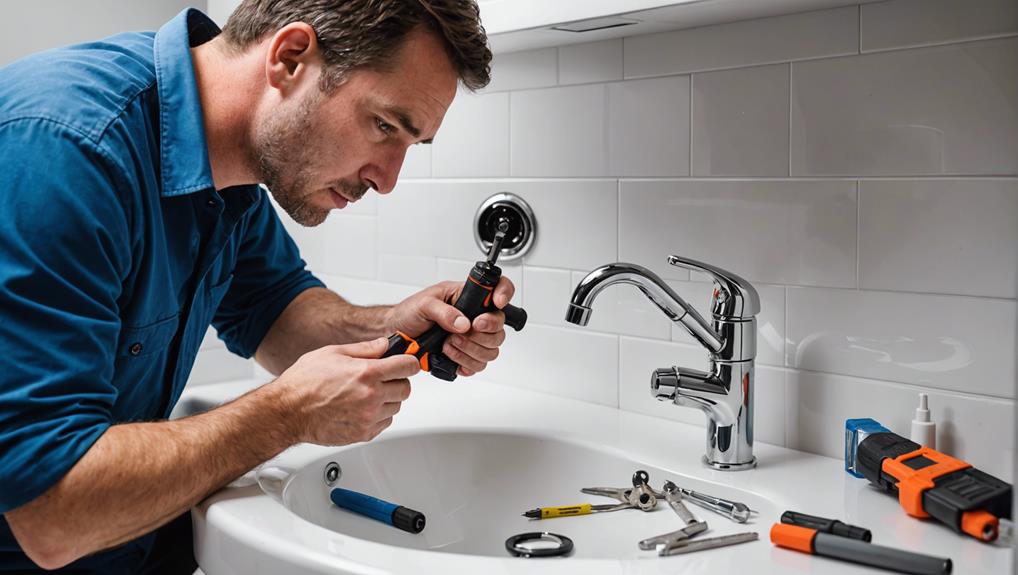
When routine maintenance fails to resolve the issue of a stuck bathroom sink plug, enlisting the expertise of a licensed plumber becomes paramount for diagnosing and rectifying more intricate problems. Licensed professionals possess the necessary skills to identify underlying complications such as malfunctioning drain plug return springs or corroded plug components, which often elude the average DIY solutions.
Professional help is indispensable for ensuring proper sealing during plug removal and evaluating the necessity for potential replacements.
Professional plumbers offer a suite of services that transcend temporary fixes, aiming instead to provide long-term solutions that safeguard against recurring issues and prevent further damage. The technical acumen of a qualified plumber can be instrumental in optimizing the functionality and longevity of sink plug components.
Key benefits of professional help include:
- Accurate diagnosis: Identifying complex issues like corroded parts or malfunctioning springs.
- Proper sealing: Ensuring adequate sealing during plug removal to prevent leaks.
- Component evaluation: Determining the need for replacement parts for sustained performance.
- Long-term solutions: Implementing durable fixes to avert recurrent problems.
- Expert advice: Offering professional guidance on installation adjustments and maintenance recommendations.
Frequently Asked Questions
How to Release a Stuck Bath Plug?
To release a stuck bath plug, initiate by applying a suitable lubricant application, such as WD-40. Subsequently, employ plunger usage to create suction and dislodge the plug. If unsuccessful, consider accessing the plug from below or seeking professional help.
How Do You Loosen a Bathroom Sink Plug?
To effectively loosen a bathroom sink plug, initially apply a drain cleaner to dissolve buildup. Employ a tool designed for hair removal to clear obstructions. If unsuccessful, consider mechanical extraction or dismantling the sink's U-bend for access.
How to Unstick a Flip Plug?
To unstick a flip plug, employ a combination of mechanical manipulation and chemical application. Utilize the flip mechanism by twisting counterclockwise while pushing down. For best plug maintenance, consider WD-40 application and potential U-bend removal for thorough access.
How Do You Get a Push up Plug Out of a Sink?
To extract a push-up plug, utilize alternative tools like a suction cup for grip, twist anti-clockwise while pushing down. Common issues include corrosion; consider applying WD-40 and removing the U-bend for direct access to the plug.
Conclusion
The successful resolution of a stuck bathroom sink plug necessitates a methodical approach. This approach incorporates lever checks, suction cup application, magnet extraction, and the twist-and-pull methodology. Additionally, disassembling the U-bend may be required to achieve best results.
Regular cleaning and maintenance are imperative to prevent recurrence. In instances where these techniques prove ineffective, seeking professional plumbing services is advised. Thorough understanding and application of these procedures guarantee efficient and effective troubleshooting of sink plug malfunctions.


Leave a Reply