Fixing a Bathroom Sink Overflow
To repair a bathroom sink overflow, start by identifying and addressing common causes such as clogged drains or blocked vent pipes. Use a zip-it tool or pipe cleaner to remove debris from the overflow hole and clean with a bleach solution. For rust prevention, clean the area and apply rust inhibitors like naval gel or Rust-Oleum paint. Regular maintenance is crucial; combine fine-grit sandpaper and a protective enamel or epoxy coating to mitigate rust and enhance durability. Plunger use and drain disassembly may be necessary for stubborn blockages. Following these steps guarantees efficient overflow function and long-term durability. Discover more on maintaining your sink efficiently.
Key Takeaways
- Clean the overflow hole with a pipe cleaner or zip tie to remove debris.
- Use a plunger to clear any blockages in the drain.
- Check and clear any blockages in the vent pipes to ensure proper drainage.
- Apply rust inhibitors like Rustoleum or Hammerite to prevent rust formation in the overflow area.
- Regularly disinfect the overflow hole with a bleach solution to maintain hygiene and prevent odors.
Understanding Sink Overflow
A sink overflow is a crucial component designed to prevent water from spilling over the basin by channeling excess water down the drain. The overflow design integrates a strategically placed hole near the top of the sink basin. This hole connects to a secondary channel that leads directly into the drain pipe, facilitating efficient redirection of surplus water. Importantly, the introduction of air through the overflow hole also improves overall drainage, mitigating the risk of clogs and backups.
Proper maintenance of the sink overflow ensures its functionality and longevity. Regular cleaning is critical to avoid blockages and unpleasant odors. Utilizing natural cleaners can effectively remove debris and prevent buildup within the overflow channel, thereby maintaining excellent performance.
From a plumbing considerations standpoint, the sink overflow plays a crucial role in safeguarding against potential water damage. When planning plumbing solutions, ensuring that the overflow system is correctly installed and unobstructed is essential. This includes checking the alignment and connectivity of the overflow channel to the main drain, as well as verifying that the materials used are resistant to corrosion and wear.
Effective sink overflow systems contribute significantly to maintaining the overall integrity and efficiency of household plumbing.
Common Causes of Overflow
Understanding the common causes of bathroom sink overflows is vital for implementing effective preventative measures and ensuring efficient plumbing system performance. The primary factors contributing to overflows are often related to drainage issues and malfunctioning components. By identifying these causes, homeowners and professionals can take appropriate steps to mitigate risks and maintain peak functionality.
- Clogged Drains: Accumulation of debris, hair, and soap scum can block the flow of water, leading to overflow situations. Regular cleaning and maintenance can greatly reduce the chances of clogging and improve overall drainage.
- High Water Flow from Faucets: Excessive water flow that exceeds the drain's capacity can result in overflows. Installing flow restrictors or regulating faucet handles can aid in effective overflow prevention by ensuring that water flow remains within manageable limits.
- Blocked Vent Pipes: Vent pipes play a critical role in maintaining proper air pressure within the drainage system. Blockages in these pipes can impede water flow and cause overflows. Regular inspection and maintenance of vent pipes are essential to prevent such drainage issues.
Addressing these common causes is essential for maintaining a functional and efficient bathroom sink system, thereby preventing overflow problems and ensuring long-term reliability.
Essential Tools and Materials
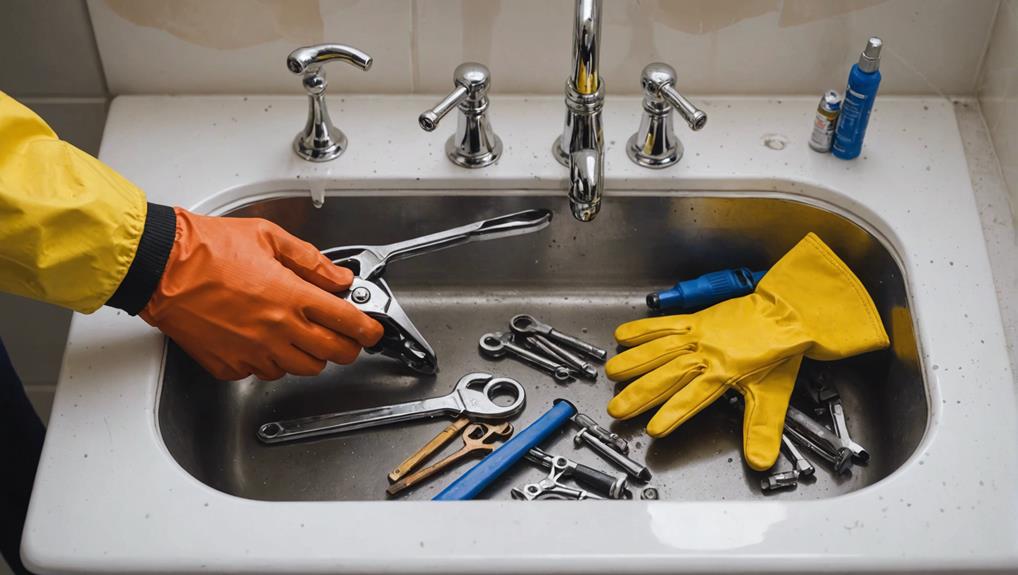
Effectively addressing a bathroom sink overflow necessitates the use of specific tools and materials designed to tackle both immediate issues and long-term maintenance. Essential tools include a zip-it tool for clearing debris, a plunger for unblocking drains, a screwdriver and pliers for disassembling fixtures, and plumber's putty for sealing. Proper tool organization is important for efficiency and effectiveness in handling overflow repairs.
Materials required may vary based on the issue's severity and the sink's construction. Common materials include cream of tartar and lemon for natural cleaning, light sandpaper and enamel paint for cosmetic repairs, and naval gel for rust removal. For more stubborn stains, products like CLR remover and Mr. Clean Magic Eraser are recommended. Additionally, white or clear nail polish can be used for minor touch-ups.
When considering budget-friendly options, product comparisons are essential. Rust-Oleum Tub and Tile Refinishing Kit and Whink Rust Remover are cost-effective choices for refinishing and rust removal. Epoxy paint and WD-40 offer durable, affordable alternatives for maintenance. For protective coatings, Rustoleum or Hammerite paint, and plastic covers are advisable.
Cleaning the Overflow Hole
Regular cleaning of the overflow hole is essential for maintaining peak sink functionality and preventing unpleasant odors. Effective overflow hole maintenance involves dealing with clogs and ensuring the passage remains clear. Here's a step-by-step approach to cleaning the overflow hole:
- Remove Debris: Using a pipe cleaner or zip tie, insert into the overflow hole to dislodge and extract any accumulated debris. This initial step helps in dealing with clogs and prepares the hole for thorough cleaning.
- Brush and Disinfect: Employ a sink-cleaning brush to scrub the interior of the overflow hole. For best results, use a solution of bleach diluted in water to disinfect the area, effectively eliminating bacteria and potential sources of odor.
- Rinse and Deodorize: To make sure the overflow hole remains odor-free, rinse it with warm water. Additionally, a mixture of baking soda and vinegar can be poured into the hole; let it sit overnight. Follow up by flushing with boiling water to neutralize any remaining odors.
Removing Rust
Identifying rust spots in the sink overflow is essential for timely intervention to prevent structural damage.
Effective rust removal can be achieved using a paste of cream of tartar and lemon, or more robust solutions like naval gel combined with light sanding.
To prevent re-rusting, apply protective coatings such as Rustoleum or Hammerite after cleaning.
Identifying Rust Spots
Reddish-brown discoloration is a vital indicator of rust spots forming in bathroom sink overflows. Identifying these early signs is essential for effective stain removal and rust prevention. Rust spots can compromise the structural integrity of the sink and create unsightly blemishes. By recognizing rust in its initial stages, one can employ appropriate methods to remove and prevent its recurrence.
To identify rust spots and address them promptly, follow these steps:
- Visual Inspection: Regularly inspect the overflow area for any reddish-brown discoloration. These rust spots are often small and can easily be overlooked without a detailed examination.
- Surface Testing: Gently rub the suspected area with a cloth. If the cloth picks up reddish-brown residue, rust is likely present. This residue can be an early indication, allowing for timely intervention.
- Moisture Control: Check for areas with persistent moisture. Rust forms more readily in damp environments. Ensuring the area remains dry can be a proactive rust prevention measure.
Implementing these steps aids in the early detection of rust, facilitating effective stain removal and reducing the likelihood of extensive damage. Regular maintenance and the use of rust inhibitors can further prolong the lifespan of your bathroom sink.
Effective Rust Removal
Effective rust removal from a bathroom sink overflow necessitates the right combination of materials and techniques to guarantee thorough and lasting results. One effective homemade solution involves creating a paste using cream of tartar and lemon juice. This paste should be applied to the rusted area and left for several minutes before scrubbing with a non-abrasive pad.
For more severe rust, consider using commercial products such as naval jelly or liquid CLR remover. These can be applied with an abrasive pad to make sure the rust is thoroughly eliminated. Once the rust is removed, it's essential to protect the area to prevent future occurrences.
Cover the treated area with enamel paint or appliance spray paint to seal and protect the surface. For a more durable solution, epoxy paint or porcelain repair paint can be utilized, providing a robust barrier against rust.
To enhance sink maintenance and rust prevention, make it a habit to regularly clean the sink and apply rust inhibitors. This proactive approach can significantly extend the lifespan of the sink's overflow area.
| Material | Application |
|---|---|
| Cream of Tartar & Lemon | Apply paste, scrub after a few minutes |
| Naval Jelly/CLR | Use with an abrasive pad |
| Enamel/Epoxy Paint | Cover area post-rust removal |
Regular sink maintenance is important for rust prevention and maintaining a pristine bathroom environment.
Sanding Rusted Spots
Addressing rusted spots on a bathroom sink requires the use of light sandpaper to meticulously smooth and eliminate any discoloration. This process is essential for effective rust prevention and sink restoration.
To guarantee best results, follow these steps:
- Prepare the Area: Clean the sink thoroughly to remove any soap residues, grime, or loose rust. This provides a clear view of the rusted spots needing attention. Applying a paste of cream of tartar and lemon can help lift initial rust stains before sanding.
- Sanding Technique: Utilize fine-grit sandpaper (200-400 grit) to gently sand the rusted areas. Light, circular motions are ideal to avoid damaging the sink's surface. Consistent sanding will gradually remove the rust and smooth the surface, preparing it for further treatment.
- Clean and Inspect: Post-sanding, clean the sink again to remove any dust or debris. Inspect the sanded areas to ensure all rust is eliminated. For stubborn rust, naval gel or a Mr. Clean Magic Eraser can be employed for additional rust removal.
Applying Enamel Paint
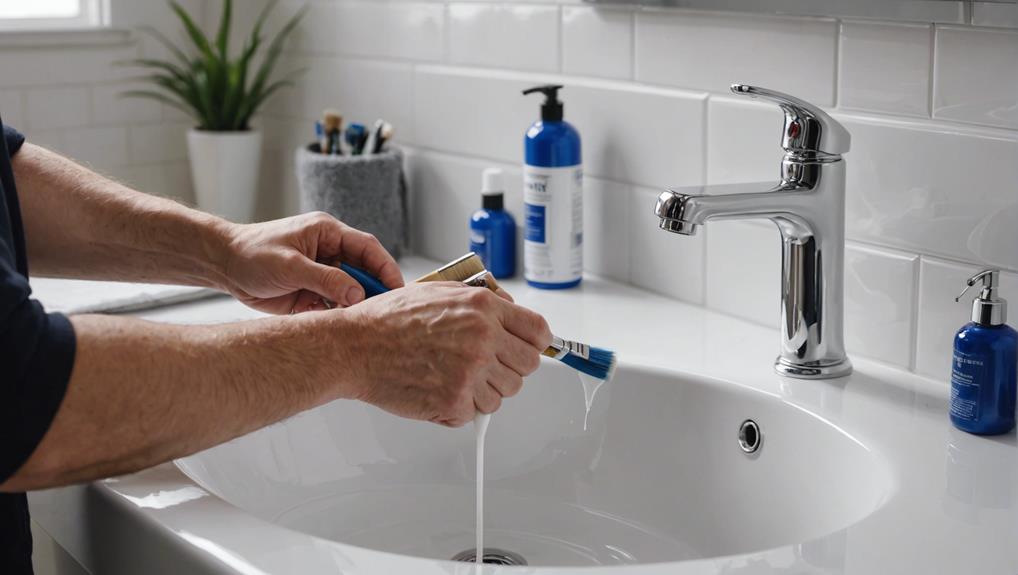
Applying enamel paint to a bathroom sink overflow involves a meticulous process that guarantees a durable, rust-resistant finish. The first step in paint application is to make sure the area is completely clean and dry. Any residual moisture can interfere with the adherence of the enamel paint, potentially compromising its longevity and effectiveness.
Selecting the appropriate color selection is vital to achieving a seamless blend with the existing sink. Enamel paints are available in various shades, allowing for a precise match. Begin by applying a thin coat of enamel paint using a small, fine-bristle brush to ensure even coverage. It's essential to use smooth, consistent strokes to avoid visible brush marks.
Allow the first coat to dry thoroughly, typically as per the manufacturer's instructions, which usually ranges from a few hours to overnight. Depending on the coverage, a second coat may be necessary. This additional layer enhances the durability and provides a more robust barrier against future rusting.
Regular maintenance with enamel paint can significantly extend the life of the sink overflow, maintaining both its functionality and aesthetic appeal. By adhering to these steps, the restored area will exhibit a professional finish, resistant to rust and discoloration.
Using Touch-Up Epoxy
When using touch-up epoxy to repair a bathroom sink overflow, it is essential to start by thoroughly preparing the surface to guarantee excellent adhesion. This involves cleaning the affected area and removing any rust or debris.
Once the surface is prepared, the epoxy can be carefully applied using a brush or applicator to create a smooth, protective coating.
Preparing the Surface
To guarantee maximum adhesion of the touch-up epoxy, the surface must be meticulously cleaned and free of any rust, debris, or old paint. Proper surface preparation is pivotal in ensuring that the epoxy forms a durable, protective coating that effectively prevents further rust and corrosion.
Here's a step-by-step guide to prepare the surface:
- Remove Rust and Debris: Begin by scrubbing the area with a wire brush to eliminate any loose rust or debris. This step is essential in rust prevention, as leaving even small rust particles can compromise the epoxy's efficacy.
- Clean with a Solvent: After removing the rust, clean the surface with a suitable solvent such as acetone. This will eliminate any remaining grease, oil, or dirt, ensuring a pristine surface for the epoxy to adhere to.
- Sand the Surface: Lightly sand the area using fine-grit sandpaper. This step helps to smooth out any rough spots and provides a slightly abrasive texture, which enhances the bonding strength of the epoxy paint.
Applying the Epoxy
The application of touch-up epoxy begins with making sure that the prepared surface is completely dry and free of any contaminants. This step is crucial for achieving peak adhesion and a smooth, seamless finish.
Once the surface is prepped, the next task involves selecting epoxy that matches the sink's color. Epoxy paints are available in various color options, allowing for an exact match and enhancing the aesthetic appeal.
Before starting the epoxy application, ensure that the area is well-ventilated. Using a small brush, apply a thin, even coat of epoxy paint over the rusted area. Pay close attention to make certain that the paint covers all affected surfaces thoroughly. The first coat should be allowed to dry according to the manufacturer's recommended drying time, which typically ranges from several hours to overnight.
After the initial coat has dried, inspect the area for coverage uniformity. If needed, apply a second coat to achieve a more robust seal and an improved finish.
The touch-up epoxy not only seals the rusted area but also prevents future water damage. Properly applied epoxy ensures a long-lasting, durable repair, maintaining both the function and appearance of the bathroom sink overflow.
Quick Fix Solutions
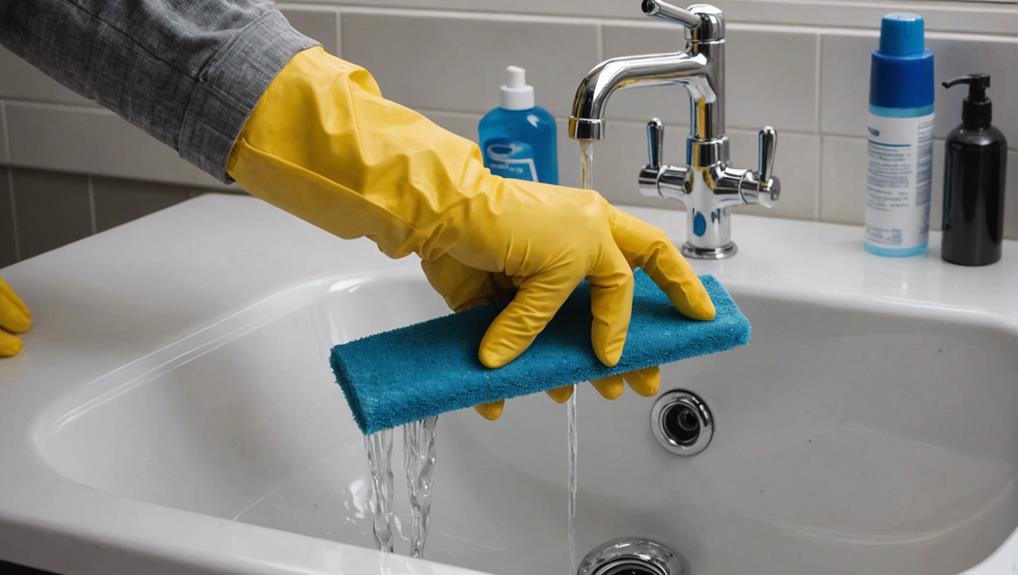
Utilizing a zip-it tool is an efficient and cost-effective method for removing hair and debris from the bathroom sink overflow passage. This tool, priced around $5, is instrumental in upholding the overflow system, guaranteeing blockage prevention and effective overflow maintenance.
For emergency overflow repairs, quick and effective solutions are paramount.
Several quick fix techniques include:
- Plunging the Drain: Plunging the drain, rather than the overflow opening, can create a seal that forces blockages to back up, clearing the passage.
- Disassembling the Drain: For more stubborn blockages, disassembling the drain is necessary. This involves disconnecting the pop-up stopper and removing the stopper lever, allowing for direct access to the obstruction.
- Repacking the Tailpiece Flange: Unscrewing the nut holding the tailpiece and repacking the flange with plumber's putty can address overflow blockages effectively.
These methods not only offer immediate relief from clogs but also contribute to long-term overflow maintenance and prevention techniques.
Preventing Future Rust
Maintaining a rust-free bathroom sink overflow necessitates regular cleaning and thorough drying to inhibit moisture accumulation. Ensuring the sink overflow remains dry is an essential step in rust prevention, as moisture is the primary catalyst for rust formation. To achieve this, it is advisable to routinely wipe down the overflow area with a dry cloth after use.
In addition to regular drying, the application of rust inhibitors or primers is highly effective. These products create a protective barrier that minimizes the interaction between metal surfaces and moisture. Before applying any paint, it is vital to treat rust spots with these inhibitors to guarantee long-term protection.
For a more durable solution, consider using enamel or appliance touch-up epoxy paint. These materials provide a robust coat that resists rust and wear over time. Specific products designed for enamel or cast iron sinks are readily available at hardware stores, offering targeted rust prevention tailored to the sink's material.
Regular Maintenance Tips
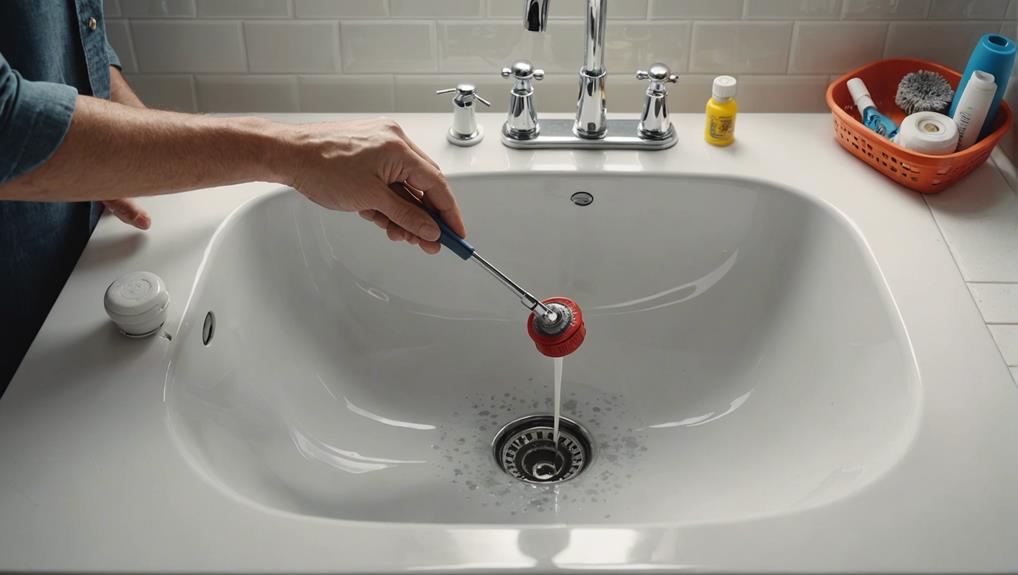
Regular maintenance of your bathroom sink overflow is crucial to guarantee its proper function and longevity.
Regularly inspecting the overflow drain for any signs of blockage or damage, and periodically cleaning the drainage system with natural cleaners, can prevent clogs and odors.
Implementing these simple steps can greatly reduce the need for costly repairs.
Inspect Overflow Drain Regularly
Periodically inspecting the overflow drain for debris buildup and clogs is crucial for maintaining peak drainage performance. Regular maintenance can prevent minor issues from escalating into significant problems. Overflow drain cleaning should be part of your routine to sustain maximum functionality.
To effectively inspect the overflow drain, follow these technical steps:
- Visual Inspection: Check for visible signs of debris and clogs. Use a flashlight to look inside the overflow cavity. If you notice any blockages, proceed to the next step.
- Debris Removal Techniques: Utilize a sink-cleaning brush or a zip tie to dislodge and remove any accumulated debris. Insert the tool into the overflow hole and gently maneuver it to extract the buildup.
- Check for Mold and Mildew: Inspect for mold or mildew growth within the overflow cavity. These can cause unpleasant odors and potentially harmful spores. Use a mild cleaning solution and a brush to clean the area thoroughly.
Additionally, ensure the overflow ring and cover are securely in place to prevent water from spilling over. Implementing a regular inspection schedule will help maintain your bathroom sink overflow's efficiency, thereby reducing the risk of water damage and costly repairs.
Clean Drainage System Periodically
To maintain peak performance and prevent clogs, it is essential to clean the bathroom sink drainage system on a regular basis. Effective drainage system maintenance not only guarantees proper water flow but also plays a vital role in odor prevention.
Regularly cleaning the overflow hole is indispensable for maintaining efficient drainage and preventing potential water damage issues.
A systematic approach to drainage system maintenance involves the use of natural cleaners such as baking soda and vinegar. These substances are effective in eliminating buildup and neutralizing odors. Applying them periodically helps to keep the pipes clean and free from obstructions.
Additionally, employing a sink brush for cleaning the sink's interior and a pipe cleaner for the drainage pipes ensures thorough removal of debris and residue.
Sink brush cleaning is particularly effective in reaching difficult areas where grime accumulates, while pipe maintenance with appropriate tools prevents blockages and maintains top-notch functionality.
Using Rust Inhibitors
Applying rust inhibitors to your bathroom sink overflow is an effective method to prevent and slow down rust formation on metal surfaces. Rust inhibitors function by creating a protective barrier that prevents moisture and oxygen from reaching the metal, thereby reducing the risk of rust.
Selecting the appropriate product for rust prevention is important. Rust inhibitors are available in various forms such as sprays, paints, and coatings, each offering unique advantages based on the application method and the level of protection required.
Key Rust Prevention Techniques:
- Product Selection: Choose a high-quality rust inhibitor that suits the specific material of your sink. Consider products that are easy to apply and provide long-lasting protection.
- Application Process: Clean the surface thoroughly before applying the rust inhibitor to ensure maximum adhesion and effectiveness. Follow the manufacturer's instructions regarding the number of coats and drying times.
- Regular Maintenance: Integrate regular use of rust inhibitors into your long-term maintenance strategies. Periodically re-apply the product to areas prone to moisture buildup to mitigate sink overflow rust.
Incorporating these rust prevention techniques into your maintenance routine can greatly extend the lifespan of your sink and prevent costly repairs or replacements, thereby maintaining its appearance and functionality over time.
Checking for Safe Products
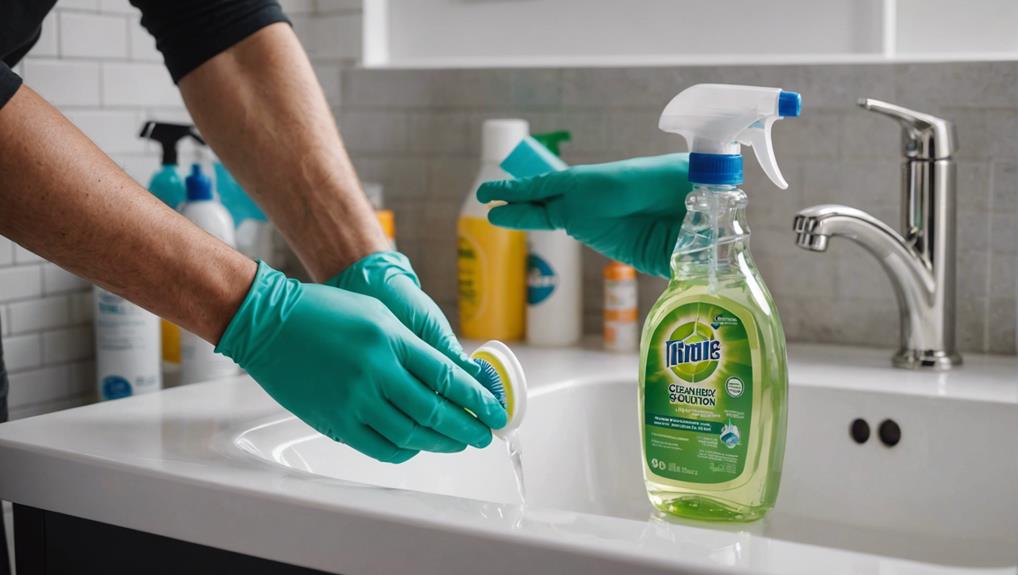
Ensuring the use of safe cleaning products is essential for maintaining the integrity of your bathroom sink overflow and protecting your septic system. When selecting cleaning agents, prioritize products labeled as septic safe to prevent damage to your septic system.
One highly recommended option is enzyme-based drain cleaners. These products not only effectively maintain the sink overflow but also break down organic matter without harming the septic system.
Avoid using bleach, particularly in homes with septic systems, as it can disrupt the bacterial balance necessary for the system's proper functioning. Bleach alternatives, such as vinegar or baking soda solutions, offer effective cleaning without the associated environmental impact. These alternatives are gentler on both your plumbing and the surrounding ecosystem.
Product recommendations should always emphasize compatibility with septic systems. Ensuring that all cleaning products used are septic-safe will mitigate potential issues, such as clogs or system failures.
Additionally, considering the environmental impact of your cleaning choices can contribute to a more sustainable household. By opting for septic-safe and environmentally friendly products, you maintain the functionality of your bathroom sink overflow while safeguarding both your septic system and the environment.
Frequently Asked Questions
How to Fix Bathroom Sink Overflow Drain?
To address overflow cleaning and drain blockage in a bathroom sink, utilize a zip-it tool for debris removal, apply a plunger for dislodging blockages, and consider disassembling the drain to extract any persistent obstructions effectively.
What to Do if Bathroom Sink Overflows?
If a bathroom sink overflows, follow cleaning guidelines to remove debris and guarantee proper drainage. Implement preventive measures such as regular maintenance and inspection to avoid recurring issues. Utilize appropriate tools and techniques for effective blockage removal.
How to Fix a Leaking Sink Overflow Pipe?
To fix a leaking sink overflow pipe, begin with overflow cleaning and inspect for damage. Replace faulty components as necessary. Confirm all connections are secure, using plumber's tape or sealant. Test for leaks by running water.
Why Is Water Coming Out of My Bathroom Sink Overflow?
Water coming out of your bathroom sink overflow can result from clogged drains, high water flow, or improper installation. Effective clog prevention and regular overflow maintenance are crucial to guarantee proper sink functionality and prevent water damage.
Conclusion
Addressing bathroom sink overflow issues involves understanding the mechanism, identifying common causes, and utilizing the proper tools and materials for cleaning and rust removal.
Implementing preventive measures, such as regular maintenance and applying rust inhibitors, can mitigate future problems.
Ensuring the use of essential products is vital for both human health and the longevity of the sink.
Adopting these practices will enhance the functionality and durability of the bathroom sink, thereby preventing overflow-related complications.


Leave a Reply