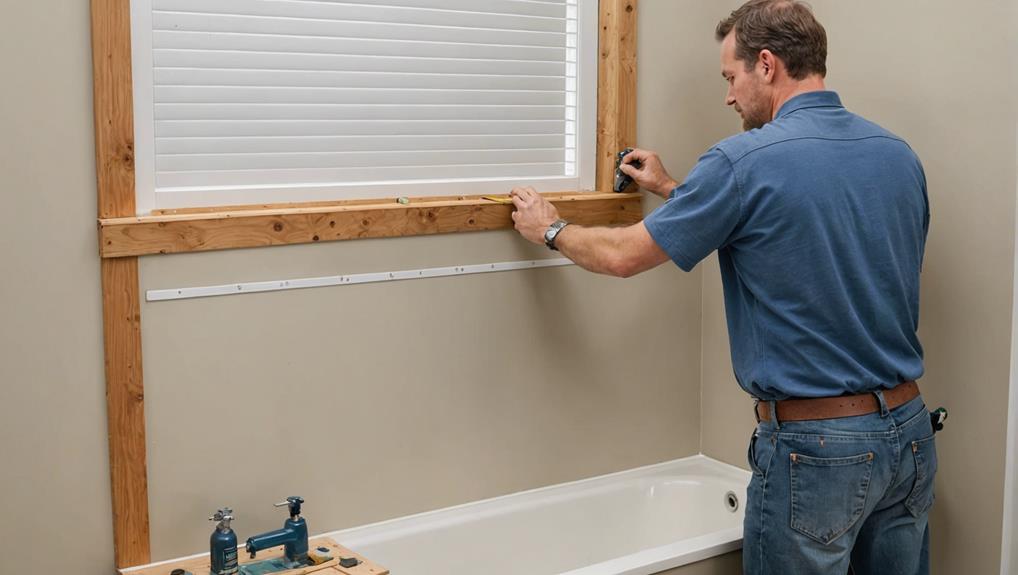
Building a Bathroom Half Wall – Step-by-Step Guide
To build a bathroom half wall, begin with meticulous planning and precise measurements. Clear the area of obstacles and anticipate any electrical or plumbing adjustments. Use moisture-resistant materials like PVC boards and gather essential tools including a measuring tape, level, and saw. Construct the frame by cutting and attaching studs to the floor and ceiling plates, then install drywall sheets. Finish by taping, mudding, sanding, priming, and painting the wall. Regular maintenance, including checks for water damage and touch-ups, will guarantee longevity. For a detailed step-by-step guide, follow along for thorough instructions.
Key Takeaways
- Measure and mark the construction area accurately to ensure proper placement of the half wall.
- Construct the wall frame by securely attaching studs to the floor and ceiling.
- Install moisture-resistant drywall, then tape, mud, sand, prime, and paint for a finished appearance.
- Use PVC boards for the wall to withstand bathroom moisture and humidity.
- Regularly maintain the wall by checking for water damage and touching up paint to keep it looking new.
Planning and Measurements
Accurate planning and precise measurements are crucial when determining the dimensions and placement of a bathroom half wall. The initial step involves accurately measuring the height and length of the existing bathroom wall to establish the exact size of the half wall. This critical information informs the half wall design and guarantees efficient space utilization within the bathroom.
Consideration of the half wall's placement is essential for both functionality and aesthetics. Strategically positioning the half wall can enhance privacy, define space, and contribute to the overall design coherence. For instance, placement adjacent to a vanity or toilet can serve as a partition, optimizing the layout without overwhelming the room.
Furthermore, it is important to anticipate any electrical or plumbing adjustments required before construction. Planning for these adjustments ensures that the half wall does not interfere with existing systems and maintains the bathroom's functionality. By integrating these considerations into the half wall design, one can avoid costly modifications later.
Double-checking all measurements is a crucial step before proceeding with any construction activities. Ensuring accuracy at this stage mitigates errors and facilitates a smoother building process, ultimately leading to a well-executed half wall that enhances the bathroom's overall utility and appeal.
Gathering Materials
When gathering materials for a bathroom half wall, it is crucial to identify the essential tools required, accurately estimate the material quantities, and select high-quality supplies.
PVC boards such as 1 x 6, 1 x 4, and 1 x 2 are preferable due to their moisture resistance and durability.
Proper priming and painting with products like Sherwin-Williams Extreme Bond Primer and Emerald Urethane Trim Enamel will guarantee a long-lasting, aesthetically pleasing finish.
Essential Tools Required
To construct a robust and reliable bathroom half wall, several essential tools and materials must be gathered, including a measuring tape, level, saw, nail gun, and appropriate safety gear such as goggles and gloves. Adhering to safety precautions is vital to prevent accidents and injuries: always wear goggles to protect your eyes from debris and gloves to shield your hands from sharp edges and splinters. Additionally, maintaining your tools in peak condition ensures efficient and safe operation; regularly inspect and clean them to avoid malfunctions.
Proper tool organization is fundamental for a streamlined workflow. Arrange your tools in a manner that allows easy access and minimizes downtime during construction. Establish a dedicated workspace where all tools and materials are systematically stored and labeled. This not only enhances efficiency but also reduces the risk of misplaced items.
Budget considerations are also essential when selecting tools. Invest in high-quality, durable tools that offer long-term value, even if they come with a higher initial cost. Essential tools such as a stud finder for locating wall studs, sandpaper for smoothing edges, caulk, and wood filler for finishing touches, are non-negotiable for achieving a professional finish.
Material Quantity Estimation
Determining the exact quantity of materials required is essential to guarantee a smooth construction process for your bathroom half wall. Accurate quantity calculation and cost estimation are vital to avoid any interruptions or unforeseen expenses.
First, measure the dimensions of your half wall to estimate the amount of PVC boards required. Always consider purchasing extra boards to account for cutting errors or potential future replacements. This proactive approach in material sourcing ensures you have adequate supplies without frequent trips to the store.
Next, calculate the number of wood filler tubes and caulk necessary for filling gaps and finishing edges. The quantity will depend on the length of seams and joints you need to cover. Proper budget planning here will prevent shortages during the final stages of construction.
Additionally, determine the quantity of paint needed by calculating the surface area of the half wall. Include a primer in your estimation to ensure the paint adheres properly and provides a smooth finish.
Don't forget to account for sandpaper and fasteners, such as screws and nails, as they are indispensable for assembly and surface preparation.
Choosing Quality Supplies
Selecting high-quality, moisture-resistant materials is vital to guarantee the longevity and durability of your bathroom half wall. When working in a moisture-prone environment, using materials like PVC boards offers superior material durability compared to traditional wood.
For constructing a vertical shiplap half wall, gather 1 x 6, 1 x 4, and 1 x 2 PVC boards, as these dimensions provide the necessary structural integrity and aesthetic appeal.
Preparation of these materials is essential. Priming the PVC boards with a high-quality primer such as Sherwin-Williams Extreme Bond Primer ensures the best adhesion and protection against moisture. This primer is specifically designed to bond to challenging surfaces, enhancing the overall durability of the installation.
Following the primer, apply Sherwin-Williams Emerald Urethane Trim Enamel to the boards. This product offers a robust, high-quality finish that withstands the rigors of a bathroom environment.
Furthermore, selecting materials that are readily available at local home or lumber stores streamlines the process of gathering supplies. This approach not only guarantees convenience but also aids in maintaining consistency and quality in your project.
Proper planning and adherence to these installation techniques will result in a durable, long-lasting half wall.
Cutting Lumber
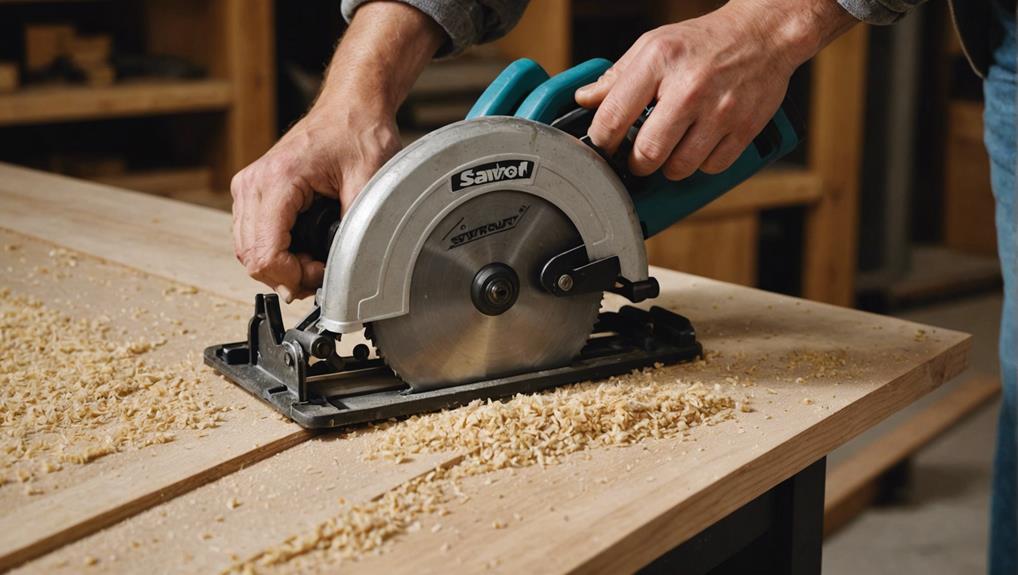
Accurately measuring and marking the boards is vital when cutting lumber for a bathroom half wall to guarantee a precise fit. Begin by using a reliable tape measure and a straight edge to mark your cuts clearly. This step guarantees that each piece aligns perfectly during assembly. For best results, employ a sharp saw, such as a circular saw or miter saw, to achieve clean and straight cuts.
Blade maintenance is essential for achieving precise cuts. Routinely inspect the saw blade for dullness or damage, as a well-maintained blade reduces the risk of splintering or inaccurate cuts. Sharpen or replace the blade as necessary to maintain its effectiveness.
Safety precautions are paramount during the cutting process. Always wear protective gear, including safety goggles and gloves, to safeguard against potential hazards. Additionally, ensure your work area is well-lit and free of obstructions to minimize accidents.
Before proceeding with any cut, double-check your measurements. This practice minimizes errors and prevents material wastage. For projects requiring multiple identical cuts, consider creating a cutting template to maintain uniformity across all pieces. This method ensures consistency and accuracy, contributing to the overall integrity of the half wall structure.
Installing Plates
To initiate the installation of plates for your bathroom half wall, begin by accurately measuring the wall placement to guarantee precise alignment.
Secure the bottom plate to the floor using appropriate fasteners, making certain it is level and stable.
Measuring Wall Placement
Begin by measuring the desired height of the half wall, typically around 36 inches, and marking this height on the existing wall using a level to guarantee accuracy. This confirms that the top of the half wall will be flush and level. Next, consider any necessary height adjustments based on specific design requirements or bathroom fixtures.
Once the height is marked, the next step is to determine the length of the wall plates needed. This involves measuring the wall space where the half wall will be installed. Make sure to account for the thickness of the wall plates to achieve a snug fit. Accurate measurements are vital to avoid misalignment during installation.
Additionally, consider the stud spacing within the existing wall. Knowing the exact positions of the studs will be advantageous when securing the wall plates, ensuring structural integrity. Use a stud finder to locate and mark these positions clearly on the wall.
Double-check all measurements and markings before proceeding. This step is essential for ensuring that the wall plates are correctly aligned and positioned. Accuracy in this phase will facilitate a smoother installation process and contribute to the overall stability and appearance of the half wall.
Securing Bottom Plate
With the measurements and markings in place, the next step involves securing the bottom plate to establish a solid base for the half wall. Begin by preparing the floor to make sure it is clean and free of debris, which is essential for best adhesion and structural stability. Mark the exact position of the bottom plate according to the layout plan, making sure it aligns perfectly with the intended wall placement.
The anchoring process starts with using a hammer drill to create pilot holes at the marked locations. These pilot holes are critical for accommodating the anchors and providing a secure hold. Insert the appropriate anchors into these holes, making sure they are flush with the subfloor. Following this, use screws to firmly secure the bottom plate to the floor. The screws should be driven in until the plate sits tightly against the subfloor, preventing any wobbling or movement.
Employ precise leveling techniques to verify that the bottom plate is straight and properly aligned. Utilize a spirit level to check for horizontal alignment, adjusting as necessary to maintain accuracy. This step is essential for the overall structural stability of the half wall, as it supports the vertical studs and guarantees the integrity of the entire structure.
Attaching Top Plate
Positioning the top plate accurately is vital for ensuring the structural integrity and stability of the half wall. The top plate serves an important role in distributing the load evenly across the vertical studs, thereby maintaining the overall balance and strength of the structure. To achieve this, it is imperative to make sure the top plate alignment is precise and level before proceeding with any fastening methods.
The process of attaching the top plate involves several critical steps:
- Load distribution: The top plate must evenly distribute the weight across the vertical studs to maintain structural integrity.
- Top plate alignment: Before fastening, confirm the top plate is level and aligns perfectly with the layout of the half wall.
- Fastening methods: Secure the top plate to the studs using appropriate nails or screws, ensuring a strong connection.
- Verification: Double-check the alignment and level of the top plate before finalizing the attachment.
- Reinforcement: Consider additional reinforcement if necessary to enhance stability.
Adding Vertical Studs
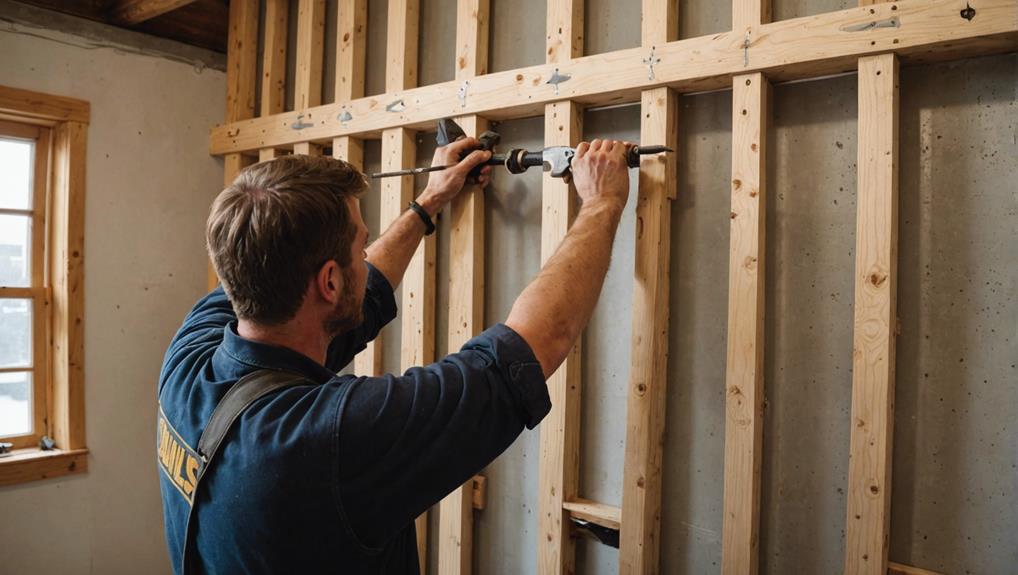
To guarantee structural integrity and stability, vertical studs must be installed with precise spacing and securely anchored to both the floor and ceiling. Proper stud spacing is essential for even weight distribution, which safeguards the half wall's durability and support.
Begin by using a stud finder to locate existing studs in the adjacent full wall, which will serve as attachment points for the new vertical studs.
Once the attachment points are identified, measure and mark the placement of each vertical stud. Standard stud spacing is typically 16 inches on center, though it can vary based on specific structural requirements and the load the half wall will bear.
Secure the bottom of each vertical stud to the floor using appropriate fasteners, making certain they are flush and level. Next, attach the top of the studs to the top plate, ensuring each connection is tight and secure.
It is essential to verify that all vertical studs are plumb before finalizing their attachment. Any misalignment can compromise the wall's stability and affect the subsequent stages of construction.
These vertical studs will serve as the framework for the half wall panels, providing the necessary support for a robust and enduring structure.
Attaching Drywall
After verifying the vertical studs are securely in place and perfectly aligned, proceed to attach the drywall panels to the framework. Begin by positioning the drywall sheets against the studs, making sure they are properly aligned. Use appropriate screws to attach the drywall, adhering to precise screw spacing guidelines: 8-12 inches along the edges and 16 inches in the center. This guarantees the drywall is firmly secured and provides the necessary support.
To achieve a seamless finish and best surface preparation, consider the following:
- Screw spacing: Maintain consistent screw spacing to prevent bulging or bending of the drywall.
- Joint compound application: Apply joint compound over the screw heads and drywall seams. Feather the edges to blend them smoothly with the surface.
- Sanding: Once the joint compound is dry, sand the surface gently to eliminate any irregularities.
- Inspection: Check for imperfections or uneven areas. Address these before moving to the next steps.
- Foundation preparation: Properly attached drywall creates a solid foundation for subsequent finishes, such as tiles or paint.
Finishing Joints
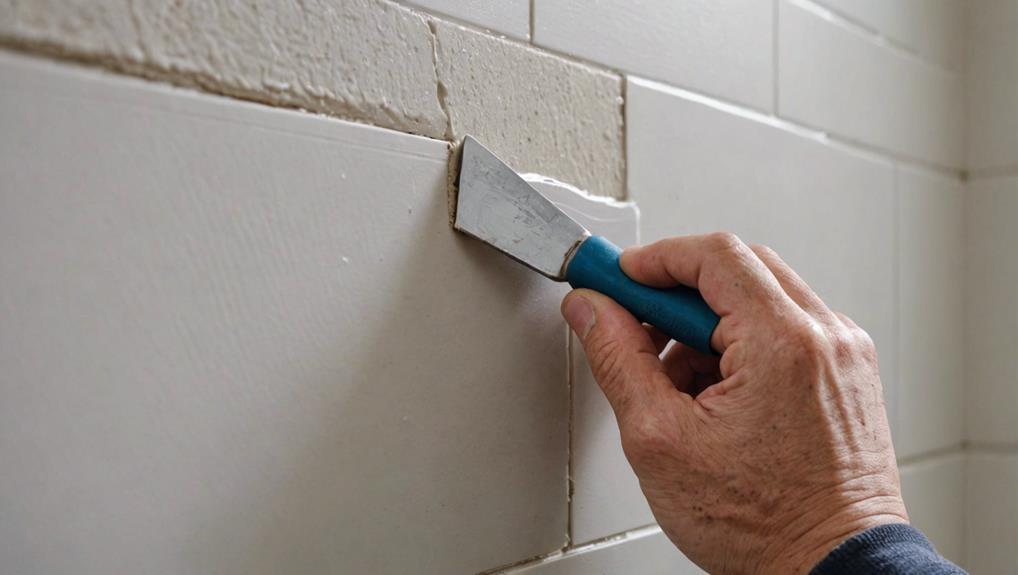
Begin by applying a thin layer of joint compound over the drywall seams to create a smooth and cohesive surface. Employ a joint knife for the joint compound application, ensuring even distribution across the seams. This technique is essential for filling any gaps or spaces and for providing a sturdy base for subsequent layers.
Once the initial layer is applied, use a damp sponge to wipe off any excess compound. This step is important for seamlessly blending joints, as it removes any surplus material that could interfere with achieving a smooth finish. Allow the joint compound to dry completely, typically for 24 hours, to make sure it is ready for further finishing techniques.
After drying, lightly sand the joint compound to achieve a uniform surface. This sanding process is crucial for removing minor imperfections and ensuring that the joint areas are flawlessly integrated with the surrounding drywall.
Painting and Final Touches
With the joints properly finished and protected, the next step involves selecting a high-quality, moisture-resistant paint to guarantee the longevity and aesthetic appeal of the bathroom half wall. The choice of paint is important due to the high humidity typically found in bathrooms. Begin by applying a primer to ensure better adhesion and a smoother surface for the subsequent paint application.
For best results, follow these steps:
- Color selection: Choose a color that complements the existing bathroom decor and consider adding decorative finishes for enhanced visual appeal.
- Primer application: Apply a coat of primer to the half wall to prepare the surface, improve adhesion, and ensure a uniform finish.
- Paint application: Use a high-quality paintbrush or roller to apply the paint evenly. Cover all surfaces thoroughly to avoid streaks and ensure full coverage.
- Drying time: Allow the paint to dry completely between coats, as per the manufacturer's recommendations, to achieve a smooth and durable finish.
- Final touches: After the final coat has dried, inspect the wall for any touch-ups and add any additional decorative elements or accent colors to complete the look.
The careful execution of these steps ensures a professional finish, enhancing both the durability and aesthetic of the bathroom half wall.
Frequently Asked Questions
How to Build a Bathroom Step by Step?
To construct a bathroom step by step, emphasize waterproofing techniques and tiling options. Prioritize thorough preparation, secure structural supports, apply waterproof membranes, and select tiles based on durability and aesthetic appeal, guaranteeing proper installation for longevity.
What Do I Need to Build a Half Wall?
To build a half wall, you need a material list including PVC boards, wood filler, caulk, paint, and primer. Tool requirements comprise a saw, measuring tape, level, nail gun, sandpaper, and safety equipment such as goggles and gloves.
How to Keep Half Wall From Wobbling?
To prevent a half wall from wobbling, employ anchoring methods such as securing it to the floor and adjacent walls with appropriate fasteners. Additionally, utilize structural reinforcement by adding blocking between studs and using construction adhesive for enhanced stability.
What Is a Half Wall in a Bathroom Called?
A half wall in a bathroom is commonly referred to as a 'pony wall.' It serves as a privacy screen, offering design options to separate spaces while maintaining an open feel and can be customized with various materials and finishes.
Conclusion
To summarize, constructing a bathroom half wall involves meticulous planning, accurate measurement, and the proper assembly of materials.
The process includes cutting and installing lumber, placing vertical studs, attaching drywall, and finishing joints. Each step must be executed with precision to guarantee structural integrity and aesthetic quality.
Following a systematic approach, as outlined, secures the successful completion of the project, resulting in a functional and visually appealing addition to the bathroom space.


Leave a Reply