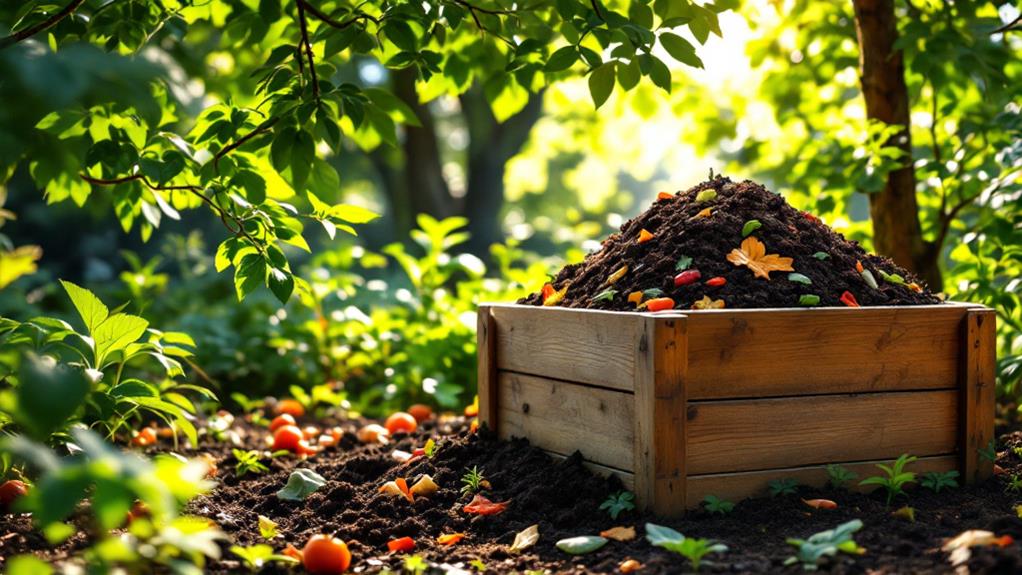
Composting at Home: Setting Up an Outdoor Compost Bin
Setting up an outdoor compost bin requires careful planning to maximize efficiency and benefits. Begin by selecting a bin that accommodates your waste volume and garden space, ideally ranging from 3×3 feet to larger sizes, with proper ventilation and drainage. Position your bin on bare soil with access to sunlight for natural microbial interaction and temperature regulation. Use a mix of untreated pallets and chicken wire for structure, deterring pests. Maintain a 50/50 ratio of green and brown waste, keeping moisture levels akin to a wrung-out sponge. Regularly turn the compost to foster aerobic decomposition. There's more to guarantee successful composting awaits.
Key Takeaways
- Choose a sunny location on bare soil to optimize drainage and microbial support for your compost bin.
- Select a bin size that matches your garden's waste volume, with a minimum capacity of 1 cubic yard.
- Use a 50/50 ratio of green and brown materials to maintain effective composting conditions.
- Regularly turn the compost pile to enhance aeration and speed up the decomposition process.
- Monitor moisture levels to ensure the compost remains similar to a wrung-out sponge, preventing anaerobic conditions.
Benefits of Home Composting
Home composting presents numerous environmental and economic benefits, making it a valuable practice for sustainable living. By diverting nearly 50% of household food waste from landfills, home composting plays a crucial role in mitigating the environmental impact associated with methane emissions, a potent greenhouse gas that exacerbates climate change.
This eco-friendly practice not only curtails landfill waste but also promotes nutrient cycling by transforming organic waste into nutrient-rich compost, thereby enhancing soil health and fertility.
The composting process facilitates the enrichment of garden soils with essential nutrients, such as nitrogen, phosphorus, and potassium, which are essential for robust plant growth. Improved soil structure and moisture retention are additional advantages, resulting from the incorporation of organic matter.
This enhances local biodiversity as it attracts a myriad of beneficial microorganisms and soil-dwelling organisms that further optimize nutrient cycling and soil fertility.
Economically, home composting reduces the need for commercial fertilizers and soil amendments, offering substantial savings for homeowners. In addition, it minimizes reliance on costly waste management systems, thereby reducing the carbon footprint associated with waste disposal.
Embracing home composting not only supports sustainable living but also contributes to a healthier environment and more resilient ecosystems.
Choosing the Right Bin
Selecting an appropriate compost bin is vital for efficient waste breakdown and involves evaluating the size, material, and design options to match specific garden requirements.
For small gardens, compact plastic bins are ideal, whereas larger wooden bins provide the capacity needed for extensive waste processing.
It is essential to choose a bin design that supports adequate airflow and drainage, with features to exclude rain, ensuring ideal moisture control and temperature stability for effective composting.
Bin Size Considerations
When determining the appropriate compost bin size, it is crucial to take into account the volume of organic waste your household generates. Proper bin dimensions guarantee efficient composting and maintain the ideal compost capacity. Smaller bins, approximately 3×3 feet, are well-suited for households with limited garden space, accommodating minimal waste. Conversely, larger bins, measuring 4×4 feet or more, cater to extensive gardens and higher waste volumes, supporting a more substantial composting process.
A critical aspect of a compost bin design is its height, ideally around 3 to 4 feet—waist level for most adults. This height facilitates ease of use, allowing for convenient access and efficient turning of compost materials. In addition, a bin capable of holding at least 1 cubic yard of compost guarantees peak performance, as this capacity maintains necessary heat and moisture levels conducive to effective decomposition.
| Bin Size | Suitable For |
|---|---|
| 3×3 feet | Small gardens |
| 4×4 feet | Larger gardens |
| 1 cubic yard | Peak composting capacity |
Selecting a bin that provides adequate drainage and airflow is crucial to prevent compaction and promote aerobic decomposition, guaranteeing the production of high-quality compost.
Material and Design Options
Choosing the right compost bin involves evaluating numerous material and design options to meet specific gardening needs. For small gardens, compact plastic bins are suitable due to their space efficiency and ease of maintenance. Conversely, larger gardens can benefit from expansive bins that accommodate substantial organic waste.
A cost-effective and sustainable choice for DIY enthusiasts is pallet construction. Utilizing old pallets, one can build a robust compost bin that allows for adequate airflow and can be tailored to the desired dimensions.
To enhance the structural integrity and pest deterrence, incorporating chicken wire in the design is advisable. By lining the interior or exterior of a pallet-constructed bin with chicken wire, gardeners can prevent intrusion by rodents and other pests, ensuring that composting proceeds efficiently without disturbances.
When determining the design, consider closed bins for aesthetic appeal and odor control, though they may necessitate more frequent turning to maintain adequate aeration. Open bins, while promoting superior airflow, demand vigilant monitoring to manage moisture levels and prevent odors.
Ideal placement of the compost bin is essential; position it in a sunny location on bare soil to foster microbial activity, or layer paper and twigs if situated on concrete surfaces.
Ideal Bin Location
When selecting the best location for a compost bin, it is essential to guarantee it is placed in an area with adequate sunlight exposure to enhance microbial activity and facilitate efficient decomposition.
Positioning the bin directly on bare soil is advantageous, as it permits natural drainage and promotes the beneficial interaction between soil-dwelling organisms and compost materials.
Additionally, this setup aids in maintaining ideal moisture levels and temperature stability, thereby improving the composting process.
Optimal Sunlight Exposure
For ideal composting efficiency, it is essential to strategically position your compost bin in a location that receives direct sunlight for at least half of the day. This ideal sunlight duration is vital in maintaining the necessary warmth within the compost pile, thereby accelerating the decomposition process.
The heat generated from sunlight encourages microbial activity and helps in breaking down organic matter more effectively. Implementing temperature monitoring techniques will allow you to assess whether the compost bin is receiving adequate sunlight. Utilizing a compost thermometer, you can regularly check the internal temperature to guarantee it remains within the ideal range of 135-160°F (57-71°C).
When selecting a location, avoid overly shaded areas as they can impede the desired thermal conditions, prolonging the decomposition timeline. A sheltered spot, such as near a wall or fence, is recommended as it offers protection from inclement weather while still allowing sufficient sunlight exposure.
This strategic placement not only maximizes solar gain but also shields the compost from wind, which can cause moisture loss. Regular monitoring of both temperature and moisture levels will provide insights into the effectiveness of sunlight exposure, ensuring favorable conditions for the composting process.
Soil Contact Benefits
Positioning your compost bin directly on bare soil is a fundamental practice that greatly enhances the efficiency of the composting process. This strategic placement facilitates the ingress of beneficial microorganisms and earthworms from the ground into the compost pile, thereby accelerating decomposition rates.
These organisms contribute to microbial diversity, a vital component for effective composting. The interaction between compost materials and soil-dwelling organisms fosters a robust microbial community, essential for breaking down organic matter into nutrient-rich compost.
Furthermore, soil contact plays a significant role in moisture regulation. It allows for the drainage of excess moisture, preventing waterlogged conditions that could otherwise impede the composting process.
A well-drained compost pile maintains an ideal balance of moisture, which is critical for sustaining microbial activity and promoting efficient decomposition. Additionally, the soil acts as a natural buffer, helping maintain a balanced temperature, which further supports the breakdown of organic materials.
Essential Materials Needed
Crafting an efficient composting system at home begins with gathering the essential materials that guarantee both functionality and ease of assembly. An integral component is the pallet selection, which serves as the primary structure material for your DIY compost bin. Repurposing old pallets offers a cost-effective and environmentally friendly solution.
When selecting pallets, verify they are untreated and free from chemicals to prevent contamination of the compost.
To verify the structural integrity of your compost bin, basic tools are indispensable. Equip yourself with a spade, rake, sledgehammer, and bow saw. These tools will assist in cutting and securing materials efficiently.
Additionally, the integration of chicken wire into the compost bin design is imperative for effective pest control. This will safeguard the compost by preventing access to unwanted animals.
For durability and stability, use stakes to anchor the pallets firmly in place. This verifies the compost bin withstands varying weather conditions.
Consider the use of optional cover materials for insulation, such as carpets or tarps, to retain heat and moisture.
Essential Materials Checklist:
- Pallets and Chicken Wire: For structure and pest deterrence.
- Basic Tools: Spade, rake, sledgehammer, bow saw.
- Stakes and Covers: For stability and insulation.
Step-by-Step Setup Guide
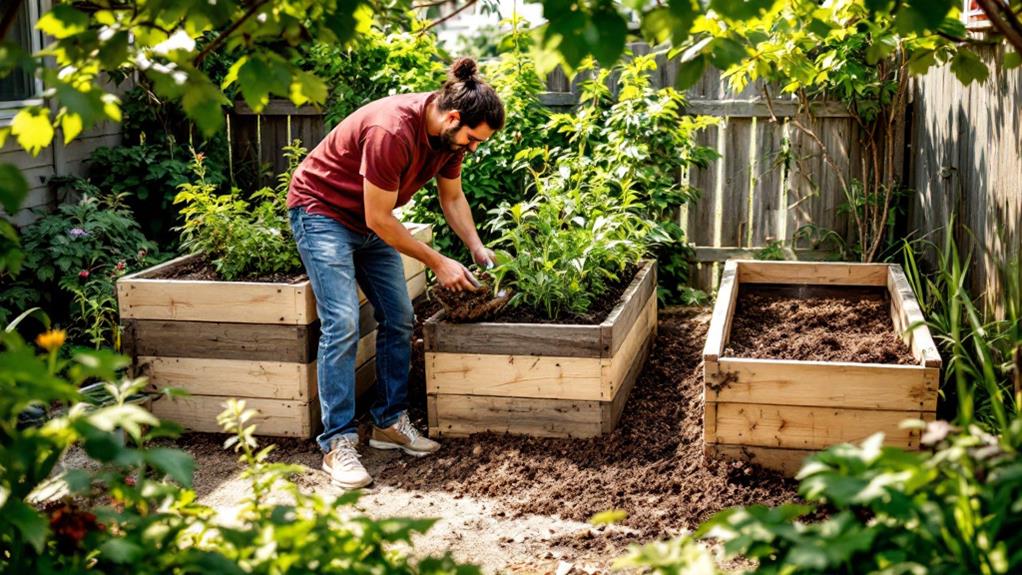
To establish an effective composting system at home, commence by selecting an appropriate site, ideally in a sunny location with bare soil to facilitate drainage and support microbial activity. This setting is ideal for composting techniques as it stabilizes temperature fluctuations, enhancing the decomposition process.
Construct your compost bin using old pallets or compact plastic bins, guaranteeing it reaches approximately waist height to ease maintenance and accessibility. The bin must guarantee adequate airflow and drainage, essential components for accelerating composting and mitigating odor issues.
Next, focus on the composition of the compost materials. Aim for an ideal 50/50 balance of green (nitrogen-rich) materials, such as vegetable scraps, and brown (carbon-rich) materials, including dried leaves or paper. This ratio is crucial for sustaining microbial activity and efficient decomposition.
As you add materials, regularly monitor the moisture content of the pile. It should remain moist, akin to a wrung-out sponge, but not overly saturated to prevent anaerobic conditions.
To further enhance composting techniques, incorporate regular turning of the pile several times a year. This aeration process invigorates microbial activity, guaranteeing a faster breakdown of organic matter, and ultimately yielding nutrient-rich compost.
Maintaining Your Compost Bin
Maintaining your compost bin is essential for ensuring the efficiency and quality of the compost produced. Proper moisture management is key; regularly monitor the moisture levels, ensuring that the compost resembles a damp sponge. This balance prevents the pile from becoming too soggy or too dry, both of which can hinder decomposition.
Turn your compost several times a year to introduce oxygen, which accelerates microbial activity and prevents material compaction.
To maintain an effective compost mix, adhere to a balanced ratio of 50% green (nitrogen-rich) materials, such as vegetable scraps, and 50% brown (carbon-rich) materials, such as dry leaves. This balance fosters ideal microbial activity, promoting rapid and efficient decomposition.
Pest control is another critical aspect. Regularly inspect your compost for signs of pests or unpleasant odors. These can indicate imbalances within the compost. If detected, adjust your materials or turn the pile to restore balance.
To enhance the microbial ecosystem, consider adding a spadeful of soil or finished compost. This introduces beneficial microorganisms, bolstering the health and efficiency of your compost bin.
Remember these three essential practices:
- Monitor moisture for ideal decomposition.
- Balance green and brown materials.
- Inspect and adjust for pest control.
Signs of Compost Readiness
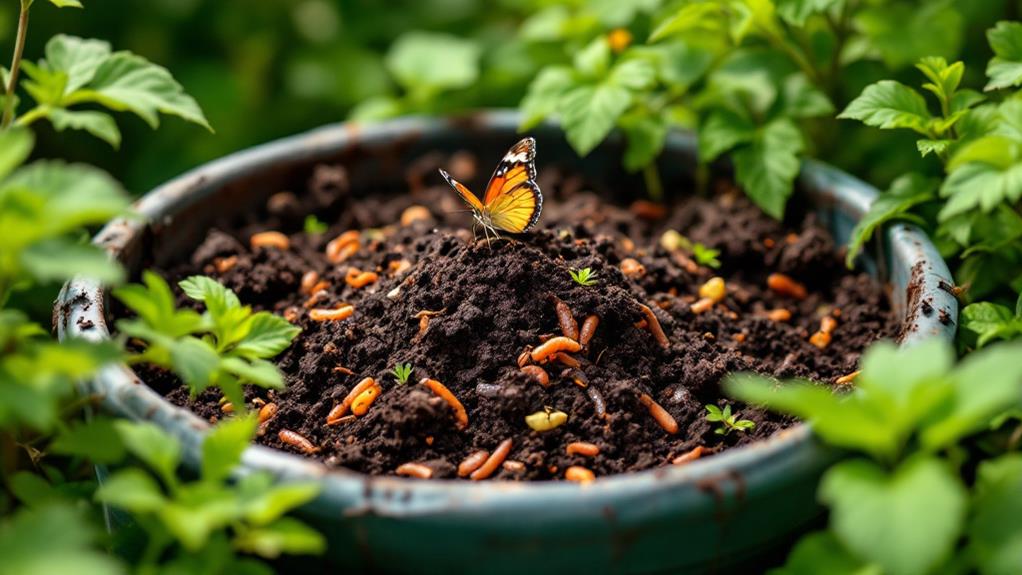
Determining when compost is ready for use involves evaluating several key indicators that signify the completion of the decomposition process. The decomposition timeline for compost typically spans several months to a year, influenced by factors such as material balance, moisture content, and aeration levels.
To assess readiness, examine the compost's texture indicators: it should exhibit a crumbly texture and an earthy smell. These characteristics are a clear indication of successful decomposition and material breakdown.
A dark color and the absence of recognizable materials further suggest thorough decomposition. This transformation indicates that the organic matter has reached a stable state, conducive for soil amendment.
Monitoring temperature fluctuations within the heap is another critical measure. A noticeable temperature drop signifies the end of the active decomposition phase, as microbial activity diminishes once the compost stabilizes.
To guarantee quality, regularly test moisture levels and maintain aeration by turning the pile. This practice accelerates the decomposition timeline and improves compost quality.
Using Your Finished Compost
A fundamental aspect of utilizing finished compost in horticulture is its multifaceted applications that enhance soil health and plant vigor. The dark, crumbly texture and earthy aroma of mature compost signify its readiness for diverse applications.
To maximize the benefits, consider these compost application techniques:
- Mulching: Apply finished compost as a mulch around plants to retain soil moisture, suppress unwanted weed growth, and gradually improve soil health. Spread a 2-3 inch layer around plants, ensuring the compost does not touch the stems to prevent rot.
- Soil Amendment: Incorporate finished compost into flower beds or vegetable patches to boost nutrient availability and foster robust plant growth. Mix it into the top 6-8 inches of soil, allowing nutrients to integrate effectively with the existing soil structure.
- Potting Mixes: When creating potting mixes, blend finished compost with soil and leaf mould. This mixture delivers essential nutrients and enhances the structural integrity of the potting medium, promoting healthy root development for container plants.
Moreover, applying compost to lawns enhances growth, soil structure, and moisture retention, resulting in a healthier, more resilient turf.
These strategic finished compost uses offer tangible improvements in garden productivity and plant health.
Frequently Asked Questions
How Do You Set up an Outdoor Compost Bin?
To set up an outdoor compost bin, select a shaded bin location on bare soil. Construct the bin using suitable materials. Integrate composting materials with a balanced ratio of green and brown, maintaining proper moisture and aeration for ideal decomposition.
Can I Put My Compost Bin Outside?
Yes, placing your compost bin outside is advisable. Ideal compost bin location enhances outdoor compost benefits by improving drainage and microbial activity. Position it on bare soil, preferably in a sunny, sheltered spot, ensuring accessibility for maintenance and material addition.
What Do I Put at the Bottom of My Compost Bin?
To enhance bin drainage and optimize decomposition, initiate your composting process by layering coarse composting materials like twigs or straw. This establishes a foundation for aeration, essential for maintaining effective microbial activity within the compost bin.
Is Indoor Compost Different to Outdoor Compost?
Indoor composting differs from outdoor composting primarily in scale and process. Indoor benefits include quicker decomposition and suitability for confined spaces, while outdoor challenges involve managing larger volumes and environmental factors, requiring robust aeration and drainage systems.
Conclusion
The establishment of an outdoor compost bin offers numerous environmental and horticultural benefits, including waste reduction and nutrient-rich soil production. Selecting an appropriate bin and ideal location, along with gathering necessary materials, is essential for successful composting. A methodical setup and ongoing maintenance are required to guarantee the composting process is efficient and effective. Recognizing the signs of compost maturity allows for timely application of the finished compost, enhancing soil health and supporting sustainable gardening practices.


Leave a Reply