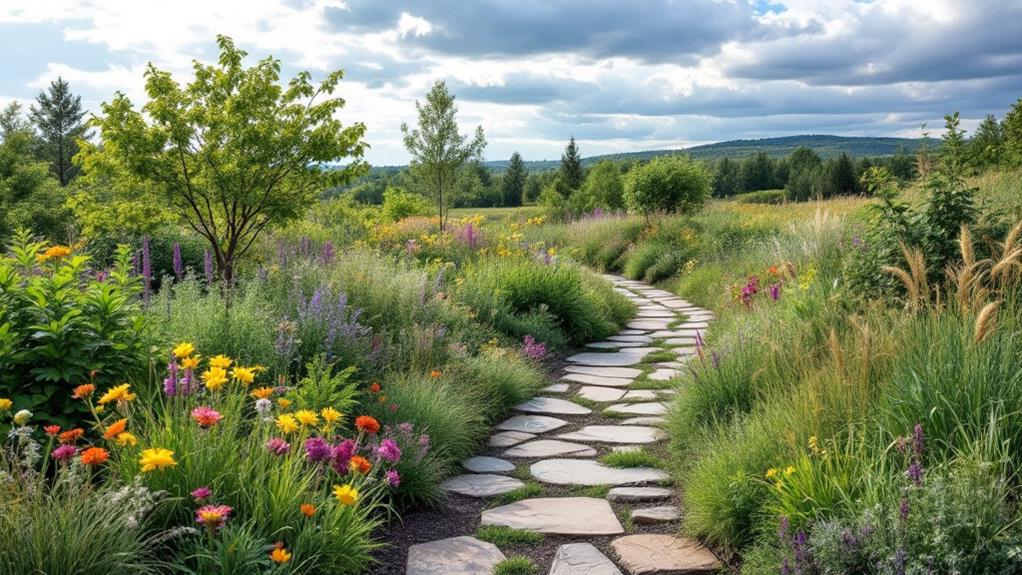
Building a DIY Rain Garden to Manage Stormwater Runoff
Creating a DIY rain garden involves selecting a site that effectively captures stormwater runoff, such as a low-lying area, situated away from building foundations. Conduct a soil infiltration test to verify adequate drainage. Design the garden with a 12-inch depression and berm to retain and manage water flow. Utilize native plants which thrive in varying moisture conditions, enhancing biodiversity and ecosystem support. Confirm water from downspouts is directed efficiently into the garden. Regular maintenance, such as checking drainage and plant health, is essential for peak performance. Explore further to understand the step-by-step process and ideal plant selection strategies.
Key Takeaways
- Choose a location at least 10 feet from the house and 50 feet from septic systems for optimal rain garden placement.
- Conduct a soil infiltration test to ensure the site absorbs at least 1 inch of water per hour.
- Excavate a 12-inch deep basin with a berm for effective stormwater retention and drainage.
- Use native plants with deep roots to improve soil structure and support local biodiversity.
- Connect downspouts and drainage systems to direct water into the rain garden efficiently.
Selecting the Ideal Location
Selecting the ideal location for a rain garden is a critical step that involves several key considerations to guarantee both functionality and sustainability. Central to this process is locating drainage areas that naturally collect stormwater. These low-lying sections of land serve as prime sites due to their inherent capacity to channel runoff, enhancing the rain garden’s efficiency in managing stormwater.
A recommended practice is to position the rain garden at least 10 feet away from your home’s foundation and 50 feet from septic systems to avert potential water damage and contamination risks.
Moreover, effective site selection involves evaluating sunlight exposure, as it greatly influences plant selection and growth. The site should ideally receive full sun to part shade, creating an environment conducive for native wetland plants that thrive under such conditions. This light exposure not only supports plant health but also facilitates efficient water absorption and evaporation processes.
Additionally, confirm the rain garden is situated downhill from downspouts or other water outlets. This strategic position maximizes the collection and infiltration of stormwater, leveraging gravitational flow to enhance the garden’s capacity to manage runoff effectively.
These considerations form the backbone of a well-planned and successful rain garden installation.
Assessing Soil and Drainage
Having determined the perfect location for your rain garden, the next step involves a meticulous examination of soil and drainage characteristics to guarantee the garden’s functionality. A critical aspect of this evaluation is evaluating soil permeability.
Begin with a soil infiltration test: dig a hole approximately 12 inches deep and fill it with water, then monitor how quickly it drains. Ideal conditions require the soil to absorb at least 1 inch of water per hour. This rate indicates sufficient permeability to manage stormwater effectively.
Next, conduct a jar test to measure the soil composition, which affects drainage rates. Fill a jar with soil and water, shake vigorously, and let it settle. The resulting layers will reveal the proportions of sand, silt, and clay. High clay content can impede drainage, necessitating soil amendments such as organic matter to enhance infiltration and aeration.
Additionally, identify yard areas that retain water post-rainfall. These low spots may naturally collect water, providing perfect sites for rain gardens.
However, verify the garden is situated at least 10 feet from building foundations to prevent water-related structural damage. These careful considerations form the foundation for effective drainage solutions in your rain garden.
Designing Your Rain Garden
When designing your rain garden, selecting suitable plants and determining the ideal location are critical for achieving enhanced water management and ecological balance.
Opt for native plant species such as yarrow and echinacea, which thrive in diverse moisture conditions, ensuring resilience and biodiversity.
Position the garden in a low-lying area where runoff naturally collects, and conduct an infiltration test to confirm the soil’s drainage capacity aligns with the intended functionality.
Selecting Suitable Plants
A successful rain garden begins with the meticulous selection of suitable plant species that can thrive in wet conditions and contribute to the ecosystem’s health. The key to this process is understanding plant compatibility and moisture preferences.
Selecting deep-rooted native plants like yarrow and echinacea is advantageous due to their inherent ability to enhance water absorption and bolster local biodiversity. These species’ compatibility with wet environments guarantees they can withstand the diverse hydrological conditions present in a rain garden.
Incorporating a diverse mix of plant species is vital to providing varying textures and colors, which enhances both aesthetic appeal and ecological function. This diversity also contributes to the garden’s resilience against pests and diseases.
Native grasses, sedges, and rushes are particularly valuable for their adaptability to local soil and climate conditions, offering a low-maintenance solution that aligns with the natural landscape.
To achieve peak growth and health, space plants approximately 12 inches apart. This spacing allows for effective airflow and prevents overcrowding, which can lead to disease.
Including marginal plants that tolerate varying moisture levels is essential for creating a balanced ecosystem, as they can adjust to fluctuating water availability and support a dynamic habitat.
Determining Ideal Location
Determining the ideal location for a rain garden is a critical design step that requires careful analysis of your property’s topography and hydrology. The process begins by identifying low-lying areas where water naturally pools after heavy rains, marking these as prime candidates for rain garden placement. This strategic positioning helps capture and manage stormwater runoff effectively.
To protect structural integrity, confirm the rain garden is situated at least 10 feet from your home’s foundation, mitigating risks of water damage and soil saturation.
Moreover, positioning the rain garden down a slope from existing downspouts or outlets optimizes water flow into the garden, maximizing its efficiency in stormwater management. Before finalizing the location, conduct an infiltration test to verify soil drainage. The site should ideally drain water within 24 hours, which is essential for preventing waterlogging and confirming the garden’s functional capacity.
Additionally, avoid rain garden placement over septic systems or utility lines by consulting local utilities through services like calling 811. This precautionary measure is essential to prevent interference with underground infrastructure, confirming a sustainable and secure garden installation.
Gathering Tools and Materials
Building a rain garden requires careful selection and preparation of both tools and materials to guarantee efficiency and success. Proper tool organization is essential; important tools include a level for ensuring precise slope measurement, a spade for digging and shaping, and a wheelbarrow to facilitate the transport of materials and soil.
Material sourcing should focus on elements that enhance both functionality and aesthetics. River rock, specifically 1-1/2-inch size, is recommended for its drainage properties and visual appeal. In addition, landscape fabric is necessary to suppress weed growth while allowing water to permeate.
Native plants and grasses are critical components, selected for their adaptability to local conditions and their ability to support biodiversity. Furthermore, PVC pipe serves as an efficient conduit, channeling stormwater runoff directly from downspouts into the rain garden. Consider integrating decorative rocks and boulders, which not only uplift the garden’s appearance but also contribute to water retention and effective drainage.
Prior to commencing any excavation, it is imperative to call 811 to identify and avoid any underground utilities, ensuring a safe and compliant installation process. This thorough preparation lays a sturdy foundation for a successful DIY rain garden project.
Excavating and Shaping
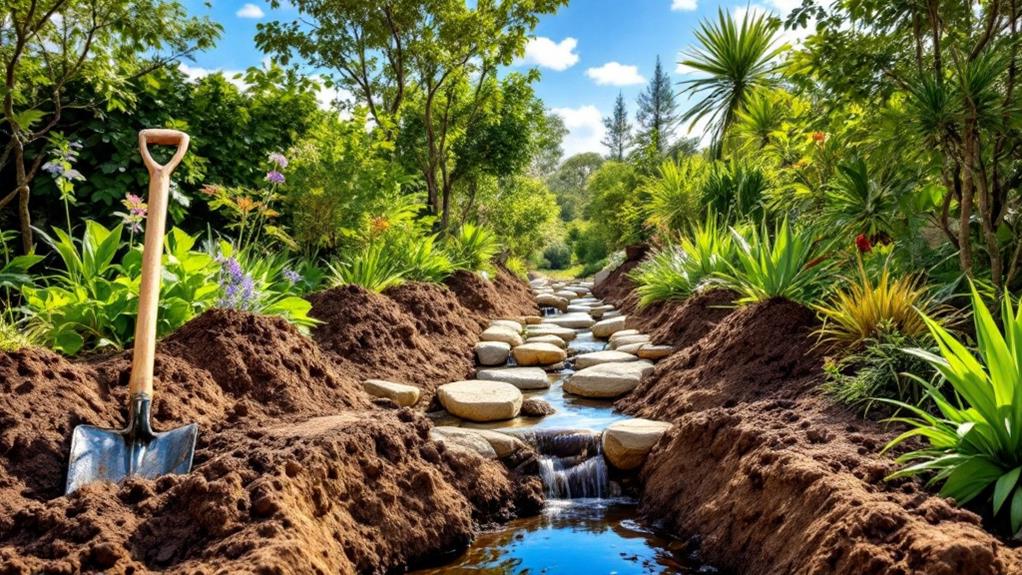
With tools and materials meticulously prepared, the next step focuses on the precise task of excavating and shaping the rain garden. Begin by identifying a suitable low area in your yard, guaranteeing it is strategically positioned at least 10 feet from buildings and 50 feet from septic systems. This careful placement is essential to optimize water capture while safeguarding nearby structures.
Employ excavation techniques to create a depression approximately 12 inches deep, assuring the final shape is a shallow basin. Shaping edges to be gently rounded not only enhances aesthetic appeal but also improves water retention within the garden.
Next, utilize the excavated soil to construct a berm on the downhill side of the garden. This berm acts as a barrier, containing the collected stormwater within the designated area. To confirm its effectiveness, compact the soil thoroughly.
Implement an infiltration test by filling the depression with water; it should drain within 24 hours to verify adequate drainage and soil permeability. Additionally, designing a gentle slope leading into the rain garden is essential. This slope facilitates the natural flow of runoff from surrounding surfaces, emulating natural hydrological processes and guaranteeing efficient stormwater management.
Planting Native Species
Selecting native plant species for your rain garden is essential for ensuring ideal adaptability to local soil and climate, thereby enhancing the garden’s resilience and health.
By choosing plants with deep root systems that are tolerant of both wet and dry conditions, you can effectively manage stormwater runoff while minimizing the need for maintenance and irrigation.
Additionally, incorporating a diverse array of native grasses, sedges, and wildflowers fosters biodiversity, supporting local wildlife and pollinators, and ultimately enriching the ecological impact of your garden.
Benefits of Native Plants
Incorporating native plants into rain gardens offers a sustainable and efficient solution for managing stormwater runoff. The native plant advantages are manifold; they are inherently adapted to local climate and soil conditions, requiring less water and maintenance than non-native species. This adaptation is vital for sustainable landscaping, as it minimizes resource consumption.
Ecological benefits abound, as these plants play a pivotal role in enhancing biodiversity by providing essential habitats and food sources for local wildlife, including pollinators like bees and butterflies.
The technical design of a rain garden benefits immensely from the deep-root systems of native plants, which greatly improve soil structure and health. These deep roots enhance water absorption, thereby reducing surface runoff and minimizing soil erosion. This is a critical component in effective stormwater management, as it guarantees that excess water is efficiently filtered and absorbed.
Moreover, native species are typically more resilient to local pests and diseases, diminishing the need for chemical interventions and promoting a healthier garden ecosystem. By incorporating a diverse array of native plants, a rain garden not only becomes a functional tool for stormwater management but also an aesthetically pleasing landscape feature that thrives in varying moisture levels.
Selecting Suitable Species
Creating an effective rain garden begins with the careful selection of plant species, prioritizing native varieties that are inherently adapted to the local environment. Native plants are essential as they require less maintenance and water, thanks to their adaptation to local soil and climate conditions.
To enhance stormwater management, select a diverse mix of deep-rooted native perennials, such as yarrow and echinacea. These species improve water absorption, enhance soil health, and provide structural stability to the garden. Plant combinations should be strategically spaced, typically around 12 inches apart, to allow for ideal growth and resource efficiency.
Incorporating species that thrive in varying moisture levels is vital for creating a resilient ecosystem. Prairie species, along with wetland plants like Bengal Tiger canna and yellow flag iris, are excellent choices. These plants not only manage different water depths but also contribute to the garden’s visual appeal with their diverse foliage and vibrant colors.
Additionally, native plants offer significant wildlife benefits by supporting local pollinators and beneficial insects, thereby enhancing biodiversity. When selecting plants, consider their height and spread to achieve a layered effect, which maximizes both ecological functionality and aesthetic design.
Enhancing Biodiversity Impact
Enhancing the biodiversity impact of a rain garden through the strategic planting of native species is essential for fostering ecological balance and resilience. Native plants are integral to providing habitat and food sources for native wildlife, such as birds and butterflies, thereby supporting vital ecosystem services.
Their deep root systems play an important role in improving soil structure and increasing water absorption, which effectively manages stormwater runoff and minimizes erosion.
A well-planned rain garden with a diverse array of native species, including prairie grasses and wetland plants, offers improved resilience against pests and diseases. This diversity allows the garden to adapt to varying moisture levels, ensuring its functionality and aesthetic appeal throughout the year.
Research indicates that rain gardens rich in native flora can capture up to 90% of stormwater runoff, considerably filtering pollutants and enhancing water quality in local ecosystems.
Incorporating native plants that are well-adapted to the local climate reduces maintenance and irrigation needs, promoting the sustainability of the rain garden. This approach not only benefits the immediate environment but also contributes to broader ecological health and stability.
- Native plants support native wildlife by providing food and shelter.
- Deep root systems improve water absorption and soil structure.
- A diverse plant selection enhances resilience against environmental stressors.
Connecting Water Sources
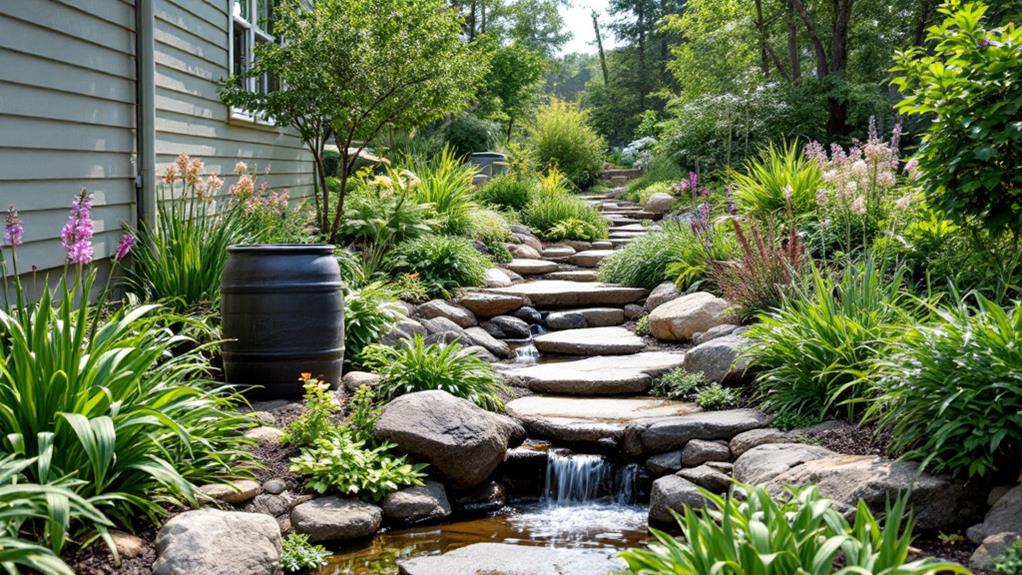
Connecting water sources to a rain garden requires strategic design and precise implementation to guarantee efficient water management. A fundamental aspect is the downspout design, which should direct roof water directly into the rain garden. This guarantees a positive slope for ideal drainage and water flow. For driveways and other impermeable surfaces, flexible corrugated drainage options are recommended to channel runoff effectively. Swales or shallow channels can be designed to guide excess water into the garden, especially during heavy rainfall, enhancing absorption and preventing overflow.
| Feature | Emotion Evoked |
|---|---|
| Downspout Design | Confidence in Structure |
| Drainage Pipes | Assurance of Efficiency |
| Swales and Channels | Safety in Storms |
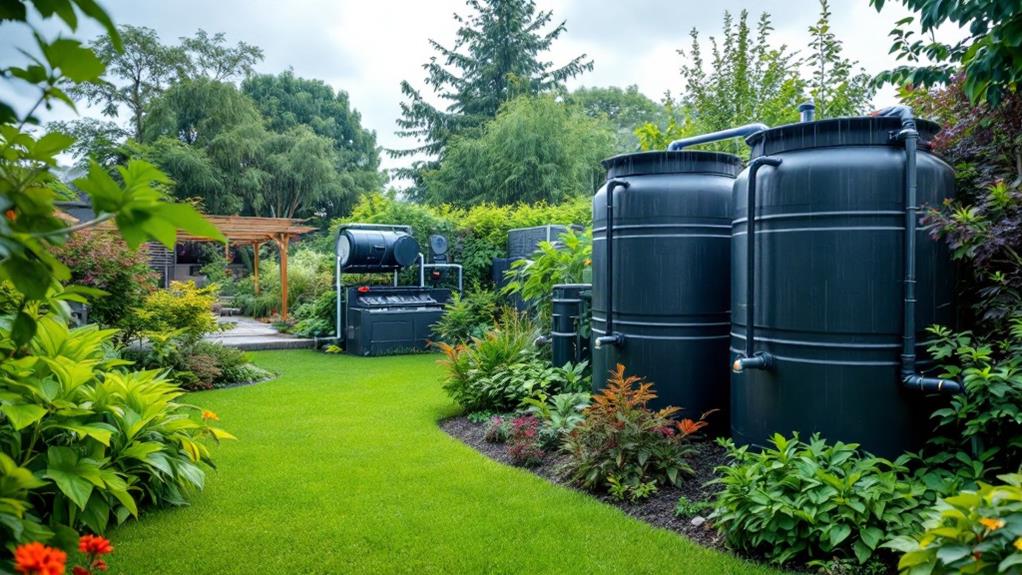
Incorporating rain barrels under downspouts further enhances water capture. These barrels collect roof runoff, with the overflow efficiently directed into the rain garden, maximizing irrigation potential. Before any installation, it is essential to verify that drainage connections do not interfere with existing utility lines or septic systems. This is achieved by contacting 811 for utility marking, thereby safeguarding against disruptions. By adhering to these detailed, design-focused strategies, a DIY rain garden can seamlessly integrate with its surroundings while managing stormwater runoff effectively.
Ongoing Maintenance Tasks
Maintaining a DIY rain garden involves staying on top of several critical tasks to confirm its long-term functionality and aesthetic appeal.
Effective weed management is essential; regularly inspect the garden and remove unwanted plants to prevent them from competing for nutrients and disrupting the garden’s visual harmony. Applying 2-3 inches of organic mulch annually aids in suppressing weeds, retaining soil moisture, and stabilizing root temperatures, contributing to the garden’s overall health and appearance.
Plant health is paramount for a vibrant and effective rain garden. Regularly monitor the condition of the plants, replacing any specimens that show signs of distress or failure to thrive. This proactive approach confirms the garden remains lush and fulfills its role in managing stormwater runoff.
Additionally, inspect the rain garden after heavy rainfall to evaluate drainage performance, making necessary adjustments to avoid flooding or stagnant water accumulation.
To maintain structural integrity, vigilance is required along the berm and garden edges. Look for erosion signs and reinforce these areas with additional soil or strategic plant placement when necessary.
- Weed Management: Regular removal and mulching.
- Plant Health: Monitoring and replacing distressed plants.
- Drainage Inspection: Post-rainfall evaluations and adjustments.
Frequently Asked Questions
How Do You Manage Stormwater Runoff?
Effective stormwater management involves strategic runoff solutions, including implementing permeable surfaces, bioretention systems, and constructed wetlands. These methods capture, filter, and infiltrate stormwater, mitigating flood risks, enhancing groundwater recharge, and reducing pollution in urban and suburban landscapes.
How Do Rain Gardens Stop Flooding?
Rain gardens contribute to flood prevention by utilizing water absorption techniques. Their design features, such as shallow depressions and berms, facilitate the capture and infiltration of stormwater, thereby reducing surface runoff and mitigating the risk of flooding.
What Is the Best Slope for a Rain Garden?
The best slope for a rain garden is approximately 1 inch drop per 4 to 6 feet of horizontal distance. This gradient facilitates ideal drainage and enhances garden design by ensuring effective water flow and minimizing erosion risks.
How to Create Rainscapes?
Creating effective rainscapes involves strategic plant selection, ensuring compatibility with the site’s soil composition. Analyze soil infiltration rates, select native plants suited for local conditions, and design the layout to facilitate efficient water management and biodiversity enhancement.
Conclusion
The construction of a DIY rain garden offers an effective solution for managing stormwater runoff by integrating ecological design principles. Selecting an ideal location, evaluating soil and drainage, and designing with precision are critical steps. The careful gathering of tools, meticulous excavation, strategic planting of native species, and efficient connection to water sources are essential for functionality. Regular maintenance guarantees the garden’s long-term efficacy, contributing to sustainable water management and promoting environmental resilience in urban landscapes.

Leave a Reply