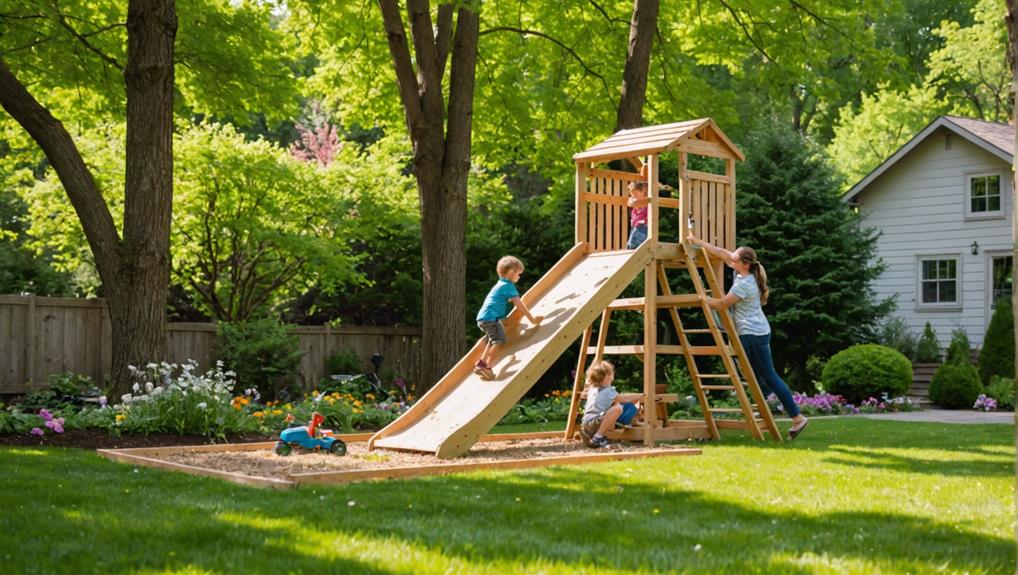
7 Simple Steps to Build Your Own DIY Outdoor Slide
Start by evaluating your backyard space and measuring the area for your slide. Clear any obstacles and check for underground utilities. Gather weather-resistant materials like pressure-treated lumber and galvanized screws. Build a sturdy frame, customizing its size and shape to your space. Install the slide, making sure it’s stable and secure with proper anchoring and cross-bracing. Add handrails and non-slip surfaces for safety. Finish with UV-resistant, child-safe paint. Finally, conduct a thorough safety check, smoothing out any sharp edges. Keep inspecting it regularly to ensure it’s in prime condition. Follow these steps and you’ll have a slide that’s both fun and safe.
Key Takeaways
- Evaluate and measure your backyard space and terrain for the slide structure and landing zone.
- Gather weather-resistant materials like pressure-treated lumber and tools necessary for construction.
- Build a sturdy frame using durable materials and secure with galvanized screws and proper anchoring.
- Install safety features such as handrails, non-slip surfaces, and ensure adherence to local building codes.
- Regularly inspect the slide for wear and tear, ensuring ongoing maintenance and safety checks.
Choose the Location
When selecting the location for your DIY outdoor slide, make sure you thoroughly evaluate the available space and terrain in your backyard. Start by measuring the area to confirm there’s ample room for the slide structure and a safe landing zone. Safety considerations should be your top priority, so remove any obstacles like rocks, tree roots, or garden tools that could cause injuries.
Check the visibility and accessibility of the chosen spot. It’s crucial that both kids and adults can easily see and reach the slide. Before you finalize your decision, inspect the site for any underground utilities or obstructions that might interfere with construction or pose safety risks.
Next, consider the sun exposure and wind direction. You don’t want the slide to be in a spot that gets too much direct sunlight, making it uncomfortably hot for kids. Similarly, avoid areas with strong wind gusts that might disrupt play or make the slide unsafe. Proximity to other play equipment is also important; ensure there’s enough space to prevent collisions and provide a safe environment for all activities.
Gather Materials
Start by gathering essential materials such as weather-resistant lumber, durable screws, a pre-made slide piece, a reliable drill, and a sharp saw to guarantee your DIY outdoor slide is built to last. Opt for pressure-treated wood or composite materials to withstand the elements.
You’ll need both 2x4s and 4x4s for the frame, making sure they’re all weatherproof to extend the slide’s lifespan. Screws should be galvanized or stainless steel to prevent rust. When selecting your slide piece, consider its dimensions and the height of your frame.
A pre-made slide is often constructed from durable plastic and comes with specifications that ensure safety. Before you start, take safety precautions by wearing protective gear such as gloves and safety glasses. Construction tips include pre-drilling holes to prevent wood splitting and using a level to verify accuracy.
Material options can vary; while high-quality materials ensure durability, they might increase budget considerations. Always balance cost with safety and longevity. Research different slide types and their material requirements, evaluating what aligns best with your budget and project scope.
Having all necessary tools and equipment ready will streamline the process and help avoid interruptions.
Build the Frame
To start building the frame, choose pressure-treated lumber for its durability and resistance to decay.
Measure and cut the wood according to your design plan, ensuring all pieces fit together snugly.
Assemble the frame using galvanized screws, making sure it’s level and securely anchored to the ground.
Choose Sturdy Materials
Choosing pressure-treated lumber for the frame guarantees durability and resistance to harsh weather conditions, providing a solid foundation for your DIY outdoor slide. When selecting material options, factor in budget considerations. Pressure-treated lumber is cost-effective and robust, ensuring your project remains within budget without compromising on quality.
For those seeking a low-maintenance alternative, consider composite materials like PVC or HDPE. While they might have higher upfront costs, their longevity benefits and minimal upkeep can offset the initial investment over time. These materials also boast a lower environmental impact due to their recyclability and resistance to decay.
Using galvanized screws is essential for securing the frame. Unlike regular screws, galvanized ones resist rust, ensuring the frame’s stability over the years. Make sure the frame is level and securely anchored to the ground to prevent any wobbling or shifting during use. This attention to detail is important for safety and longevity.
Personalize the frame by customizing its size and shape to fit your outdoor space perfectly. This not only enhances the aesthetic appeal but also ensures the slide meets your specific needs and preferences.
Measure and Cut
With your sturdy materials selected, accurately measure the desired dimensions for the slide frame, making sure it perfectly fits the designated outdoor space. Start by marking the lengths on the lumber using a measuring tape and pencil. Precision is important—incorrect measurements can compromise the stability and safety of the slide.
Before you begin cutting, gather all necessary tools: a saw, measuring tape, pencil, and safety gear (gloves and goggles). Employ cutting techniques like straight cuts for the main beams and angled cuts for support braces. Use a square to make sure your cuts are perfectly perpendicular, which is essential for the frame’s integrity.
Here’s a quick reference table for your measurements and cuts:
| Part | Number of Pieces | Length (inches) |
|---|---|---|
| Main Beams | 2 | 72 |
| Cross Beams | 3 | 48 |
| Support Braces | 4 | 24 |
| Side Rails | 2 | 60 |
Double-check all measurements and cuts before proceeding. Misalignments can lead to a wobbly structure. Implement safety precautions—always wear protective gear and keep your work area clear of obstructions. Properly executed, these steps will ensure a solid foundation for your outdoor slide.
Assemble the Frame
Start by laying out the pressure-treated lumber on a flat surface, making sure you’ve got all your pre-cut pieces ready for assembly.
Begin by constructing the base of the frame, using the longest pieces of lumber. Position the support beams at each corner to improve frame stability. Secure them with galvanized screws to guarantee weather resistance and prevent rust over time.
Next, install cross braces between the support beams. These braces are essential for maintaining the structure’s integrity and preventing any wobbling during use. Make sure each brace is level before fastening it securely. Use a spirit level to double-check your work, as an uneven frame can compromise both safety and durability.
Consider the deck height and adhere to local safety regulations when determining the size and structure of your frame. Higher decks may require additional support beams and cross braces to maintain stability and safety.
Install the Slide
To guarantee your slide is both stable and safe, securely anchor it to the supporting structure using appropriate hardware such as screws and bolts. Begin by following the manufacturer’s guidelines meticulously, as these instructions are designed to prevent accidents and ensure long-term functionality. Prioritize safety precautions throughout the installation process, including wearing protective gear and ensuring no one uses the slide until it’s fully secured.
Choose the proper anchoring methods based on the slide materials. For a plastic slide, stainless steel screws and bolts are ideal due to their resistance to rust and corrosion. When dealing with a metal slide, galvanized hardware will provide superior durability. Align the slide perfectly with the frame, checking both the horizontal and vertical levels to ensure a smooth descent.
Once the slide is in position, double-check all attachments, tightening screws and bolts as needed. After installation, conduct a thorough test by applying weight and simulating usage. This step is important to confirm that the slide remains firmly attached and functions correctly.
Regular maintenance tips include periodically checking the hardware for wear and tear and ensuring the slide surface remains smooth and safe for use.
Secure the Structure
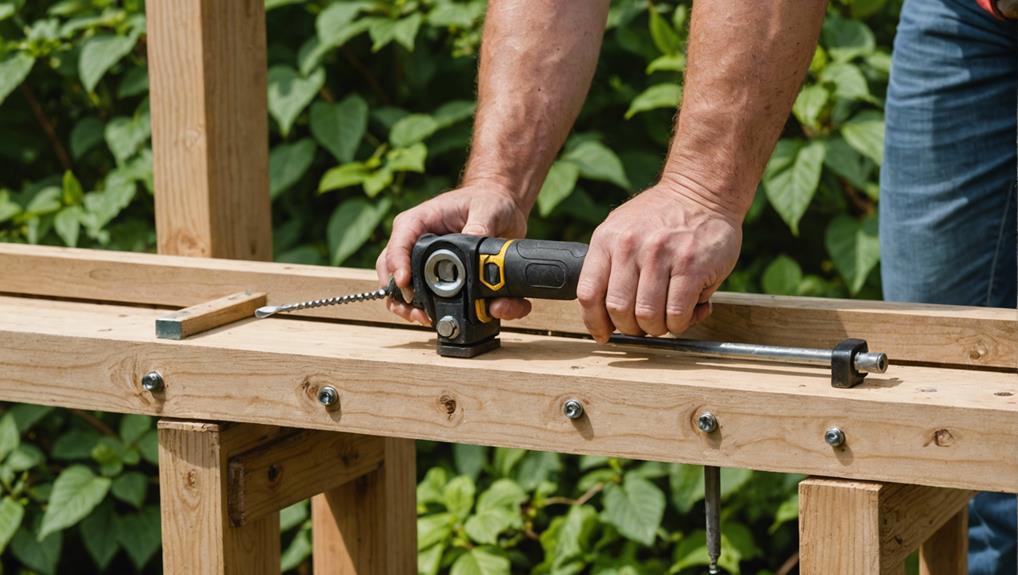
Ensuring the structure’s security is vital, so you’ll need to use sturdy materials like pressure-treated lumber and stainless steel screws to guarantee long-lasting stability and safety. Start by selecting pressure-treated lumber for the supporting framework; this type of wood resists decay and insect damage, providing a reliable base. Use stainless steel screws, as they offer superior resistance to rust and corrosion, ensuring strong, durable connections.
To prevent tipping or instability, employ effective anchoring techniques. Secure the base of the slide to the ground using concrete footings; dig holes below the frost line, insert the posts, and fill them with concrete. This will anchor your slide firmly and add necessary structural support. Additionally, incorporate stability measures such as cross-bracing to enhance rigidity and prevent lateral movement.
Safety precautions are essential. Install handrails on both sides of the slide for added security, and use non-slip materials on the steps and platform to prevent accidents. Ensure all connections, including bolts and screws, are tightly secured to avoid any loosening over time.
Lastly, adhere to all local building codes and regulations. Regularly inspect your structure for any signs of wear and tear, addressing issues promptly to maintain safety and stability.
Add Finishing Touches
Now that the structure is secure, you’ll want to choose a durable, weather-resistant paint to protect the slide and add visual appeal.
Installing safety features like handrails and non-slip materials will guarantee a secure experience for all users.
Don’t forget to inspect and maintain these elements regularly to keep your slide in top condition.
Choose Durable Paint
When selecting a paint for your outdoor slide, prioritize a durable, outdoor-specific product that resists weather elements and UV damage. This guarantees the slide remains vibrant and intact for years. Start with color selection; choose bright, engaging colors that appeal to kids. However, always take safety precautions—opt for non-toxic, child-safe paints to create a hazard-free play environment.
For application techniques, follow the manufacturer’s guidelines meticulously. This often involves sanding the slide surface for better adhesion, applying a primer, and then painting in thin, even coats. Proper application maximizes both aesthetic appeal and weather protection. Allow ample drying time between coats to avoid smudging and achieve a smooth, professional finish.
Here’s a quick reference table to guide you through the painting process:
| Step | Description | Tips |
|---|---|---|
| Color Selection | Choose vibrant, kid-friendly colors | Opt for non-toxic, child-safe options |
| Preparation | Sand and clean the slide surface | Follow with a primer for best results |
| Application | Apply thin, even coats | Allow proper drying between coats |
Lastly, look for UV-resistant paints. These prevent fading and keep your slide looking fresh. A smooth finish not only enhances aesthetics but also facilitates easy sliding and cleaning, ensuring fun and safety for all.
Install Safety Features
Why not start by adding safety barriers like handrails or guardrails to prevent falls and guarantee user safety? Handrails provide essential support for children as they climb the slide, while guardrails can prevent accidental falls from raised platforms. Make sure these barriers are securely fastened and meet the height requirements specified in local regulations.
Next, consider applying a non-slip coating or textured surfaces to the slide and ladder. These enhancements improve traction, reducing the risk of slips and falls, especially when the equipment gets wet. For added safety, install a canopy or shade structure to protect users from excessive sun exposure, creating a more comfortable and safe play environment.
Regular inspections are vital—look for signs of wear, damage, or loose components. Tighten any loose screws and replace any worn-out parts immediately to maintain safety standards. Always follow local regulations and guidelines for outdoor play equipment to guarantee compliance.
Safety Check
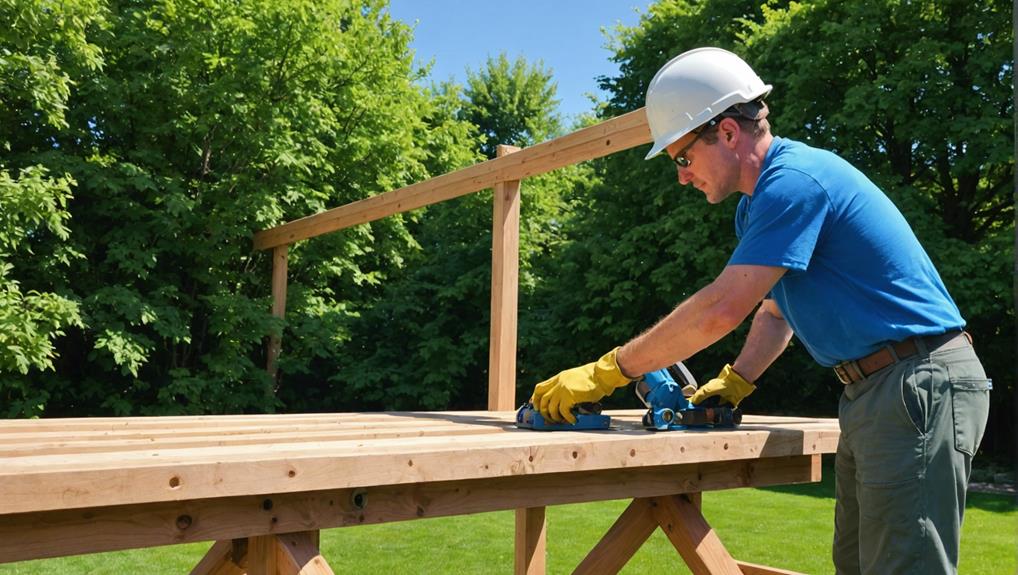
Before allowing anyone to use the slide, conduct a meticulous safety check to confirm all connections are secure and devoid of sharp edges or protrusions. Begin your safety inspection by meticulously examining each connection point. Confirm that every bolt and screw is tightly fastened, and there are no loose parts that could compromise stability. Look for any splinters or rough spots that could cause injuries. Use sandpaper to smooth out any sharp edges or rough areas.
Next, perform a risk assessment by inspecting the entire structure for potential hazards. Look for loose screws, splinters, or gaps that might pose safety risks to users. Check that the slide is firmly anchored to its supporting structure to prevent tipping or instability during use. Verify that the weight capacity limits are clearly marked and adhered to, as overloading can lead to accidents.
Injury prevention also involves a regular maintenance checklist. Clean the slide regularly to remove dirt and debris that could cause slipping. Apply a fresh coat of sealant if the slide is wooden to prevent splinters and weather damage.
Frequently Asked Questions
How to Make a Slide at Home?
To make a slide at home, gather slide materials like lumber and screws. Construct a stable base, ensuring safety measures such as proper support and foam padding. Securely anchor the slide, adhering to local safety regulations.
How to Make a Water Slide Diy?
Consider weather when setting up your DIY water slide. Secure plastic sheeting on a gradual slope, ensuring it’s wet with a hose. Prioritize safety precautions by checking for wear and ensuring a soft, safe landing area.
Can You Make Your Own Playground Slide?
Yes, you can make your own playground slide. Focus on material selection and follow safety guidelines meticulously. Use durable materials like treated wood or metal, and guarantee stability and smooth edges to create a safe play environment.
How Do You Make an Outdoor Slide Slippery?
To make your outdoor slide slippery, apply commercial slide wax or silicone spray. Regularly reapply these products to maintain peak slipperiness. You can also use a water-based lubricant or keep the slide wet with a sprinkler system.
Conclusion
By following these seven steps, you’ve created a safe, fun outdoor slide. You’ve carefully chosen the location, gathered the right materials, and built a sturdy frame.
Installing the slide and securing the entire structure guaranteed stability. Adding finishing touches gave it a polished look.
Finally, conducting a thorough safety check assures peace of mind. Enjoy the satisfaction of your DIY project and the joy it brings to everyone who uses it!


Leave a Reply