Change Your Outdoor Light Fixture in 3 Easy Steps
Start by switching off the breaker at your electrical panel to cut power. Confirm zero voltage with a meter. Next, remove the old fixture by loosening retaining screws and disconnecting wires secured with wire nuts. Verify no current with a tester. Finally, install the new fixture by connecting ground, neutral, and hot wires using wire nuts. Secure all connections and apply silicone caulk for weatherproofing. With these steps, you’re on track to a safe, detailed light fixture update. For more detailed insights, follow the in-depth guide that lays out each step meticulously.
Key Takeaways
- Turn off the power at the breaker and confirm zero voltage with a voltage meter.
- Remove the old fixture by loosening screws and disconnecting wires.
- Connect the ground, neutral, and hot wires of the new fixture securely.
- Mount the new fixture and ensure all connections are stable.
- Apply silicone caulk around the base for weatherproofing and check for a tight seal.
Turn Off the Power
Before you begin changing the outdoor light fixture, locate the breaker on the electrical panel and switch it off to disable the power. This initial step is crucial to mitigate electrical hazards and guarantee a safe working environment. Engage the circuit breaker that corresponds to the outdoor light fixture to eliminate any live electrical current.
Wearing safety glasses is non-negotiable as part of your safety precautions. This protective eyewear shields your eyes from potential debris and accidental electrical discharges.
Next, employ a voltage meter to verify that the power is truly off. Place the meter probes on the fixture’s wiring terminals to confirm zero voltage. This step is vital to prevent electric shock, a common electrical hazard when working with live circuits.
Attention to these safety precautions ensures you’re not exposed to unnecessary risks. Properly disabling the power streamlines the process of changing the outdoor light fixture, allowing you to proceed without the looming danger of electrical hazards.
Remove the Old Fixture
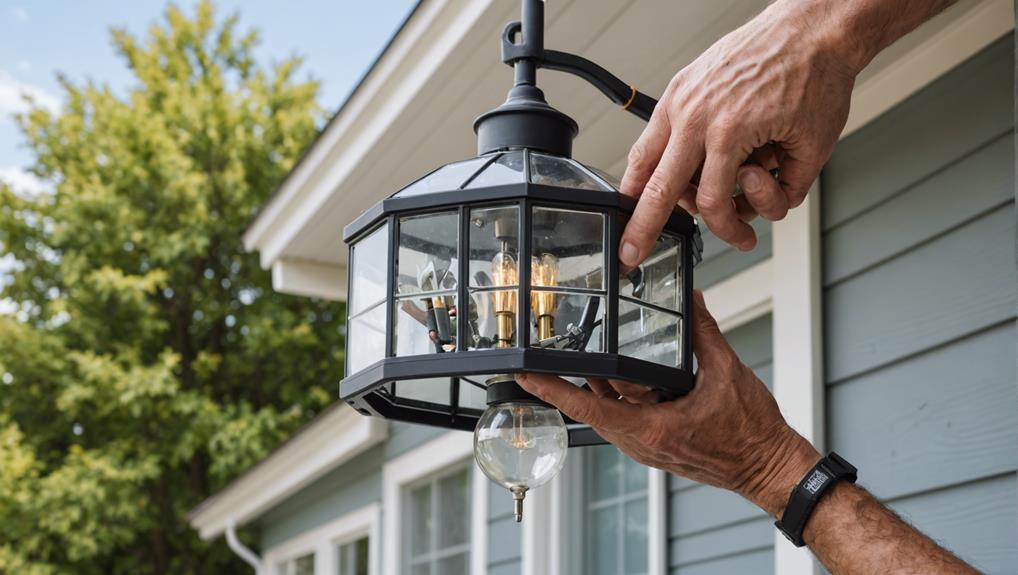
After confirming the power is off, loosen the retaining screws to detach the old fixture from the mounting surface. Utilize a voltage tester to confirm the absence of electrical current, following strict safety precautions. With the screws loosened, gently pull the fixture away from the wall or ceiling to expose the wiring.
- Disconnect the Wires: Carefully unscrew the wire nuts connecting the fixture’s wires to the house wiring. Ensure each wire is isolated to prevent any accidental contact.
- Remove Mounting Bracket: If present, unscrew and remove any mounting brackets or hardware that secured the fixture to the surface.
- Cut Away Fixture: Use a utility knife to cut any caulking or adhesive bonding the fixture to the siding, ensuring a clean removal.
- Dispose of Old Fixture: Follow local regulations for the disposal of electrical components, maintaining environmentally responsible practices.
Adhere to safety precautions throughout this process. Properly cap any exposed wires with wire nuts to prevent hazards.
By systematically dismantling the old fixture, you’ll guarantee a smooth switch to the new installation.
Dispose of the old fixture in accordance with local ordinances, ensuring no components pose a risk to the environment or your safety.
Install the New Fixture
With the old fixture safely removed and the wiring prepped, start by connecting the ground wire from the new fixture to the grounding wire in the house supply. Guarantee a secure connection using a wire nut.
Next, apply the same precise wiring techniques to connect the white (neutral) wire from the new fixture to the white wire in the house supply. Follow this by joining the black (hot) wire from the fixture to the black wire in the house supply. Double-check all connections for stability and integrity, making sure there are no exposed wire strands.
Position the new fixture against the mounting bracket, aligning it appropriately. Tighten all wire connections securely to prevent any potential hazards. Mount the new light fixture onto the adjusted mounting bracket, ensuring it’s firmly in place.
For weatherproofing, use a silicone caulk around the base to prevent moisture ingress, thereby extending the fixture’s lifespan. Regularly check for any signs of wear or corrosion as part of your maintenance tips.
Adhering to these safety precautions and wiring techniques guarantees a robust and secure installation, minimizing future issues.
Frequently Asked Questions
How to Change the Outdoor Light Fixture?
To change the outdoor light fixture, first, follow safety precautions by cutting power at the breaker. Remove the existing unit, noting lightbulb types. Install the new fixture, secure wiring connections, and test functionality before sealing with caulk.
Can You Replace an Outside Light by Yourself?
Yes, you can replace an outside light yourself. Prioritize safety precautions like deactivating the breaker. Account for weather considerations; avoid installation during rain. Follow wiring protocols precisely to guarantee a secure, functional fixture replacement.
How Do You Replace a Light Fixture by Yourself?
To replace a light fixture by yourself, first follow safety precautions by shutting off the breaker. Select appropriate tools, disconnect the old fixture, attach wires with wire nuts, mount the new fixture, then restore power to test functionality.
How to Change a Light Fixture in the Uk?
When changing a light fixture in the UK, switch off mains power, confirm circuit safety with a socket tester, and follow electrical codes. Connect cables properly, adhering to safety precautions and IEE Wiring Regulations for compliance and safety.
Conclusion
You’ve successfully navigated the intricacies of outdoor light fixture replacement. By ensuring the circuit breaker was deactivated, safely detaching the obsolete fixture, and meticulously aligning the new fixture’s wiring and mounting hardware, you’ve achieved a seamless installation.
Your adherence to these protocol-driven steps guarantees both operational efficiency and enhanced aesthetic appeal. Now, your upgraded exterior lighting solution isn’t only functional but also a demonstration of your proficiency in executing precise electrical modifications.


Leave a Reply