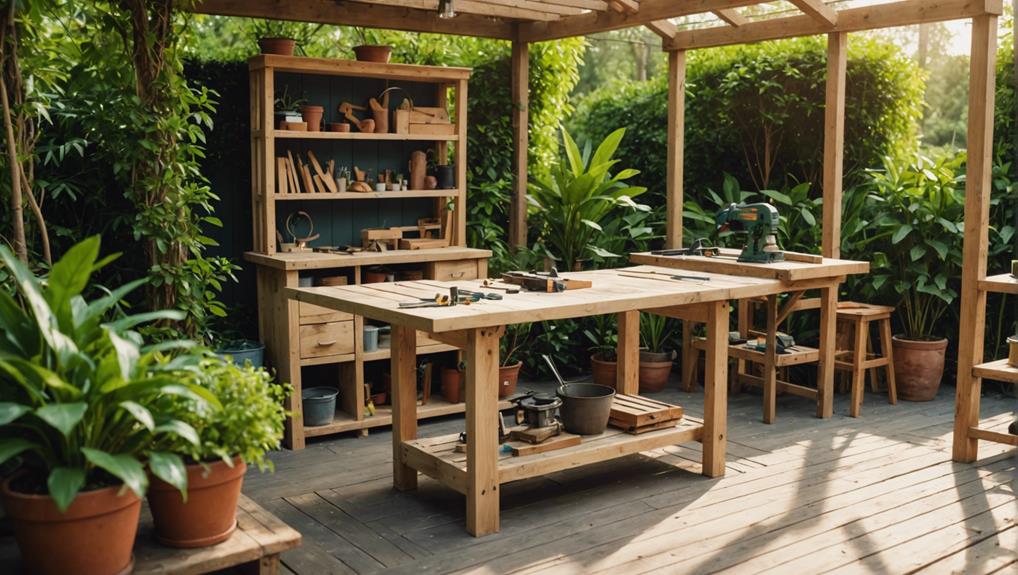
10 Steps to Building Stunning Outdoor Furniture
Building stunning outdoor furniture begins with selecting high-quality materials like cedar or redwood for durability. Gather essential tools such as drills, clamps, and weather-resistant screws. Design your project meticulously, considering measurements and space constraints. Cut lumber accurately to size and assemble the frame using precise pre-drilling and stable joint techniques, incorporating diagonal braces for added support. Sand all surfaces to achieve smoothness and enhance paint or stain adhesion. Apply protective finishes like wood sealants to guard against UV rays and moisture. Regular maintenance is essential for longevity. These foundational steps prepare you to craft outdoor pieces that endure and impress.
Key Takeaways
- Select high-quality, weather-resistant materials like cedar or redwood for durability.
- Use design software or detailed sketches to plan dimensions and functional features.
- Ensure accurate cutting and pre-drilling to enhance joint stability and assembly.
- Apply protective finishes such as wood sealants or weatherproof paint for longevity.
- Regularly maintain and clean the furniture to extend its lifespan and appearance.
Selecting Quality Materials
Choosing the suitable high-quality materials is essential for ensuring the durability and longevity of outdoor furniture. Material selection plays a critical role in withstanding the harsh outdoor environment. Woods such as cedar and redwood are ideal choices due to their inherent resistance to weathering, which reduces the risk of decay and insect damage. Additionally, pressure-treated lumber provides an excellent alternative, offering enhanced protection against moisture and external elements.
In the domain of construction techniques, the use of weather-resistant screws and hardware is paramount. These components prevent rust and corrosion, ensuring the structural integrity of the furniture over time. Precision in fastener selection can have a significant impact on the overall durability, making it important to choose materials designed specifically for outdoor use.
Furthermore, incorporating appropriate wood sealants or paints is crucial for finishing outdoor furniture. These products not only enhance the aesthetic appeal but also add an extra layer of protection against UV rays and moisture.
Selecting outdoor fabric for cushions should also be a priority; opt for fade-resistant and easy-to-clean materials to maintain both comfort and style over extended periods.
Gathering Tools and Supplies
As you start constructing stunning outdoor furniture, it is essential to gather all necessary tools and supplies to guarantee a seamless and efficient construction process. Essential tools include a drill, driver, Kreg Jig, and large clamps. These tools are fundamental for drilling precise holes, driving screws, and ensuring sturdy joints.
For tool organization and storage, consider using a tool chest or pegboard to keep your workspace tidy and efficient. Proper tool maintenance and care are paramount; regularly clean your tools and store them in a dry environment to prevent rust and ensure longevity.
When it comes to supplies, procure 11 2x4x10s and a large package of 2 1/2 self-tapping exterior screws for constructing one couch. These dimensions offer the necessary strength and support for durable outdoor furniture. Select weather-resistant materials such as cedar or redwood, known for their resilience against outdoor elements.
Additionally, pressure-treated lumber is recommended for enhanced longevity in harsh conditions. For a refined finish, consider using Rustoleum stain in Carbon Gray to achieve a sophisticated dark gray hue.
Designing Your Project
When designing your outdoor furniture project, it is important to select materials that offer durability and weather resistance, such as cedar or redwood, to guarantee long-lasting performance.
Precise planning of dimensions is essential to maximize the functionality and fit of your furniture within the available outdoor space.
Additionally, incorporating functional features and ensuring the design complements the overall aesthetic of your outdoor area will enhance both utility and visual appeal.
Choose Material Wisely
Choosing weather-resistant materials such as cedar or redwood is crucial for guaranteeing the durability and longevity of your outdoor furniture in various environmental conditions. Material selection plays a crucial role in safeguarding your project withstands the test of time and harsh weather elements. Cedar and redwood are inherently resistant to rot, decay, and insect damage, making them ideal choices for outdoor furniture. Their natural oils act as a barrier against moisture, which enhances their weather resistance.
For structural components, consider pressure-treated lumber, which has been chemically treated to resist rot and insect infestation. Pressure-treated wood is an excellent choice for the foundational framework, ensuring robustness and durability. Incorporate a combination of 2x2s, 1x4s, and 2x6s to provide the necessary structural support and stability for your furniture pieces.
Applying a high-quality wood sealant or outdoor paint further enhances the material's resilience to the elements. This protective layer prevents moisture penetration and UV damage, thereby extending the life of your furniture.
Additionally, select appropriate hardware such as 2-inch and 2.5-inch wood screws to ensure secure and stable assembly. These choices in materials and protection methods are essential for creating stunning, long-lasting outdoor furniture.
Plan Dimensions Precisely
After selecting the best materials, the next step involves meticulously planning the dimensions to guarantee your outdoor furniture fits seamlessly into the designated space. Achieving vital accuracy is fundamental to ensure both aesthetic appeal and functional efficacy. Begin by carefully measuring the area where the furniture will be placed, taking into account any space constraints that may affect the final layout.
Utilize design software or sketch your plans on paper to visualize the final look and feel. This step allows for fine-tuning style preferences and ensuring that the furniture aligns with the overall outdoor setting. Consider factors such as seating capacity, comfort, and functionality when determining the exact dimensions. Each element should be customized to meet the specific needs of the users, providing an array of customization options to enhance usability and enjoyment.
Precision in planning dimensions is essential. Inaccuracies can lead to furniture that is either too large, overwhelming the space, or too small, appearing insignificant and uncomfortable.
Measuring and Cutting Lumber
Accurate measurement techniques are essential for ensuring the correct dimensions of your outdoor furniture. This requires the use of a tape measure and a pencil for precise marking.
Key cutting tools such as a miter saw or circular saw should be employed to achieve clean, accurate cuts based on these measurements.
Additionally, adhering to safety precautions, including wearing safety goggles and gloves, is important to protect yourself from potential injuries during the cutting process.
Accurate Measurement Techniques
Properly measuring and cutting lumber is essential for building outdoor furniture that is both structurally sound and visually appealing. Accurate measurement techniques begin with a reliable tape measure to guarantee precise dimensions for each piece of lumber.
Efficiency in marking is important; use a carpenter's square to draw straight, right-angled lines, ensuring that each cut will be precise and true to the design specifications.
Before making any cuts, it is advisable to double-check all measurements. This practice minimizes errors and reduces material wastage.
Clear marking of cut lines with a pencil is another crucial step. This not only guides the cutting process but also ensures that the lumber pieces fit together seamlessly.
Accurate cutting requires the use of high-quality tools. While detailed discussion of tools will follow in the next subtopic, it is worth noting that investing in a reliable circular saw or miter saw can significantly improve the precision and cleanliness of cuts.
Essential Cutting Tools
What essential cutting tools should you contemplate when measuring and cutting lumber for outdoor furniture projects?
Accurate measurement and precise cuts are vital for the structural integrity and aesthetic appeal of your DIY outdoor furniture. Here are three indispensable tools to ponder:
- Tape Measure: A high-quality tape measure is essential for accurately measuring lumber dimensions. Precision in measurement guarantees that all pieces fit together seamlessly, reducing waste and enhancing the overall stability of your furniture.
- Circular Saw: For straight cuts, a circular saw is necessary. This versatile tool allows you to cut lumber to the exact size required. Regular tool maintenance, such as sharpening the blade and checking for alignment, will ensure clean, efficient cuts. Always wear appropriate safety gear, including safety glasses and hearing protection, to mitigate risks.
- Miter Saw: When your project requires angled cuts, a miter saw is invaluable. It provides the precision needed for creating joints and corners. Regular maintenance, such as cleaning the sawdust and checking the blade's sharpness, is essential for optimal performance. Utilize safety gear like gloves and eye protection to guarantee a safe working environment.
Safety Precautions Explained
When working with cutting tools like tape measures, circular saws, and miter saws, following strict safety precautions is vital to guarantee a secure and efficient woodworking process. Safety gear essentials, such as goggles and gloves, are indispensable. Goggles protect your eyes from wood splinters and sawdust, while gloves shield your hands from potential nicks and cuts. The benefits of wearing proper safety gear cannot be overstated; they greatly reduce the risk of injury and enhance focus on the task at hand.
One common safety mistake is neglecting to double-check measurements before cutting. Inaccurate measurements can lead to material wastage and structural issues in the final product. To prevent this, always use a reliable tape measure and verify dimensions twice before making any cuts.
Another frequent error is rushing through the cutting process. Precision and patience are key; using high-quality circular saws or miter saws, and taking the time to align each cut meticulously, ensures clean and accurate results.
Additionally, keep your workspace organized to prevent tripping hazards and make sure all cutting tools are in good working condition.
Assembling the Frame
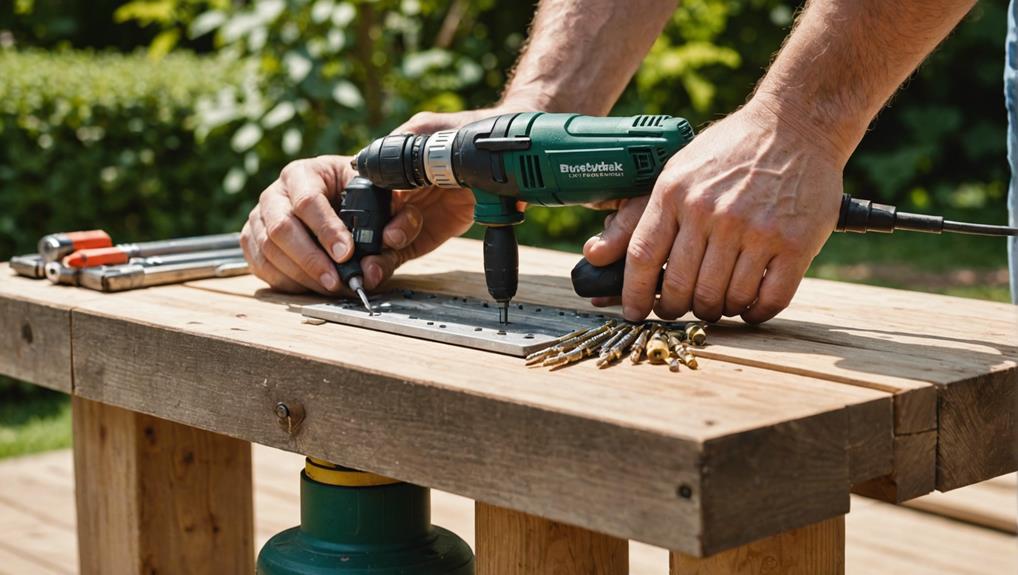
Assembling the frame begins with selecting pressure-treated lumber to guarantee durability and longevity for your outdoor furniture. This type of wood is specifically treated to withstand the elements, reducing the risk of rot and insect damage, which is essential for outdoor applications.
To ensure frame stability and overall structural integrity, follow these essential steps:
- Cut and Measure: Accurately measure and cut the pressure-treated lumber according to your design plans. Precise measurements are critical to avoid any misalignment during assembly.
- Pre-drill and Assemble: Using weather-resistant screws and hardware, pre-drill holes to prevent the wood from splitting. Employ a drill, driver, and Kreg Jig to assemble the pieces efficiently. Large clamps can hold parts in place, ensuring a secure fit.
- Frame Reinforcement: Strengthen the frame by adding diagonal bracing or cross supports, which will enhance the furniture's stability and load-bearing capacity.
Proper alignment and consistent measurements are imperative throughout this process to achieve a professional finish. Following these detailed steps will result in a robust and stable frame, setting a strong foundation for the rest of your outdoor furniture project.
Securing Joints and Supports
Securing joints and supports is critical to achieving durable outdoor furniture. Utilize wood screws and braces to guarantee stability, and reinforce high-stress areas with corner or L-brackets.
For a professional finish, pre-drill holes and use a level to maintain proper alignment and spacing.
Choosing Proper Fasteners
Selecting the appropriate fasteners is critical for ensuring the structural integrity and longevity of your outdoor furniture. Proper fastener selection directly impacts joint stability, which is essential for withstanding the stresses and strains of outdoor environments. Key factors to keep in mind include material choice, size, and corrosion resistance.
Here are three essential points to take into account:
- Material Selection: Opt for self-tapping exterior screws made from stainless steel or coated with a rust-resistant finish. These materials prevent rust and corrosion, ensuring that the joints remain secure over time.
- Size and Length: Utilize durable 2 1/2-inch screws for securing joints and supports. This length provides adequate penetration into the wood, enhancing joint stability and reducing the likelihood of warping or loosening over time.
- Weather-Resistance: Choose weather-resistant screws and hardware designed specifically for outdoor use. These fasteners are engineered to withstand moisture, temperature fluctuations, and other environmental factors, thereby extending the lifespan of your furniture.
Using the correct fasteners is crucial for preventing the degradation of joints and supports. By following these guidelines, you can achieve a robust and durable structure, capable of enduring the outdoor elements.
Reinforcing Corner Connections
Ensuring the stability and durability of your outdoor furniture necessitates reinforcing corner connections through the strategic use of metal corner braces and durable screws. This method of corner reinforcement is vital for preventing wobbling or shifting, thereby enhancing the overall stability and longevity of the furniture.
Metal corner braces, which are corrosion-resistant, guarantee that the joints remain secure even under the stress of outdoor conditions.
For added stability, incorporate diagonal braces that span from one corner of the furniture piece to another. This additional support helps to distribute weight evenly and reduce strain on the primary joints.
To further strengthen the bond, apply high-quality wood glue in conjunction with the screws. The adhesive provides an extra layer of security, filling any gaps and reducing the likelihood of joint separation over time.
Beyond functionality, consider incorporating decorative corner brackets that align with your design cohesion and outdoor aesthetics. These brackets serve a dual purpose: they reinforce the connection while adding a touch of elegance.
Adding Decorative Elements
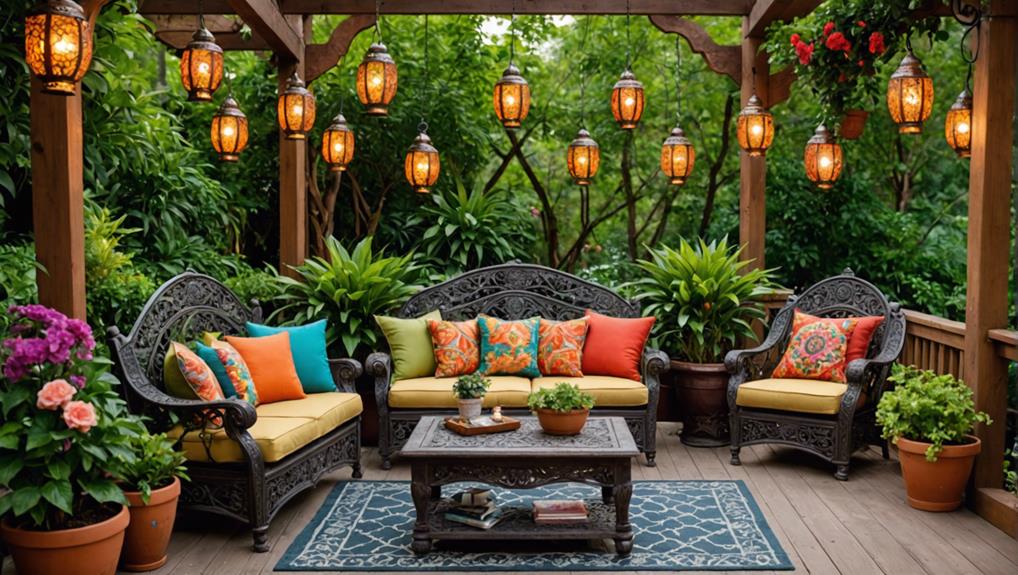
Incorporating decorative elements such as throw pillows, lanterns, and rugs can greatly enhance the aesthetic appeal and functionality of your outdoor furniture setup. Achieving a seamless blend of style and utility involves carefully selecting items that not only add visual interest but also serve practical purposes.
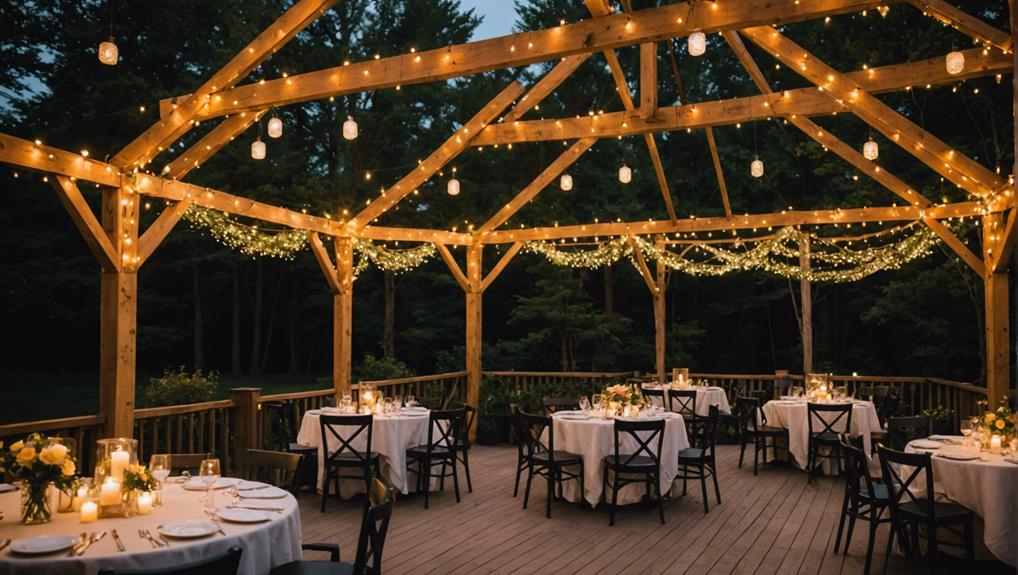
For instance, outdoor lighting is pivotal in creating an inviting ambiance for evening gatherings. Strategically placed lanterns or string lights can illuminate the space, adding both warmth and safety.
To further enrich your outdoor area, contemplate integrating garden decor. Decorative signs or plaques can add personality and charm, reflecting your unique style. Vibrant flowers and potted plants can also bring a burst of color, making the space more lively and inviting.
Here are three key elements to ponder:
- Outdoor lighting: Use lanterns, string lights, or solar-powered fixtures to enhance visibility and create a cozy atmosphere.
- Garden decor: Add decorative signs, plaques, or sculptures to infuse character and charm into your space.
- Coordinating accessories: Select throw pillows, rugs, and other textiles in complementary colors to create a cohesive and inviting look.
Sanding and Smoothing Surfaces
Achieving a pristine and professional finish on your outdoor furniture begins with meticulously sanding and smoothing all surfaces to eliminate any rough spots, splinters, or imperfections. This vital stage of surface preparation not only enhances the aesthetic appeal but also guarantees the longevity and durability of the wood.
Start with medium-grit sandpaper. This grit level is effective in removing any existing finish and rough edges while creating a smooth surface ready for refinishing. Make sure to sand evenly across all surfaces, paying extra attention to corners and intricate details.
| Step | Tool | Grit Level |
|---|---|---|
| Initial Sanding | Sanding Block | Medium (80-120) |
| Detailed Sanding | Sanding Sponge | Medium (80-120) |
| Smooth Finish | Orbital Sander | Fine (150-180) |
| Final Touch | Fine Sandpaper | Fine (150-180) |
The process of sanding not only removes splinters and imperfections but also prepares the wood for the next steps in wood care and maintenance. By methodically smoothing the surfaces, you promote better adhesion for any paint or stain applied later, which is essential for achieving a professional finish. Take your time with this step to ensure a flawless and attractive final result that will stand the test of time.
Applying a Protective Finish
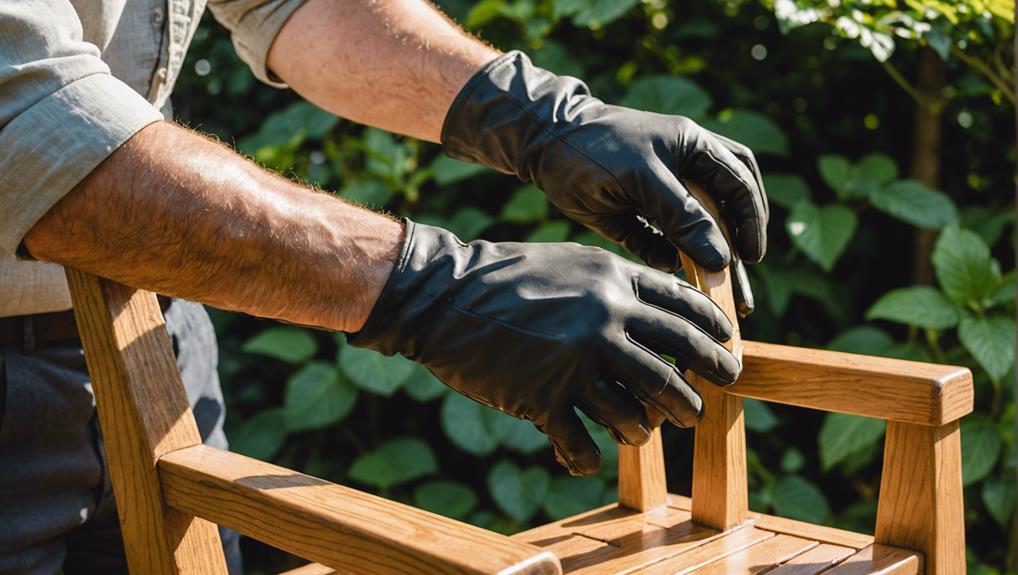
Applying a protective finish to outdoor furniture is crucial for enhancing its resistance to environmental factors such as moisture, UV rays, and general wear and tear. This layer of protection not only extends the lifespan of the furniture but also maintains its aesthetic appeal.
Here are some key steps to achieve best results:
Finishing Techniques:
- Begin by choosing the appropriate finish, such as wood sealant or weatherproof paint. Products like Thompson's WaterSeal are highly recommended for their durability and effectiveness.
- Apply the finish in thin, even coats using a high-quality brush or sprayer. Make sure each coat dries completely before applying the next to avoid any unevenness and ensure maximum protection.
Weatherproofing Methods:
- Seal all exposed surfaces, including joints and undersides, to prevent moisture infiltration. Pay special attention to end grains, as they are particularly susceptible to water damage.
- For added UV protection, opt for finishes that include UV inhibitors. These help to prevent color fading and material degradation caused by prolonged sun exposure.
Maintenance Tips:
- Regularly inspect the furniture for signs of wear and reapply the protective finish as needed. This might be annually or bi-annually, depending on the climate and usage.
- Clean the furniture periodically with mild soap and water to remove dirt and debris, which can degrade the finish over time.
Final Touches and Assembly
To guarantee the structural integrity and aesthetic appeal of your outdoor furniture, it is essential to meticulously secure the legs with wood screws and reinforce the assembly with braces. This foundational step ensures that the furniture can withstand the elements and regular use. Carefully align the legs and attach them using wood screws, making sure to pre-drill holes to prevent the wood from splitting.
Next, install braces at strategic points to add extra stability and support to the overall structure.
Incorporating mitered corners and top pieces will contribute to a polished and professional finish. Mitered corners not only enhance the visual appeal but also provide a seamless connection between different components. This attention to detail can greatly enhance the look of your outdoor furniture.
When it comes to outdoor furniture color options, consider finishes that will both complement your outdoor space and offer protection against weather conditions. Opt for durable, UV-resistant paints or stains to ensure the longevity of your pieces.
For assembling tips and tricks, always use a level to ensure all components are even and flush. Additionally, double-check all connections and fastenings to make certain the furniture is secure and stable before use.
Frequently Asked Questions
How Can I Make My Old Outdoor Furniture Look Better?
To enhance the appearance of old outdoor furniture, utilize advanced painting techniques for a refreshed look, and consider cushion replacement to update aesthetics. Additionally, repair any damaged parts and apply a protective sealant for longevity.
What Is the Best Waterproofing for Outdoor Furniture?
For best protection of outdoor furniture, a high-quality waterproof varnish or silicone sealant is recommended. Applying multiple coats and selecting products with UV protection will greatly enhance durability and resistance to moisture and sun damage.
How to Make Furniture Outdoor Proof?
To make furniture outdoor proof, prioritize material selection by choosing durable woods like cedar or redwood. Additionally, apply protective coatings such as wood sealants or outdoor paint to shield against moisture, UV rays, and other environmental factors.
How to Seal Rattan Furniture for Outdoor Use?
To seal rattan furniture for outdoor use, clean and dry thoroughly. Apply a clear outdoor varnish or polyurethane sealant using a paintbrush, ensuring even coverage. Reapply annually to maintain protection, utilizing proper application techniques for best results.
Conclusion
The construction of aesthetically pleasing outdoor furniture necessitates meticulous planning and execution. This includes selecting high-quality materials, gathering appropriate tools, designing the project, and precise measuring and cutting of lumber.
The assembly of the frame, incorporation of decorative elements, thorough sanding, application of a protective finish, and final assembly are critical steps. Adhering to these procedures guarantees the creation of durable and visually appealing outdoor furniture that withstands environmental elements while enhancing outdoor spaces.

Leave a Reply