Build a Stylish Pony Wall for Your Living Room
To build a stylish pony wall for your living room, start with high-quality MDF boards for the frame. Measure carefully and cut to size, then assemble using wood screws and metal brackets for stability. Add base cap and panel moulding for decorative trim, securing it with finishing nails and adhesive. Fill gaps, sand, and caulk seams before priming with Zinsser Cover Stain. Paint with Behr's Polar Bear for a clean, modern look, using Floetrol for an ultra-smooth finish. Consider integrating built-in shelves for extra functionality. Follow these detailed steps to create a professional-looking feature wall.
Key Takeaways
- Measure accurately to ensure the pony wall is proportionate and fits the room layout.
- Use high-quality MDF boards for the main structure for durability and a smooth finish.
- Incorporate decorative trim and moulding to add visual interest and elegance.
- Prime with Zinsser Cover Stain and paint with Behr's Polar Bear for a clean, professional look.
- Reinforce joints with wood screws and metal brackets for a sturdy and secure build.
Materials and Tools

To build a stylish pony wall for your living room, you'll need specific materials and tools to guarantee a professional finish. Start with high-quality MDF boards for the main structure. MDF is durable and offers a smooth surface for painting. For trim, use base cap moulding and panel moulding. These decorative elements enhance the aesthetic appeal of your pony wall.
Next, make sure you have a saw, nail gun, level, measuring tape, and caulking gun. Regular tool maintenance is essential; a well-maintained saw ensures precise cuts, and a properly functioning nail gun secures the moulding effectively.
For a flawless paint job, prime your wall with Zinsser Cover Stain and finish with Behr's Polar Bear. Using Floetrol paint conditioner can help achieve a smooth, professional finish.
Quality control is important. Inspect each material piece for defects before installation. When painting, ensure even coats and proper drying times.
Safety precautions can't be overlooked. Wear safety goggles when cutting MDF and use ear protection when operating loud tools.
Design and Measurements
Start by carefully measuring the height and length of your pony wall to guarantee it complements the room's proportions and design aesthetic. Accurate measurements are essential to make sure the wall doesn't overpower or get lost in the space. Aim for a proportionate height that aligns with existing furniture and architectural features. This attention to detail will create a balanced look that enhances the room's overall design aesthetics.
When determining the dimensions, consider the pony wall's role. Will it serve as a partial divider, a visual anchor, or perhaps an accent piece? Tailoring the measurements to the wall's purpose ensures it fits seamlessly within your living room's layout.
Here are some key considerations to keep in mind:
- Material Needs: Accurate measurements help you estimate the amount of materials required, avoiding unnecessary waste.
- Decorative Elements: Incorporate design elements like trim, molding, or custom paint to ensure the pony wall enhances your room's style.
- Functional Features: Think about adding built-in shelves or columns for extra functionality and charm.
Building the Frame

Begin constructing the frame by assembling the 1 x 4 and 1 x 6 MDF boards, making sure each piece is securely fastened for a sturdy foundation. Start by cutting the MDF boards to your desired measurements, then lay out the pieces on a flat surface. Use wood screws to join the boards together. This step is essential for frame assembly and maintaining structural integrity.
To enhance durability, incorporate corner reinforcements at all joints. These reinforcements will assist in securing joints and maintaining the pony wall's stability. Use metal brackets or additional MDF pieces to reinforce the corners.
Here's a breakdown to help visualize the assembly process:
| Step | Materials | Actions |
|---|---|---|
| Measure & Cut | 1 x 4, 1 x 6 MDF | Cut boards to desired dimensions |
| Assemble | Wood screws | Join boards, ensuring a sturdy foundation |
| Reinforce | Metal brackets, MDF | Install corner reinforcements for stability |
| Secure | Level, drill | Double-check alignment and tighten screws |
As you proceed, constantly check for level alignment and secure each part firmly. This meticulous approach ensures your pony wall will handle any additional elements or decor without compromising its load-bearing capacity. Proper frame assembly with structural integrity sets the stage for a stylish and functional addition to your living room.
Adding Trim and Moulding
Enhancing your pony wall with carefully selected trim and moulding transforms it from functional to fabulous, adding a touch of sophistication and style to your living room. Start by choosing the right trim styles. Using 1 x 4 and 1 x 6 MDF boards, you'll create clean, sharp edges that seamlessly integrate with your wall's design.
For added visual interest, explore various moulding options. Base cap moulding and panel moulding are excellent choices that provide a decorative touch. When it comes to installation techniques, precision is crucial. Measure twice, cut once, and make sure every piece fits perfectly.
Here are three key steps to consider:
- Trim installation: Secure the MDF boards using finishing nails and a level to ensure straight lines.
- Moulding techniques: Attach base cap and panel moulding with a strong adhesive and reinforce with nails for durability.
- Finishing touches: Fill gaps with wood filler, sand the surfaces smoothly, and caulk seams for a flawless appearance.
Painting and Finishing

After securing the trim and moulding, it's time to focus on painting and finishing to achieve a polished and professional look for your pony wall. Start by addressing the surface preparation. Fill any gaps with wood filler, sand down imperfections, and caulk all seams. This meticulous attention to detail guarantees a smooth base for the paint.
Begin with a primer like Zinsser Cover Stain. It's crucial for a durable finish and excellent paint adhesion. Once the primer is dry, move on to your color selection. Behr's Polar Bear paint is a top choice, offering a clean and stylish look that complements any living room decor.
When it comes to paint application, consider using Floetrol as a paint conditioner. It helps achieve an even coat and reduces brush marks, giving your wall a professional finish. Employ these finishing techniques to enhance the aesthetic appeal of your pony wall.
Here's a quick reference guide:
| Step | Product/Technique |
|---|---|
| Primer | Zinsser Cover Stain |
| Paint Color | Behr's Polar Bear |
| Wood Filler | Standard Wood Filler |
| Sanding | Fine Grit Sandpaper |
| Paint Conditioner | Floetrol |
Incorporating Decorative Elements
To enhance the design of your pony wall, consider incorporating geometric paneling with decorative wood for a striking and stylish touch. This approach not only enhances visual interest but also uplifts the overall sophistication of your living room.
Additionally, integrating decorative accents that align with your color schemes can bring a harmonious and cohesive feel to the space.
For an art display, you can install shelving options that allow you to showcase your favorite pieces. This not only personalizes your pony wall but also makes it a dynamic focal point in the room.
Here are some ways to incorporate these elements:
- Geometric Paneling: Use contrasting wood tones or paint to create eye-catching patterns.
- Shelving Options: Add floating shelves or built-in niches for art and decorative items.
- Decorative Accents: Choose elements like metallic trims or textured finishes to complement your color schemes.
Frequently Asked Questions
How to Style a Pony Wall?
To style a pony wall, incorporate decorative accents like geometric paneling or art columns. Choose color schemes that complement your space. Consider adding bookshelves or plants for functionality and charm, enhancing both the aesthetic and practical appeal.
How Much Does It Cost to Build a Pony Wall?
Think of a pony wall as the frame of a masterpiece. Material costs range from $500 to $2,500, and labor fees can increase the total. DIY saves money, but hiring pros guarantees perfection.
How to Make a Living Room Feature Wall?
To make a living room feature wall, start with material selection like wood, stone, or wallpaper. Choose complementary color schemes that enhance your decor. Focus on trendy patterns and textures to create a striking, detailed focal point.
What Is the Difference Between a Pony Wall and a Half Wall?
Picture a bridge between spaces. A pony wall, with its modest pony dimensions, keeps rooms connected, while a half wall, built with sturdy half wall materials, provides more separation. Each offers unique design flexibility.
Conclusion
By crafting this stylish pony wall, you've not just added a simple partition, but you've transformed your living room into a magazine-worthy space. Your keen eye for detail and trend-savvy choices have resulted in a masterpiece that screams sophistication and elegance.
Now, every glance at that pony wall won't just be a casual look; it'll be a moment of awe, a validation of your exceptional taste and DIY prowess. Your living room has never looked this extraordinary!

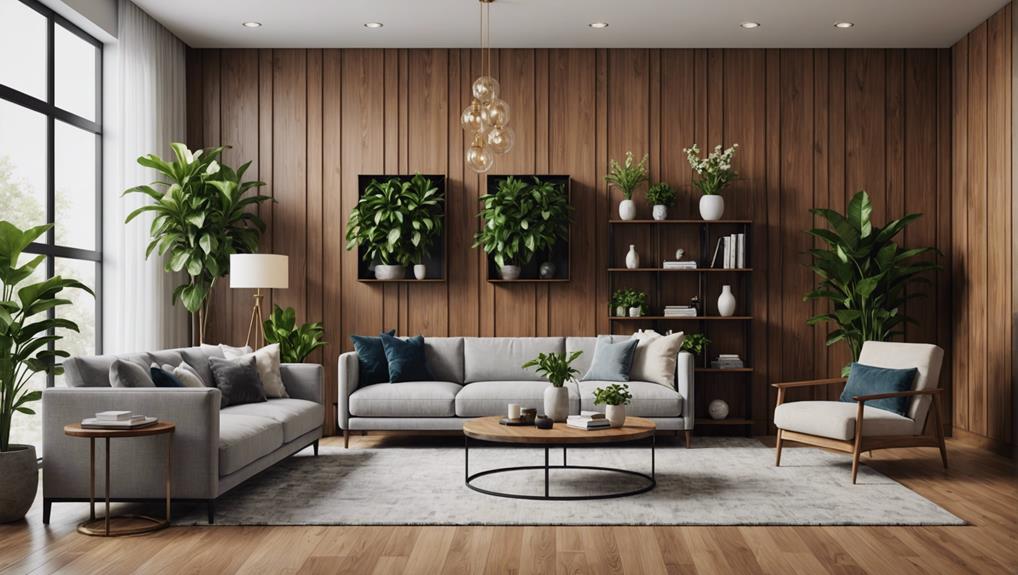
5 Unique Living Room Ornament Display Ideas
Bring your living room to life with 5 unique ornament display ideas that promise to elevate your spa
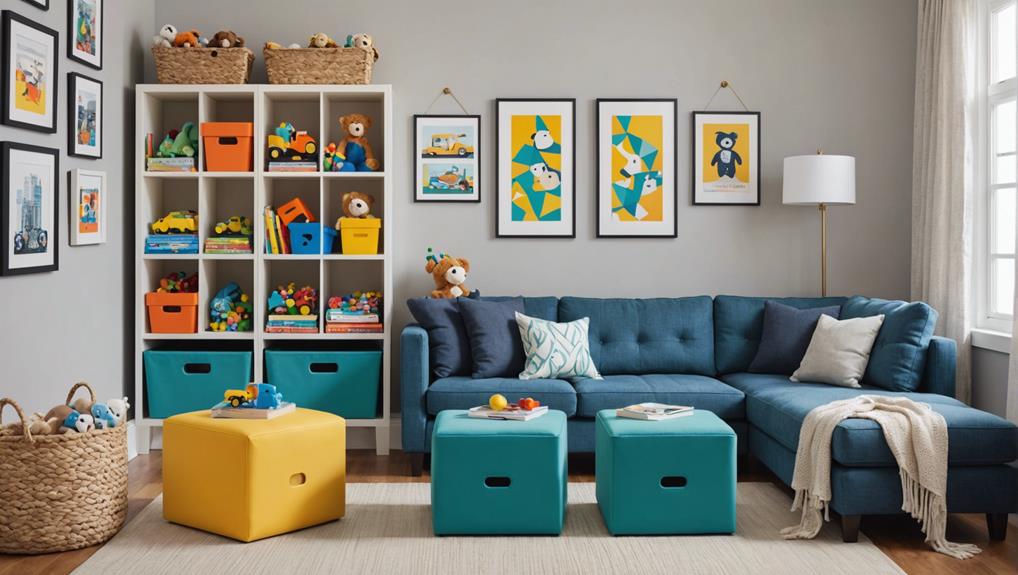
Creative Toy Storage Ideas for Your Living Room
Organize your living room effortlessly with these ingenious toy storage ideas that blend style and f
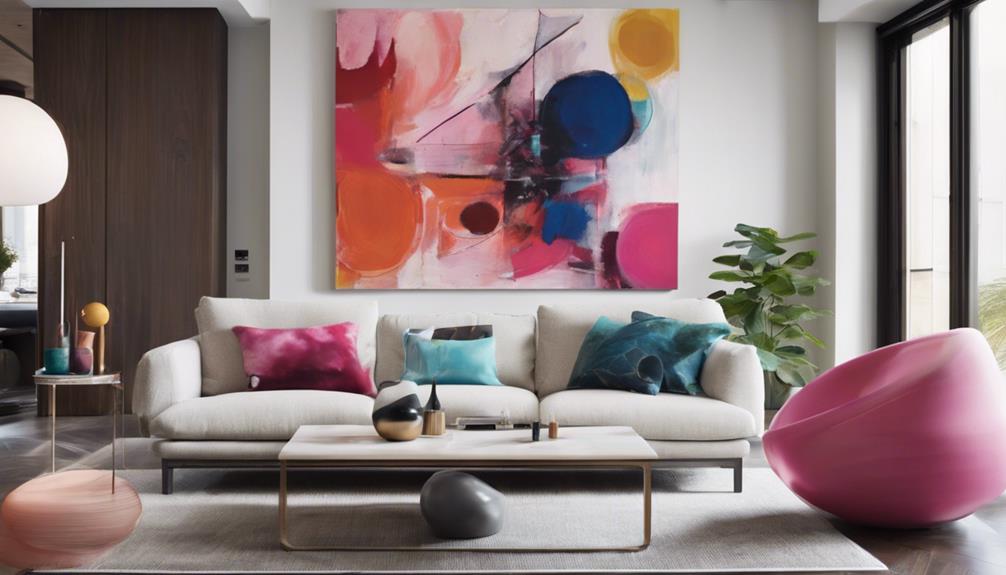
Why Add Abstract Art to Your Home Decor?
Spice up your home decor with abstract art to unlock a world of color, creativity, and conve
Leave a Reply