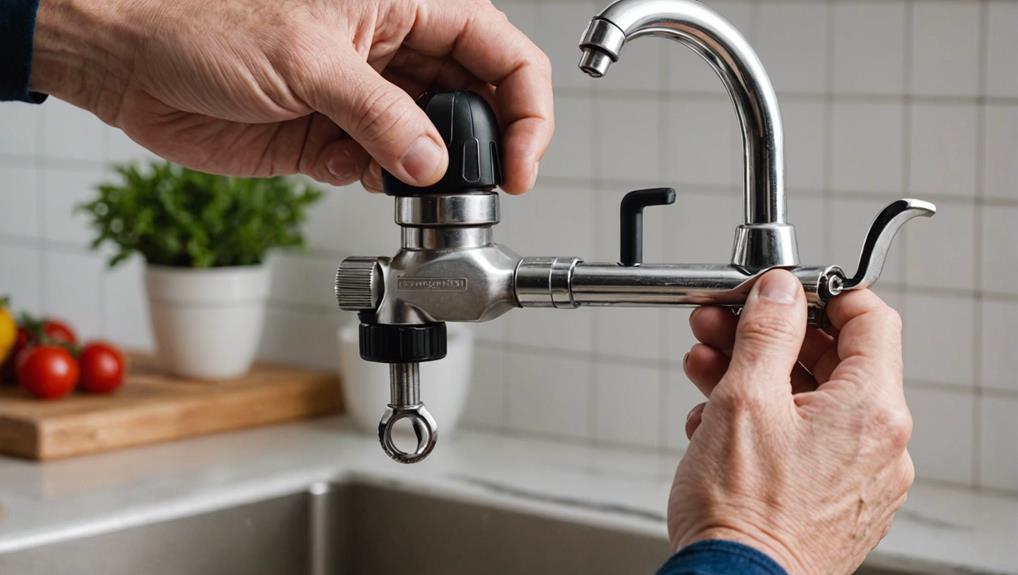
5 Simple Steps to Remove Your Kitchen Faucet Aerator
Removing your kitchen faucet aerator is simple if you follow these steps. First, gather pliers or an adjustable wrench, an old cloth, vinegar, a toothbrush, and a towel to cover the drain. Next, locate the aerator at the faucet's tip and inspect for buildup. Attempt to manually unscrew it counterclockwise. If it's stubborn, use pliers for a better grip but apply gentle pressure. Finally, clean the aerator by soaking it in vinegar and scrubbing with a toothbrush, or replace if necessary. By following these steps, you'll restore your faucet's functionality and improve water pressure. There's more to explore about faucet maintenance.
Key Takeaways
- Locate the aerator at the faucet's tip and inspect for buildup.
- Cover the drain with a towel to prevent losing small parts.
- Grip the aerator with pliers or a wrench and turn counterclockwise.
- Apply steady pressure to loosen and remove the aerator.
- Soak the aerator in vinegar and scrub with a toothbrush to clean.
Gather Necessary Tools
Before you begin removing your kitchen faucet aerator, gather essential tools like pliers or an adjustable wrench, an old cloth, a small bowl, vinegar, and an old toothbrush. Tool preparation is key to guaranteeing an easy removal process.
Start by selecting pliers or an adjustable wrench that fits comfortably in your hand. These tools are important for gripping and turning the aerator without causing damage.
Next, have an old cloth on hand. This will be used to protect the aerator and faucet finish from scratches during removal. Additionally, prepare a small bowl filled with vinegar and keep an old toothbrush nearby. These items are essential for cleaning the aerator once it's removed.
To avoid losing small parts, cover the drain with a towel. This precautionary measure ensures nothing falls into the drain during the removal process.
Before starting, double-check that all tools are within reach. Proper tool preparation will save you time and frustration, leading to a smooth and easy removal. By following these steps, you'll be well-equipped and ready to tackle the task efficiently.
Locate the Aerator
The aerator is typically found at the faucet's tip, where the water exits, and can usually be identified by its small, circular design with mesh or slots. This component plays an essential role in water conservation by mixing air with the water flow, reducing the amount of water used without compromising pressure.
To locate the aerator, begin by examining the end of your faucet. You'll see a small, round piece that fits snugly into the faucet opening. It's often metallic, but can also be made of plastic, and features a series of fine mesh screens or slots. This design helps regulate water flow, improving efficiency and reducing splashing.
For effective aerator maintenance, regularly inspect this part for any buildup of debris or mineral deposits. Troubleshooting common issues like reduced water pressure often starts by checking the aerator. A blocked or dirty aerator can have a significant impact on faucet performance.
If your aerator appears dirty or clogged, you might need to remove it for cleaning or replacement. Be aware that some aerators require a special tool or key for removal, while others can be unscrewed by hand. Identifying and understanding the aerator's location is your first step toward ensuring excellent water flow and faucet functionality.
Attempt Manual Removal
To remove the aerator manually, grip it firmly with a pair of pliers or an adjustable wrench and turn it counterclockwise. Make sure you've got a solid hold on the aerator to avoid slipping, which could damage the faucet or the aerator itself. Start by covering the drain with a towel to prevent small parts from falling in, which is important for effective aerator maintenance.
Once you've secured the aerator, apply steady pressure as you turn it counterclockwise. If it doesn't budge initially, don't force it; instead, try repositioning the pliers or wrench for a better grip. Removing the aerator allows you to clean it thoroughly or replace it, which is a vital part of DIY faucet upgrades aimed at improving water flow and efficiency.
After successfully removing the aerator, inspect it for any mineral deposits or debris. Soak the aerator in vinegar to dissolve any buildup. This simple step not only enhances water flow but also ensures the longevity of your faucet.
Proper aerator maintenance can make a significant difference in the performance of your kitchen faucet, making it a worthwhile DIY project.
Use Pliers for Stubborn Aerators
Sometimes, stubborn aerators may require the additional leverage that pliers provide to break free from the faucet spout. When manual removal fails, the pliers technique offers a reliable solution. Begin by selecting a pair of adjustable pliers to accommodate the aerator's size. Place a cloth or masking tape around the aerator to prevent scratches or damage. Gently apply pressure with the pliers to grip the aerator securely.
- Grip securely: Make sure the pliers have a firm hold on the aerator without squeezing too hard.
- Twist counterclockwise: Turn the pliers counterclockwise to unscrew the aerator. Remember, tightening it further will make removal more difficult.
- Use gentle pressure: Apply just enough pressure to break the aerator free without damaging it.
- Check direction: Double-check that you're turning in the correct direction to avoid further tightening.
Using pliers can make a world of difference in your aerator maintenance efforts. Be patient and precise, and avoid using excessive force. Once the aerator starts to loosen, you can usually finish unscrewing it by hand. This technique not only guarantees efficient removal but also minimizes potential damage to your faucet.
Clean or Replace the Aerator
Begin by unscrewing the aerator from the faucet spout to either clean or replace it. Use your fingers or pliers if it's stubborn.
Once removed, disassemble the aerator by carefully separating its components. Place these parts in a small bowl filled with vinegar, letting them soak for at least 15 minutes. This will help dissolve any mineral deposits and debris, preventing clogs and ensuring a consistent flow.
Use an old toothbrush to scrub each component gently, paying close attention to any fine mesh screens. Rinse all parts thoroughly with water to remove any remaining vinegar and loosened debris.
Inspect the cleaned aerator for any signs of wear or damage. If the aerator looks compromised, replacing it might be the best option for ensuring consistent flow and prolonging the lifespan of your faucet.
To replace the aerator, purchase a new one that matches your faucet's specifications. Install the new aerator by aligning it with the spout and turning it clockwise until snug.
Regular maintenance, including periodic cleaning or timely replacement, is essential for preventing clogs and ensuring your kitchen faucet's peak performance.
Frequently Asked Questions
How Do You Remove an Aerator From a Kitchen Faucet?
To remove an aerator from your kitchen faucet, use pliers or an adjustable wrench. Turn it counterclockwise. For aerator cleaning with alternative methods, soak the parts in vinegar, scrub with a toothbrush, and reassemble.
How to Remove Faucet Aerator Without Tool?
To remove a faucet aerator without tools, use hand protection like a cloth for better grip. Twist counterclockwise, gently. If it's stuck, cleaning buildup around the aerator can help ease the removal process.
How Do You Unscrew a Stuck Aerator?
To unscrew a stuck aerator, use pliers or an adjustable wrench. Apply even pressure counterclockwise. If it's resistant, apply a penetrating lubricant like WD-40. Once loosened, remove it by hand for aerator cleaning.
Which Direction Do You Unscrew a Faucet Aerator?
To unscrew a faucet aerator, turn it counterclockwise. For effective unscrew techniques, use gentle force to prevent damage. Regularly practice aerator maintenance to guarantee smooth removal and peak faucet performance.
Conclusion
You've successfully navigated the process of removing your kitchen faucet aerator. By gathering the necessary tools, locating the aerator, attempting manual removal, and using pliers when needed, you've guaranteed a smooth removal.
Now, whether you choose to clean or replace the aerator, your faucet will function at its best. Remember, maintaining your faucet aerator enhances water flow and quality.
Keep this guide handy for future reference, ensuring your kitchen remains in top working condition.


Leave a Reply