Achieving the Perfect Light Stain on Your Kitchen Cabinets
To achieve the perfect light stain on your kitchen cabinets, start by selecting a water-based or gel stain for greater control. Prepare your cabinets by removing hardware, cleaning with denatured alcohol, sanding, and conditioning the wood. Apply the stain with a high-quality brush in thin layers, wiping off excess immediately. For a lasting finish, seal with a polyurethane sealant, allowing each coat to dry for 24 hours. Regular maintenance, like cleaning with mild soap and reapplying sealant, will keep your cabinets looking new. With these steps, you'll have stunning kitchen cabinets that stand the test of time. Discover more essential tips next.
Key Takeaways
- Test the stain color on a small area before full application.
- Clean and sand cabinets thoroughly before staining for a smooth finish.
- Apply a high-quality wood conditioner to ensure an even stain.
- Use a high-quality brush and wipe off excess stain immediately.
- Seal the finish with a polyurethane sealant for durability and protection.
Selecting the Right Stain
When selecting the right stain for your kitchen cabinets, consider light stains like blonde or honey to highlight the natural beauty of wood types such as pine or oak. Choosing the right product is important. Water-based stains are excellent for achieving a lighter finish as they've less color depth compared to oil-based stains. They also dry faster, which can be beneficial if you're working on a time-sensitive project.
Gel stains offer you excellent control over the intensity of the color. These stains are thicker and don't penetrate the wood as deeply, which allows you to achieve a consistent light stain without blotchiness. This makes them a solid option for beginners or those seeking a more uniform appearance.
Before committing to a stain, always test the color on a small, inconspicuous area of the cabinet. This step ensures that the stain matches your desired light tone before you apply it to the entire surface. Testing the color can save you a lot of time and effort by preventing unwanted results.
Light stains can brighten your kitchen, making it feel more open and airy, especially when paired with light-colored countertops and backsplashes.
Preparing Your Cabinets
Start by removing all cabinet hardware and doors to guarantee an even staining process. This step ensures you can access every nook and cranny, reducing the risk of missed spots and uneven stain application. Once disassembled, clean the surfaces thoroughly using a mixture of denatured alcohol and water. This solution effectively removes dirt, grease, and any residues that might interfere with the staining process.
| Task | Tools Needed | Purpose |
|---|---|---|
| Remove hardware | Screwdriver, pliers | Facilitate even stain coverage |
| Clean surfaces | Denatured alcohol, water | Eliminate dirt and grease |
| Dry cabinets | Clean cloths | Prevent uneven stain application |
| Sand cabinets | Fine-grit sandpaper | Prepare wood grain for stain |
| Condition wood | High-quality conditioner | Achieve smooth, consistent finish |
After cleaning, ensure the cabinets are completely dry. Moisture can cause blotchy stain application and potential water damage. Next, lightly sand the cabinets with fine-grit sandpaper. Sanding opens up the wood grain, allowing it to absorb the stain more effectively. Finally, apply a high-quality wood conditioner. Wood conditioning is essential for achieving a uniform finish, especially with lighter stains, as it preps the wood to accept the stain evenly. By following these steps meticulously, you'll set the stage for a flawless stain application.
Applying the Stain
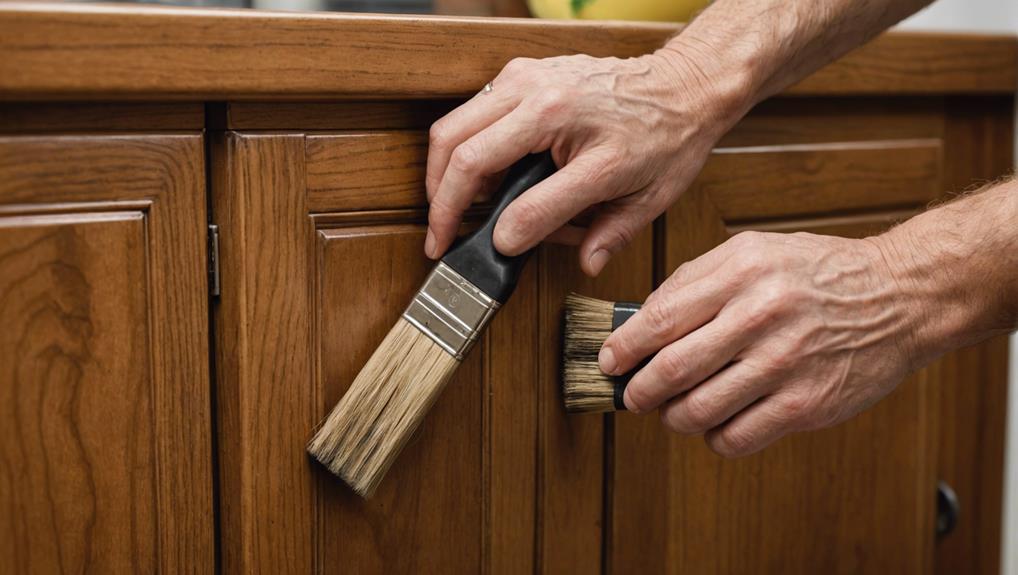
Stir the light stain thoroughly to guarantee even color distribution before you begin applying it to your cabinets. Use a high-quality brush to make sure a smooth and even application.
Dip the brush into the stain, and apply it generously but in a thin layer, allowing the wood grain to show through. The goal is to achieve best stain penetration without oversaturating the wood.
After applying the stain, immediately wipe off any excess with a clean cloth to maintain a consistent layer thickness. Excess removal is important to prevent blotching and ensure a uniform appearance.
Work quickly but carefully, as the stain can start to set within minutes. Allow the first layer to dry completely, following the manufacturer's recommended drying time. This step is essential for building a durable and beautiful finish.
Once the initial layer is dry, you can decide if additional layers are necessary to achieve the desired depth of color. Remember to stir the stain thoroughly before applying subsequent layers to maintain even color distribution.
Sealing the Finish
Sealing the finish on your light-stained kitchen cabinets is crucial for protecting the wood and enhancing its durability. A polyurethane sealant is an excellent choice due to its strong protective properties. Begin by making sure the stain is completely dry. Apply the sealant with a high-quality brush, following the grain of the wood to avoid streaks.
| Step | Task | Tips |
|---|---|---|
| 1 | Preparation | Confirm stain is fully dry before application. |
| 2 | Sealant Application | Brush along the wood grain for a smooth finish. |
| 3 | Drying Time | Allow at least 24 hours for each coat to dry. |
The sealant not only enhances the aesthetic by providing a smooth, glossy appearance but also prevents moisture damage, scratches, and stains. Remember, proper sealing ensures the longevity of your light-stained cabinets.
There are different sealant types to ponder: water-based polyurethane dries faster and emits fewer fumes, while oil-based polyurethane offers a more durable finish. Be mindful of these options based on your specific needs. For maintenance tips, lightly sand between coats to ensure a smooth surface and always clean brushes thoroughly after use.
Caring for Your Cabinets
To maintain the pristine condition of your light-stained cabinets, regularly wipe them down with a mild soap and water solution to remove any dust and grease buildup. Avoid using harsh chemicals or abrasive cleaners, as they can damage the finish. Instead, opt for important cleaning tips that preserve the integrity of the stain.
One of the most effective maintenance strategies is to apply a protective sealant or topcoat every few years. This extra layer safeguards your cabinets against wear and tear, ensuring longevity. Don't forget to use felt pads on cabinet doors and drawers to prevent scratches and dents from daily use.
It's important to keep a vigilant eye on your cabinets for any signs of damage or wear. Promptly address issues like chips, scratches, or fading to prevent further deterioration. A quick touch-up with a matching stain can often remedy minor imperfections.
Frequently Asked Questions
How to Stain Kitchen Cabinets Lighter?
To stain kitchen cabinets lighter, start with thorough sanding preparation to remove existing finishes. Apply a wood conditioner for even absorption. Follow with stain application of a light-colored stain, then seal with a clear topcoat.
How Do You Stain Cabinets Like a Professional?
To stain cabinets like a professional, start by prepping surfaces meticulously. Use high-quality staining tools like brushes or cloths. Apply thin, even coats, wiping excess immediately. Finish with a protective topcoat for durability and a flawless look.
What Color Stain Is Best for Kitchen Cabinets?
When selecting a stain color for kitchen cabinets, consider color psychology and wood type. Light stains like blonde or honey oak work well. They enhance natural wood grain, brighten the space, and create a warm, inviting atmosphere.
How Do You Make Light Brown Cabinets Look Good?
To make light brown cabinets look good, choose the right lighting choices and hardware selection. Opt for warm lighting to enhance the wood's natural tones, and select modern, sleek hardware to add a polished, contemporary touch.
Conclusion
By selecting the right stain, properly preparing your cabinets, applying the stain with care, and sealing the finish, you can achieve a perfect light stain on your kitchen cabinets.
Remember, consistent maintenance is key. Regularly dust and clean your cabinets to preserve their beauty and longevity.
With these steps, your cabinets won't only look stunning but will also withstand the test of time, showcasing your craftsmanship and attention to detail.


Leave a Reply