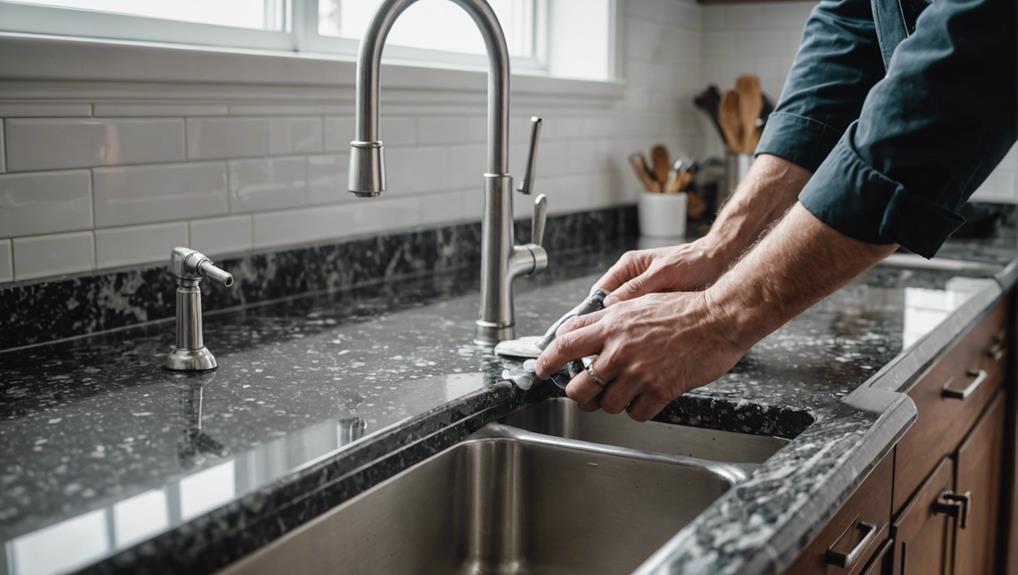
Seal Your Kitchen Sink to Granite in 3 Easy Steps
Sealing your kitchen sink to granite is easier than you think. First, clean and prep the sink using mild detergent and warm water. Remove old sealant with a scraper, then wipe with alcohol for a vital surface. Next, apply a silicone sealant cut at a 45-degree angle. Choose a color matching your granite and apply a generous bead along the sink edge. Finally, smooth the sealant with a steady hand or tool, focusing on corners and edges. Wipe away excess for a professional finish. Taking these steps guarantees a durable, neat seal. Learn more to master this simple yet important task.
Key Takeaways
- Thoroughly clean and dry the sink area, removing any existing sealant residue.
- Cut the silicone sealant tube at a 45-degree angle for precise application.
- Apply a generous bead of silicone sealant evenly along the sink edge.
- Smooth the silicone sealant with a tool or finger for a professional finish.
- Allow the silicone sealant to dry completely for a durable bond.
Clean and Prep the Sink
To guarantee a strong bond, start by thoroughly cleaning the sink with a mild detergent and warm water. This initial step guarantees that any surface dirt, grease, or grime is removed.
Next, employ an effective drying technique; use a clean, dry cloth to wipe the sink until it’s completely free of moisture. Any residual water can compromise the adhesion of the sealant.
Once the sink is dry, it’s time to tackle any old sealant. Scraper usage is important at this stage. Carefully use a scraper or a razor blade to remove any existing sealant residue or build-up. This ensures a clean surface, which is essential for the new sealant to adhere properly.
Following this, take an alcohol wipe to thoroughly clean the entire sink area. The alcohol wipe will remove any remaining grease or residue that the detergent might’ve missed, ensuring ideal surface preparation.
Apply Silicone Sealant
Begin by cutting the tip of the silicone sealant tube at a 45-degree angle to ensure a controlled and precise application. This initial step is important for ensuring a neat seal around your under-mount sink.
Select a silicone sealant that matches your granite countertop; silicone color options are plentiful, allowing you to choose a shade that blends seamlessly with your kitchen design.
Once you’ve prepared the tube, apply a generous bead of silicone sealant along the edge where the sink meets the granite. Make sure to distribute the sealant evenly to prevent any gaps that could lead to water seepage. Maintaining a steady hand is crucial for an even application, ensuring that the seal is both secure and aesthetically pleasing.
Keep in mind the drying time considerations for silicone sealant. Depending on the product you choose, it may require several hours to a full day to cure completely. Be sure to follow the manufacturer’s instructions to achieve the best results.
Proper drying time is important for the silicone to form a durable bond that protects your countertop from potential damage over time.
Smooth and Finish
With a steady hand, smooth the silicone sealant using your finger or a dedicated smoothing tool to achieve a professional and clean finish. Start by pressing gently on the sealant and glide along the edge of the sink. This guarantees an even sealant application, vital for both aesthetics and functionality.
Focus particularly on the corners and edges. These areas are prone to gaps and uneven sealant application, which can compromise the seal’s integrity. Use a smoothing tool or your finger to press the sealant firmly into these areas, making sure there are no voids.
A well-executed finishing technique is key to a professional sealant appearance and effective water seepage prevention.
As you smooth the sealant, periodically wipe away any excess with a clean cloth. This helps maintain a neat line and prevents the sealant from spreading unnecessarily onto the granite or sink surface. Properly finishing the sealant not only enhances the overall appearance but also extends the longevity of the seal.
Frequently Asked Questions
How to Seal a Kitchen Sink to Granite?
To seal a kitchen sink to granite, start by cleaning the surface thoroughly. Then, apply a silicone application around the sink’s perimeter. This prevents water damage and mold growth, ensuring the countertop’s longevity and durability.
How to Fill the Gap Between a Kitchen Sink and Granite?
To fill the gap between a kitchen sink and granite, measure the gap precisely. Apply a high-quality silicone sealant along the gap. Guarantee even silicone application to create a waterproof barrier, preventing moisture damage.
How to Attach a Kitchen Sink to a Granite Countertop?
To attach a kitchen sink to a granite countertop, align the sink types properly, use appropriate installation tools, apply a thick silicone bead around the edge, press firmly, and let it cure. Guarantee watertight sealing for durability.
How Do You Bond a Sink to a Granite Worktop?
You’ll need proper tools and high-quality sealant types. Apply generous silicone around the sink perimeter, press firmly onto the granite, and wipe excess. Allow it to dry completely for a secure, professional bond.
Conclusion
By following these three easy steps, you’ve successfully sealed your kitchen sink to the granite countertop. Cleaning and prepping the sink establishes a solid foundation, while applying the silicone sealant creates a waterproof barrier.
Smoothing and finishing the sealant gives you a professional look. With these straightforward instructions, your sink is now secure, leak-free, and visually appealing. You’ve enhanced both the functionality and aesthetic of your kitchen with just a little effort.


Leave a Reply