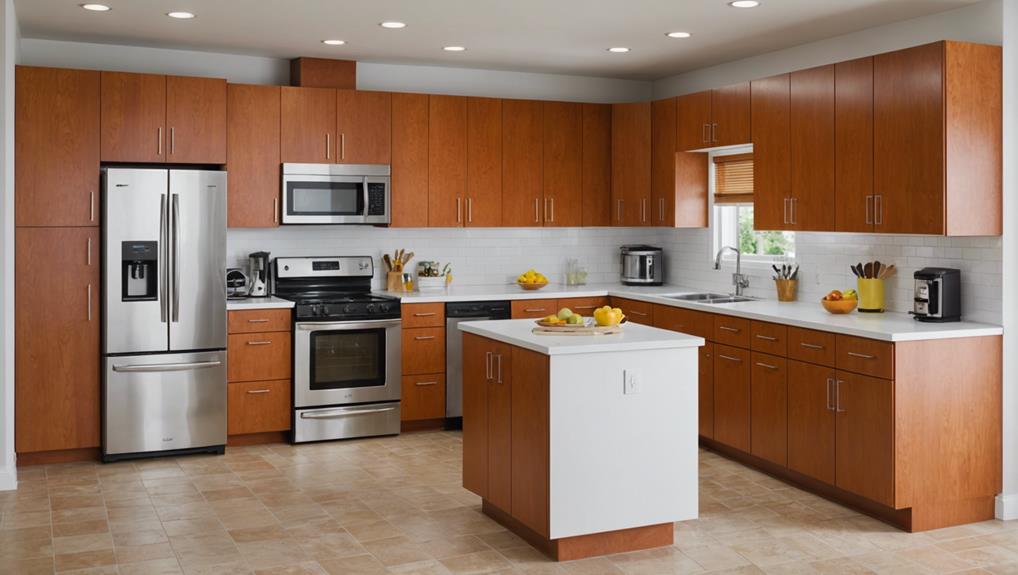
7 Steps to Painting 1970s Kitchen Cabinets for a Modern Look
Transforming your 1970s kitchen cabinets into a sleek, modern look involves a systematic approach. Begin by removing the doors and hardware, labeling each piece for easy reassembly and upgrading to contemporary finishes. Thoroughly clean and sand the cabinets to achieve a smooth surface, then fill any dents or holes with wood filler. Apply a high-quality primer, ensuring even coverage. Choose modern colors and use precise brush techniques for a flawless application. Allow sufficient drying time between coats and control humidity levels. Finally, reassemble the cabinets with updated hardware. Following these expert steps will guide you to a stunning kitchen transformation.
Key Takeaways
- Thoroughly clean and sand cabinets to ensure a smooth painting surface.
- Apply wood filler to dents and holes, then blend filled areas with the surrounding surface.
- Use a high-quality primer specifically designed for wood surfaces before painting.
- Choose a modern color palette that complements your kitchen aesthetic and test colors beforehand.
- Allow sufficient drying time between coats and ensure consistent handle placement when reassembling.
Remove Doors and Hardware
To begin the transformation of your 1970s kitchen cabinets, start by carefully removing the doors and hardware to guarantee a smooth and professional finish. This foundational step is important for achieving an even paint application across all cabinet surfaces, preventing unsightly paint buildup on hinges and handles.
First, focus on door removal. Use a screwdriver or drill to unfasten the screws securing the hinges. Carefully label each door and its corresponding location for streamlined reassembly. As you detach the doors, pay attention to hinge adjustments, noting their positions for easy reattachment later.
Next, tackle the hardware finishes. Remove handles, knobs, and other hardware elements, placing them in labeled bags to maintain cabinet organization. This not only simplifies reinstallation but also allows you the option to upgrade to modern hardware finishes, such as brushed nickel or matte black, which can greatly enhance the cabinet's updated look.
Clean and Sand Cabinets
Thorough preparation is essential, starting with meticulously cleaning the cabinets using a high-quality degreaser to eliminate the layers of grime and grease accumulated over decades. This step is vital for guaranteeing that the paint adheres properly and provides a smooth, professional finish.
Once the cabinets are clean, the next phase involves sanding. Using 80-100 grit sandpaper, sand the cabinet doors, drawers, and frames to create an ideal surface for paint adhesion. This step requires careful attention to detail, especially around corners and edges, to prevent future peeling or chipping of the paint.
Here are the detailed steps to follow:
- Cleaning: Use a high-quality degreaser to thoroughly clean all surfaces, ensuring the removal of all built-up grime.
- Sanding: Utilize 80-100 grit sandpaper to sand the entire surface, focusing on creating an even texture.
- Inspection: After sanding, inspect all surfaces for smoothness and readiness for painting.
Understanding the time commitment is vital, as these steps can be labor-intensive. While homeowners can undertake this project, seeking professional help can ensure a more efficient and flawless outcome. Considering cost implications, investing in meticulous preparation can prevent future touch-ups and extend the life of your modernized kitchen cabinets.
Properly preparing the surface is fundamental to achieving your desired color options and overall aesthetic.
Fill Dents and Holes
After meticulously sanding the surfaces, the next step involves addressing any dents or holes present in the 1970s kitchen cabinets to guarantee a flawless and professional finish. Proper surface preparation is essential for achieving a modern look in cabinet restoration. Begin by applying wood filler to any imperfections using a putty knife. Make sure the filler is level with the cabinet surface to avoid any noticeable bumps or indentations later.
Allow the wood filler adequate time to dry, as per the manufacturer's instructions, before proceeding to the next phase. Once dried, employ fine-grit sandpaper to seamlessly blend the filled areas with the surrounding surface. This step is crucial for ensuring a smooth, even finish when painting. Mastering sanding techniques at this stage will greatly enhance the overall appearance of the cabinets.
Using wood filler and sanding techniques properly ensures that the cabinets are impeccably restored, ready for the next steps in the painting process. This attention to detail in surface preparation is what transforms dated 1970s kitchen cabinets into stylish, modern focal points.
| Step | Tools Needed | Key Actions |
|---|---|---|
| Apply Filler | Putty Knife | Fill dents and holes with wood filler |
| Dry Time | None | Allow filler to dry according to instructions |
| Initial Sand | Fine-Grit Sandpaper | Sand filled areas for a smooth surface |
| Inspect | Visual Check | Ensure filled areas are level with surface |
| Final Sand | Fine-Grit Sandpaper | Blend filled zones seamlessly |
Taking the time to fill and sand dents and holes will result in a modern and refreshed look for the 1970s kitchen cabinets.
Prime the Cabinets
To achieve a flawless and durable finish, selecting a high-quality primer designed for wood surfaces is essential.
Thoroughly clean the cabinets to remove any grease, grime, or dust, ensuring ideal primer adhesion.
This preparatory step not only seals the surface but also provides a uniform base that enhances both the appearance and longevity of your paint job.
Choose Appropriate Primer
Selecting a high-quality primer tailored to the specific material of your 1970s kitchen cabinets—whether wood or laminate—is essential for achieving a durable and professional finish. Primer selection is the cornerstone of surface preparation, guaranteeing the paint adheres seamlessly and provides a lasting, flawless look. The right primer will not only promote paint adhesion but also create a foundation for professional finishes.
When choosing a primer, consider the following essential factors:
- Material Compatibility: Make sure the primer is specifically designed for the material of your cabinets. Wood primers differ greatly from those formulated for laminate, impacting the longevity and appearance of the final paint job.
- Adhesion Qualities: Opt for a primer that boasts excellent adhesion properties. This is vital for preventing peeling, chipping, and ensuring the paint bonds effectively to the cabinet surface.
- Stain Blocking and Imperfection Coverage: Select a primer capable of blocking stains and covering imperfections. This will provide a smooth, uniform base, masking any flaws and enhancing the overall aesthetic of your modernized kitchen.
Investing time in proper primer selection and application will profoundly impact the durability and visual appeal of your painted cabinets, setting the stage for a transformative kitchen makeover.
Ensure Surface Cleanliness
Achieving a flawless finish on your 1970s kitchen cabinets begins with meticulously ensuring surface cleanliness, as any lingering grease, dirt, or grime can compromise the integrity of the primer and paint adhesion. Start by employing effective cleaning techniques, such as using a mixture of warm water and mild dish soap to remove surface dirt.
For more stubborn grease and grime, specialized degreasing methods involving a solution of trisodium phosphate (TSP) or a dedicated degreaser can be highly effective.
Surface preparation is paramount; after cleaning, thoroughly rinse and dry the cabinets. Inspect for any stains and apply suitable stain removal products to make sure no discoloration seeps through the primer. Sand the surfaces lightly to create a slightly rough texture, enhancing the primer's grip.
Applying a high-quality primer is essential in covering imperfections and creating a uniform base. This step is critical for long-lasting results and a professional finish.
Paint the Cabinets
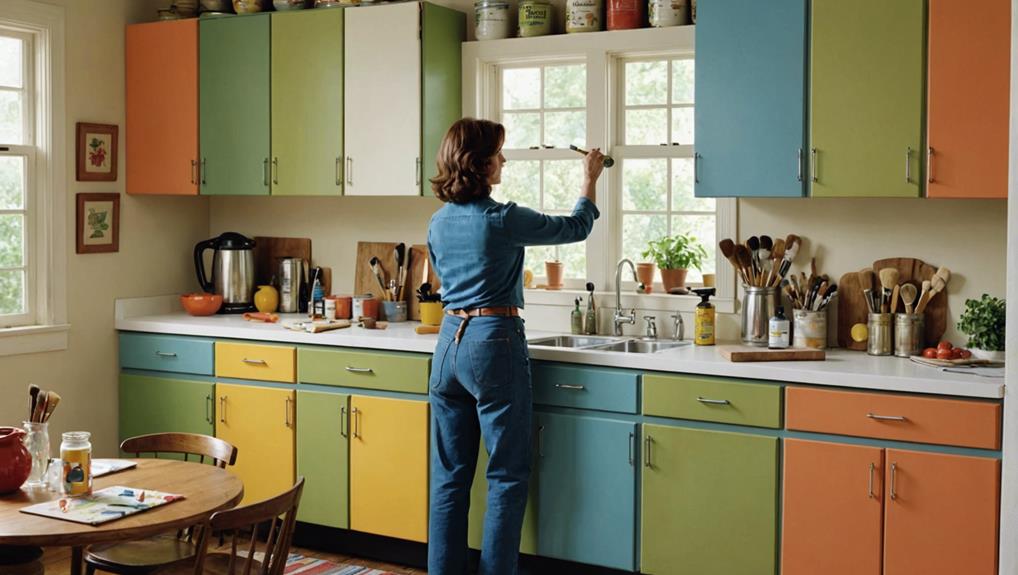
Start by selecting a high-quality paint specifically formulated for kitchen cabinets to guarantee a durable and professional finish that can withstand daily wear and tear. When choosing your paint, consider a modern color palette that can effectively transform your 1970s kitchen cabinets into a fresh, contemporary look. Opt for shades like soft gray, crisp white, or deep navy to bring a chic, updated feel to your space.
To achieve a flawless finish, utilize the right brush techniques. Apply the paint using a high-quality brush or roller, following the direction of the wood grain. This method ensures an even application and a polished result.
Here are steps to guide you through the painting process:
- Color selection: Pick a modern, trending color that complements your kitchen's aesthetic.
- Brush techniques: Use smooth, even strokes with a quality brush, ensuring you follow the wood grain for a sophisticated finish.
- Drying time: Allow sufficient drying time between coats to avoid smudges and achieve a lasting finish.
Apply multiple coats of paint for full coverage, and remember to inspect each layer for any imperfections. Pay attention to the drying time between coats to prevent smudging and achieve a professional look.
Allow Paint to Dry
Ensuring adequate drying time for your painted kitchen cabinets is essential to achieving a durable, flawless finish that will stand the test of time. Proper drying time allows the paint to cure thoroughly, preventing smudges and imperfections.
The drying time can vary greatly depending on the type of paint used and the thickness of the application. It is important to adhere to the paint manufacturer's recommendations for the best drying time before handling the cabinets.
Environmental factors such as temperature and humidity levels play a pivotal role in the paint curing process. Ideal temperature requirements generally fall between 50°F and 85°F, while low humidity levels support faster drying. Conversely, high humidity can prolong drying time, potentially leading to a tacky or uneven finish.
Utilizing fans or dehumidifiers can help control humidity levels and expedite the drying process. Rushing through this critical stage can compromise your cabinets' modern, sleek look by causing premature wear or an uneven surface.
To ensure the best results, allow each coat of paint to dry completely before applying additional layers or reassembling the cabinets. Patience during this phase will reward you with a polished, modern kitchen transformation that aligns with contemporary design trends.
Reassemble the Cabinets
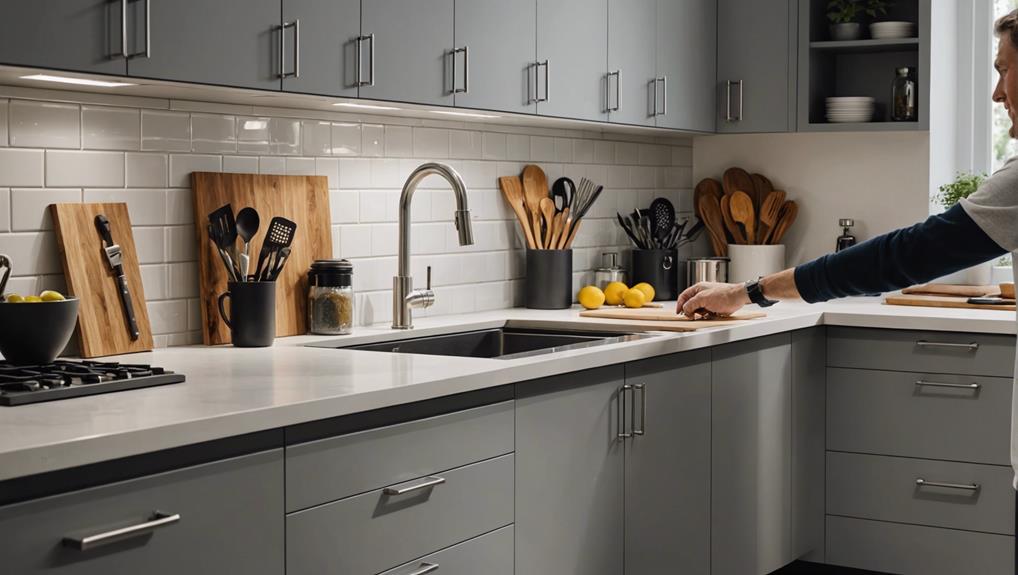
As the paint dries to perfection, the next step involves reassembling the kitchen cabinets with precision.
Begin by securing the cabinet doors with the correct hinges and screws, ensuring they are perfectly aligned for a seamless closure.
Align Cabinet Doors Properly
To achieve a professional and aesthetically pleasing finish, meticulously align each cabinet door using a level to guarantee they are perfectly straight and evenly spaced. Begin by examining each hinge closely; adjust hinges as necessary to ensure a flawless fit. Misaligned doors can detract from the modern look you aim to achieve, so it's important to invest time in this step.
Next, check alignment by verifying that each door lines up precisely with the adjacent doors and cabinet frames. This will not only enhance the visual appeal but also make sure that the doors function properly. Uneven or crooked doors can result in difficulty opening and closing, which can be frustrating in daily use.
Follow these steps to ensure precision:
- Adjust Hinges: Carefully adjust each hinge to achieve the desired alignment. Loose or worn hinges should be replaced to guarantee stability.
- Check Alignment: Use a level to verify that cabinet doors are straight and evenly spaced. Fine-tune the hinges as needed.
- Secure Screws: Tighten all screws firmly to prevent future misalignment, making sure that each door remains in the correct position over time.
Attach Handles and Knobs
Having meticulously aligned the cabinet doors, the next step is to reassemble the cabinets by attaching the new handles and knobs, making sure they are both functional and aesthetically pleasing.
Selecting the right hardware is essential; it should complement the newly painted cabinet color and improve the overall aesthetic of your kitchen. Opt for modern finishes such as matte black, brushed nickel, or polished brass, which are currently trending and will provide a sophisticated contrast to the revamped cabinets.
Begin the hardware installation by carefully measuring and marking the desired locations for the handles and knobs. Consistency in handle placement is key for a cohesive look and excellent functionality. Typically, handles should be placed horizontally on drawers and vertically on doors, but consider your kitchen's unique layout and usage patterns when making these decisions.
Using a screwdriver, attach the handles and knobs securely, making sure they are firmly fastened but not over-tightened to avoid damage to the freshly painted surface.
This meticulous attention to detail not only ensures the hardware stays in place but also adds the perfect finishing touch to your modernized 1970s kitchen cabinets, seamlessly blending contemporary style with functional efficiency.
Secure Hinges and Screws
With meticulous precision, make sure all hinges and screws are securely fastened to guarantee the cabinet doors align perfectly, providing both aesthetic appeal and functional reliability. Start by inspecting each hinge for any signs of wear or damage. Proper hinge maintenance is essential to ensure long-term stability and smooth operation. If you encounter any loose or damaged components, proceed with screw replacement to uphold the integrity of the reassembled cabinets.
Next, carefully align the cabinet doors with their respective hinges. Ensure they open and close without obstruction, reflecting the modern elegance you aim to achieve. Use a screwdriver to fine-tune the tension on the hinges, adjusting as necessary for a seamless fit. This step is crucial for achieving both a polished look and flawless functionality.
After securing the hinges and screws, verify the overall stability and performance of the doors. Make any minor adjustments needed before finalizing the reassembly process. To ensure a smooth and efficient reassembly, follow these steps:
- Inspect and replace: Check for damaged hinges and replace screws if needed.
- Align correctly: Ensure doors are perfectly aligned with the hinges.
- Adjust tension: Use a screwdriver to adjust hinge tension for an excellent fit.
Frequently Asked Questions
How to Paint Old 70S Kitchen Cabinets?
To paint old 1970s kitchen cabinets, choose modern colors to refresh the look. Sand and clean thoroughly, apply a high-quality primer, and use multiple coats of durable paint finishes. Conclude with a clear topcoat for protection.
How Do You Make Old Fashioned Kitchen Cabinets Look Modern?
To modernize old-fashioned kitchen cabinets, incorporate hardware upgrades and contemporary lighting fixtures. Pair these enhancements with sleek, high-gloss finishes and consider glass inserts for a visually appealing, trend-aware transformation that exudes sophistication and modernity.
How Do You Prepare Old Kitchen Cabinets for Painting?
To prepare old kitchen cabinets for painting, start with thorough cabinet cleaning using a degreaser. Follow by surface sanding with fine-grit sandpaper to guarantee a smooth base for primer and paint, achieving a professional, modern finish.
How Do You Update Old Painted Cabinets?
To update old painted cabinets, consider a hardware upgrade to modern handles and knobs. Choose a trending color selection like soft grays or deep blues. This combination revitalizes the space, offering a contemporary and visually appealing finish.
Conclusion
Upon completing the outlined steps, a transformative modern aesthetic is achieved for 1970s kitchen cabinets.
Meticulous removal of doors and hardware, thorough cleaning and sanding, precise filling of dents and holes, and application of primer lay the groundwork.
Thoughtful painting, followed by adequate drying time, guarantees a professional finish.
Reassembling the cabinets finalizes the process.
This method not only revitalizes dated cabinetry but also aligns with contemporary design trends, enhancing the overall visual appeal of the kitchen space.
Leave a Reply