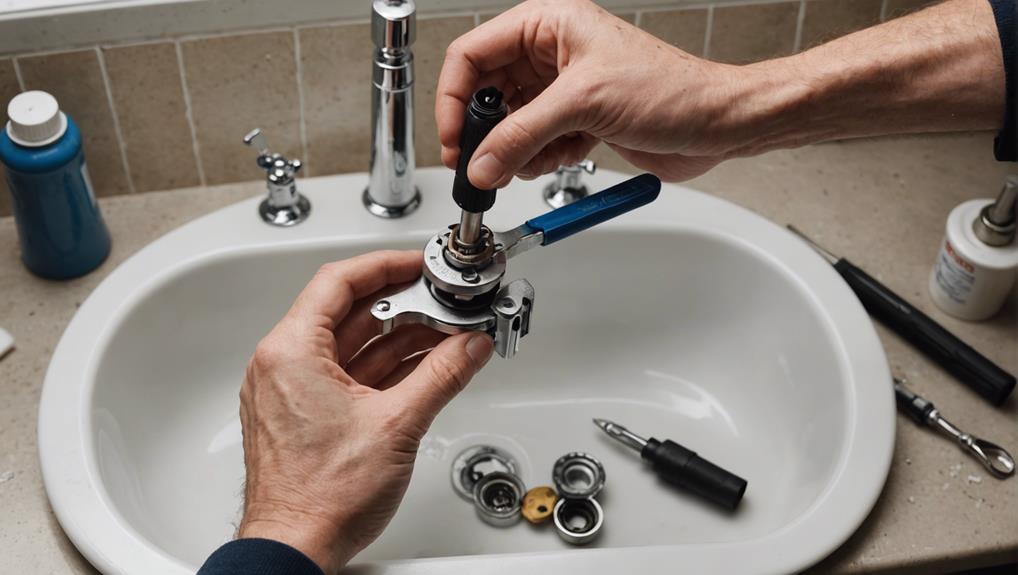
Fixing a Stuck Bathroom Sink Drain Stopper
Fixing a stuck bathroom sink drain stopper requires identifying its type—push button, pop-up, or lift rod. Common issues include debris accumulation, rust, or misalignment. Tools needed include pliers, screwdrivers, wire brushes, and silicone spray. Begin by jiggling the stopper while pulling upwards, removing any debris, and applying lubricant. For more extensive repairs, check the pivot rod or removal of the stopper assembly. Regular cleaning and inspections are vital in preventing future problems. Remember to turn off your water supply for safety. Discover more advanced techniques and troubleshooting methods to ensure smooth operation and longevity of your sink stopper.
Key Takeaways
- Use a silicone suction cup to dislodge the stuck stopper.
- Apply WD-40 to the stopper mechanism to reduce friction.
- Remove and clean the stopper to clear accumulated debris.
- Inspect and adjust the pivot rod or linkage assembly under the sink.
- Regularly maintain and lubricate the stopper mechanism to prevent future issues.
Understanding Sink Stoppers
Sink stoppers, which are pivotal for controlling water retention in bathroom sinks, come in various types such as push button, pop-up, and lift rod stoppers. Each type has distinct mechanical designs and installation requirements, making it essential to understand their differences before proceeding with installation.
Push button stoppers are popular for their straightforward operation; they require a simple push to open or close the drain. Installation typically involves inserting the stopper into the drain and securing it with a screw or adhesive seal.
Pop-up stoppers, often found in older sinks, operate via a lever mechanism connected to a linkage assembly beneath the sink. Proper alignment of the lever and linkage is critical during installation to ensure smooth operation.
Lift rod stoppers, which also rely on a mechanical linkage, use a rod that lifts or lowers the stopper when operated. During installation, make sure that the rod and pivot arm are correctly aligned and that the stopper moves freely without resistance.
For all types, it is imperative to use plumber's putty or a similar sealant around the drain flange to prevent leaks. Careful attention to these installation tips can enhance the functionality and longevity of sink stoppers.
Common Causes of Stuck Stoppers
Common causes of stuck stoppers include the accumulation of debris, soap scum, and hair within the drain, which can inhibit the movement of the stopper mechanism. This buildup not only obstructs the stopper but can also contribute to unpleasant odors and potential water drainage issues.
Rust or corrosion within the stopper mechanism, often due to prolonged exposure to moisture, can also cause it to become immobile. This is particularly prevalent in older installations where metal components may have deteriorated over time.
Improper installation is another significant factor. If the stopper is not correctly aligned or if parts are not securely fastened, it can lead to functional issues. Similarly, old or worn-out parts, such as gaskets and seals, can degrade and cause the stopper to malfunction. Foreign objects, like jewelry or small bathroom items, can lodge in the drain and prevent the stopper from moving freely.
Preventing blockages through regular maintenance is important in avoiding these issues. Effective troubleshooting techniques involve inspecting the stopper mechanism for visible debris, checking for signs of rust or corrosion, and ensuring all components are properly aligned and intact.
Regular cleaning and timely replacement of worn parts can greatly extend the lifespan and functionality of the stopper.
Tools and Materials Needed
To effectively address a stuck bathroom sink drain stopper, essential tools are required. These tools include pliers, a screwdriver, a wire brush, and silicone spray. They assist in dismantling and cleaning the stopper components. Lubrication guarantees smooth operation.
Having the necessary replacement parts on hand can facilitate a thorough and efficient repair process.
Essential Repair Tools
A successful repair of a stuck bathroom sink drain stopper necessitates the use of specific tools and materials. These include pliers, a screwdriver, steel wool or a wire brush, silicone spray or WD40, and mold cleaner. Proper tool organization is vital for ensuring repair efficiency and preventing unnecessary delays. Each tool and material serves a distinct purpose in disassembling, cleaning, and lubricating the components of the sink drain stopper to restore functionality.
The following items are essential:
- Pliers: Useful for gripping and maneuvering various parts of the drain stopper assembly, especially in hard-to-reach areas.
- Screwdriver: Required to remove and reattach screws that secure the drain stopper mechanism in place.
- Steel Wool or Wire Brush: Effective for cleaning off rust, grime, and mineral deposits from the drain stopper components.
- Silicone Spray or WD40: These lubricants help in easing the movement of parts and preventing future sticking.
Incorporating these tools in your repair kit and maintaining good tool organization will greatly enhance repair efficiency.
Regular use of these tools not only facilitates effective cleaning and lubrication but also aids in the seamless reassembly of the drain stopper, thereby preventing future issues.
Necessary Replacement Parts
Having the proper replacement parts, such as a horizontal rod, lift rod strap, and clip, is crucial for effectively repairing a stuck bathroom sink drain stopper. The selection of these replacement parts should be precise to guarantee compatibility with your specific sink model. The horizontal rod is responsible for the vertical movement of the stopper, while the lift rod strap and clip secure the rod in place, enabling smooth operation.
In addition to these parts, essential tools for the repair include pliers and a flashlight. Pliers are necessary for gripping and manipulating components, whereas a flashlight enhances visibility in the often dimly-lit area under the sink. Proper replacement parts selection ensures that the sink stopper mechanism works as intended without unnecessary complications.
Below is a summary of the required parts and tools:
| Part/Tool | Description | Installation Tips |
|---|---|---|
| Horizontal Rod | Controls vertical movement of the sink stopper | Confirm correct length and fit for your sink model |
| Lift Rod Strap | Connects lift rod to the horizontal rod | Verify material and compatibility |
| Clip | Secures horizontal rod to lift rod strap | Check for secure attachment and proper alignment |
| Pliers & Flashlight | Tools for manipulation and visibility | Use pliers for grip; flashlight for visibility |
Having these parts and tools on hand can make the repair process smoother and more efficient, ultimately restoring the functionality of your bathroom sink.
Safety Precautions
To guarantee safety during the repair of a stuck bathroom sink drain stopper involves wearing protective gloves to prevent direct contact with dirt, grime, or potentially harmful cleaning chemicals. Proper safety gear is vital to minimize the risk of injury and exposure to hazardous substances. Additionally, maintaining a well-organized and adequately illuminated work environment is essential for efficient and safe operation.
To aid in a safe and effective repair process, consider the following precautions:
- Proper Lighting: Make sure the work area is well-lit to avoid accidents and to allow for precise handling of tools and parts.
- Water Supply: Turn off the sink's water supply to prevent any unexpected water flow while working on the drain stopper.
- Tool Organization: Keep all necessary tools within reach and organized to avoid misplacement and reduce the risk of accidental injury.
- Ventilation: Work in a well-ventilated area to avoid inhaling fumes from cleaning products and chemicals, ensuring a safer and more comfortable work environment.
Manual Removal Techniques
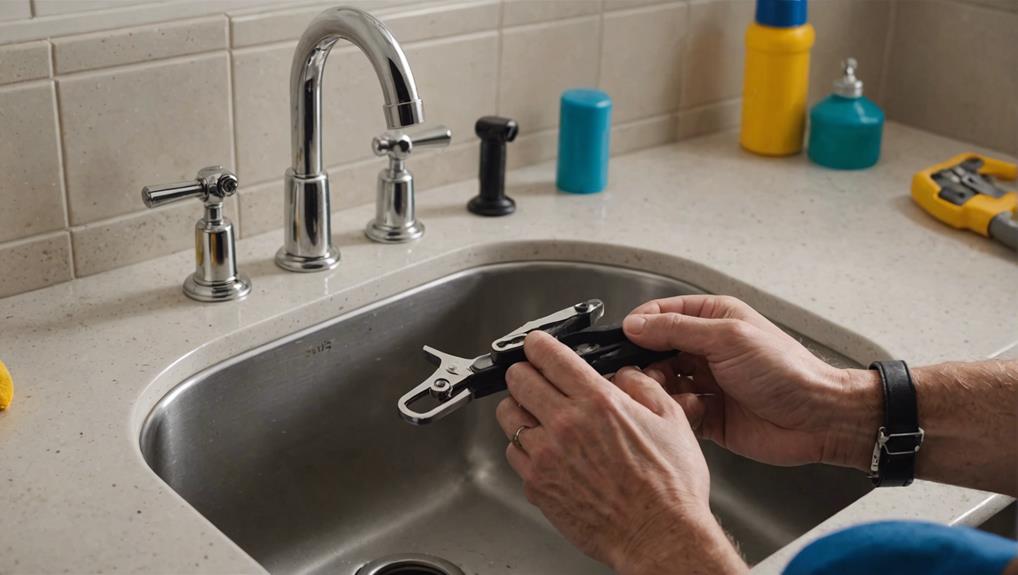
To effectively address a stuck bathroom sink drain stopper, begin by using a pair of pliers to unscrew and remove the stopper, making sure to use a firm yet gentle grip to avoid damaging the fixture. First, clear the area beneath the sink to facilitate easy access and manipulation of the drain stopper. This initial step is essential for implementing further troubleshooting strategies.
Once the stopper is exposed, apply lubrication methods such as silicone spray or penetrating oil around the stopper mechanism. These lubrication techniques can greatly ease the unscrewing process and reduce resistance caused by accumulated debris or corrosion. After applying the lubricant, allow it to sit for a few minutes to penetrate the threading and joints effectively.
If the stopper remains immovable, employ adjustment techniques. For example, slightly jiggling the stopper while pulling upwards can help dislodge it from its seated position. Regular maintenance practices such as periodic cleaning and lubrication can prevent future instances of stuck stoppers.
In cases where manual removal techniques prove ineffective, consider more advanced troubleshooting strategies or consult professional plumbing assistance. This ensures that the fixture is not inadvertently damaged, maintaining the integrity of the bathroom sink.
Using a Suction Cup
A silicone suction cup can be an effective tool for dislodging a stuck bathroom sink drain stopper by providing a strong upward pull without risking damage to the fixture. The silicone material ensures a firm grip on the drain stopper, allowing you to apply the necessary force to free it.
This method is not only efficient but also minimizes the risk of scratching or damaging the sink surface, which is particularly beneficial for delicate fixtures.
Using a silicone suction cup adheres to several best practices for maintenance and quick fixes:
- Suction Cup Benefits: Silicone suction cups are durable, flexible, and provide a secure grip, making them ideal for this task.
- Best Practices: Before applying, make sure the suction cup is clean and dry for optimal adhesion. Position it directly over the stopper and pull up firmly.
- Suction Cup Alternatives: While silicone suction cups are highly effective, rubber suction cups can serve as a substitute if silicone is unavailable.
- Maintenance Tips: Keep the suction cup in a dry, clean area when not in use to maintain its effectiveness for future needs.
Incorporating a silicone suction cup into your toolkit is a practical investment, offering a reliable solution for managing stuck sink drain stoppers.
Using a Plunger
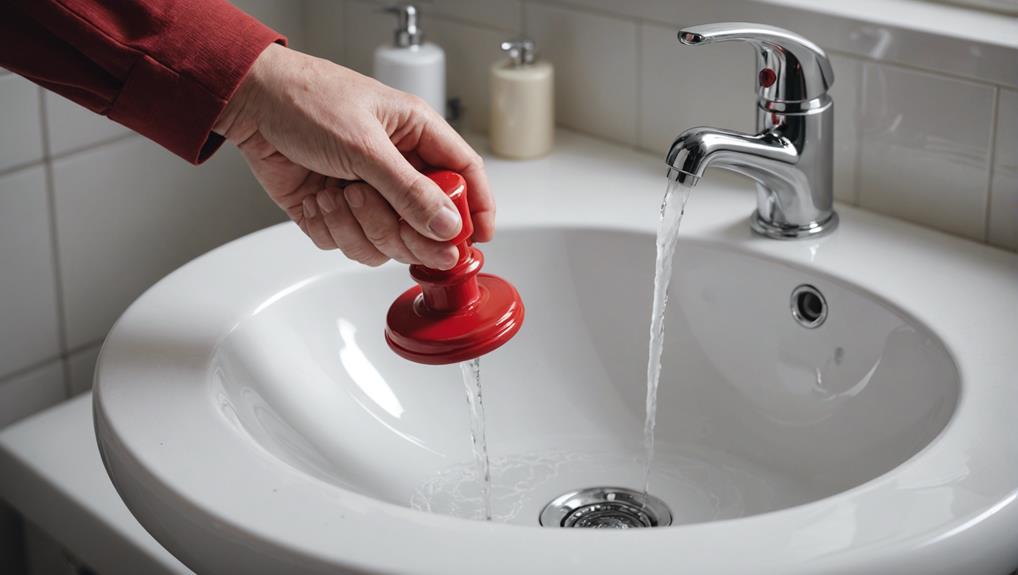
To effectively use a plunger for a stuck sink drain stopper, start by securing the overflow hole to guarantee maximum pressure is directed at the drain. Apply steady pressure to the plunger, maintaining a tight seal around the drain opening, and execute rhythmic push-and-pull motions.
Additionally, inspect the plunger and drain area for any debris that may be complicating the issue.
Seal the Overflow Hole
Make sure the overflow hole is tightly sealed with a wet cloth to maximize the plunger's effectiveness in creating a vacuum. This step is important for effective overflow prevention and guarantees that the air doesn't escape, thereby generating the necessary suction to dislodge the stuck sink drain stopper.
By sealing the overflow hole, you can enhance the plunger's performance, which is a cornerstone of successful repair strategies. Here are some practical troubleshooting tips for sealing the overflow hole effectively:
- Use a thick, wet cloth: A cloth that is both thick and wet provides a better seal, preventing air from escaping through the overflow hole.
- Ensure a tight fit: Press the cloth firmly into the overflow hole to avoid any gaps that could compromise the vacuum.
- Positioning: Cover the entire overflow hole and hold the cloth in place securely while plunging.
- Double-check: Once the cloth is in place, double-check for any air leaks around the edges to guarantee maximum suction.
For those considering plunger alternatives, this method of sealing the overflow hole is a fundamental step in most repair strategies, whether using a plunger or other tools. Proper sealing can enhance the efficiency of any chosen method, leading to quicker and more effective results.
Apply Steady Pressure
Position the plunger directly over the stuck sink drain stopper, guaranteeing an airtight seal to maximize the vacuum generated during the plunging process. This seal is crucial for achieving proper suction, which is a fundamental aspect of an effective plunging technique.
Begin by applying steady pressure to the plunger, pushing down firmly and then pulling up with controlled force. This pressure control is essential to create the necessary vacuum that helps dislodge the stubborn stopper.
Repetition is key in this plunger technique. Continue the plunging motion, maintaining a consistent rhythm of applying and releasing pressure. Each plunge should be executed with a deliberate and measured approach to ensure effective results.
It's important to keep the plunger's seal tight against the sink drain, as any air leakage can diminish the vacuum effect, reducing the overall efficiency of the process.
As you persist with this method, the combination of pressure control and proper suction will work to dislodge the stuck stopper. Patience and precision are crucial, and with continued effort, the plunger should eventually free the stopper, restoring normal functionality to your bathroom sink drain.
Check for Debris
When addressing a stuck bathroom sink drain stopper, it is crucial to first check for debris that may be causing the obstruction by using a plunger. This tool is highly effective for clearing clogs and facilitating blockage removal, guaranteeing the smooth operation of your sink.
To begin, make sure that the plunger is appropriately sized for your sink drain. Create a tight seal around the drain to maximize the suction force.
The following steps can guide you through the process:
- Confirm Water Coverage: Add enough water to the sink to cover the plunger's cup, enhancing the suction effect.
- Position the Plunger: Place the plunger directly over the drain, ensuring a tight seal around the edges.
- Vigorous Plunging: Plunge up and down vigorously, maintaining the seal to create pressure that dislodges obstructions such as hair or soap scum.
- Repeat as Necessary: If the initial attempt does not clear the blockage, repeat the plunging process several times to guarantee complete blockage removal.
Removing the Pivot Rod
Accessing the pivot rod begins with locating it under the sink where it connects to the stopper assembly. This rod is an important component, facilitating the vertical movement of the stopper. To remove it, first identify the retaining clip or nut securing the pivot rod to the drain pipe. Use an appropriate wrench or pliers to carefully unscrew and remove this nut, making sure not to lose any small parts.
Once the nut is removed, gently pull the pivot rod away from the drain pipe. Applying a light lubricant, such as silicone grease, can aid in smooth removal and later reinstallation. It is important to remember the exact configuration of the pivot rod and its connecting components for proper reassembly. Taking a photo can serve as a useful reference.
Incorporating troubleshooting techniques during this process can help identify any further issues, such as corrosion or misalignment, which could hinder the stopper's functionality. After removal, inspect the pivot rod for wear and apply preventive maintenance measures, such as cleaning and re-lubricating, to ensure longevity.
Cleaning the Stopper
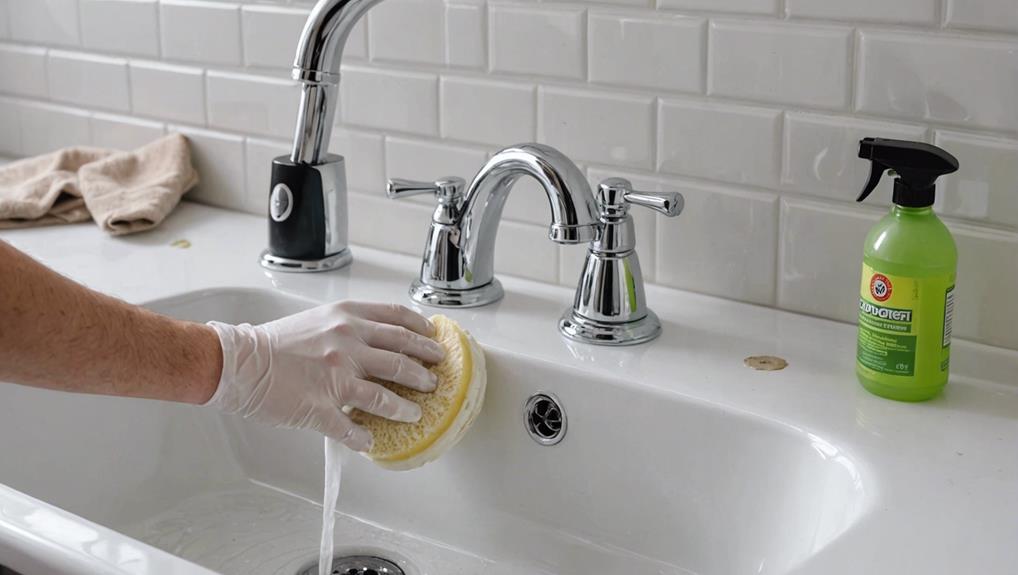
To begin the cleaning process, carefully remove the stopper from the drain assembly to allow for thorough maintenance and inspection. This step is important as it enables you to access all areas that require cleaning and ensures you can effectively remove any buildup or debris affecting the stopper's functionality.
For effective cleaning, follow these steps:
- Use hot water: Rinse the stopper under hot water to loosen any grime or soap scum clinging to its surface.
- Apply wire wool: Gently scrub the stopper with wire wool to remove stubborn deposits. This cleaning hack ensures a smoother stopper surface.
- Utilize mold cleaner: Spray a mold cleaner on the stopper, focusing on areas showing signs of mold or mildew. This is an essential sanitization tip to prevent bacterial growth.
- Lubricate with silicon spray: Once cleaned, apply a light coat of silicon spray to the stopper. This not only enhances smooth operation but also prolongs the stopper's lifespan.
Regular maintenance using these techniques will significantly improve the performance and longevity of your bathroom sink drain stopper. Proper sanitization and lubrication are key to preventing future issues and ensuring a hygienic and functional bathroom environment.
Reassembling the Stopper
Reassembling the stopper begins with correctly aligning the components to guarantee a secure and leak-free fit. Start by positioning the stopper into the drain opening, making sure it sits flush and moves freely.
Next, reinsert the pivot rod through the pivot hole of the stopper's linkage, taking care to match the angle and position it had before disassembly. This alignment importance cannot be overstated, as improper alignment can lead to leaks and hinder the stopper's functionality.
Once the pivot rod is in place, secure it by tightening the retaining nut. Exercise caution during this step; avoid over-tightening to prevent damaging the threads or deforming the components.
After securing the pivot rod, reattach the clevis strap to the lift rod, ensuring it is positioned at the same height as before. This ensures that the stopper will move smoothly when the lift rod is operated.
Preventing Future Sticking
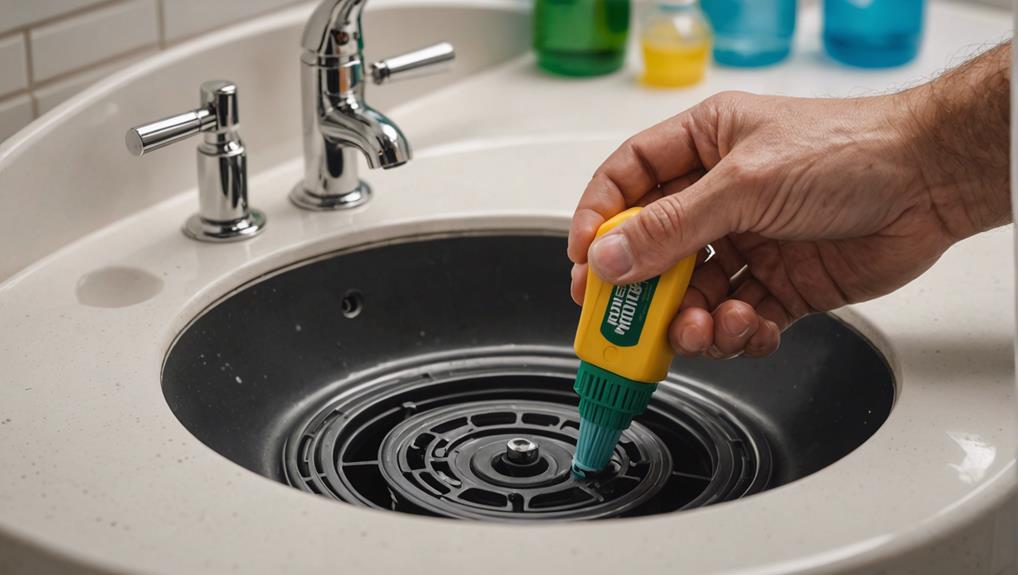
To prevent future sticking of the bathroom sink drain stopper, establishing a regular maintenance routine is crucial. This includes employing proper cleaning techniques to remove debris and using suitable lubrication to guarantee smooth operation.
Additionally, periodic adjustments of the stopper mechanism can optimize its performance and longevity.
Regular Maintenance Routine
Regular maintenance of your bathroom sink drain stopper involves periodic cleaning, inspection, and lubrication to prevent sticking and guarantee peak performance. Establishing a monthly maintenance routine is crucial to secure the longevity and functionality of the stopper.
Here are some key preventive measures, inspection techniques, and lubrication tips:
- Cleaning frequency: Clean the sink drain stopper regularly, ideally once a month, to prevent soap scum, hair, and debris buildup. This will lessen the risk of obstruction and ensure smooth operation.
- Preventive measures: Utilize a sink strainer to catch hair, food particles, and other debris before they reach the stopper mechanism. This simple step can greatly reduce the likelihood of the stopper becoming stuck.
- Inspection techniques: Periodically inspect the stopper mechanism for signs of wear, corrosion, or damage. Ensure all moving parts are free of debris and are functioning correctly. Pay special attention to the linkage and pivot rod, as these are common points of failure.
- Lubrication tips: Apply a silicone-based lubricant to the moving parts of the stopper mechanism. This includes the pivot rod and linkage. Lubrication should be performed after cleaning and inspection to maintain smooth and efficient operation.
Proper Cleaning Techniques
Ensuring the longevity and functionality of your bathroom sink drain stopper begins with meticulous cleaning techniques that focus on removing debris and preventing buildup. Regular cleaning is essential to prevent the accumulation of hair, soap scum, and other debris that can cause the stopper to stick. Employing a mold killer or cleaner is important to eradicate any mold or mildew that might be contributing to the issue.
Here is a practical cleaning guide:
| Step | Description | Frequency |
|---|---|---|
| Remove Stopper | Lift the stopper and remove any visible debris | Weekly |
| Clean Drain | Use a brush and mild cleaner to scrub the drain | Bi-weekly |
| Mold Removal | Apply mold killer to eliminate mold and mildew | Monthly |
| Inspect Parts | Check for wear and tear, and clean moving components | Monthly |
Avoid harsh chemicals that could corrode or damage the stopper components. Instead, use mild, non-abrasive cleaners that effectively remove grime without causing harm. Proper lubrication of the moving parts with a silicone-based lubricant ensures smooth operation and aids in preventing buildup. Implementing a consistent maintenance schedule for inspecting and cleaning the stopper will greatly reduce the likelihood of future sticking issues. By adhering to these techniques, you can maintain a fully functional and efficient bathroom sink stopper.
Lubrication and Adjustment
Proper lubrication and precise adjustment of the bathroom sink drain stopper mechanism are essential for maintaining its smooth operation and preventing future sticking issues. Regularly applying a suitable lubricant, such as WD-40 or silicone spray, to the moving parts of the stopper can greatly reduce friction and wear. Grease or oil can also provide long-lasting lubrication benefits, guaranteeing the stopper functions seamlessly over time.
Adjustment tips, such as fine-tuning the locating screw on the stopper, can further enhance its performance. This screw allows for precise calibration of the stopper's movement, ensuring it does not get stuck in either the open or closed position.
Implementing these maintenance strategies can prevent the need for expensive repairs or replacements.
Here are some practical repair techniques and steps to follow:
- Lubricate Regularly: Apply WD-40 or silicone spray to all moving parts of the stopper every few months.
- Adjust the Locating Screw: Fine-tune the screw to ensure smooth movement and prevent sticking.
- Check for Wear: Inspect the mechanism periodically for signs of wear and tear.
- Replace Damaged Parts: If any components are worn out, replace them promptly to maintain excellent functionality.
Signs You Need Professional Help
When persistent efforts to lift a stuck bathroom sink drain stopper prove futile, it may be a sign that professional intervention is necessary. Despite attempting various DIY repairs and home remedies, such as using pliers or applying lubrication, the stopper might remain immovable due to more complex underlying issues.
One primary indicator of needing expert help is slow or non-existent water drainage, signifying a potential blockage deep within the plumbing system. This condition often exceeds the remedial capabilities of standard household tools and techniques.
Additionally, visible damage to the stopper or adjacent components, such as cracks or warping, necessitates a professional assessment to prevent exacerbating the problem.
If you lack familiarity with plumbing tools and techniques, attempting to fix the issue could lead to inadvertent damage. Complex repairs often require specialized knowledge and equipment that only a trained plumber possesses.
Concerns about causing further harm by undertaking intricate repairs without proper guidance highlight the importance of seeking professional assistance. By engaging a qualified plumber, you guarantee the problem is addressed efficiently and effectively, preserving the integrity of your bathroom sink and avoiding costly future repairs.
Maintaining Your Sink Stopper
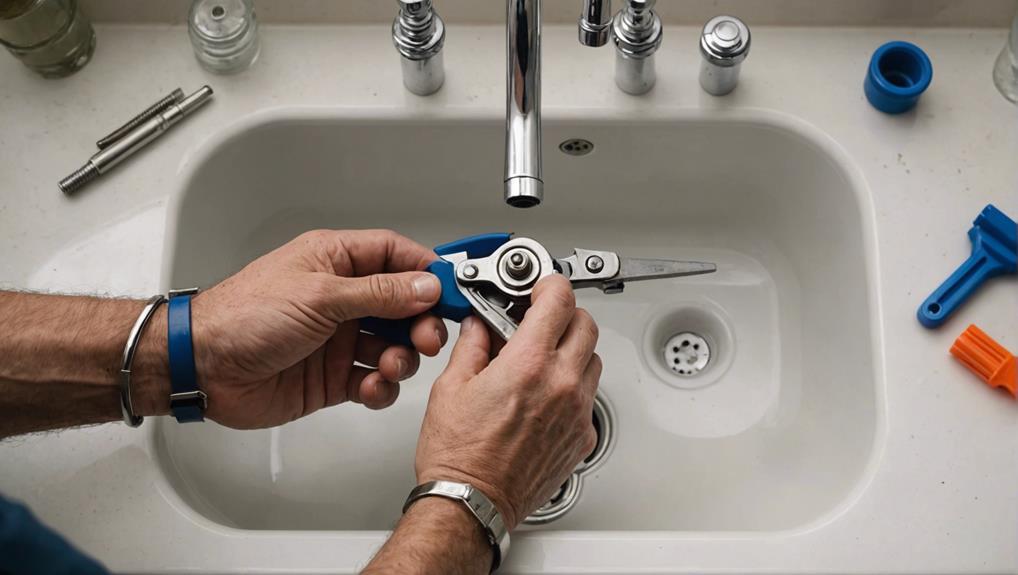
Regular maintenance of your sink stopper is essential to guarantee its peak functionality and longevity. A well-maintained sink stopper not only enhances the efficiency of your bathroom sink but also minimizes the need for costly repairs.
Here are some practical steps for effective DIY maintenance:
- Regular Cleaning: Routinely clean your sink stopper to prevent debris buildup. This can be done by removing the stopper and scrubbing it with a brush and mild detergent. Ensuring that the stopper is free of hair, soap scum, and other residues will help maintain smooth operation.
- Inspection: Periodically inspect the stopper for any signs of damage or wear. Look for cracks, corrosion, or deformation that could impact its functionality. Early detection of issues can prevent more severe problems.
- Lubrication: Apply lubricants like silicone spray or WD-40 to the moving parts of the stopper. This helps in keeping the stopper operating smoothly and prevents sticking.
- Function Testing: Test the stopper periodically to check for any sticking or slow draining issues. If you notice any problems, utilize troubleshooting tips to address them promptly.
Additional Tips and Tricks
To enhance the functionality and longevity of your sink drain stopper, consider implementing regular maintenance practices such as applying silicone lubricant and performing routine cleanings.
Additionally, common troubleshooting methods like using a plunger to create suction or checking for obstructions in the drain can effectively address a stuck stopper.
If these measures prove insufficient, professional assistance from a plumber may be required.
Regular Maintenance Practices
Consistently maintaining your bathroom sink drain stopper is essential to prevent debris buildup, mitigate mold and mildew formation, and guarantee the smooth operation of its components. Implementing preventative measures and routine care can greatly extend the lifespan of your sink stopper and reduce the likelihood of it becoming stuck.
To ensure peak functionality, consider the following maintenance practices:
- Regular Cleaning: Routinely remove the stopper and clean it thoroughly to prevent debris buildup and potential blockages. Utilize a mild cleanser and a brush to scrub away grime.
- Mildew Removal: Apply a mildew remover periodically to eliminate mold and mildew that can cause the stopper to stick. Ensuring the area around the stopper remains dry can also help in preventing mold growth.
- Inspection and Lubrication: Frequently inspect the stopper mechanism for any signs of wear or damage. Lubricate the stopper components with silicone spray to maintain smooth operation and reduce friction.
- Monthly Maintenance: Establish a monthly maintenance routine to keep the sink stopper in excellent condition. This routine should include cleaning, inspection, and lubrication to prevent future issues.
Common Troubleshooting Methods
One effective method to troubleshoot a stuck bathroom sink drain stopper is to employ a silicone suction cup to generate a strong upward pull, which can help release the stopper from its lodged position. This technique leverages the suction force to dislodge any debris or build-up causing the obstruction.
In addition to using a suction cup, applying WD-40 to the stopper mechanism can greatly ease its movement. The lubricant reduces friction, allowing the stopper to slide more freely. Unscrewing the pop-up mechanism is another practical step; this provides access to internal components for thorough cleaning and inspection.
It is also important to clear the area below the sink to locate and manipulate the horizontal rod connected to the stopper. This rod often becomes misaligned or jammed, and adjusting it can resolve the issue. Regular maintenance and cleaning are essential for stuck stopper prevention, reducing the need for extensive DIY repairs.
| Troubleshooting Method | Description | Additional Tools |
|---|---|---|
| Silicone suction cup | Strong upward pull to dislodge stopper | Suction cup |
| Apply WD-40 | Lubricates stopper mechanism for easier movement | WD-40 |
| Unscrew pop-up mechanism | Access and clean internal components | Screwdriver |
These troubleshooting tips, combined with expert advice, guarantee effective and sustainable solutions for bathroom sink drain stopper issues.
Frequently Asked Questions
How to Get a Sink Stopper Unstuck?
To get a sink stopper unstuck, first try pulling it manually. If unsuccessful, employ a suction cup or plunger. For persistent issues, disassemble the cleaning mechanism, perform preventative maintenance, and if necessary, consult a professional plumber.
What to Do When a Drain Stopper Is Stuck?
To address a stuck drain stopper, employ proper drain maintenance techniques including using pliers for stopper removal, cleaning debris, applying lubricant, and checking for obstructions. Persistent issues may necessitate professional plumbing assistance for resolution.
How Do You Unclog a Sink When the Stopper Doesn't Come Out?
To unclog a sink when the stopper doesn't come out, employ plunger techniques to create suction and dislodge the clog. Alternatively, use chemical cleaners to dissolve the blockage, ensuring to follow all safety guidelines.
How to Release a Stuck Bath Plug?
To release a stuck bath plug, use a rubber mallet for gentle tapping around the plug's edges. This action can help dislodge any debris or buildup, facilitating easier removal. Apply consistent, light pressure to avoid damage.
Conclusion
In summary, addressing a stuck bathroom sink drain stopper involves understanding the mechanism, identifying common causes, and employing appropriate tools and techniques.
Safety precautions must be diligently followed to prevent injury or damage.
Regular maintenance and preventive measures can greatly reduce the likelihood of future issues.
Recognizing when professional intervention is necessary is essential to avoid exacerbating the problem.
By adhering to these guidelines, the functionality and longevity of the sink stopper can be effectively guaranteed.


Leave a Reply