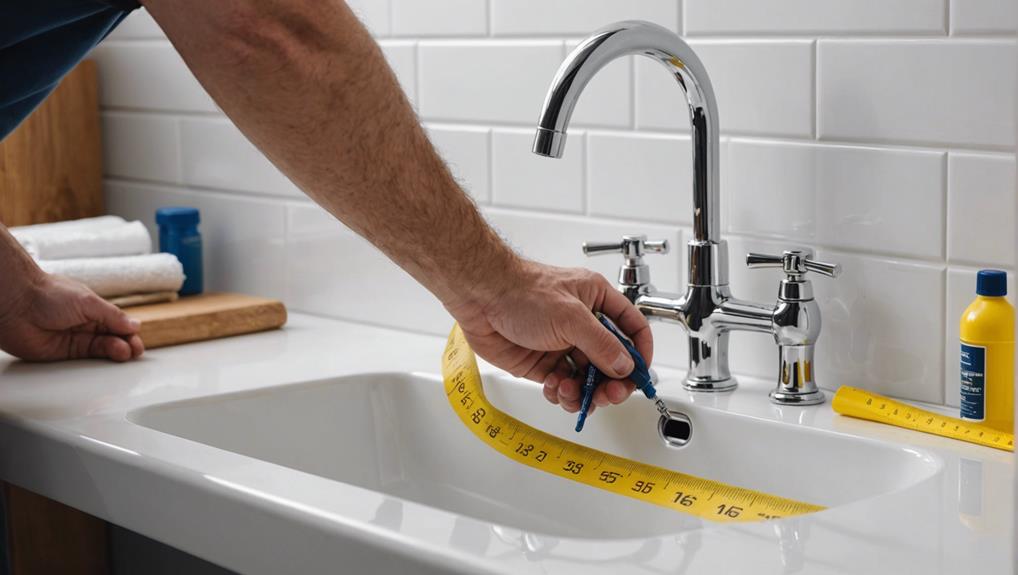
Bathroom Sink Drain Height Code: a How-To Guide
For best drainage and compliance, install a bathroom sink drain at a height ranging from 18 to 24 inches above the finished floor. This guarantees efficient water flow and prevents blockages. Use a tape measure for precision, and tools like a pipe wrench and PVC cutter for proper fitting. Follow local plumbing codes and ADA guidelines to avoid inspection issues. Accurately mark the drain height on the wall, making sure alignment with the sink type, whether wall-mounted or pedestal. Secure fittings using plumber's putty or Teflon tape to avoid leaks. To explore the detailed steps and make certain successful installation, continue onward.
Key Takeaways
- Measure the drain height from the finished floor level to ensure it falls between 18-24 inches as per plumbing code.
- Use a tape measure and level for accurate vertical and horizontal measurements to align the drain correctly.
- Confirm compliance with local plumbing codes and ADA guidelines to avoid penalties and ensure proper drainage.
- Perform straight cuts on pipes using appropriate tools like a hacksaw or tubing cutter to maintain code compliance.
- Check for leaks by running water and inspecting connections, ensuring timely repairs to maintain system integrity.
Importance of Drain Height
The proper height of a bathroom sink drain, typically recommended to be between 18 and 20 inches from the floor, is crucial for guaranteeing efficient drainage, preventing blockages, and maintaining compliance with plumbing code standards. This specific height range optimizes drainage efficiency by allowing gravity to effectively carry water away from the sink, reducing the risk of stagnation and subsequent blockages.
Adhering to this recommended drain height also minimizes the likelihood of plumbing complications, such as leaks and unpleasant odors. Incorrect drain height can disrupt the flow dynamics, causing water to pool and potentially leading to costly repairs. To prevent these issues, it is vital to follow manufacturer guidelines and standard plumbing practices during installation.
Consistent drain height standards simplify both the installation process and future maintenance. By maintaining the 18 to 20-inch range, plumbers can ensure uniformity across various projects, facilitating easier troubleshooting and repairs. Installation tips, such as verifying measurements before cutting and using appropriate fittings, further contribute to seamless installations and long-term functionality.
Plumbing Code Requirements
Adherence to plumbing code requirements is vital to guarantee the proper installation and functionality of bathroom sink drains. Plumbing codes, such as those outlined by the International Plumbing Code (IPC) or the Uniform Plumbing Code (UPC), establish specific guidelines for the minimum and maximum height of bathroom sink drain outlets. Typically, the drain height ranges from 18 to 24 inches above the finished floor level, but these measurements can vary based on local code differences.
It is essential to consult the local building codes, as municipalities may adopt amendments or additional stipulations that impact drain height variations. These codes ensure proper drainage, which prevents leaks and maintains the integrity of the plumbing system. For instance, adhering to the specified heights facilitates efficient gravitational flow, minimizing the risk of water stagnation and subsequent issues such as clogs or sewage backups.
Compliance with these regulations is not only vital for maintaining plumbing standards but also for passing inspections and avoiding potential penalties. Understanding and following plumbing code requirements is a fundamental step in achieving a safe and functional bathroom sink installation, thereby safeguarding both property and health.
Tools You Will Need
When starting on bathroom sink drain height installation, what essential tools will guarantee compliance with plumbing codes and facilitate a seamless process? Ensuring that your tool organization is important and that you maintain a proper workspace is critical.
Key tools include a tape measure for precise measurements, a level to confirm the alignment, and a flashlight for visibility in confined spaces. A pipe wrench is essential for tightening and loosening pipe connections, while a PVC pipe cutter ensures clean, accurate cuts. Additionally, a hacksaw or reciprocating saw may be required for cutting pipes to adjust drain height accurately.
Moreover, employing plumbers putty or Teflon tape is necessary for creating watertight seals during the installation of drain components, thereby preventing leaks and ensuring code compliance. Adjustable pliers are also essential for securing the drain body effectively. Utilizing a tubing cutter will provide precision cuts which are crucial for maintaining the correct drain height.
For maintenance tips, ensure that your tools are clean after each use; proper cleaning techniques, such as wiping down surfaces and lubricating moving parts, will extend their lifespan. Keeping your tools organized and your workspace tidy will not only enhance efficiency but also ensure safety and compliance with plumbing standards.
Measuring the Drain Height
When measuring the drain height, utilize a tape measure to ascertain the vertical distance from the sink drain to the floor. Confirm accuracy with a level and flashlight.
The standard height for bathroom sink drains ranges from 16 to 24 inches, aligning with most plumbing codes.
Adjustments may be necessary based on sink type to guarantee proper alignment with the P-trap and adherence to local regulations.
Tools for Accurate Measurement
To guarantee accurate measurement of the bathroom sink drain height, utilize a tape measure, making sure it is held vertically straight and leveled horizontally to avoid any discrepancies. Employing proper measurement techniques is vital to achieving compliance with plumbing codes and standards. Accuracy tools such as a high-quality tape measure are indispensable for this task. Begin by measuring the distance from the sink drain to the floor, ensuring that the tape measure remains taut and aligned correctly.
Drain height variations can present installation challenges, particularly when working with existing plumbing that may not conform to current standards. A flashlight can be used to enhance visibility in the often poorly lit areas under the sink, ensuring that the measurement process is precise.
It is essential to confirm that the measured drain height falls within the recommended range of 16 to 24 inches for bathroom sinks, as per standard plumbing codes. This range is designed to accommodate various sink types and ensure proper drainage. Any deviation from this range may require adjustments or additional fittings to align with code requirements.
Accurate measurement is the foundation for a successful and code-compliant installation.
Standard Drain Height
Guaranteeing the bathroom sink drain height adheres to the standard range of 16 to 24 inches above the floor is essential for achieving compliance with plumbing codes and optimizing drainage efficiency. Accurate measurement of the drain height is critical to prevent misalignment with the sink basin and avoid potential plumbing issues. The process involves confirming the vertical distance from the finished floor to the center of the drain pipe during rough-in plumbing installations.
While the typical height falls within the 16 to 24-inch range, adjustments may be necessary based on specific bathroom layouts or fixture designs.
Different sink models may have unique requirements. Always refer to the manufacturer's guidelines to ensure proper alignment and functionality.
Adhering to local plumbing codes, such as the International Plumbing Code (IPC) or Uniform Plumbing Code (UPC), is mandatory to ensure safety and performance standards are met.
When measuring the drain height, use a reliable measuring tool to verify the exact placement, considering any potential deviations due to drain height variations and sink compatibility. Following these steps guarantees a well-functioning drainage system that meets all regulatory requirements.
Adjusting for Sink Type
Accurately measuring the drain height for various sink types is essential to guarantee proper alignment and compliance with plumbing codes. Sink type considerations play an important role in adjusting measurements to make sure that the drain's placement corresponds with the specific sink design.
For drop-in sinks, the drain height is measured from the drain opening to the floor. This method ensures that the plumbing connections are correctly aligned beneath the countertop.
In contrast, for undermount sinks, it is crucial to measure from the bottom of the sink to the floor. This measurement accounts for the sink being mounted underneath the counter, necessitating precise alignment to avoid drainage issues.
Wall-mounted sinks require a similar approach, where the measurement is taken from the drain opening to the floor. This ensures proper height alignment and supports the sink's structural integrity.
Pedestal sinks also necessitate measuring from the drain opening to the floor, making sure that the pedestal base accommodates the plumbing connections seamlessly.
Marking the Wall
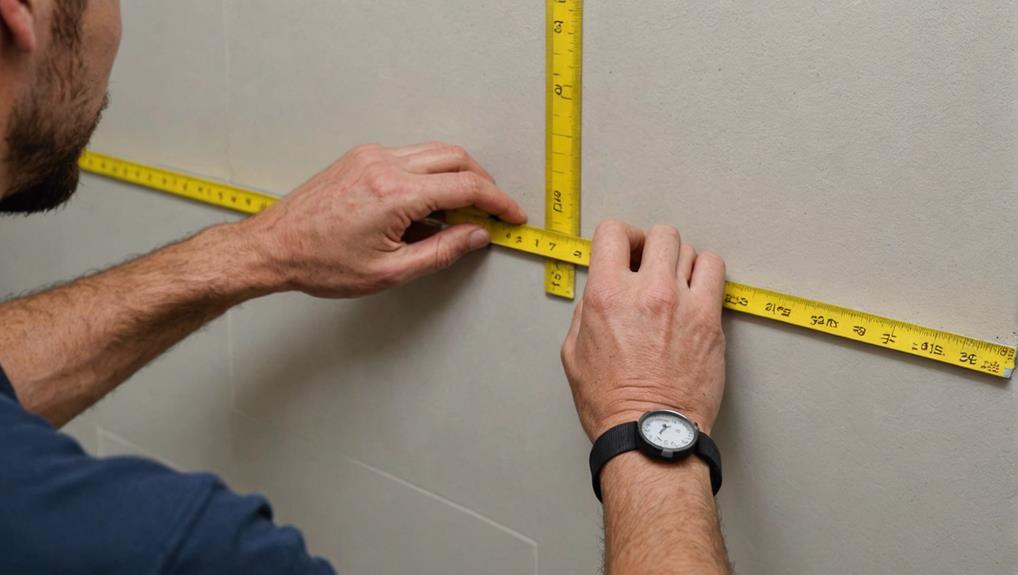
Marking the wall accurately is essential to guarantee the sink drain aligns perfectly with the plumbing system and the sink basin. Wall marking techniques are vital to secure proper alignment, which is fundamental for a successful installation.
Start by determining the desired height for the sink drain, taking into account the heights of the sink and the cabinet. Use a pencil to make a mark on the wall at this height. Ensuring accuracy is paramount; as a result, employ a carpenter's level to verify that the mark is perfectly horizontal. This step is critical to avoid future complications that can arise from a misaligned drain.
The importance of precision in this stage cannot be overstated. Double-check the height by measuring twice to confirm the mark aligns with the specifications outlined in plumbing codes. Proper alignment ensures the drain connects seamlessly with the sink basin, preventing leaks and ensuring efficient drainage.
Consider these critical steps to visualize the process:
- Use a carpenter's level to make sure the mark is horizontal.
- Measure from a fixed point, like the floor, to maintain consistency.
- Verify the mark aligns with both the sink and cabinet heights.
Cutting the Pipe
When cutting ABS or PVC pipes for your bathroom sink drain, it is important to achieve a straight cut to guarantee ideal contact with the fittings and maintain code compliance. Accurate pipe cutting techniques are essential to make sure that each piece fits perfectly within the plumbing system. Use a plastic hand saw, hacksaw, or tubing cutter to achieve precise cuts. These tools are designed to handle the specific material properties of ABS and PVC, delivering clean, straight cuts that are essential for proper pipe alignment.
Begin by marking the cutting line on the pipe with a permanent marker. Secure the pipe in a vise or use a pipe-clamp to prevent movement during cutting. Make sure the cut is perpendicular to the pipe's length to maintain a flat edge. After cutting, remove any burrs or rough edges with a file or sandpaper to ensure smooth insertion into fittings.
Dry fitting the pipes before cementing them is an important step. This allows you to check the alignment and make any necessary adjustments. Proper pipe alignment is crucial to ensure a leak-proof and code-compliant installation. Wipe away any excess cement after connecting the pipes for a clean, professional finish.
Installing the Drain
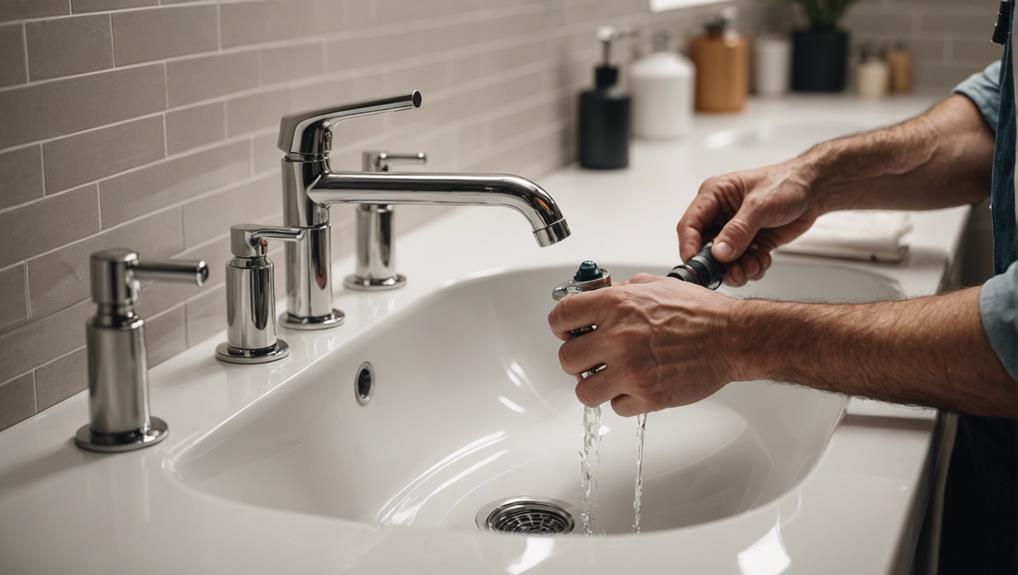
When installing the drain, first measure the height to confirm it falls within the 16-24 inches range above the floor, as mandated by standard plumbing codes.
Secure the drain components meticulously by tightening all connections to prevent leaks, ensuring the P-trap is correctly positioned to facilitate proper drainage and odor control.
Always adhere to manufacturer guidelines and consult local plumbing codes to verify compliance and avoid potential issues.
Measuring Drain Height
To accurately measure the drain height for installation, use a tape measure to ascertain the vertical distance from the center of the sink drain to the finished floor, ensuring compliance with the standard range of 16 to 24 inches. This measurement is crucial for ensuring proper drainage and adherence to plumbing codes.
Consider the following steps to guarantee accuracy:
- Align the tape measure vertically from the sink drain to the floor, ensuring it is perpendicular to avoid skewed measurements.
- Verify the vertical alignment of the drainpipe to prevent future drainage issues, a common mistake that can lead to leaks and water damage.
- Consult manufacturer guidelines for specific sink models, as variations in drain height may require adjustments within the recommended range.
Drain height variations can have a significant impact on the installation process. An incorrect height can lead to improper flow and potential backflow issues. Therefore, using installation tips such as double-checking your measurements and ensuring the pipe remains straight will help mitigate these risks.
Common mistakes include failing to account for the finished floor height, which can result in an inadequate vertical distance. Troubleshooting drain height issues early in the installation phase will save time and prevent complications, ensuring a successful plumbing setup.
Securing Drain Components
Securing the drain components involves methodically applying plumber's putty to the underside of the flange and ensuring a proper, leak-free installation. Begin by evenly distributing the plumber's putty around the flange's underside, creating a watertight seal when inserted into the drain hole. This step is important for preventing leaks and guaranteeing a seamless drain assembly.
Once the flange is in place, hand-tighten the drain body into the flange to secure the initial connection. After achieving a hand-tightened fit, use adjustable pliers to further tighten the drain body. However, it is crucial to avoid over-tightening, as this can damage the components and compromise the integrity of the drain installation.
Next, connect the lift rod to the clevis or adjustment linkage, which allows for the control of the stopper mechanism. Ensure that the clevis screw is securely fastened with the pop-up in the fully open position, finalizing the drain assembly process. This precise alignment and tightening conform to standard plumbing codes, ensuring ideal functionality and durability of the installation.
Using a Trap Adapter
In a bathroom sink installation, utilizing a trap adapter is essential for connecting disparate pipe sizes or materials to guarantee a seamless and efficient drainage system. Trap adapters are indispensable for switching between different pipe sizes, such as from a 1.25-inch sink drain to a 1.5-inch P-trap, ensuring a secure and watertight connection. The trap adapter benefits the installation by accommodating various materials like PVC, ABS, or brass, providing durability and compatibility with existing plumbing systems.
Proper installation techniques are vital to maximize the utility of a trap adapter. Begin by selecting an adapter that matches both the pipe sizes and materials involved. Ensure all components are clean and free from debris to avoid compromising the seal. Apply a suitable plumbing adhesive or thread sealant as per the manufacturer's recommendations to secure the connection. Tighten the fittings systematically to achieve a snug fit without over-tightening, which could damage the components.
Material Compatibility: Choose adapters made from durable materials like PVC, ABS, or brass.
Size Switch: Efficiently connect different pipe sizes to maintain system integrity.
Seal Integrity: Proper installation ensures a watertight connection, preventing leaks.
Checking for Leaks
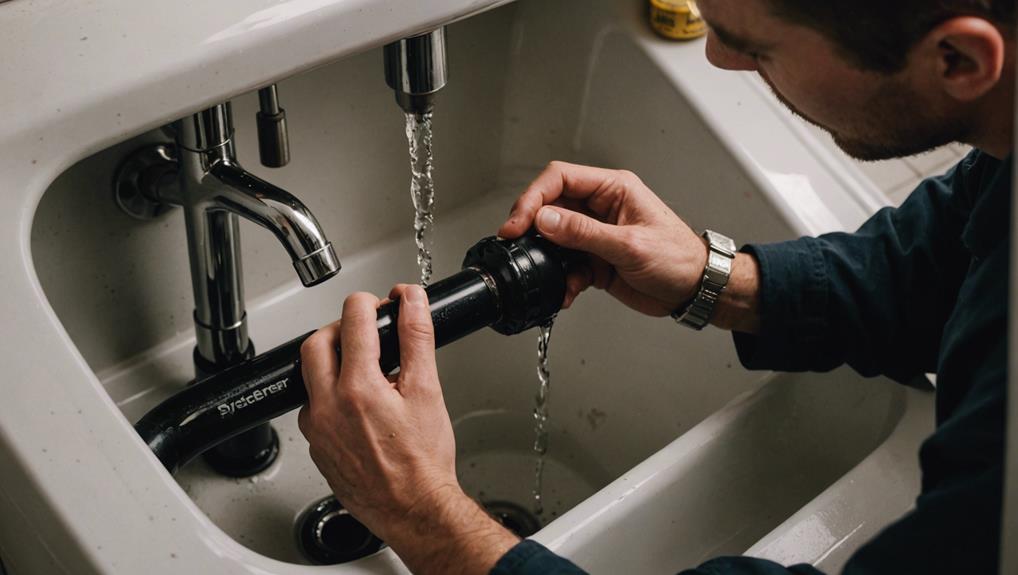
After ensuring a secure connection with the trap adapter, the next vital step is to thoroughly inspect the drainage system for any signs of leaks. Start by visually inspecting the area under the sink for indicators such as puddles, damp spots, or water stains. These are often the first signs of a problem in the plumbing system.
Next, focus on the P-trap, tailpiece, and all connection points. Common leak causes include loose fittings, worn-out gaskets, and corrosion. Use a flashlight to examine these components closely, paying special attention to any water droplets or moisture around the joints and connections. Rust and water damage on the pipes and fittings can indicate ongoing leaks, necessitating immediate attention.
Run water in the sink and observe the drainage system closely. Look for any sudden drips, leaks, or water pooling in areas where it shouldn't be. This real-time leak detection helps pinpoint the exact location of the problem.
For hidden leaks, which might not be immediately visible, the flashlight becomes indispensable. By illuminating hard-to-reach areas, you can identify subtle signs of leaks that could otherwise go unnoticed.
Addressing these issues promptly with appropriate repair tips and solutions is essential to maintaining a leak-free drainage system.
Ensuring Code Compliance
To guarantee compliance with local plumbing codes, it is crucial to confirm that the bathroom sink drain height adheres to the specific measurements mandated by regional regulations and the Americans with Disabilities Act (ADA) guidelines. Verifying the drain height meets these standards is critical to avoid violations and ensure accessible design.
Common mistakes in setting the bathroom sink drain height often involve neglecting to check the local plumbing codes, leading to non-compliant installations. The ADA guidelines require a specific clearance beneath the sink to accommodate wheelchair users, with the drain height typically falling between 15 to 19 inches above the finished floor.
To ensure code compliance, take the following steps:
- Consult local plumbing codes to determine the exact height requirements for your region.
- Engage a licensed plumber to verify the installation meets both local and ADA standards.
- Utilize a level and measuring tools to double-check your work and guarantee accuracy.
For troubleshooting tips, if the installed drain height does not meet code, adjustments may involve raising or lowering the sink, or reconfiguring the plumbing connections. Regularly reviewing updated regulations can prevent future compliance issues and confirm that the installation remains legally and functionally sound.
Frequently Asked Questions
How High Should the Drain Be for a Bathroom Sink?
The drain for a bathroom sink should be installed at approximately 18 inches from the floor, aligning with plumbing guidelines, to guarantee peak functionality, proper drainage, and compliance with code requirements for effective drain installation.
What Is the Height Code for a Sink Drain?
The height code for a sink drain typically ranges from 16 to 24 inches above the floor. Guarantee compliance by using appropriate plumbing materials and installation tools, referencing local building codes for specific height requirements and regulations.
How High Should My Bathroom Sink Be?
The ideal height for a bathroom sink should be 32 to 36 inches from the floor, taking into account vanity options and sink styles. This range guarantees ergonomic use and compliance with standard plumbing codes, improving functionality and user comfort.
What Is the Code for a Bathroom Sink?
The code for a bathroom sink, including plumbing materials and sink installation, typically specifies a drain height of 16-24 inches. Adhering to local building regulations and plumbing standards guarantees proper drainage, prevents clogs, and passes inspections.
Conclusion
To summarize, adherence to proper bathroom sink drain height is crucial for both functionality and compliance with plumbing codes. By following the systematic steps of measuring, marking, installing, and utilizing a trap adapter, one guarantees a reliable drainage system.
Regular checks for leaks and verification against local and national plumbing codes further strengthen the integrity of the installation. Proper execution of these procedures not only guarantees code compliance but also promotes peak performance and longevity of the plumbing system.


Leave a Reply