7 Steps to Fix a Leaking Two-Handle Bathroom Faucet Base
Fixing a leaking two-handle bathroom faucet base entails precise steps. Begin by identifying the leaking handle. Isolate water supply, turning valves clockwise. Disassemble faucet components using a screwdriver and pipe wrench, removing handles to access the cartridge. Inspect gaskets, O-rings, and washers for wear. Install new seals, ensuring they match original specs. Reassemble, aligning and tightening handles and decorative caps. Gradually turn water supply back on, checking for leaks. Conclude by testing the faucet, monitoring water pressure and flow. For those seeking to perfect this process, the subsequent guidelines offer detailed insights on each step.
Key Takeaways
- Turn off the water supply at the sink's shutoff valves and open the faucet to release residual pressure.
- Disassemble the faucet handles using the appropriate tools like a screwdriver or Allen wrench to access internal components.
- Inspect and replace worn-out O-rings, washers, and cartridges to address leaks effectively.
- Clean all seating areas and install new seals matching the original specifications for a proper fit.
- Reassemble the faucet, gradually turn the water supply back on, and check for any residual leaks to ensure a successful repair.
Identify the Leaking Handle
To accurately diagnose which handle is responsible for the leak in a two-handle bathroom faucet, initiate the process by sequentially turning off the water supply to each handle individually. This method of leak detection is essential in pinpointing the faulty component without unnecessary disassembly. Begin by shutting off the water supply to the hot water handle first. Observe the faucet for any signs of continued leakage. If the leak persists, the issue likely resides in the cold water handle.
Next, proceed with handle isolation by turning the water supply to the cold water handle off while restoring the hot water supply. Monitor the faucet again. If the leak ceases, the cold water handle is confirmed as the source of the problem. Conversely, if the leak continues, the hot water handle is identified as defective. This systematic approach of handle isolation allows for accurate identification of the problematic handle, facilitating targeted troubleshooting.
Identifying the leaking handle is important in streamlining the repair process, thus avoiding unnecessary complications. Once the faulty handle is isolated, you can proceed to disassemble that specific handle to access and replace the malfunctioning components, ensuring an efficient and effective repair.
Shut Off Water Supply
Before commencing any repair work on the leaking bathroom faucet base, make sure the water supply is completely shut off by locating and closing the shutoff valves under the sink or the main shutoff valve if necessary. This essential step in DIY plumbing projects ensures that no water flow impedes the repair process.
Locate the shutoff valves, typically found beneath the sink, and rotate them clockwise to halt the water supply specifically for the faucet. In instances where under-sink valves are absent, close the main shutoff valve to cease water distribution throughout the household.
Once the water supply is secured, open the faucet fully to release any residual pressure within the plumbing system. This action allows the remaining water to drain out entirely, mitigating the risk of inadvertent leaks or water damage during the repair. Adhering to meticulous faucet maintenance practices, such as ensuring complete drainage, is vital for an effective repair.
Regular inspections and maintenance are paramount in preventing leaks and conserving water. Implementing these water conservation tips and incorporating routine checks into your faucet maintenance practices can avert future plumbing issues, ensuring the longevity and functionality of the faucet.
Disassemble the Faucet
To initiate the disassembly, make sure the water supply is shut off to prevent any inadvertent flooding.
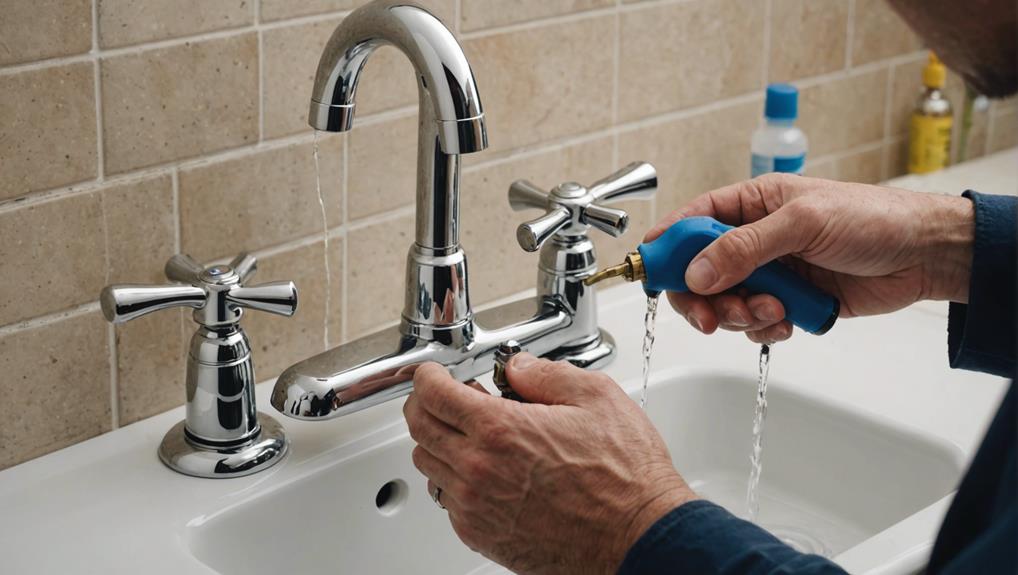
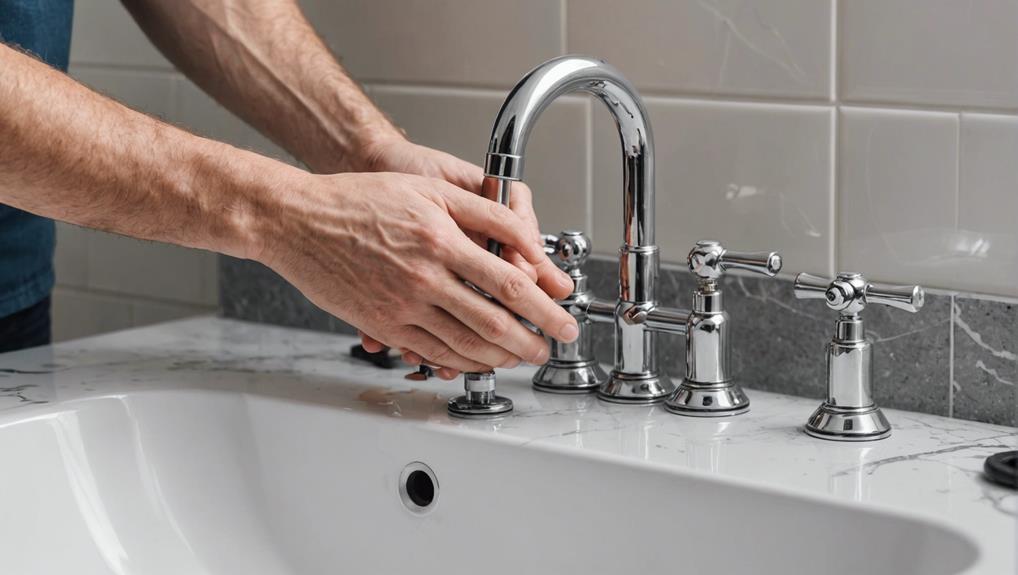
Proceed by removing the faucet handles, which typically involves prying off decorative caps and unscrewing the handles to access the internal components.
Utilize a wrench to loosen and remove the collar, allowing access to the faucet cartridge for further inspection and repair.
Turn Off Water Supply
Locate the shutoff valves under the sink to effectively terminate the water supply prior to initiating the disassembly of the faucet. Ensuring the water supply is properly shut off is vital to prevent flooding and mitigate potential water damage.
If under-sink shutoff valves are absent, alternately close the valve specific to the faucet tap or turn off the main shutoff valve for the entire household plumbing system.
Once the water supply is securely halted, open the faucet handles fully to release any residual water pressure and allow complete drainage. This step is important for a safe and dry working environment when proceeding with the disassembly of the faucet.
To facilitate this process, follow these steps:
- Identify the shutoff valves beneath the sink.
- Verify the valves are fully closed to prevent any water flow.
- Open the faucet handles completely to ensure all pressure is released.
- Drain any remaining water from the faucet and pipes.
- Double-check the cessation of water flow to avoid unexpected leaks.
Remove Faucet Handles
Initiate the disassembly process by utilizing a screwdriver or Allen wrench to remove the faucet handles, guaranteeing access to the underlying setscrew or decorative cap. The first step involves identifying the handle design trends, as contemporary handles may feature either exposed or concealed setscrews.
Employ handle removal tips such as gently prying off decorative caps with a flathead screwdriver to expose hidden screws.
Encountering common handle issues, such as stripped screws or corrosion, necessitates the application of handle maintenance techniques. For instance, apply penetrating oil to loosen stubborn screws or use a screw extractor if the head is stripped.
Once the setscrew is accessible, turn it counterclockwise with the appropriate tool to disengage the handle from the faucet body.
After the setscrew is fully unscrewed, pull the handle straight up to detach it, thereby revealing the retaining nut beneath. This nut secures the cartridge in place and must be loosened for further disassembly.
Utilize a pipe wrench or pliers to unscrew the retaining nut, keeping in mind that proper handle removal is critical for accessing and replacing the defective cartridge causing leakage. This meticulous approach guarantees smooth progression to subsequent repair steps.
Access Faucet Cartridge
Carefully unscrew the retaining nut with a pipe wrench or pliers to expose the faucet cartridge, the critical component regulating water flow and temperature. This step is pivotal in the disassembly process, allowing you to proceed with cartridge removal.
The cartridge, a cylindrical or disc-shaped device, is engineered to control both the flow and blend of hot and cold water. Proper identification of the cartridge type is essential for successful cartridge replacement.
To effectively access and remove the cartridge, consider the following technical steps:
- Turn off water supply: Prevent any accidental water flow.
- Use a cartridge puller: Specific tools might be required for smooth cartridge removal.
- Inspect for damage: Assess the cartridge and surrounding components for wear or corrosion.
- Note orientation: Pay attention to the original position for accurate cartridge replacement.
- Clean the area: Ensure the cartridge housing is free from debris or mineral deposits.
Approaching these tasks with precision ensures that the faucet's integrity is maintained, and the underlying issue is effectively addressed.
The successful extraction and subsequent replacement of the cartridge are instrumental in rectifying the leak. This meticulous process underscores the importance of each step in the broader scope of faucet repair.
Replace Faulty Parts
To address the leaking faucet base, initially identify the defective components such as gaskets, O-rings, washers, or cartridges.
Utilize a replacement kit tailored to your specific faucet model to guarantee compatibility and peak performance.
Meticulously install the new seals and components, adhering to manufacturer specifications to achieve a watertight assembly.
Identify Worn Components
Determining the root cause of a leaky bathroom faucet base often involves scrutinizing critical components such as gaskets, O-rings, washers, and cartridges for signs of wear and degradation. Common causes of leaks in two-handle faucets frequently stem from these elements, which are subject to continuous pressure and usage, leading to inevitable wear and tear. Identifying and replacing these faulty parts is essential to maintaining the integrity of the faucet and preventing further complications.
Regular preventive maintenance plays an important role in ensuring the longevity and best performance of the faucet. Analyzing each component meticulously can help pinpoint the exact source of the leak, allowing for targeted repairs.
Key components to inspect include:
- Gaskets: Essential for sealing connections, worn gaskets can result in water seepage.
- O-rings: These circular seals are prone to hardening and cracking over time, leading to leaks.
- Washers: Often subjected to compression, washers can wear out, causing drips.
- Cartridges: Integral to controlling water flow, defective cartridges can disrupt temperature regulation.
- Valve seats: Erosion of valve seats can create gaps, permitting water leakage.
Install New Seals
Begin the installation of new seals by shutting off the water supply valves located beneath the sink to prevent any water flow during the replacement process. This precautionary measure guarantees no water leakage while performing the seal replacement.
Next, disassemble the faucet handles using an appropriate screwdriver to access the internal components. Carefully remove the existing gaskets, O-rings, or washers that have degraded over time, causing the leak.
Inspect the seating areas where the seals were previously installed for any debris or mineral buildup. Thoroughly clean these areas to ensure ideal contact for the new seals.
Select replacement seals that precisely match the specifications of the original components to achieve effective leak prevention.
Insert the new seals into their designated positions within the faucet assembly, ensuring they are seated correctly and securely. Reassemble the faucet handles, taking care not to overtighten, which could compromise the integrity of the new seals.
Once reassembled, gradually turn on the water supply valves and test the faucet operation to confirm the efficiency of the seal replacement. Proper installation of new seals is a cost-effective solution to mitigate water wastage and restore the faucet's functionality, guaranteeing a watertight seal between the faucet body and the handles.
Reassemble the Faucet

Make sure the faucet handle is reassembled by meticulously aligning it and securely tightening all screws or bolts. Proper handle alignment is vital to guarantee seamless operation and prevent further leakage. Utilize the appropriate screwdriver or wrench to achieve precise screw tightening.
Following this, focus on the cap attachment. The decorative cap serves both aesthetic and functional purposes, shielding the valve mechanism from external contaminants. Ensure the valve covering is snugly fitted to its designated position.
To evoke a sense of accomplishment and attention to detail, consider the following steps:
- Handle alignment: Ensure handles are precisely positioned for best functionality.
- Screw tightening: Use the correct tools for secure fastening, preventing future issues.
- Cap attachment: Properly attach the decorative cap to protect internal components.
- Valve covering: Ensure complete coverage to safeguard against debris.
- Final inspection: Confirm all components are securely in place.
Turn Water Back On
Gradually re-engage the water supply by manipulating the shut-off valves beneath the sink, ensuring a controlled re-pressurization of the system. This step necessitates a meticulous approach to adjust water flow incrementally, thereby mitigating undue stress on the plumbing infrastructure.
Begin by turning the shut-off valves counterclockwise in a slow, deliberate manner. This practice prevents hydraulic shock and potential damage to internal components.
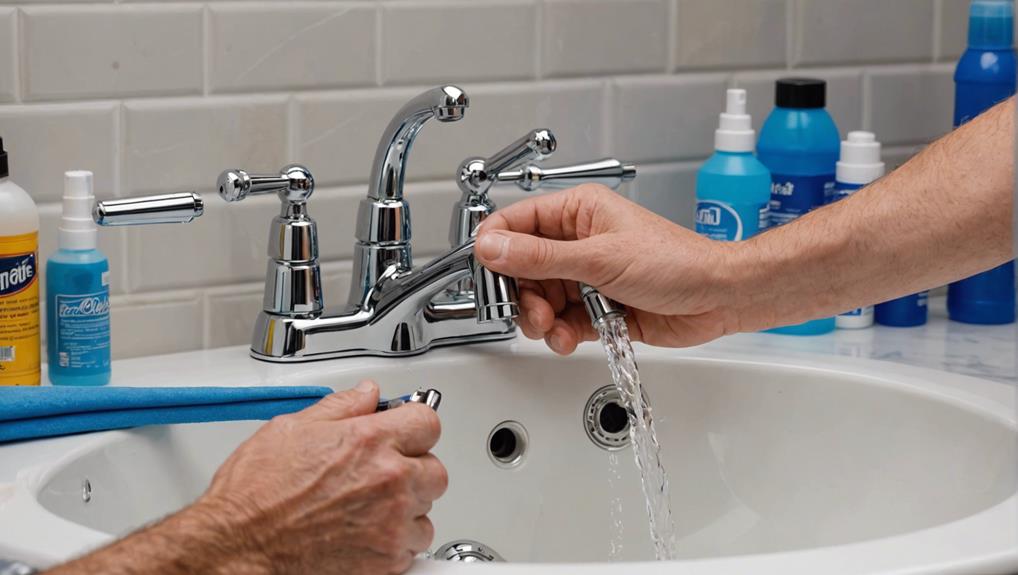
Once water flow is reintroduced into the system, it is vital to check connections for any signs of leakage. Focus on the junctures where the faucet assembly interfaces with the plumbing fixtures. Examine these areas closely, as even minor drips can indicate imperfect seals or improperly tightened fittings.
Should any leakage be detected around the base of the faucet, tighten the connections using an appropriate wrench or pliers. Ensure that all fittings are secure, but avoid over-tightening, which could strip threads or cause further complications.
Continued monitoring of the faucet after re-pressurization is important. Observe the faucet base meticulously for any residual leaks. If persistent leaks are noted despite adjustments, it may be prudent to seek professional assistance to ensure a thorough resolution.
Test and Clean

How important is it to rigorously evaluate the integrity and functionality of the faucet system after reassembly?
Ensuring that the reassembled faucet system operates flawlessly is paramount in preventing recurrent leaks and ensuring long-term functionality. Post-assembly, restore the water supply and conduct a meticulous inspection for any signs of leakage. This step is critical for effective leak prevention.
Before reassembly, it is imperative to clean all components to eliminate residue and debris, thereby guaranteeing a hermetic seal. Securely tighten all fittings to avert future leakage issues. Following these steps, it is essential to test the water pressure and flow rate to ensure the faucet operates efficiently.
To evoke a sense of urgency and importance in maintaining your bathroom faucet, consider the following:
- Immediate detection of leaks ensures minimal water wastage.
- Proper cleaning of components leads to improved seal integrity.
- Secure fittings safeguard against recurrent leakage.
- Testing water pressure and flow rate guarantees efficient faucet performance.
- Routine maintenance extends the lifespan of the faucet, reducing repair costs.
Frequently Asked Questions
How to Fix a Dripping Two Handle Bathroom Faucet?
To address a dripping two-handle bathroom faucet, first identify the problematic handle, then proceed by replacing O-rings and adjusting valves. Disassemble the faucet, replace worn components, and guarantee a precise reassembly to achieve peak sealing.
How to Fix a Faucet Leaking From the Base?
To rectify a faucet leaking from the base, inspect for corrosion buildup and undertake washer replacement. Disassemble the faucet, meticulously clean the affected areas, and install new washers to guarantee a watertight seal and prevent further leakage.
What Is the Most Common Cause of a Leaky Dripping Two Handle Faucet?
The most common cause of a leaky dripping two-handle faucet is the degradation of internal components, specifically worn washers and corroded valves. These elements typically experience significant wear and tear, necessitating timely replacement to prevent leakage.
What Is the Likely Cause of a Leak at the Base of a Faucet Handle?
The likely cause of a leak at the base of a faucet handle is typically due to deteriorated O-rings or a compromised valve seat. Prompt O-ring replacement and valve seat inspection are essential for effective remediation.
Conclusion
To sum up, rectifying a leaking two-handle bathroom faucet base requires a systematic approach. Identification of the leaking handle and cessation of water supply are preliminary steps.
Subsequent disassembly of the faucet facilitates the replacement of faulty components. Reassembly must be executed with precision, ensuring all parts are correctly aligned and secured.
Reinstatement of the water supply, followed by rigorous testing and cleaning, will confirm the effectiveness of the repair and restore ideal faucet functionality.


Leave a Reply