3 Steps to Transform Old Kitchen Cabinets From the 70s
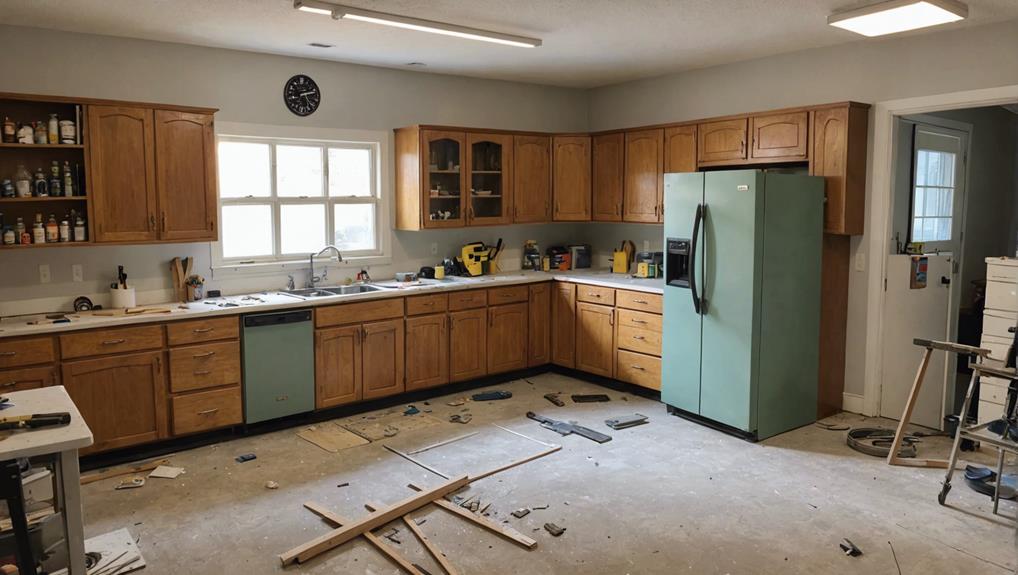
Transforming 70s-era kitchen cabinets involves three critical steps: prep, paint, and hardware updates. Begin by labeling and cleaning surfaces with Clorox Wipes and TSP, then fill imperfections with wood filler and sand. Prime with a top-tier product like Benjamin Moore Fresh Start Primer for lasting results. Select a durable paint such as Insl-x Cabinet Coat and apply it smoothly using premium tools. Finally, modernize your look by replacing knobs, pulls, and hinges, ensuring alignment with a template and choosing hardware that complements your kitchen’s aesthetic. Follow these steps to achieve a stylish, contemporary upgrade seamlessly. Curious about more tips?
Key Takeaways
- Label and clean all cabinet surfaces thoroughly before starting the transformation.
- Fill imperfections with wood filler and sand the surfaces smoothly in the direction of the wood grain.
- Apply a high-quality primer like Benjamin Moore Fresh Start Primer evenly on all cabinet surfaces.
- Use durable paint such as Insl-x Cabinet Coat, applied with foam rollers and quality brushes for a professional finish.
- Update cabinet hardware with modern knobs, pulls, and hinges, ensuring they match the new aesthetic of the kitchen.
Prep and Prime Cabinets
Before starting on the transformation of your old kitchen cabinets, it is important to thoroughly prep and prime them to guarantee a high-quality, durable finish. Begin by labeling doors and drawer fronts to ensure seamless reassembly later. This organizational step can save considerable time and frustration.
Next, focus on cleaning. Use Clorox Wipes and Trisodium Phosphate (TSP) to remove any accumulated grease and grime from the cabinet surfaces. This step is vital for ensuring that the primer and paint adhere properly.
Once cleaned, inspect the cabinets for any imperfections. Fill any holes or dents with wood filler and allow it to dry thoroughly. Sand the filled areas and all cabinet surfaces using medium-grit sandpaper. Proper sanding techniques involve sanding in the direction of the wood grain to avoid scratches and achieve a smooth surface.
Choosing the right primer is the next critical step. High-quality primers like Benjamin Moore Fresh Start Primer are recommended for their superior adhesion and smooth finish. Apply the primer evenly, ensuring full coverage. This ensures the paint will adhere well and last longer, providing a professional and durable finish to your transformed kitchen cabinets.
Paint and Finish
With the cabinets meticulously prepped and primed, the next step is to select and apply a high-quality paint that guarantees a sleek and durable finish. Opting for a premier product like Insl-x Cabinet Coat ensures that your 70s kitchen cabinets receive a professional-grade transformation. This paint offers exceptional durability, which is vital for withstanding the wear and tear of daily use.
To achieve a smooth application, utilize a combination of a foam roller and a high-quality paintbrush. Foam rollers are excellent for covering larger, flat surfaces without leaving streaks or bubbles, while paintbrushes can adeptly handle detailed areas and corners. Investing in premium tools and materials not only enhances the finish but also extends the longevity of the cabinets.
When selecting color options, consider the overall aesthetic you wish to achieve. White paint, for instance, can brighten your kitchen and create a more spacious feel. However, don’t shy away from exploring other color options that complement your kitchen’s design. Trend-focused hues like deep navy or soft gray can add a modern touch, while classic shades like sage green can evoke a timeless elegance. Choose a color that aligns with your vision and ensures a cohesive, stylish look.
Update Hardware
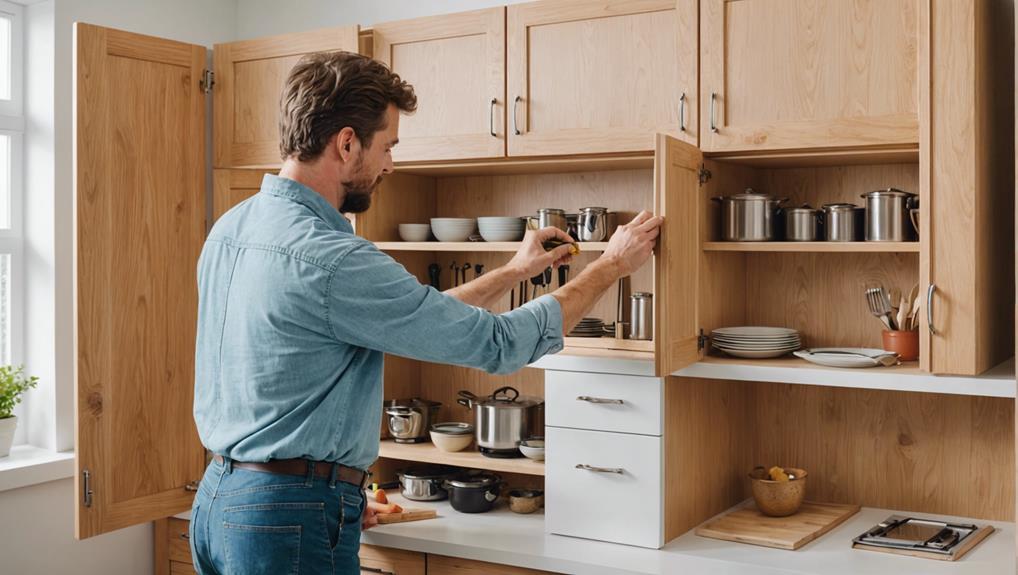
Upgrading the hardware on your 70s kitchen cabinets is a cost-effective and straightforward method to achieve a modern, refreshed look. Replacing cabinet knobs, drawer pulls, and hinges can make a significant impact, often costing under $100. The array of hardware styles available today, from sleek stainless steel to rustic bronze, allows you to tailor the update to your aesthetic preferences.
Before installation, make sure the cabinets are thoroughly cleaned to prevent dirt buildup beneath the new hardware. Touch up old screw holes if necessary to guarantee a smooth, professional finish. Here are some installation tips to take into account:
| Task | Tips |
|---|---|
| Cleaning cabinets | Use a degreaser |
| Filling old screw holes | Use wood filler |
| Aligning new hardware | Use a template or jig |
When selecting hardware styles, think about the overall theme of your kitchen. Modern kitchens benefit from streamlined, minimalist handles, while traditional spaces might look best with ornate, vintage-inspired knobs. Installation is a beginner DIY project, making it an easy home improvement task.
Frequently Asked Questions
How to Update 1970S Cabinets?
To update 1970s cabinets, consider modern color schemes and a hardware upgrade. Painting cabinets in contemporary hues and replacing old hardware with sleek, modern options can greatly refresh and modernize the kitchen’s overall aesthetic.
How Can I Update My Old Kitchen Cabinets Without Replacing Them?
To update your old kitchen cabinets without replacing them, consider a hardware upgrade with new drawer pulls and knobs, or apply a fresh paint finish. These trend-focused, cost-effective methods can greatly enhance your kitchen’s aesthetic.
How to Revamp Old Kitchen Cabinets?
To revamp old kitchen cabinets, replace the cabinet hardware with modern drawer pulls and knobs, and choose contemporary paint colors. These updates will greatly enhance the aesthetic appeal and functionality of your kitchen space.
What Were 1970S Kitchen Cabinets Made Of?
1970s kitchen cabinets were primarily constructed from particleboard, plywood, or MDF, often featuring laminate or veneer finishes. The cabinet hardware was simplistic, and the material composition focused on affordability, incorporating melamine for durability and easy maintenance.
Conclusion
Revitalizing dated kitchen cabinets from the 1970s involves a methodical approach. Proper preparation and priming of the cabinets lay the foundation for a smooth and durable finish.
The application of paint and subsequent finishing techniques breathe new life into the cabinetry.
The final enhancement involves updating the hardware, which modernizes the overall aesthetic.
This strategic and detailed process guarantees that outdated cabinets can be effectively revitalized, aligning with contemporary design trends and enhancing the kitchen’s functionality and visual appeal.


Leave a Reply