A Step-by-Step Guide to Restoring 1970s Kitchen Cabinets
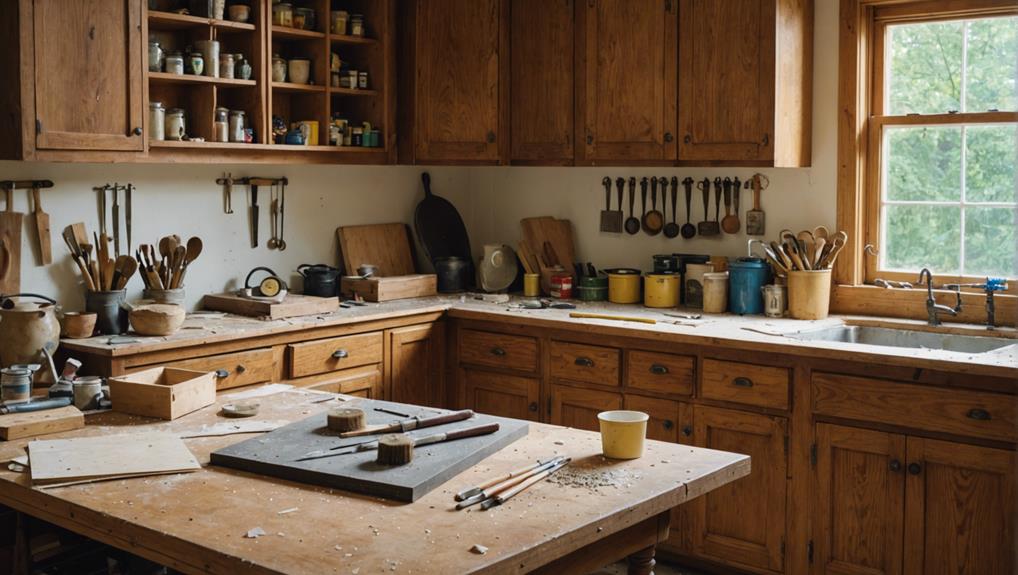
Restoring 1970s kitchen cabinets involves a detailed, hands-on process. Begin by evaluating the cabinets’ condition and gathering necessary supplies like sandpaper, primer, paint, and new hardware. Remove doors and hardware, then clean all surfaces thoroughly. Sand the cabinet surfaces to guarantee good paint adhesion. Apply a coat of primer, followed by paint or stain, using the recommended application techniques for a smooth finish. Replace old hardware with new pieces to update the look. For each of these steps, proper execution is essential for achieving professional results; follow this guide to transform your 1970s cabinets into modern masterpieces. Discover further to excel in each stage.
Key Takeaways
- Assess and document the condition of the cabinets, noting any damages or repair needs.
- Clean the surfaces thoroughly with soap and water to remove all grease and grime.
- Sand the cabinet surfaces, starting with coarse-grit sandpaper and finishing with fine-grit sandpaper.
- Apply a suitable primer followed by thin, even coats of paint or stain, allowing ample drying time between coats.
- Replace old hardware with modern alternatives, ensuring proper measurement and secure installation.
Assess Condition of Cabinets
Begin by thoroughly examining the cabinets for any signs of water damage, scratches, or general wear from prolonged use. Start with a detailed visual inspection to identify damages such as discoloration, bubbling, or peeling of the cabinet surfaces, which can indicate water damage.
Additionally, closely inspect for scratches or gouges that may have accumulated over the years. These are common in older cabinets and can affect both aesthetics and functionality.
Next, assess the structural integrity of the cabinets. Look for loose hinges or warped doors that may not close properly. Pay special attention to the cabinet frames and joints; any signs of separation or weakening can indicate structural issues.
It’s essential to evaluate repairability by determining whether these damages can be fixed with minor repairs or if they require more extensive intervention.
After identifying specific problem areas, note any hardware that might need replacing. This includes handles, knobs, hinges, and drawer slides. Checking the overall condition will help you determine the extent of restoration required and whether the cabinets are salvageable.
This detailed assessment is critical before proceeding with any restoration efforts, ensuring you address all necessary repairs comprehensively.
Gather Necessary Supplies
To start the restoration process, gather essential tools such as:
- a drill or screwdriver
- tack cloth
- paint brush
- roller brush
- fine-grit sandpaper
Make sure you have materials like primer and laminate paint specifically designed for cabinetry.
Following a detailed checklist and selecting high-quality supplies will facilitate a smoother and more effective restoration.
Essential Tools Checklist
A successful restoration of 1970s kitchen cabinets necessitates a well-prepared toolkit that includes a drill or screwdriver, tack cloth, paint brush, roller brush, and fine-grit sandpaper. Each tool serves a specific purpose, guaranteeing a smooth and professional finish.
Tool maintenance is vital for a seamless restoration process. Regularly check your drill or screwdriver for any wear and tear, and make sure they are fully charged or have fresh batteries. Fine-grit sandpaper should be replaced as needed to maintain its effectiveness. A clean tack cloth is essential to remove dust and debris efficiently, preventing imperfections in the paint finish.
Budget considerations are also important. Investing in high-quality tools can save money in the long run by reducing the need for replacements and ensuring better results. Below is a checklist to aid in gathering the necessary supplies efficiently:
| Tool | Purpose |
|---|---|
| Drill/Screwdriver | Removing cabinet hardware and doors |
| Tack Cloth | Removing dust and debris before painting |
| Paint Brush | Detailed painting work |
| Roller Brush | Even application of primer and paint |
| Fine-Grit Sandpaper | Smoothing surfaces for priming/painting |
Material Selection Tips
Selecting the appropriate materials for restoring 1970s kitchen cabinets is vital to achieving a durable and aesthetically pleasing finish. Begin by gathering essential tools such as a drill or screwdriver, tack cloth, paint brush, roller brush, and fine-grit sandpaper. These tools will streamline the restoration process, guaranteeing that each step is executed with precision.
When choosing colors, consider the current kitchen decor and whether you aim to preserve a retro aesthetic or modernize the space. Budget options for paint can be found at most hardware stores, but make sure you opt for high-quality laminate paint and primer to ensure a long-lasting finish. Primer is important for preparing the surface and ensuring proper paint adhesion, especially on older, potentially worn cabinets.
Fine-grit sandpaper is indispensable for smoothing the cabinet surfaces before painting or refinishing. This step is necessary to remove old finishes and create a uniform surface for the new paint. Tack cloth is essential for removing dust and debris post-sanding, guaranteeing a clean surface for the primer and paint.
Remove Doors and Hardware
Begin the restoration process by methodically removing each cabinet door and piece of hardware, making sure every component is carefully labeled for easy reassembly. This critical first step sets the foundation for the entire project.
Pay close attention to the following steps to streamline the process:
- Label Each Door and Hardware: Use masking tape and a permanent marker to label each cabinet door and piece of hardware. This will help in reinstalling hinges and other components in their original positions.
- Create a Diagram: Draft a simple layout or diagram showcasing the placement of each door and hinge. This visual aid can be invaluable during the reassembly phase.
- Labeling Screws: Collect screws and small parts in labeled containers or plastic bags. This prevents loss and ensures you can easily find the correct screws during reinstallation.
- Careful Removal: Use a screwdriver to remove hinges and hardware, taking care not to strip screws or damage the wood. A gentle hand ensures all parts remain functional and aesthetically intact.
Clean All Surfaces
Thoroughly cleaning all surfaces with a mild soap and water solution is essential to remove accumulated grease, grime, and residue from the cabinets. This step is vital for effective surface preparation and guarantees your cabinets are in the best condition for restoration. Begin by mixing a few drops of mild soap with warm water in a bucket. Dip a soft cloth or sponge into the solution and gently scrub all cabinet surfaces, including doors, drawers, and frames. Focus on areas prone to heavy buildup, such as around handles and hinges.
Proper cleaning techniques involve using a non-abrasive cloth to avoid scratching the surface. Rinse the cloth frequently in clean water and wipe away any soap residue. Dry the surfaces thoroughly with a clean, dry towel to prevent water damage and ensure a smooth finish.
| Step | Description |
|---|---|
| 1. Prepare Solution | Mix mild soap with warm water. |
| 2. Scrub Surfaces | Use a soft cloth to clean all areas. |
| 3. Rinse & Dry | Remove soap residue and dry completely. |
This meticulous surface preparation aids in the adhesion of paint or stain, contributing to a professional-looking and long-lasting finish.
Sand Cabinet Surfaces
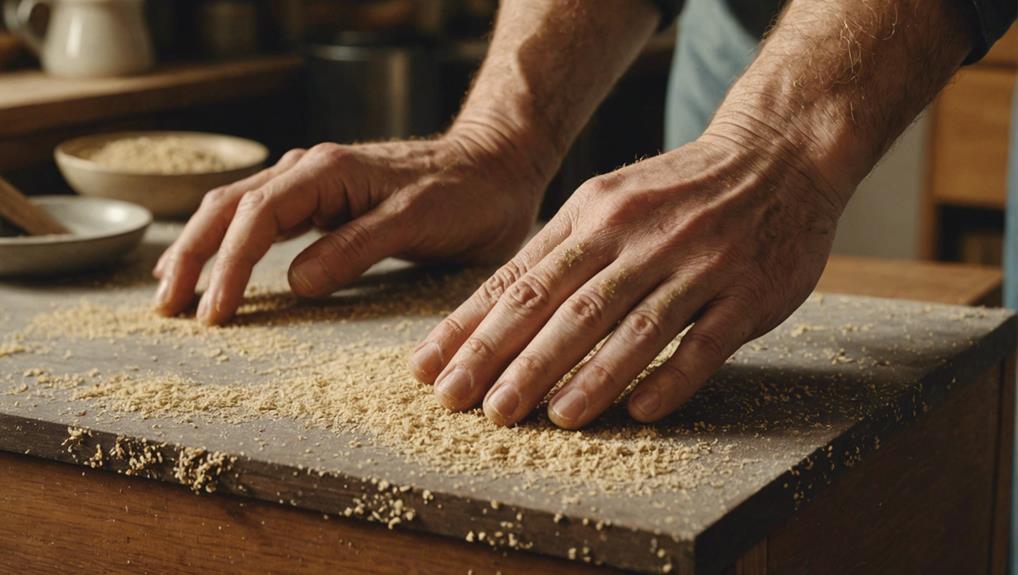
After ensuring the cabinets are thoroughly cleaned and dry, proceed to sand the surfaces to remove old paint, varnish, and imperfections, creating a smooth base for the restoration process. Proper sanding techniques are essential for effective surface preparation and ensuring a successful refinishing process.
Here’s a detailed approach:
- Initial Sanding: Begin with coarse-grit sandpaper (60-80 grit) to strip away the majority of old paint and varnish. This initial step is vital for removing built-up layers and achieving a clean slate.
- Intermediate Sanding: Switch to medium-grit sandpaper (120-150 grit) to smooth out the surface and eliminate any remaining imperfections. This step ensures the surface is even and ready for finer sanding.
- Fine Sanding: Finish with fine-grit sandpaper (220 grit) to polish the cabinet surfaces. Sanding in the direction of the wood grain is critical at this stage to prevent scratches and maintain the wood’s natural appearance.
- Final Surface Check: Wipe down the surfaces with a clean, damp cloth to remove dust and inspect for any remaining imperfections. This ensures the cabinets are fully prepared for the next steps in the refinishing process.
Adhering to these sanding techniques will ensure excellent surface preparation, facilitating better adhesion of primers and paints, ultimately leading to a durable and refined finish for your 1970s kitchen cabinets.
Apply Primer
Applying primer is an essential step in the restoration process, as it creates a smooth, adhesive surface for the paint to bond effectively to your 1970s kitchen cabinets. Begin by selecting a primer specifically designed for the material of your cabinets, whether they are wood, laminate, or another substrate. This guarantees excellent performance and longevity of the finish.
For proper primer coverage, utilize a high-quality brush or roller. Start by stirring the primer thoroughly to ensure even consistency. Using a brush, apply the primer in long, even strokes, working with the grain of the wood. For larger, flat surfaces, a roller can be more efficient, providing a smooth, even coat. Be meticulous in your primer application to avoid drips and uneven areas.
Follow the manufacturer’s instructions regarding drying time, which typically ranges from one to four hours, depending on the product and environmental conditions. Make sure the primer is completely dry before proceeding to the next step. This drying time is essential for achieving a durable and professional-looking finish.
Paint or Stain Cabinets
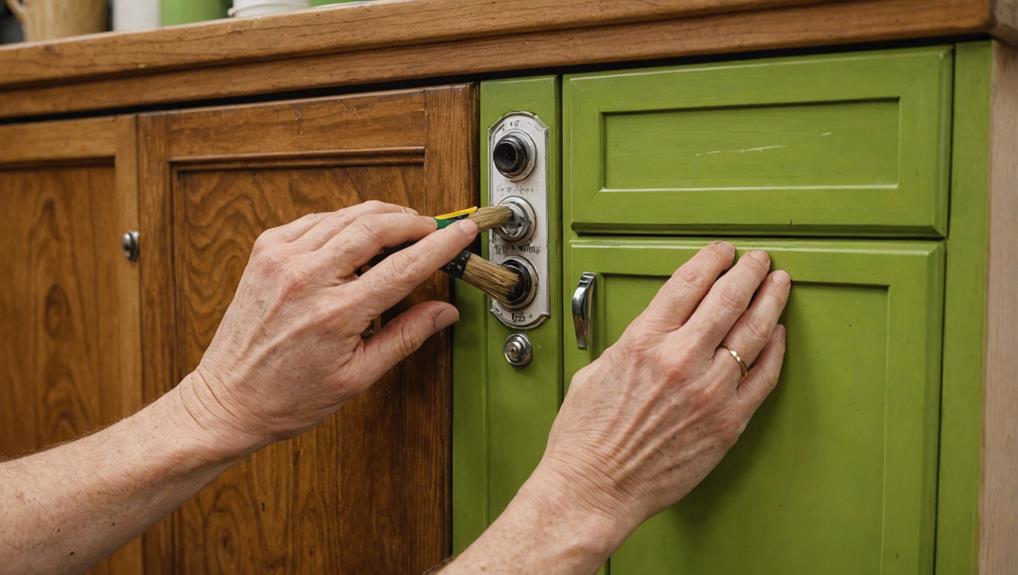
When restoring 1970s kitchen cabinets, choosing between paint and stain is crucial for achieving the desired aesthetic and durability. Selecting the right finish involves considering the existing wood grain and the overall kitchen design.
Employing proper application techniques, such as sanding beforehand and applying multiple thin coats, guarantees an even and professional-quality result.
Choosing the Right Finish
Choosing the right finish for your 1970s kitchen cabinets involves evaluating both the aesthetic and functional benefits of paint versus stain. When considering color selection and finish options, it’s essential to understand the characteristics and outcomes of each method.
Here are some key points to help you make an informed decision:
- Aesthetic Appeal: Staining enhances the natural beauty of wood, showcasing its grain and texture. This makes it an excellent choice if you desire a rustic or traditional look. On the other hand, paint offers a smooth, opaque finish that can cover imperfections, providing a modern or classic aesthetic.
- Preparation and Application: Staining requires thorough wood preparation and multiple coats to achieve a rich, deep hue. Conversely, painting necessitates priming and even application to make sure a flawless, uniform surface.
- Durability and Maintenance: Painted surfaces are generally easier to clean and maintain, making them suitable for high-traffic areas. Stained finishes, while beautiful, may require more upkeep to maintain their appearance over time.
- Customization: Paint offers an extensive array of color options, allowing for greater customization to match your kitchen’s existing style. Stain, though more limited in color selection, provides a timeless, natural look.
Carefully weigh these factors to select the best finish for your restoration project.
Application Techniques Tips
To achieve a flawless finish on your 1970s kitchen cabinets, it is essential to employ meticulous preparation and precise application techniques. Begin by sanding the cabinets lightly to guarantee better adhesion for the paint or stain. This step is vital for achieving a professional-looking result. Once sanded, apply a primer layer if you are planning to paint the cabinets. Primer improves paint adhesion and provides a durable finish.
When it comes to the application tool, the choice between brush vs. roller is significant. A high-quality paintbrush is ideal for detailed work, allowing you to reach corners and crevices with ease. Conversely, a foam roller can cover larger surfaces more smoothly and quickly, reducing the appearance of brush strokes. For the best outcome, a combination of both might be necessary.
Proper technique is paramount. Apply the paint or stain in thin, even coats, following the grain of the wood to enhance the final appearance. Additionally, allow adequate drying time between coats to prevent smudges or uneven finishes.
If using stain, consider the natural wood look and work to highlight the grain and texture of the cabinets. This approach will ensure a refined, durable finish.
Replace Hardware
Replacing the hardware on 1970s kitchen cabinets involves selecting modern drawer pulls, knobs, and hinges that align with the overall design aesthetic. This process not only refreshes the appearance of the cabinets but also offers a cost-effective way to modernize your kitchen without a full renovation.
When considering hardware styles for 1970s cabinets, it is crucial to select pieces that complement the existing cabinet color and design.
Here are the steps to effectively replace your cabinet hardware:
- Determine Hardware Style: Choose hardware that complements your kitchen’s style. Sleek, minimalist designs are popular for modern kitchens, while vintage or ornate styles may suit a more traditional look.
- Budget-Friendly Upgrades: Set a budget for your hardware replacement project. Many stylish and affordable options are available, ensuring you can achieve a high-end look without overspending.
- Measure Existing Hardware: Accurately measure the current hardware’s placement to make sure the new pieces fit correctly. This step helps avoid additional drilling and maintains the cabinet’s integrity.
- Install New Hardware: Use a screwdriver to remove old hardware and replace it with new pieces. Make sure screws are tightly secured and aligned properly for a professional finish.
Final Touches
After updating the hardware, focus on adding decorative trim or molding to the cabinet doors for a sophisticated finish. Carefully measure and cut the trim pieces to guarantee a perfect fit. Utilize wood glue and brad nails to secure the molding in place, making sure all corners align seamlessly. This detail will enhance the overall aesthetic and blend well with the newly installed vintage hardware.
Next, attend to the preservation of any original glass elements. If the cabinets include glass-fronted doors, ensure that the glass is thoroughly cleaned and free of any paint or debris. For glass preservation, use a gentle glass cleaner and soft cloth to avoid scratches. If the glass requires replacement, opt for a period-appropriate style to maintain the vintage charm.
Final touches also involve ensuring proper drying time between coats of primer and paint. This step is essential for achieving a flawless finish. Allow each coat to cure fully before proceeding to the next.
Additionally, clean and repair any ancillary components such as shelves and hinges. Choose a complementary paint color for the backboard to harmonize with the overall design. By meticulously attending to these details, the restoration of your 1970s kitchen cabinets will be both thorough and visually appealing.
Frequently Asked Questions
How to Update 1970S Cabinets?
To update 1970s cabinets, consider modern color schemes and new hardware styles. Painting in contemporary hues and installing sleek handles or knobs can greatly refresh the look. Additionally, adding glass inserts or replacing doors with shelving enhances modernity.
What Were Kitchen Cabinets Made of in the 1970s?
In the 1970s, kitchen cabinets were primarily composed of particle board, MDF, or plywood, often with laminate finishes. Wood veneers and metal cabinets, particularly steel, were also common, and cabinet hardware typically featured earthy tones like avocado green.
How to Restore Old Kitchen Cabinets?
To restore old kitchen cabinets, employ effective sanding techniques using coarse to fine-grit sandpapers. Utilize wood fillers to repair any holes or imperfections. Proper surface preparation guarantees a smooth finish for painting or staining.
How Can I Update My Old Kitchen Cabinets Without Replacing Them?
To update old kitchen cabinets without replacing them, consider adding hardware such as new drawer pulls, knobs, and hinges. Repainting surfaces with a fresh color or covering them with decorative contact paper can greatly enhance their appearance.
Conclusion
The process of restoring 1970s kitchen cabinets involves several meticulous steps to guarantee a high-quality finish.
Evaluating the condition of the cabinets, gathering necessary supplies, removing doors and hardware, and thoroughly cleaning all surfaces are foundational steps.
Sanding the surfaces, applying primer, and choosing either paint or stain are essential for achieving the desired aesthetic.
Replacing hardware and adding final touches complete the restoration. Adherence to each step guarantees durable, rejuvenated cabinets that enhance the kitchen’s overall appearance.
Leave a Reply